Use Imagination to Make the Best toys from Throwaways
I am my mother’s daughter.
After fixing breakfast, mom would study the clouds and point out tigers and dragons and rocket ships as I ate my cereal. Living on an island, our skies seemed to have more clouds and more whimsically shaped ones than on the Mainland. A meteorologist would know.
Mom had a boundless capacity for imagination that fueled her creativity in all things. I thought of her when Steve brought home a fruit box from Trader Joe’s and I saw a condominium. (How-to below.)
Making kids’ toys from throwaways could save some money, but the other materials you need to complete a project can get pricey sometimes.
Actually, the real value of making toys from throwaways is to kickstart imagination and creativity in kids.
Here are some ideas for toys to make from throwaways. Aside from the joy of building them together, it’s an excellent way for grandkids to see the possibilities and explore how commonplace, everyday items, with a little imagination, can be transformed.
What to do with Recycle Trash
This is where we became the most creative. Trash is trash…until you open your mind and rethink the shapes and what these discards could be.
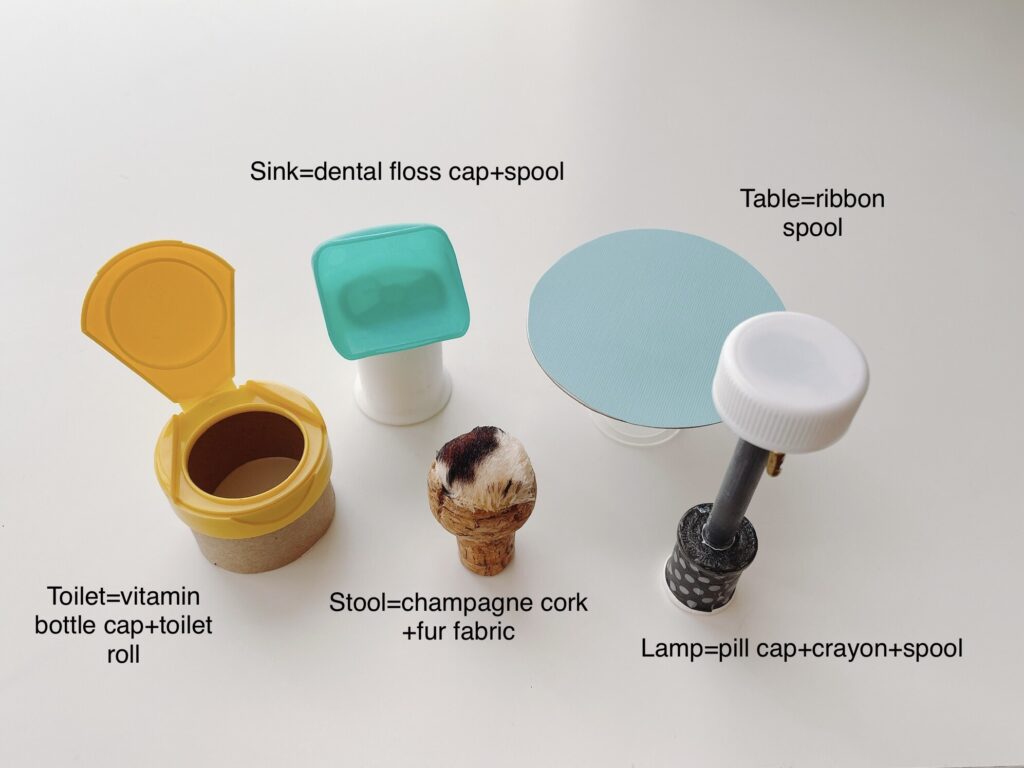
When Miss T and I made a dollhouse out of shoeboxes for our clothespin dolls, we used every bit of imagination to furnish it with found objects. We could have made a lot of our furnishings from polymer clay, but I determined we should just use it in limited ways. I wanted us to create toy furnishings from throwaways to think creatively.
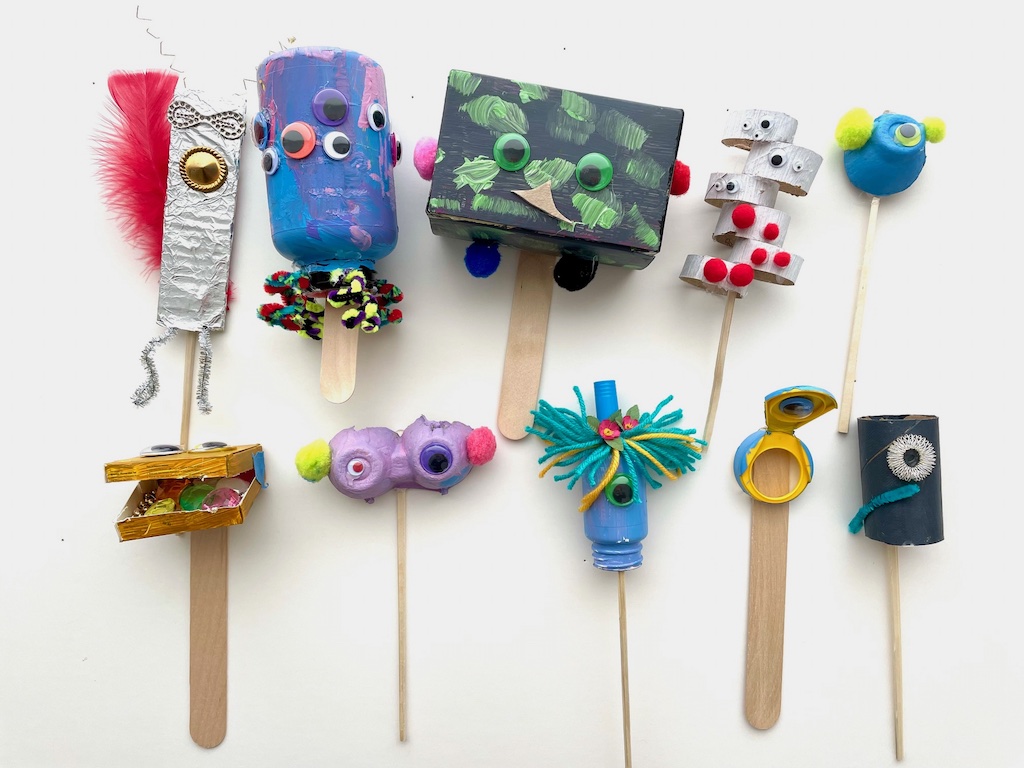
You don’t have to make a puppet theater or do a puppet show as we did, to enjoy thinking outside the box and have fun with these toys from throwaways. Simply gather some clean recycle trash, googly eyes, yarn and paints and have the kids create puppets.
What to do with a Big Box
A really big box–one that kids can get into–is not just a box. It offers infinite possibilities for fun!
Your box could be a fort, a house, or a puppet theater. It could even be a sailing ship or delivery truck. You don’t need to do more than offer the box to kids and let them use their imaginations. Or, you can enhance the play.
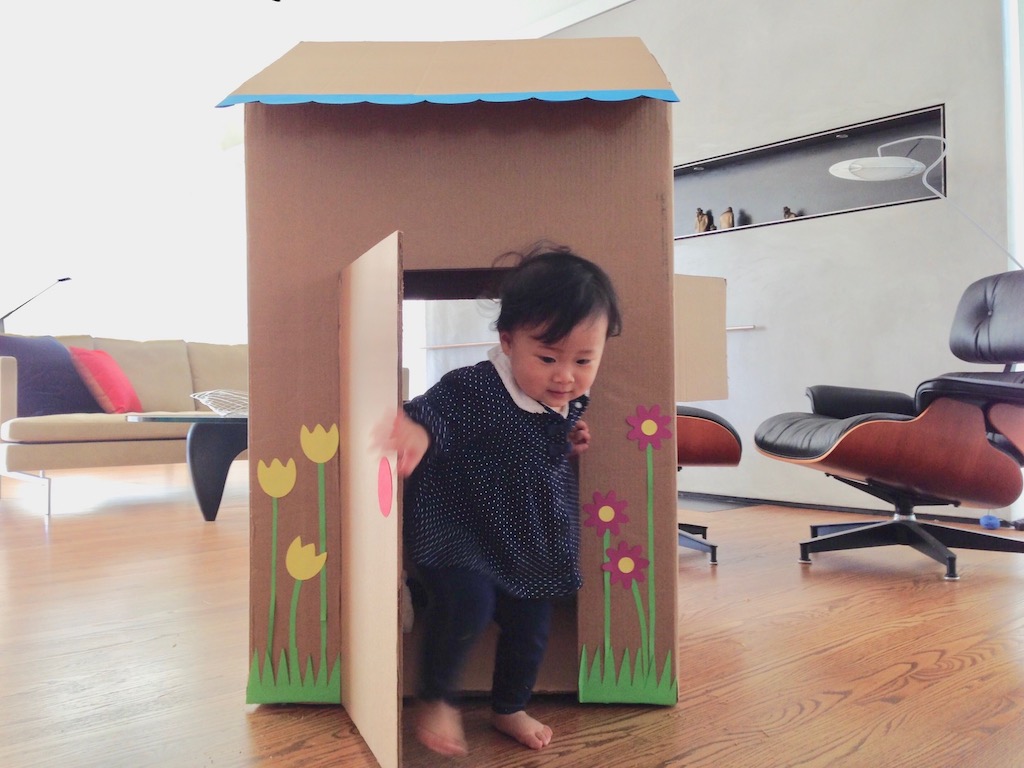
For example, I turned a large box into a cottage for a toddler. Miss T loved her own private domain, playing house with her stuffies.
For another large box project, we made forts. The family spent hours throwing paper wads as ammunition, trying to capture each other’s flag. When the game was over, we could dismantle the forts and store them in the garage; then re-tape it back in shape to play another time.
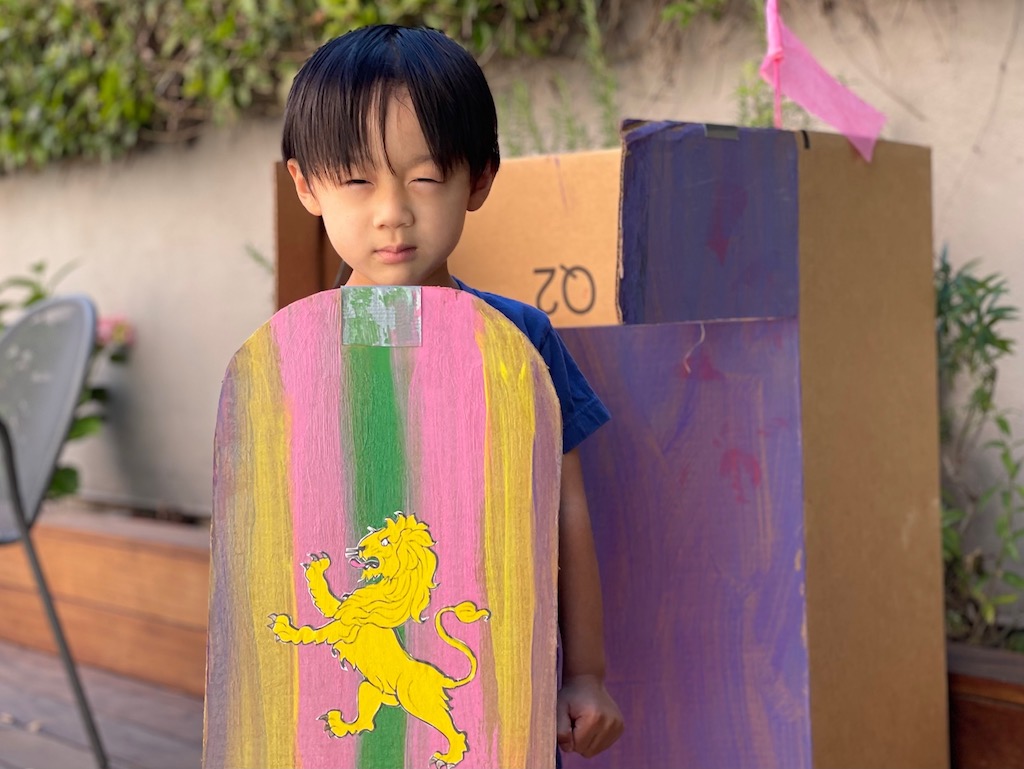
Initially, we just used the boxes “as is,” then later, we upped our game by painting the boxes and making shields.
What to do with a Car Seat Box
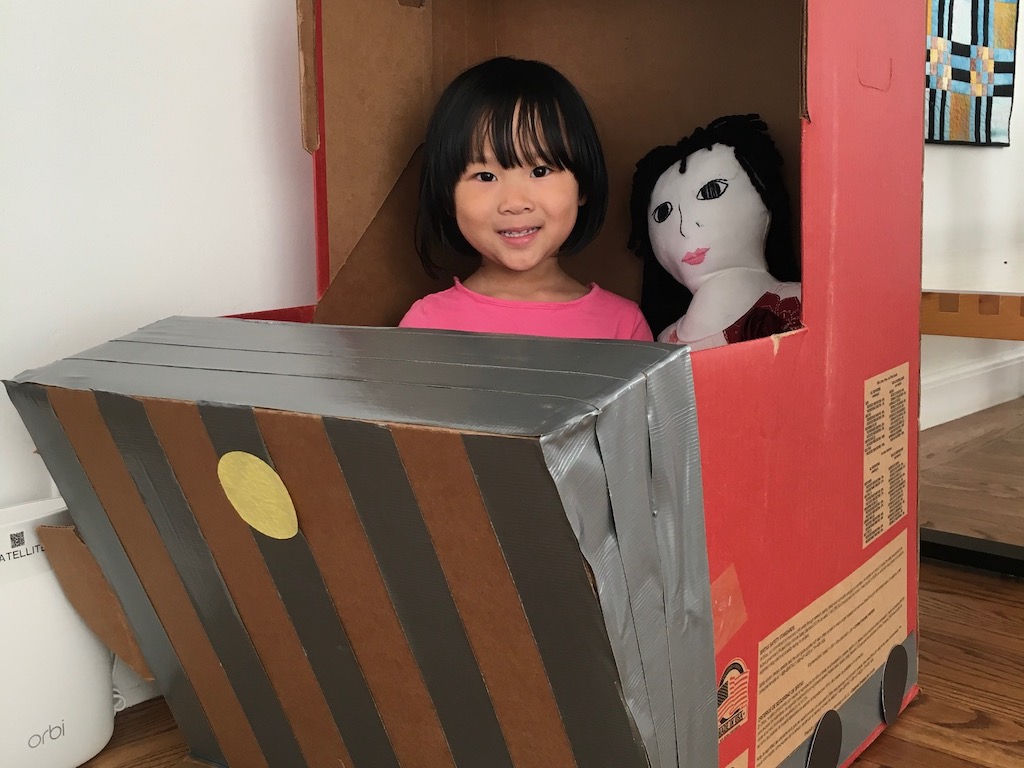
When Miss T got a new car seat, I saw the delivery box as a train engine. Toys from throwaways don’t have to be fancy.
I just added duct tape to give a metallic look to the car seat box, cut paper wheels, and made controls for driving the train out of cardstock.
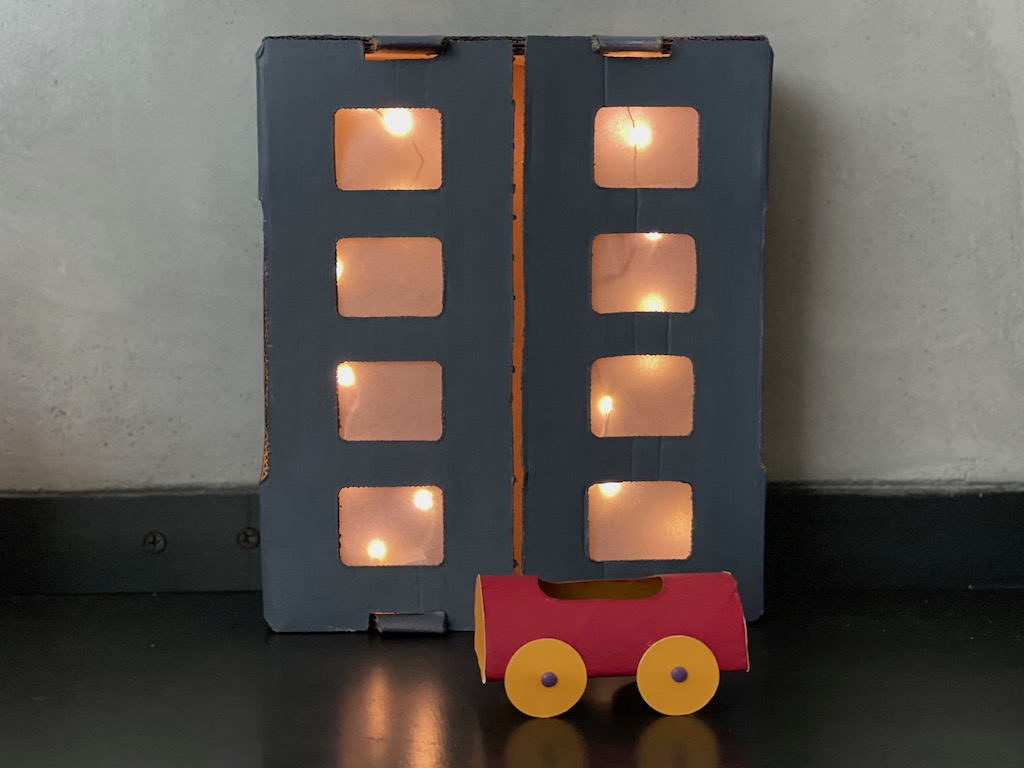
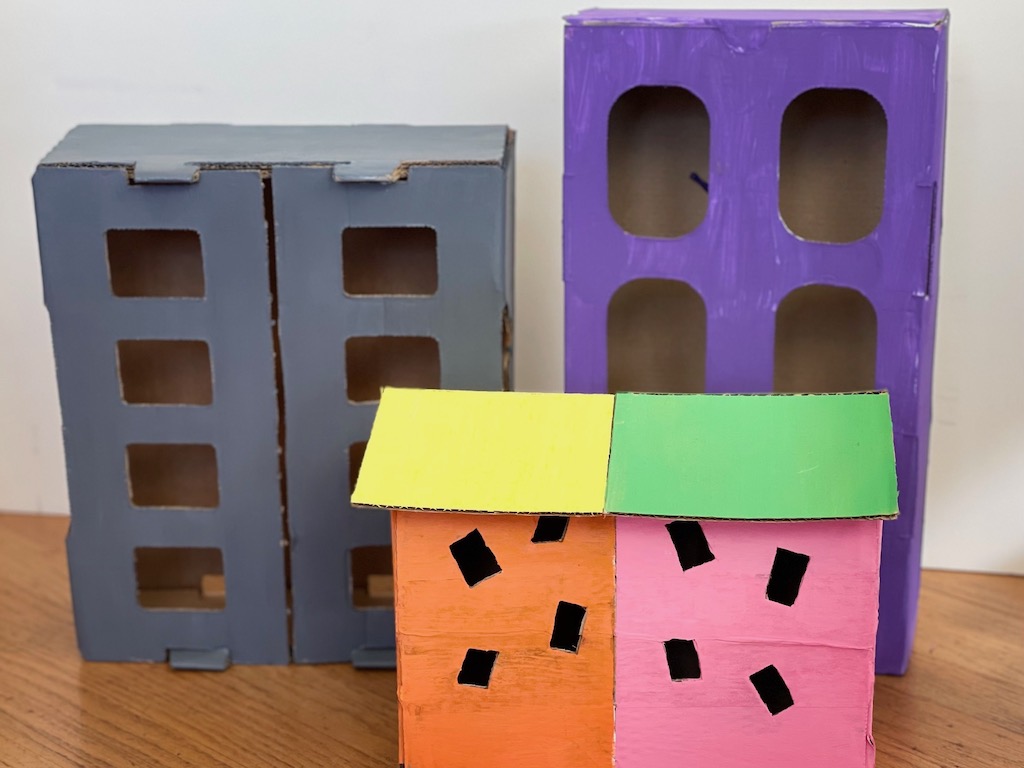
How to Make Cardboard Box Houses
These houses and condominiums are the perfect backdrop for kids playing with toy cars. They can also be used as decorative sculpture in a child’s room or as a night light, if you use fairy lights.
Materials Needed:
- Cardboard boxes of different sizes
- Blue painters tape or masking tape
- Pencil
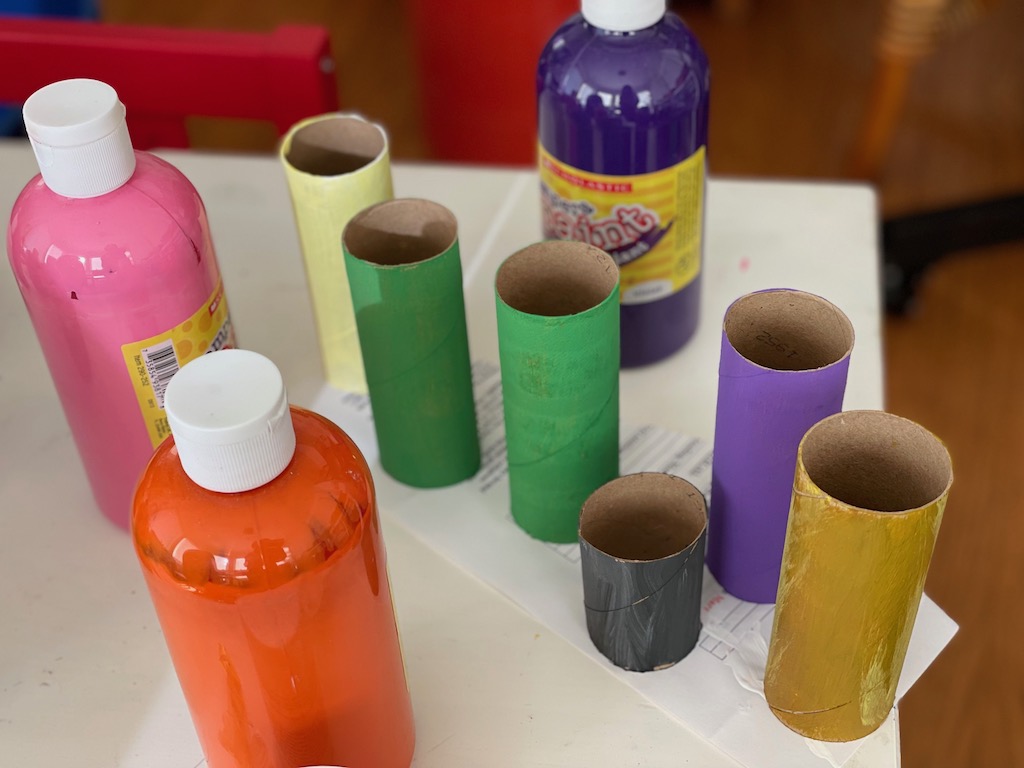
- Poster (tempera) paint
- White gesso
- Tracing paper (optional)
- Glue stick
- Small string of battery-operated fairy lights (optional)
- Clear adhesive tape
Tools Needed:
- X-ACTO knife
- Artist’s palette or white paper plate
- Paint brushes
- Scissors
- Glue gun
To make the condominiums, I used fruit boxes from Trader Joe’s since they had pre-cut holes. You can also use other similar-size boxes and cut the windows with an X-ACTO knife.
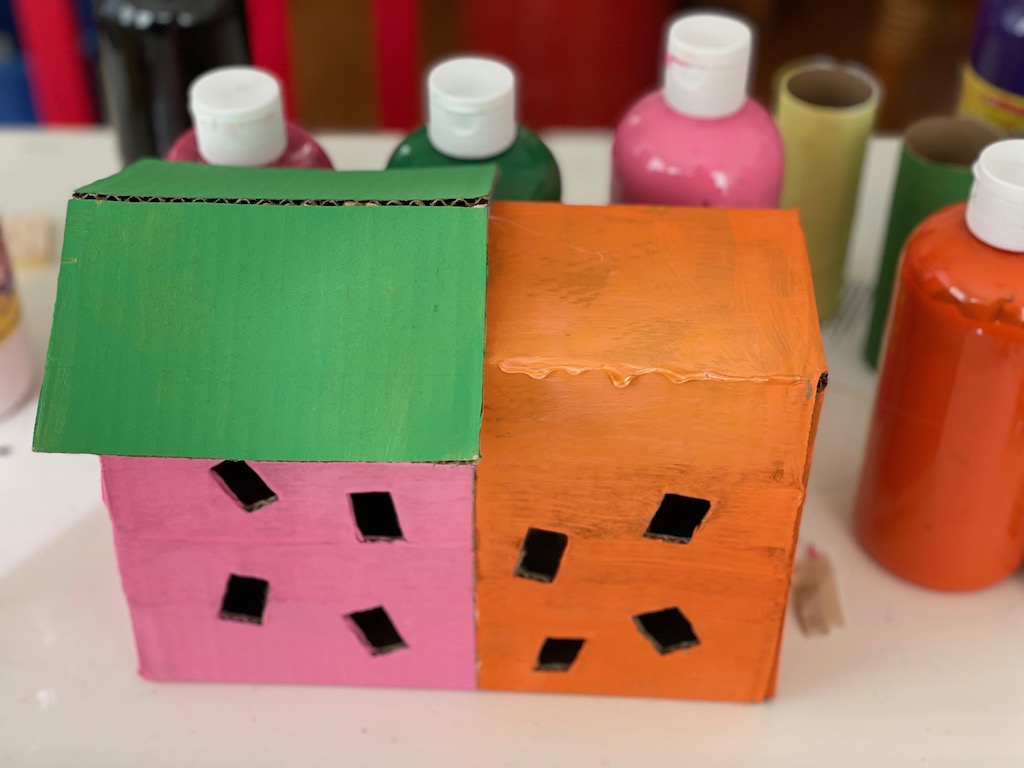
To make the houses, use smaller boxes. Ours is actually on Amazon box painted in two colors to create two houses.
Steps to Make It
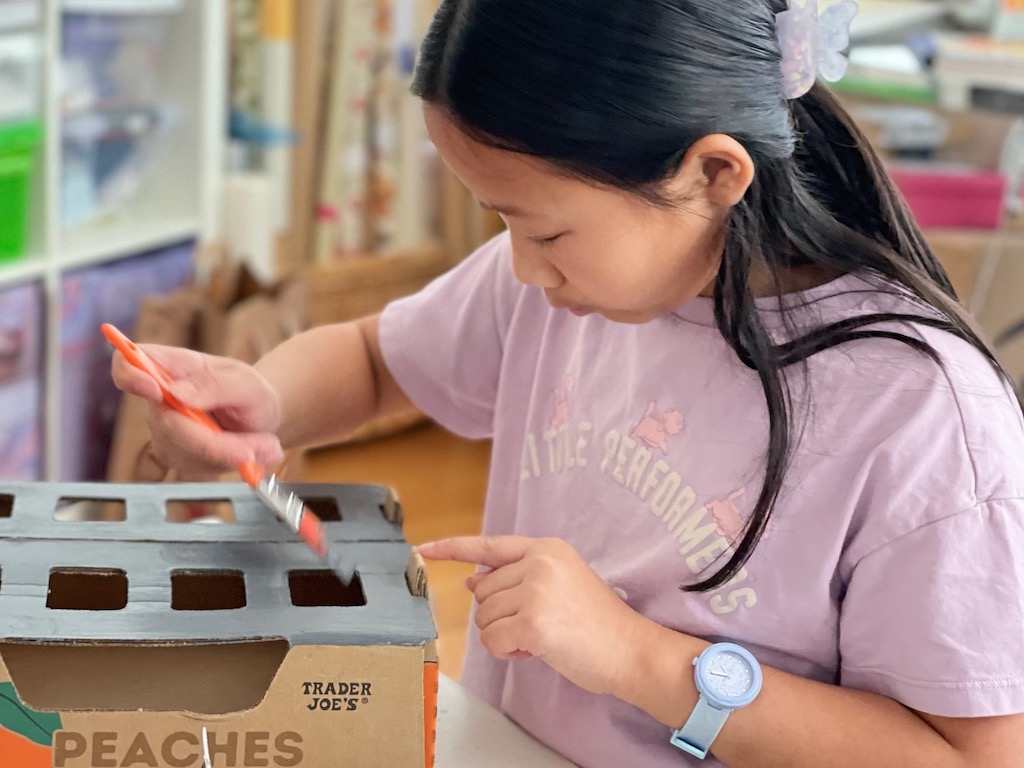
Step 1: First, determine where you want the windows and pencil them in. We cut the windows for our houses at crazy angles so we wouldn’t have to measure for them. Cut out the windows with the X-ACTO knife. This should be done by an adult; be very careful to avoid cutting yourself.
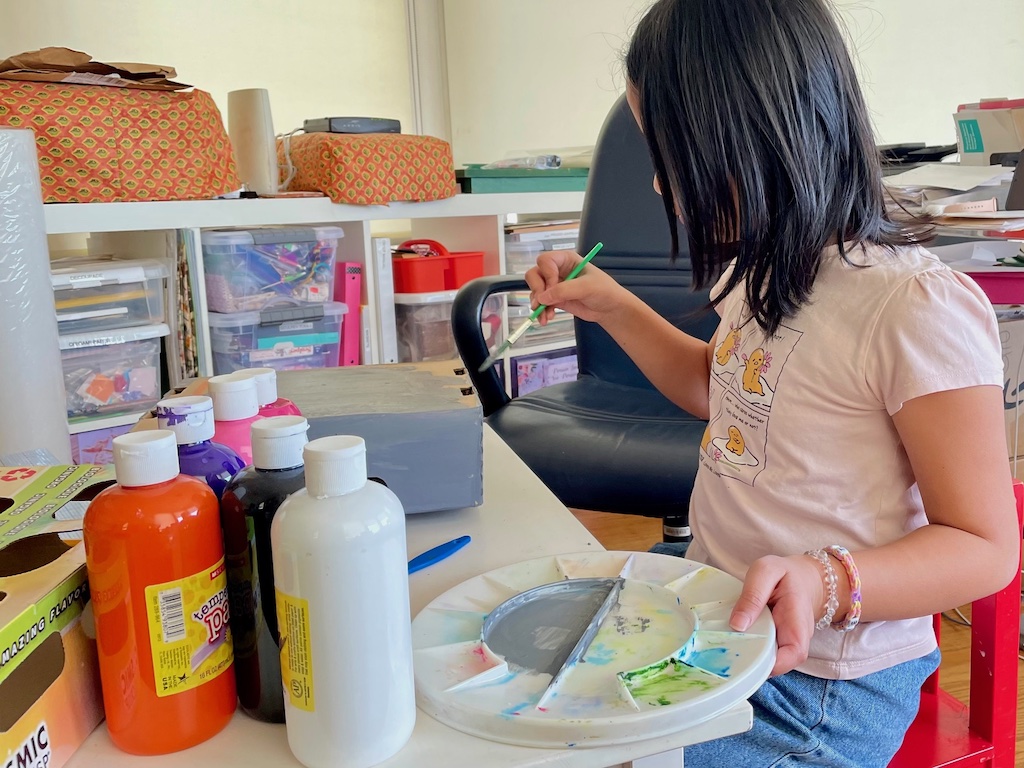
Step 2: Next, paint the boxes. If there are words that can’t be painted over, use gesso as a primer and allow to dry before painting.
Step 3: Making the roof. If you are making a house, use cardboard from a corrugated box lid to make the roof. Score it in the middle so the roof can fold in half.
Paint the roof and to attach it to the house, run a line of glue from a glue gun at the edge of the house, front and back. Fold the roof and hold it in place against the glue line until set.
Step 3: When the paint is dry, cut tracing paper large enough to cover the window holes and glue in place from the inside with a glue stick.
Step 4: Insert the fairy lights against the tissue from the inside, and tape the string in one or two places with adhesive tape to hold it in place. If the box doesn’t have a natural hole for the fairy light switch, make a hole in the back of the house and pull the switch through to the outside so you can turn the lights on and off.
Step 5: Tape the box closed.
BONUS POINTS: For a creativity challenge, give kids some disparate trash materials and have them come up with creative uses for them.
Next Week
We’ll learn some tips and tricks from a kids’ cooking teacher and try her favorite recipe to get our grandkids cooking.
Sign Up!
Don’t forget to sign up for my email newsletter. Every Wednesday, I’ll give you a new idea for an activity or insight to nurture the little ones in your life.