How to Make a Doll that’s a Life-size Version of your Child
First, a word of caution: this is the most complex “Call Me Grandma” project to date. And if I’m honest, neither of my grandchildren have taken to their dolls the way my sons did when they were young. But never mind. I’ll show you how to make a doll that’s a life-size version of your child and you can decide if you want to proceed. You can make this doll, from start to finish, over a weekend.
Why Make a Doll?
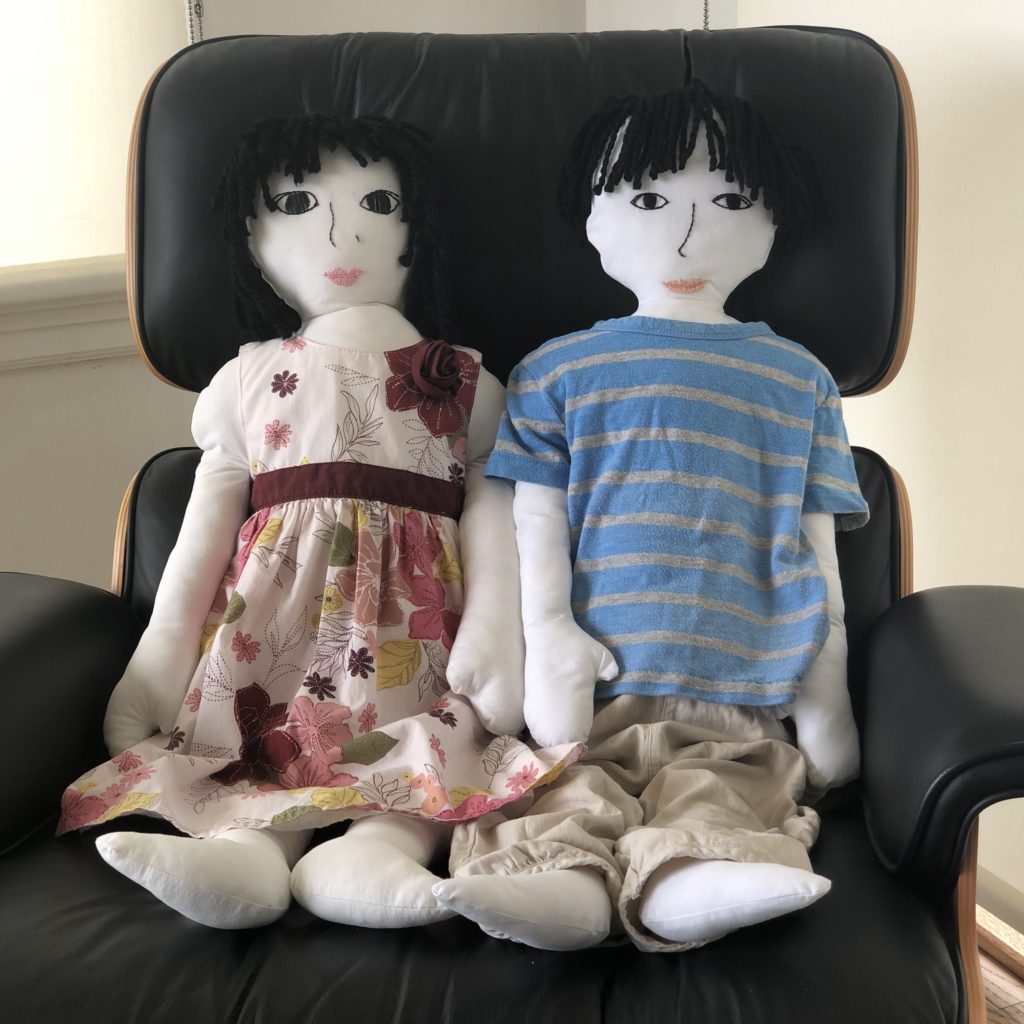
The doll is a handmade, keepsake toy that captures the child’s growth at a point in time. My sons loved their dolls. One was called Greg, and the other was Bob. They’d haul them around and use them as pretend playmates. The grandkids? Not so much.
It might be because the dolls look a little ghostly–each is as white as a sheet (because I used sheets!)–while my sons’ dolls, made of muslin, had more realistic skin tones. Or it might be that they don’t like the faces, which I admit, have a Picasso-like exaggeration to their features. Or it may simply be that they’re not into dolls.
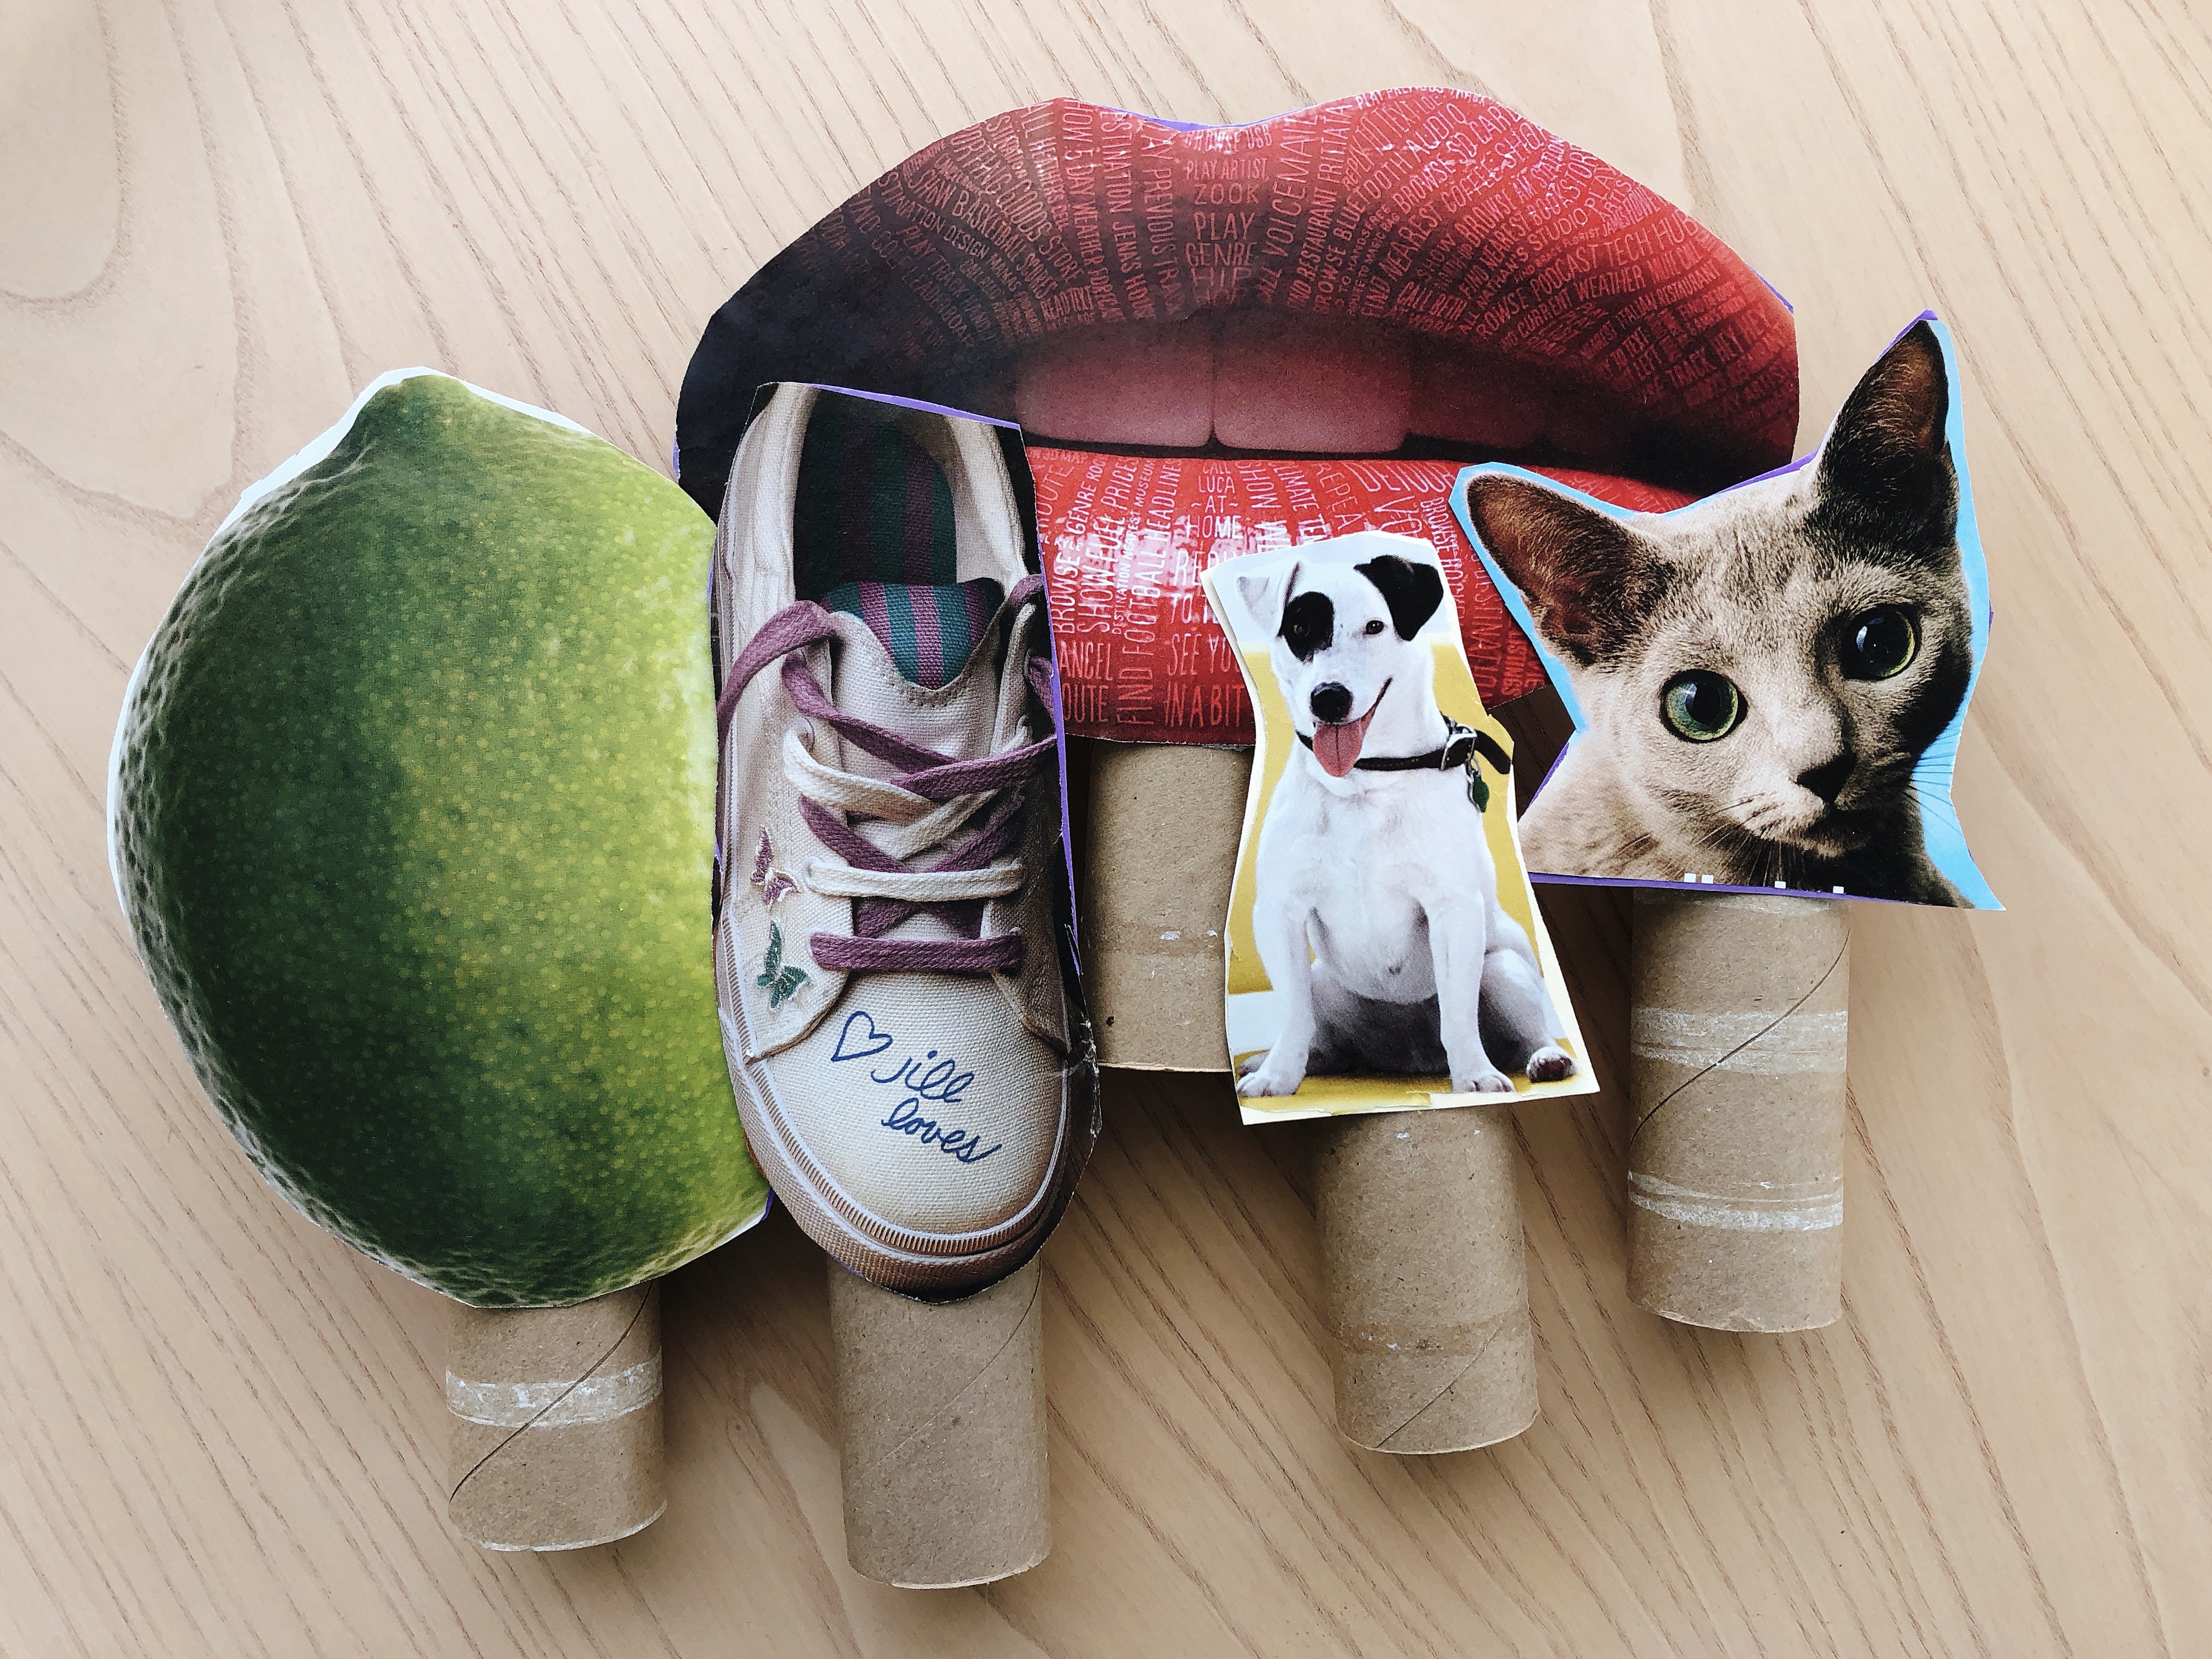
For a quick and simple craft project, make puppets with magazine cut-outs.
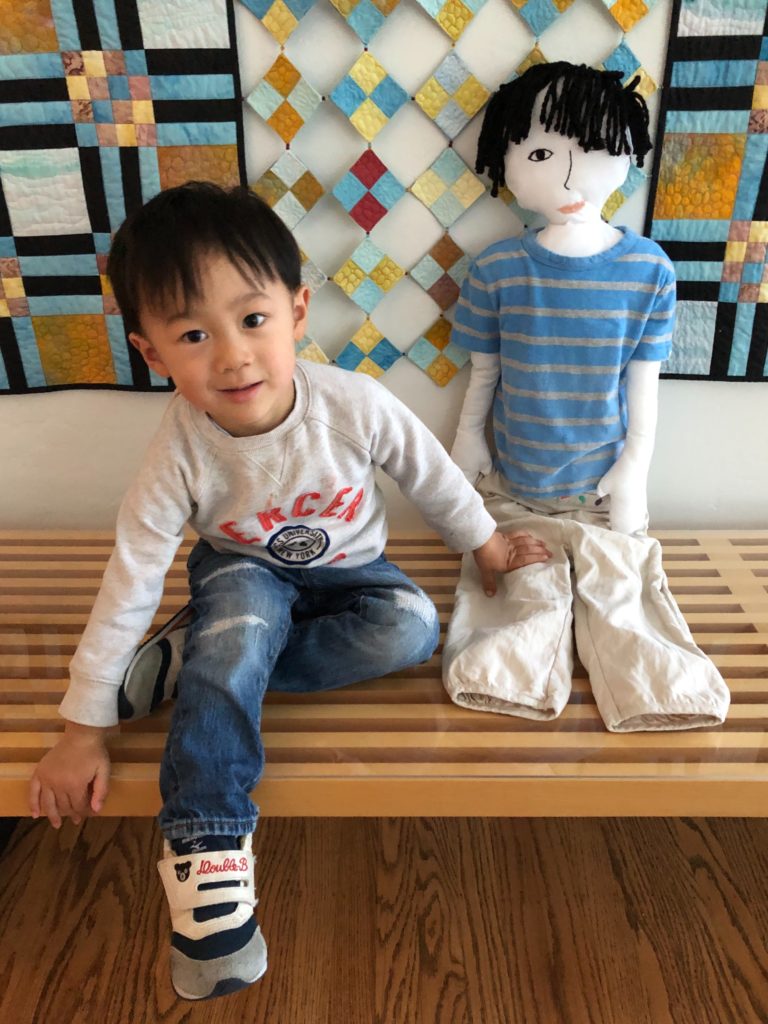
In any case, the dolls are kept at grandma’s and I enjoy having them around as soft sculptures. And occasionally, the kids will play with the dolls and also stand next to them to see how tall they’ve grown since the dolls were made.
How to Make a Doll
What you need:
- A sheet of paper large enough to contain the child when lying down
- Pencil
- Scissors (for cutting paper and cutting fabric)
- Sewing pins and needles
- Fabric to make the body, twice the length of the child plus extra for the seams
- Embroidery thread to embroider the child’s features
- Yarn to match the child’s hair color
- Polyester fiberfill stuffing to stuff the doll
- Sewing machine
Making the Pattern
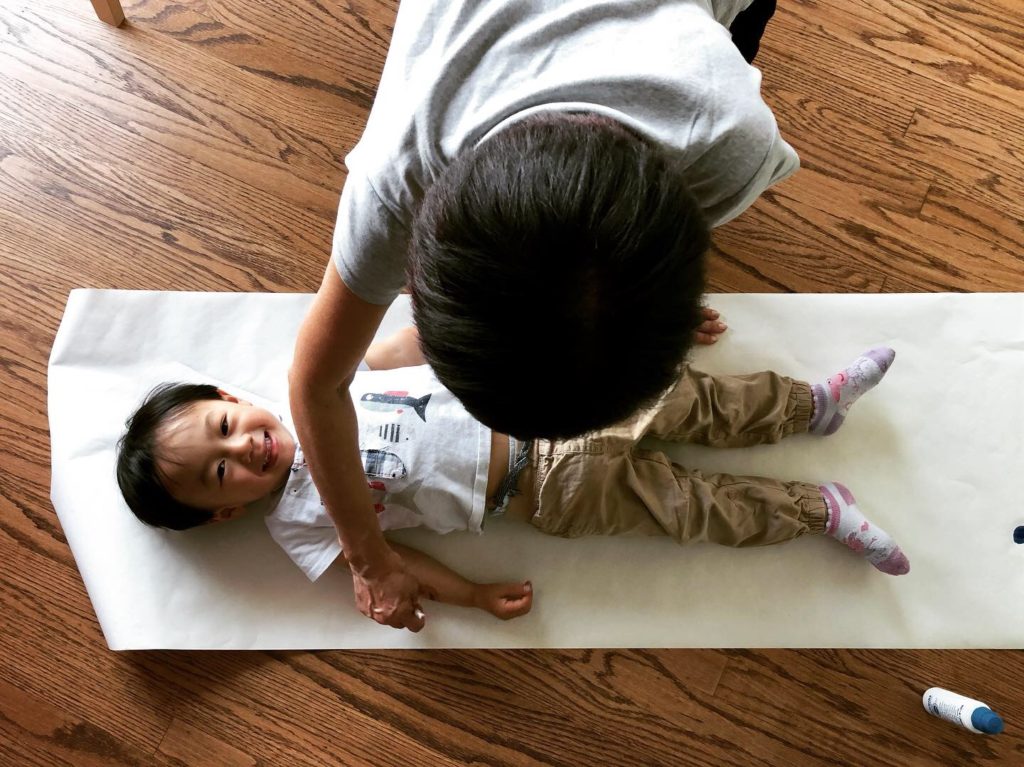
First, lay out a sheet of paper (I like the IKEA rolls that we use with the children’s painting easel.) Then have the child lie on the paper and trace his silhouette with a pencil.
Since the outline you’ll get will not be symmetrical, fold the paper in half lengthwise, from the center of the top of the head to between the legs, so half the body is captured on each side of the fold.
Now pick the side that looks better, smooth out the pencil lines and cut out the shape with the paper folded, so you will have a symmetrical pattern.
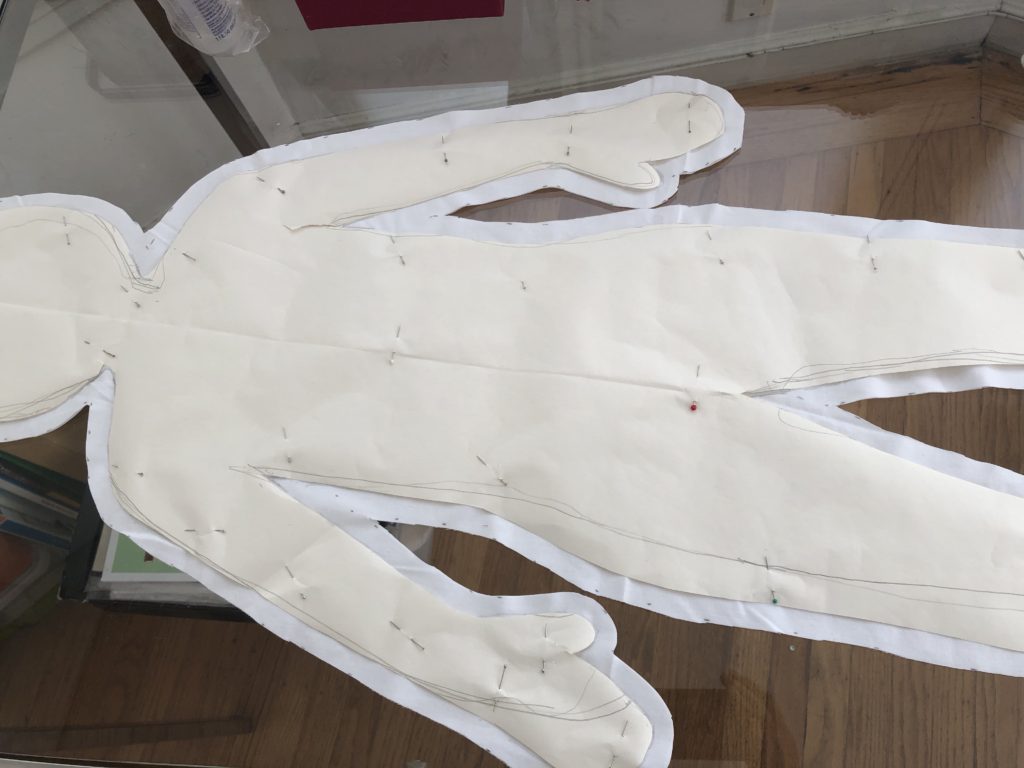
Pin the pattern on two thicknesses of fabric, with grain running lengthwise through the doll’s body. Mark off 1/2-inch around the pattern for the seam allowance. Cut the fabric.
Making the Face
Using a sharp pencil, draw the facial features directly on the right side of the fabric. Alternatively, draw the face on a sheet of paper. Turn the paper over and use a soft-leaded pencil to shade the other side, just in the area where you drew the face. Then lay the paper over the fabric, shaded-side down, and retrace your drawing of the face onto the fabric. It should work like carbon paper.
Using embroidery thread, embroider over the lines, using a simple backstitch for the outlines and a satin stitch to fill in the eyes and lips.
Sewing the Doll
Pin the fabric with right sides together and stitch around the body of the doll, leaving enough of an opening around the ribcage, to turn the doll right side out. Add another layer of stitching as reinforcement around the weakest points: at the neck, under the arms, and between the legs. Clip curves and clip at the neck, under the arms, between the fingers, and between the legs.
Turn the doll right side out. You may need a wooden spoon or a long-handled artist’s paintbrush to coax out the narrow arms and legs. Iron the doll, then stuff with fiberfill. Use the wooden spoon to push stuffing down to the arms and legs.
When the doll is stuffed, stitch the side opening closed.
To Make the Hair
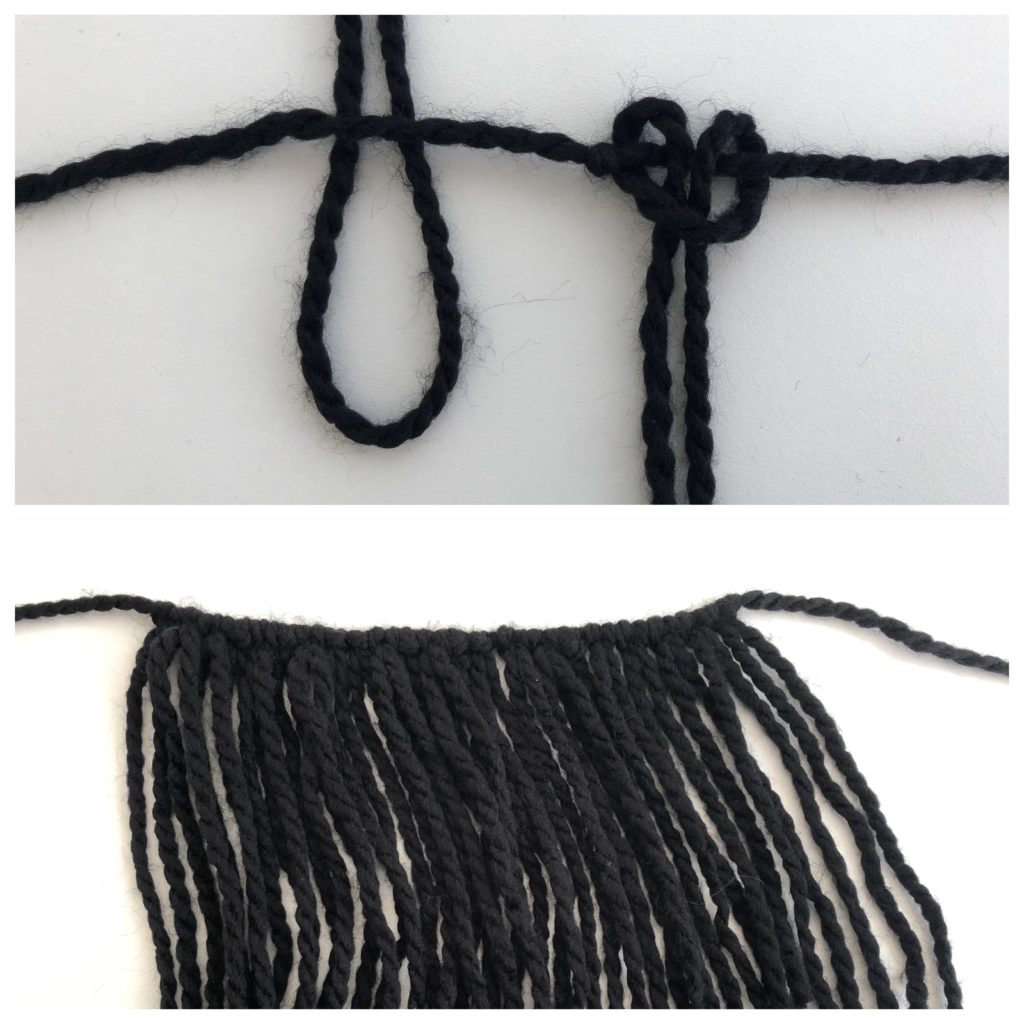
Cut yarn about twice the length you need to cover the hairline, along the top of the head, from ear to ear. This will be your anchor yarn.
To make the hair, cut yarn twice the length as you want the hair to be, plus a couple of inches extra. With the yarn folded in half and creating a loop at the top, lay it over the anchor yarn and pull the two cut ends through the loop. Repeat until you have enough yarn for the hair. Knot both ends of the anchor yarn to keep the hair from slipping off.
You will need two sets of yarn hair: one for the bangs and one for the back of the head. Hand-stitch the two sets in place on the doll’s head. Trim hair as desired.
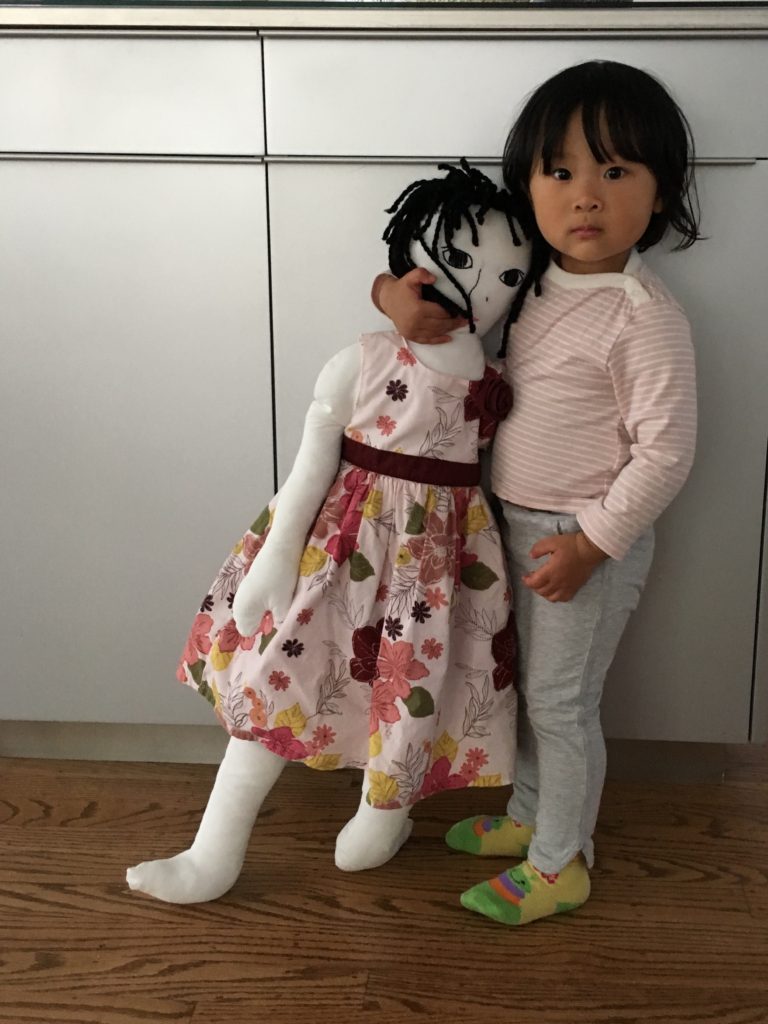
Dress the Doll
Dress the doll in your child’s clothing. It’s fun to change the clothes for different occasions. As kids grow out of their clothes, be sure to save some of their favorite outfits to extend the doll’s wardrobe.
Don’t forget to sign up for my email newsletter! Every Wednesday, I’ll give you a new idea for an activity or insight to nurture the little ones in your life. Come visit!
[…] a sewing project, make a doll that’s a life-size version of your […]
Jill, this is too, too adorable! I am going to have to make one for my grandchildren. Thanks for sharing a great idea.