Camp Grandma #2 How to Make Fascinators
Years ago, I came across instructions for making fascinators, mimicking the elegant headgear seen at fancy society events. The tutorial, simple and straightforward, was featured on the website, Tikkido.
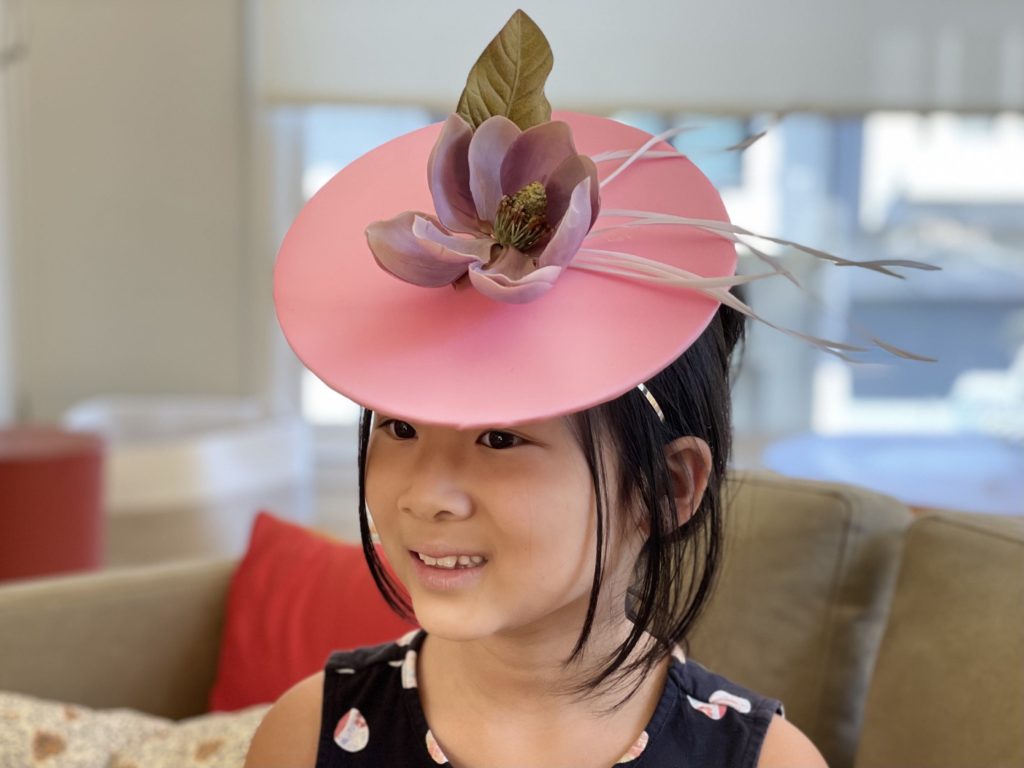
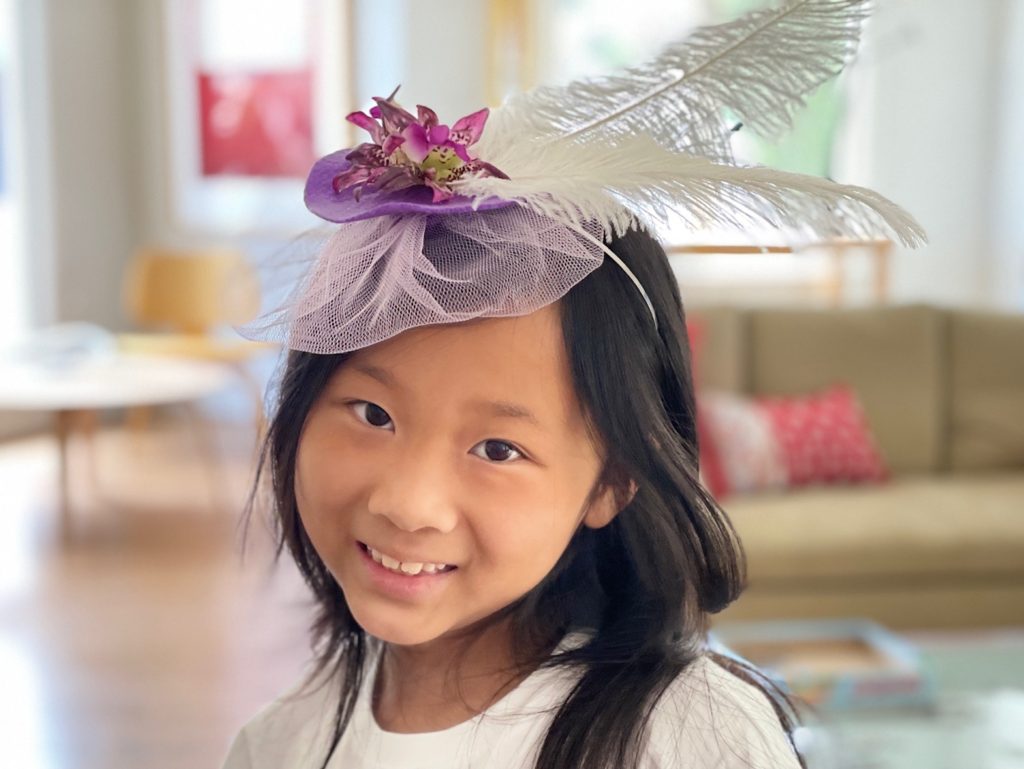
While not what you’d wear to a real event, it was the perfect glam accessory for a little girl at a just-for-fun tea party. So, for our second session of Camp Grandma, we got busy.
All the information is on the Tikkido website, but since I made my own alterations, I’m adding my how-to tips here.
Materials you’ll need:
- Paper to make patterns
- Pins, needle and strong thread (I used dental floss)
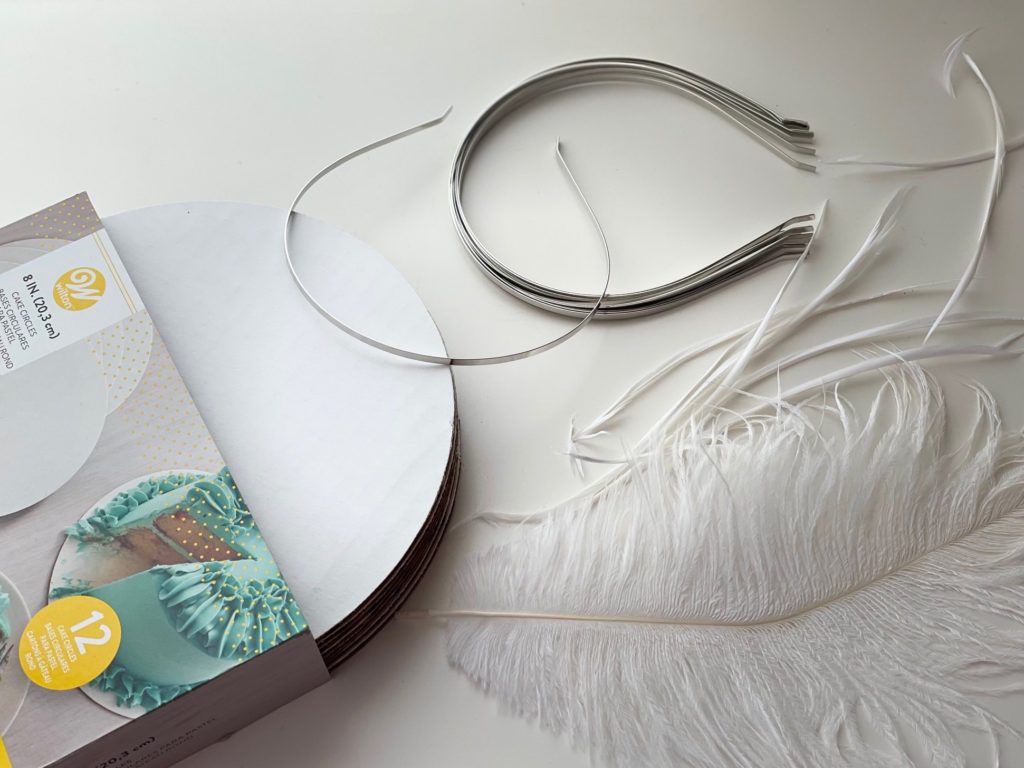
- 8-inch cardboard cake circles
- Thin metal headbands that would fit a child or adult
- Fabric for the outside of the fascinator (we used satin and velvet scraps); select fabrics that don’t ravel easily
- Felt for the lining
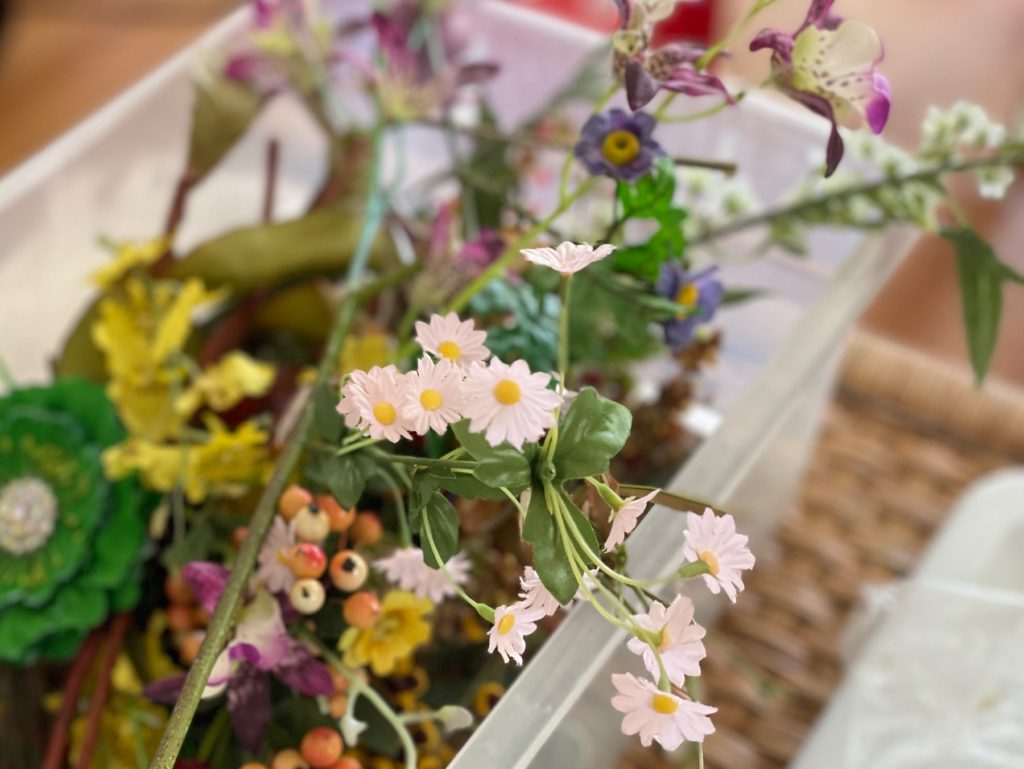
- Decorations, such as feathers and flowers
- Florist tape, if you’re bunching flowers together
- Glue gun (not the low-temperature type)
- Tulle or netting, optional
How to Make Fascinators: Start with a Pattern
Although the original instructions didn’t specify it, I made a pattern first. You’ll want a circle about 1 1/2 inches larger all around than the cardboard circle (so, about 11 inches in diameter for an 8-inch cardboard base) and a smaller circle for the lining, about a 7-inch circle.
To draw a circle for your paper patterns without a compass, use two pencils tied together with string. Keep one pencil as the stationary point in the middle of the circle, and connect it to a second pencil with string.
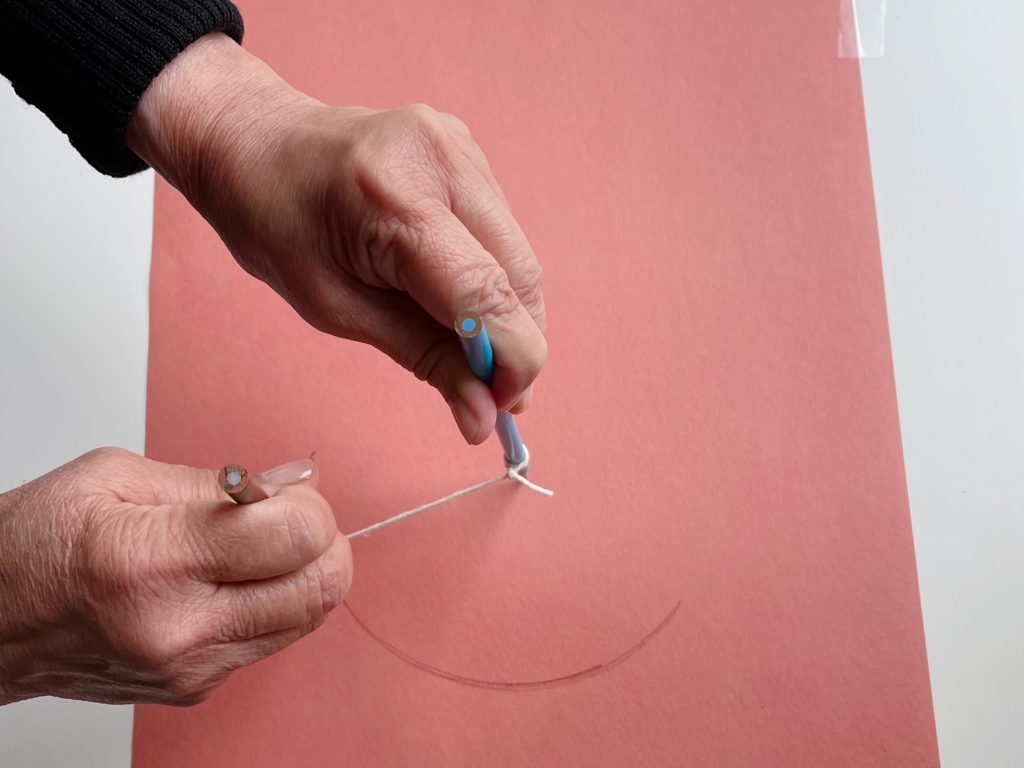
If you’re making a circle 11 inches in diameter, you’d tie the string between your pencils 5 1/2 inches apart. Keeping the string stretched taut and the pencils upright, swing the outer pencil completely around the inner pencil until you’ve made a circle.
This method won’t make a perfect circle, but will get you close.
Pin the pattern for the large circle to your outer fabric and the smaller circle for your felt liner; cut.
Make the Fascinator
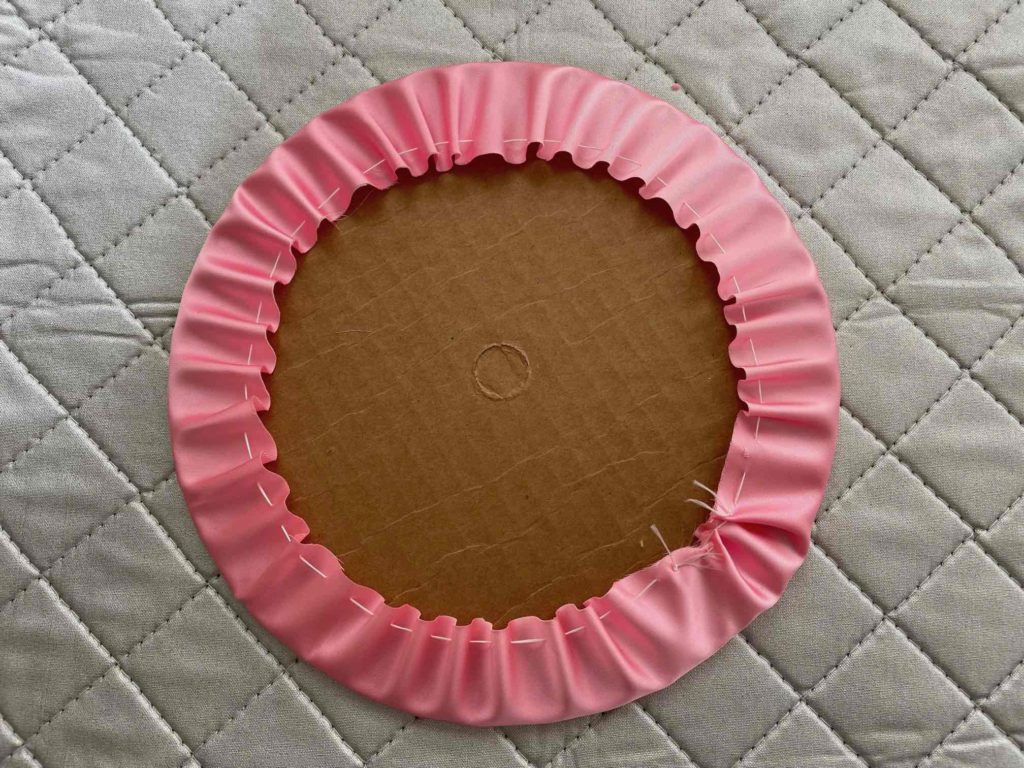
While this wasn’t in the original instructions, I added a running stitch around the edge of the circle to draw the excess fabric together. Use heavy-duty thread or dental floss because regular threads might snap when you pull the stitching taut.
Point the nose of the glue gun underneath the stitching and dab glue in spots. The glue will be hot so use some scrap cardboard or a few layers of scrap felt to protect your hands, as you press down the glued areas to secure the cloth firmly to the cardboard base. Be especially careful around children.
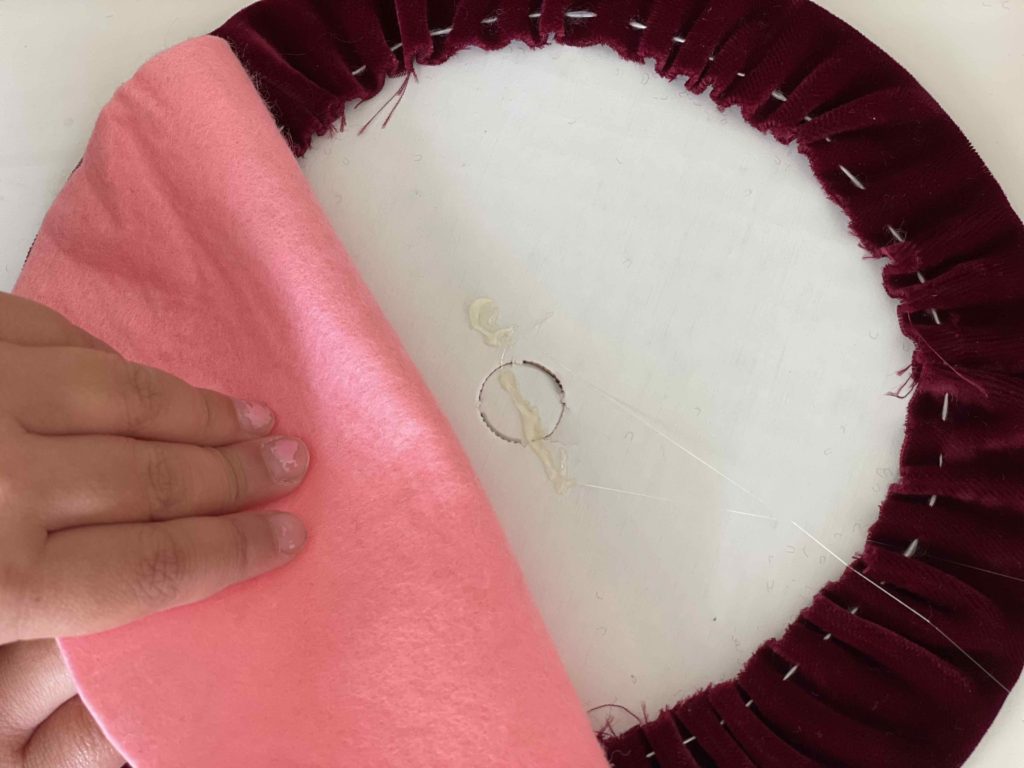
To glue the liner, we added a little glue in the center of the cardboard and secured it first to ensure we had it centered, before gluing around the edges.
Decorate the Fascinator
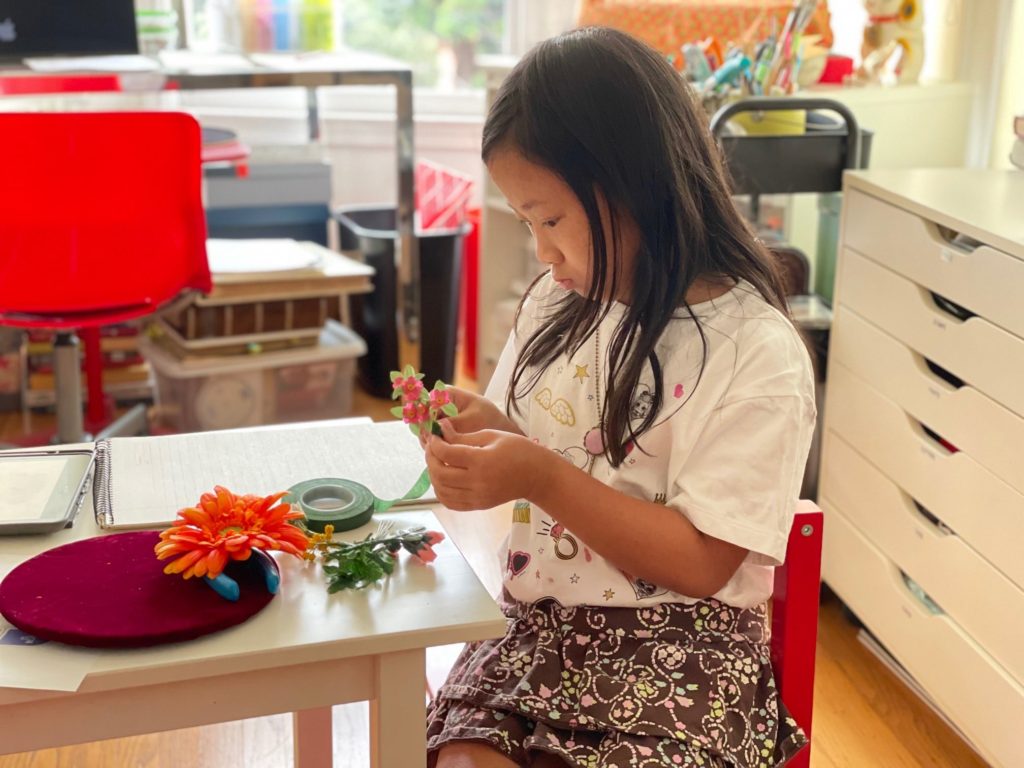
Miss T selected her flowers and taped the stems together with florist tape. I helped her glue the bouquet to the fascinator with the glue gun.
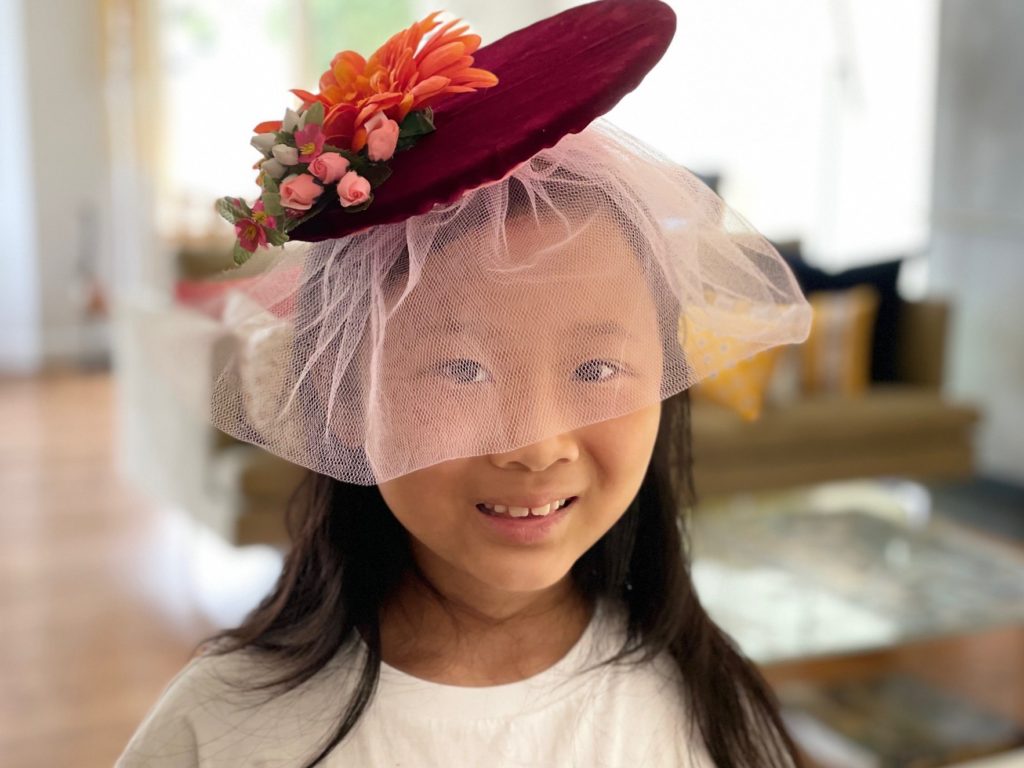
Miss T wanted a veil so I doubled the tulle lengthwise before cutting a strip. Gather it with your fingers, and glue the scrunched-up netting in place with the glue gun.
Cut a small strip of felt to be used as an anchor to attach the fascinator to the headband (see photo).
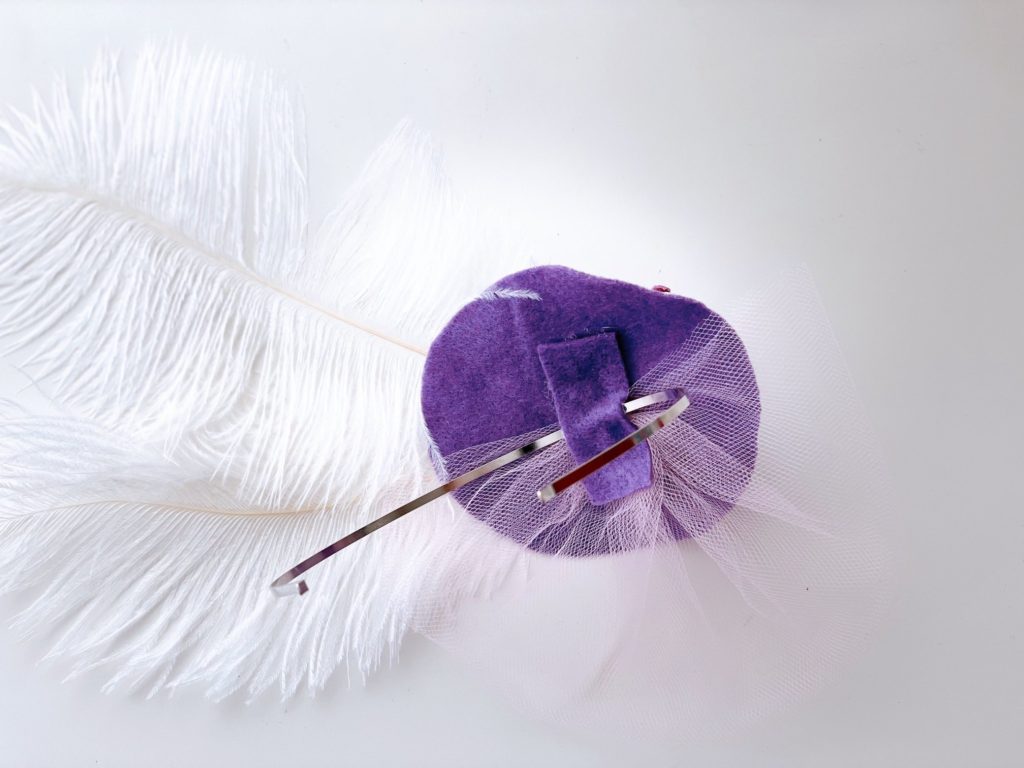
Now put the headband on the child’s head and lay the fascinator on the headband, adjusting the tilt; keep your finger in place where the fascinator should be anchored. Remove the headband; glue the felt strip on both sides of the headband to hold it in place. Do not glue the headband directly to the fascinator or you won’t be able to readjust the positioning later.
To make a small fascinator, instead of using the cake cardboard, just cut out a small circle of felt as the headpiece, glue on the decorations, and attach it to a headband as described above.
What We Learned
This was a fun activity that required more help from grandma than usual. I found it best to stitch the fabric to the cardboard cake circle myself, ahead of time, so the project didn’t take too long to do together. I also worked with Miss T on using the glue gun, because it gets quite hot.
This would be a great birthday party activity–children can learn how to make fascinators and wear their creations, before tea party refreshments are served. Children should probably be at least eight and there should be a few adults to assist. It would be good to have a few fascinators pre-made, if some kids aren’t able–or willing–to make their own.
- Creativity–Miss T was in charge of designing her fascinator; she picked the fabric, the flowers, and chose to have a veil.
- Sense of accomplishment–it was quite an elaborate project that had tangible results.
- Patience and planning–this was a two-part, Camp Grandma project, with the tea party still to come.
Next week on Camp Grandma, we’ll plan and host a tea party.
News from Camp Grandma
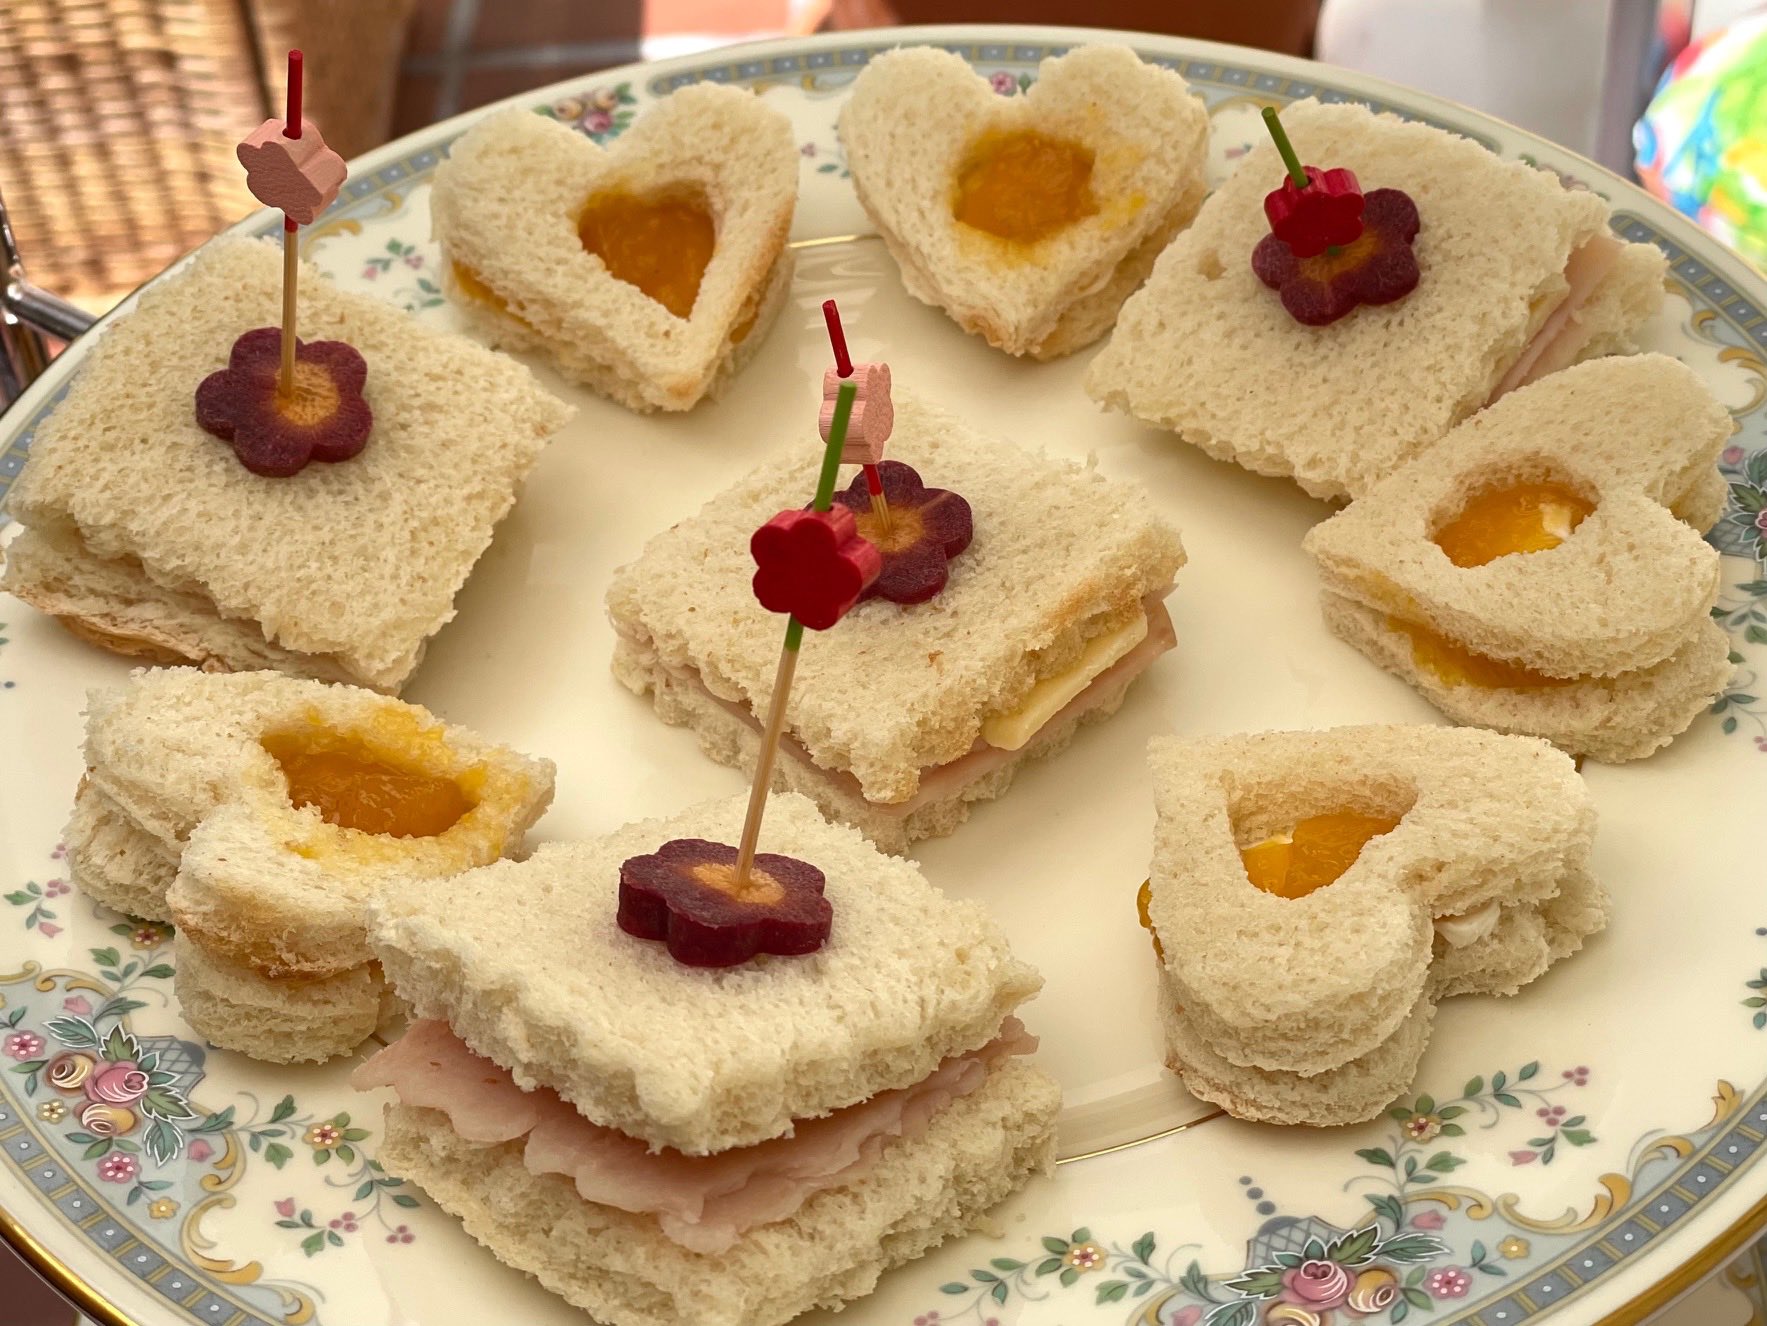
Next week, Miss T and I will plan and prepare our afternoon tea; we’ve invited her mom as our guest. I’ll post our tea party tips, menu, and recipe ideas.
Every Wednesday, for the next four weeks, I’ll share what we did at Camp Grandma and how it went–what worked, what didn’t, and what I learned. You’ll find ideas for one-off activities to do with the grandkids or to incorporate into a complete, Camp Grandma program.
Don’t miss a single camp session; sign up for my email newsletter.
.
I love this idea. It’s also a fun birthday party concept. My mom did this for me when I was six. The pictures are adorable.
Thanks for your comments, Mary! It’s gratifying to know you remember this activity from your childhood. Hopefully, Miss T will remember fondly that she did the same with grandma,
I am absolutely fascinated with your DIY fascinators. Combined with a tea party, I can’t think of a more fun afternoon with grandchildren…or any children, than this combination. Love it!
Thanks so much, Suzanne! It certainly was a fun activity–and not one that took too much time or effort.