DIY Dolls that Kids will Love Making with You
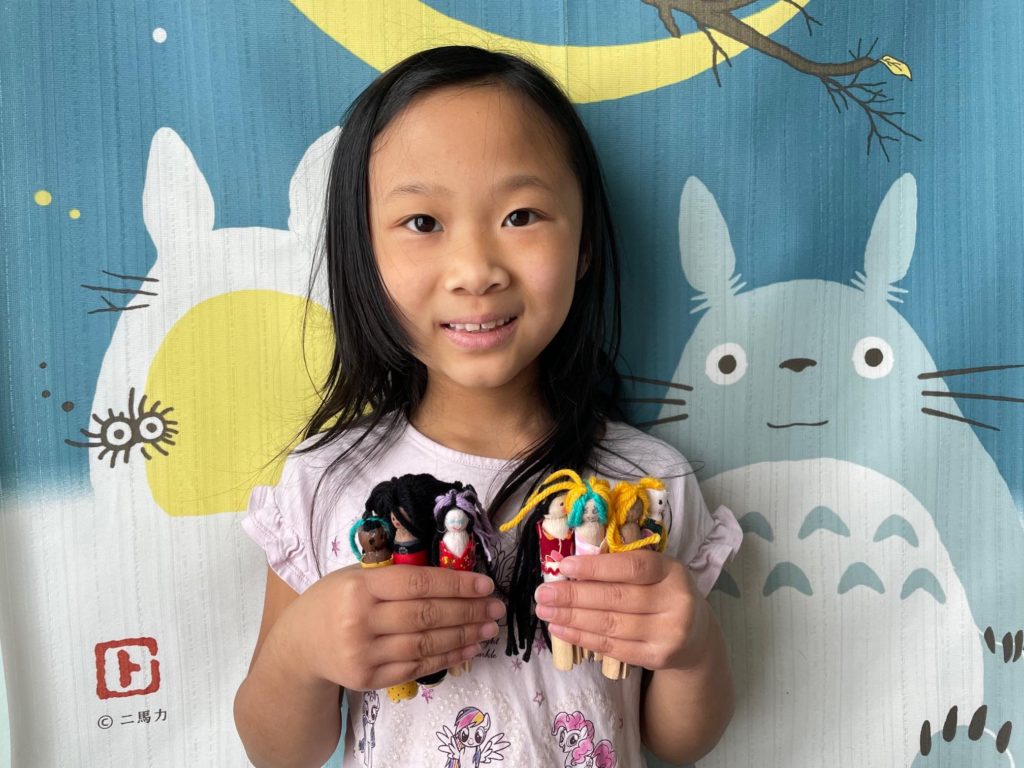
Miss T and I crafted some adorable DIY dolls from clothespins via FaceTime last week. At seven, she enjoys designing the dolls–dreaming up her own creative looks for hairstyles and fashion.
This project can entrance a child for hours. Make a few dolls together as your bonding time; let the child make more to keep busy another day.
This is a two-part project. Next week, we’ll be making a doll house for our clothespin friends.
First, Make the DIY Doll Kit
If you’ve followed any of my “Call Me Grandma!” projects, you know that first we make a kit, packaging all the elements together.
A kit ensures you can keep the child’s interest. There’s nothing more discouraging than starting a project–whether its DIY dolls or something else–and having to stop midway because you don’t have everything you need to complete it.
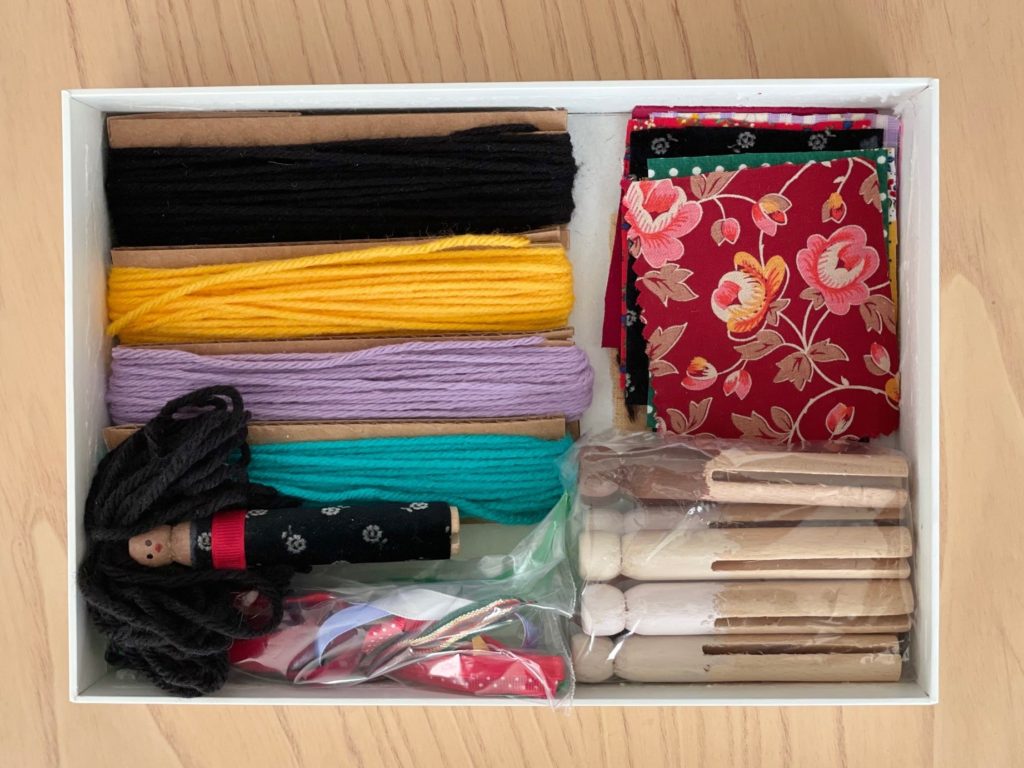
I packaged the kit in an old iPad box, having ripped out the fittings that held the iPad in place. But any box will do.
Materials Needed
- Wooden clothespins
- Acrylic paints in assorted flesh tones
- Yarn in different colors for hair
- Fabric swatches, about 3 1/2 X 2 3/4 inches each
- Bits of ribbon, lace, rickrack, etc., for trim
- Indelible ink for painting faces, such as fine-point Sharpies
- Glue stick, such as Elmer’s Extra Strength Glue Stick
Tools Needed
- Paint brush to paint the clothespins
- Low–temperature mini glue gun to secure the yarn hair
- Small, sharp scissors to cut the fabric and trims
Preparation
When working remotely with your child, it’s important to prep the project so they can get to the fun part fast. For example, if you have to stop your work with the child to let paint dry, it’s harder to restart the project later.
Another important tip when doing these distanced projects is to participate yourself. By making your own dolls, you are not just a bystander, but you demonstrate that you are as equally invested in the project as the child.
Comment on their doll as you work together. Seek advice. What color should I make the hair? Braids or pigtails? You don’t have to take the advice–just allow the child to be engaged.
Assemble the DIY Doll Kit
Here’s how to put the kit together.
- First, paint the clothespins–be sure to have a variety of skin tones to represent the world. Allow paint to dry.
- Precut the fabric squares to use as the clothing.
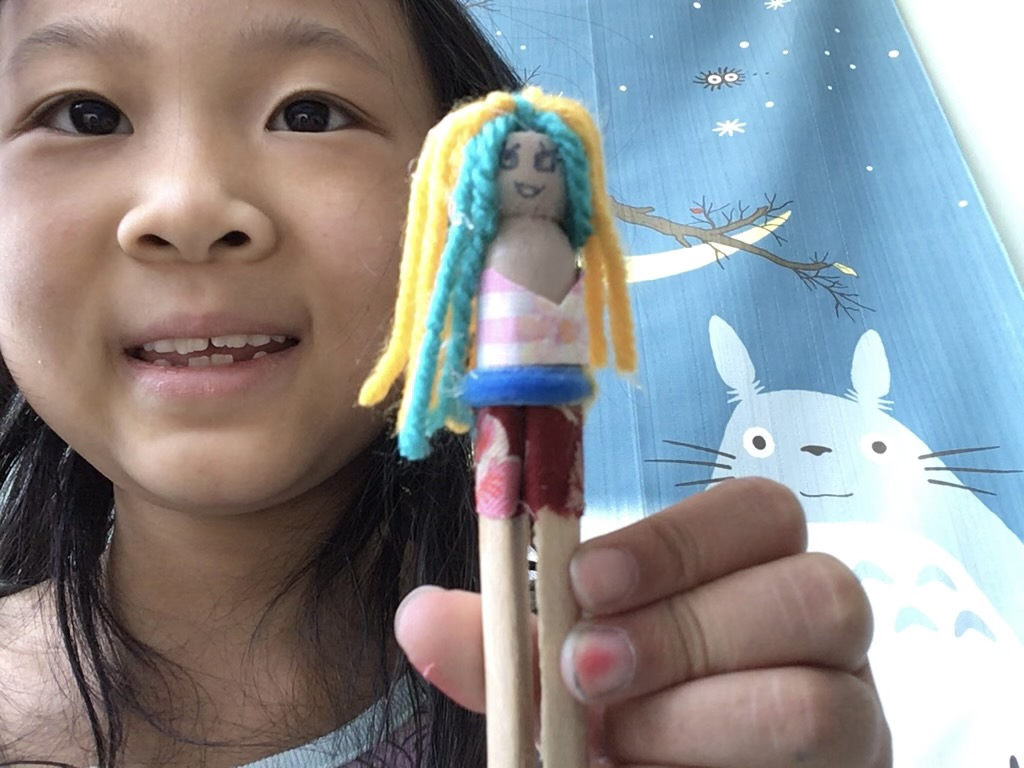
- Next, wind yarn for hair on strips of cardboard. Hair doesn’t have to be limited to natural colors–for example, Miss T gave her doll’s hair blue streaks.
- Check with parents to ensure the child has 1) glue stick, 2) sharp scissors, 3) marking pens for the faces, and 4) a low-temperature mini glue gun.
- If the child doesn’t have the glue gun, it’s inexpensive to purchase (about $4 plus the cost of the glue sticks). Depending on the child’s age and ability, mom or dad may have to supervise its use. (Miss T is allowed to use the glue gun on her own.)
- Make a sample doll. This ensures you’re familiar with the process and gives the child an example to follow.
- Finally, package everything attractively in a box and send over to the child.
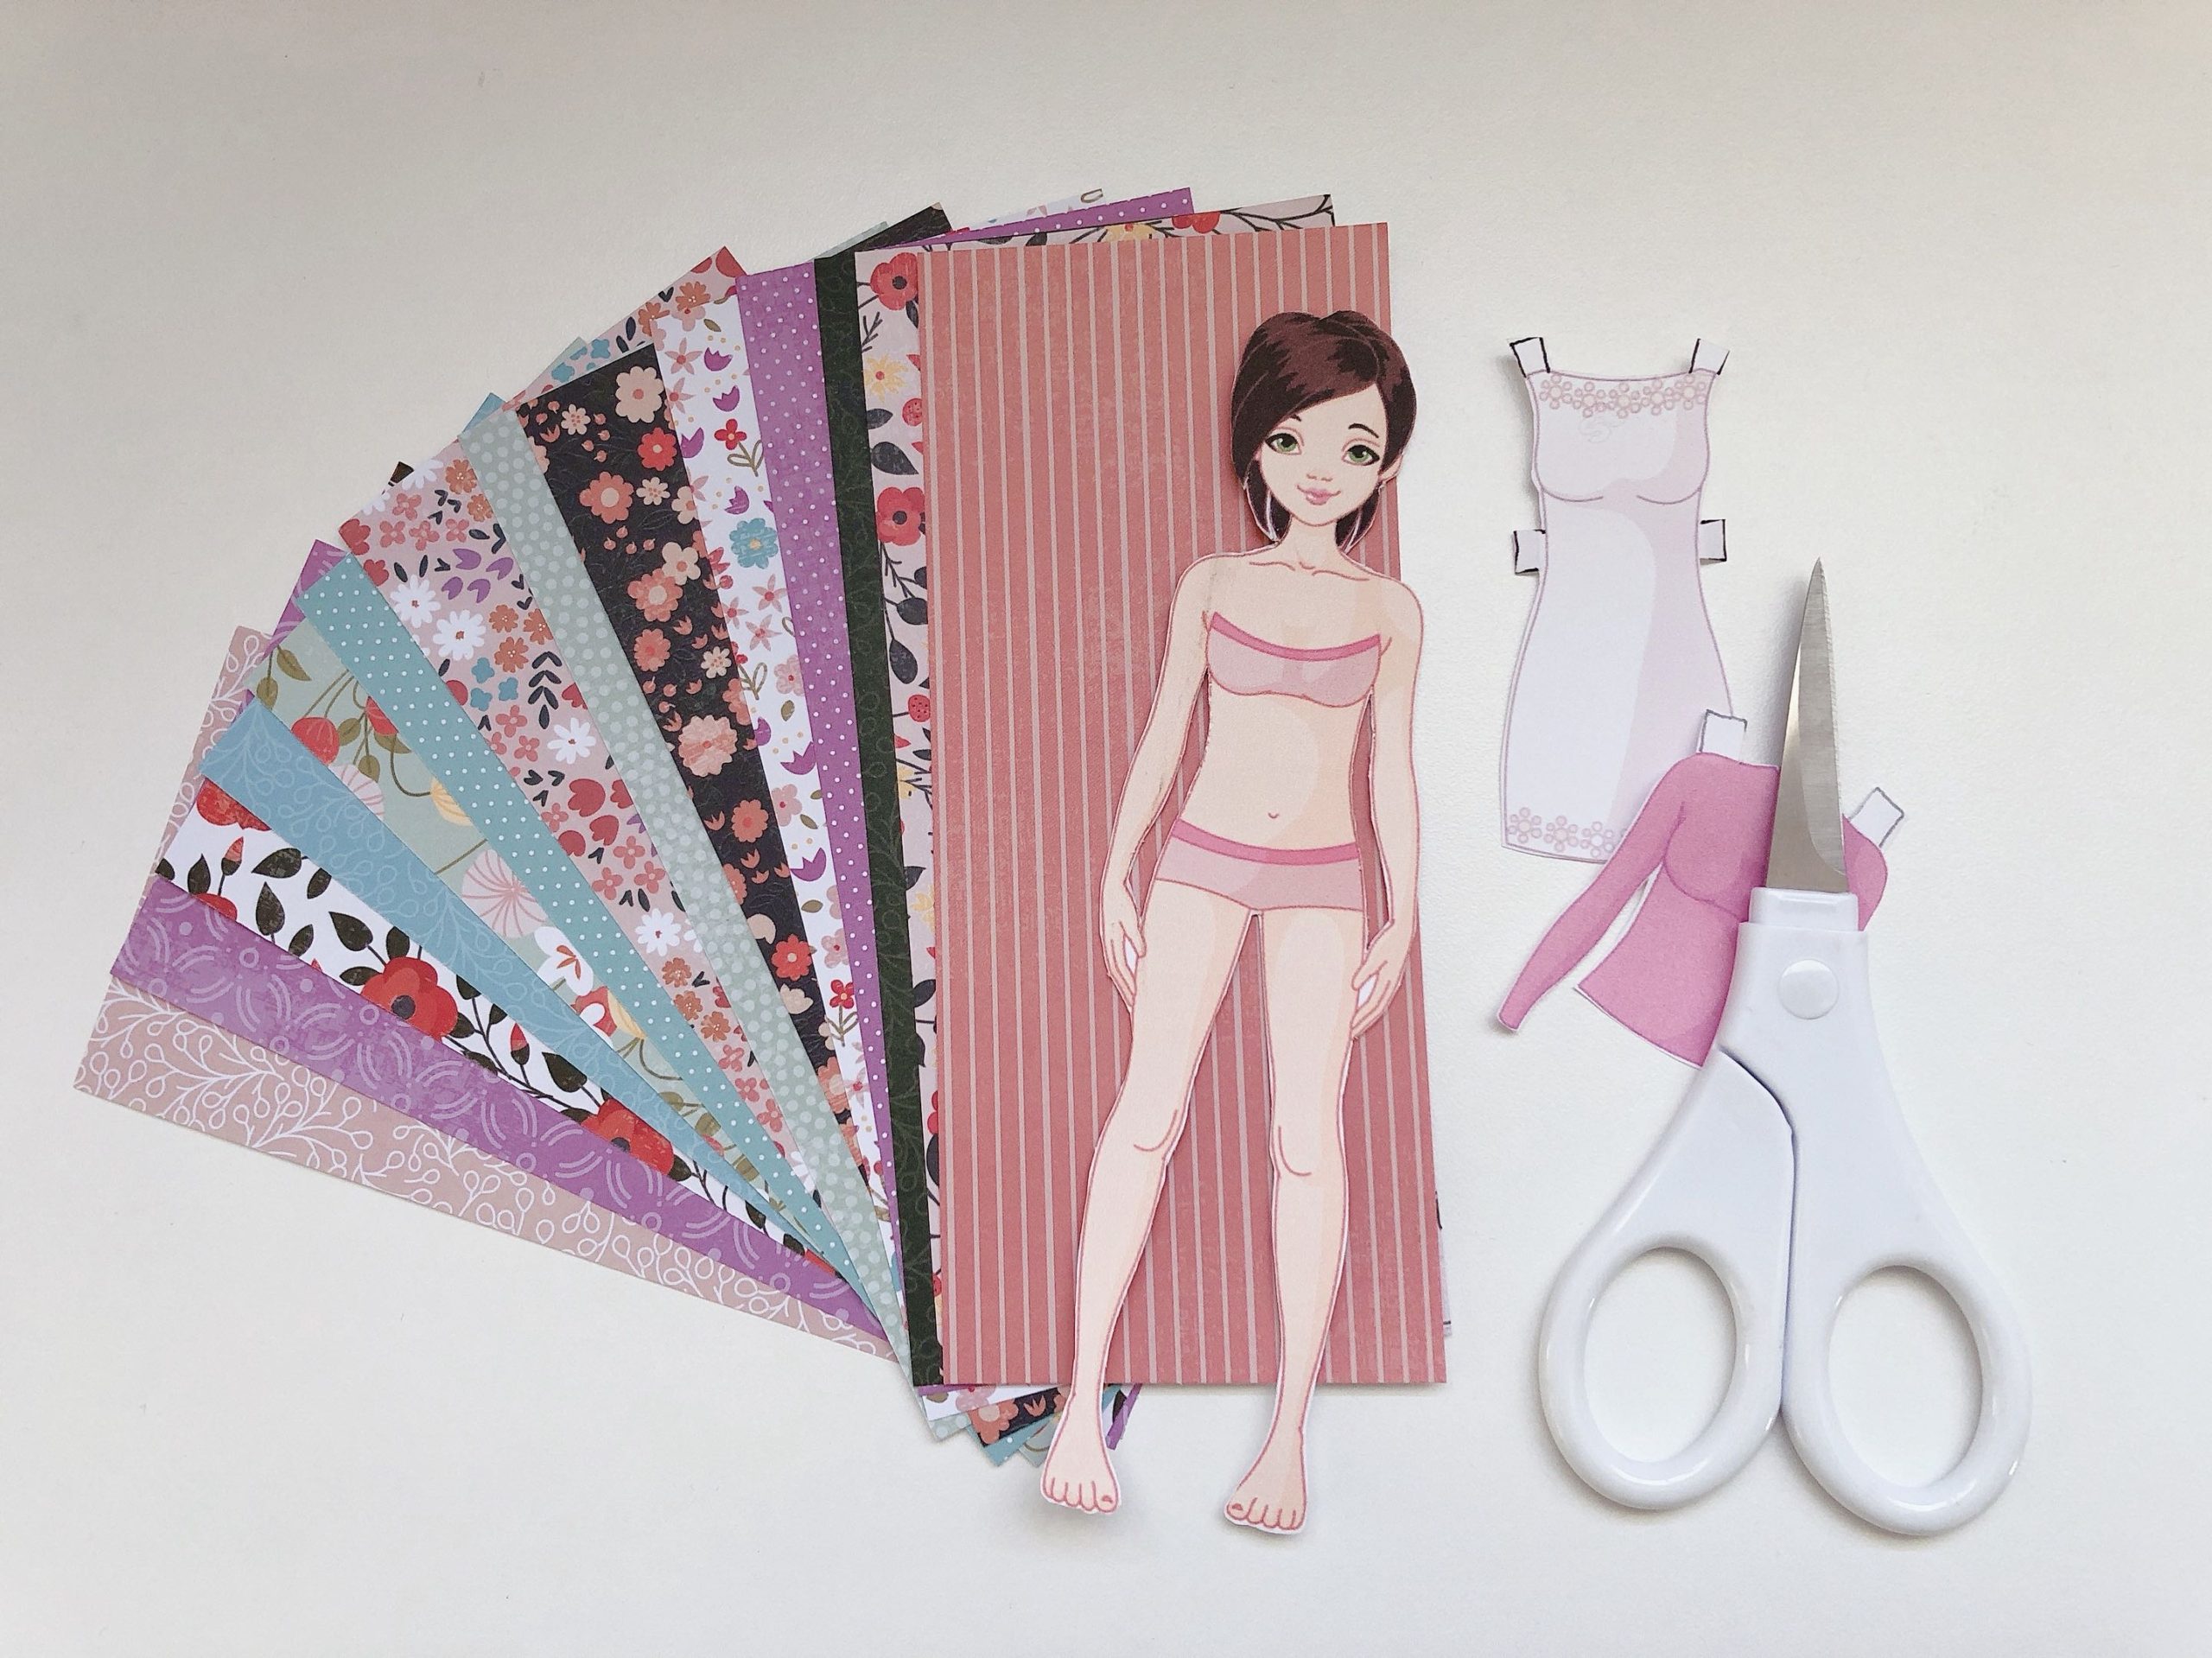
How to make paper dolls together and design dresses for them.
Making your DIY Dolls
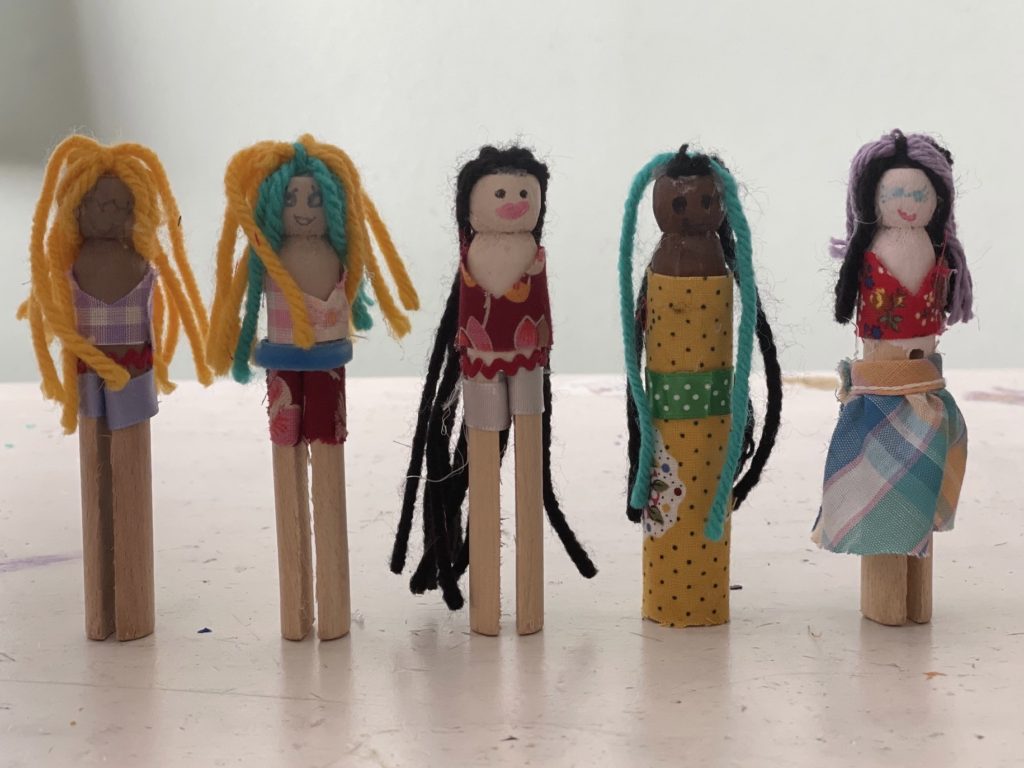
Step 1: Draw the doll’s face. Be sure the face is oriented with the legs of the doll. If the face doesn’t turn out as the child likes it, turn the doll around and draw on the back; cover the first face with the yarn hair.
Step 2: Now make the hair. To do this, loop yarn together that’s a little more than twice the length you want the doll’s hair to be. Tie tightly in the middle with another piece of matching yarn.
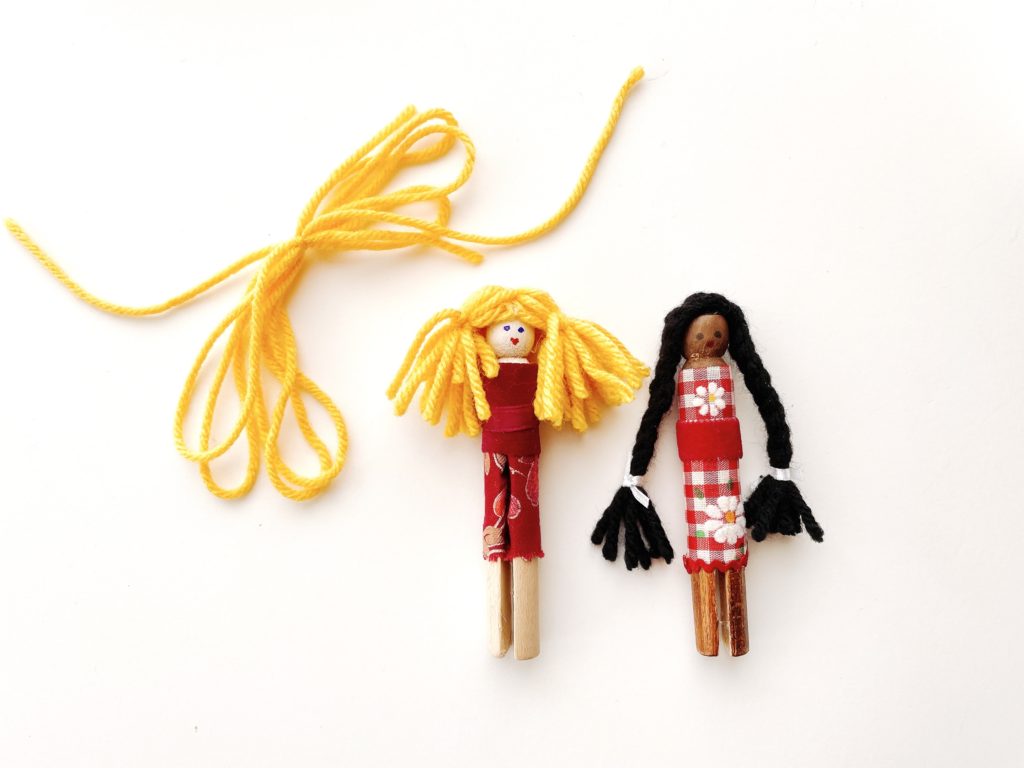
Now you have choices. If you snip the loops, you’ll have straight hair; if you keep the loops, it will look more like curly hair. You can bunch the hair on two sides of the head and tie into pigtails or you can braid the hair. Miss T added another color as she was forming the loops to create streaks.
Once the hairstyle is complete, use your mini glue gun to secure the hair in place.
Step 3: Make the clothes. Arrange the fabric as you would like it to look on the doll, using the fabric vertically. Allow for some fabric overlap; then trim off the rest of the fabric. Now apply glue using the glue stick to the back of fabric and glue to the doll. Add a ribbon belt or other trim.
To make shorts or pants, wrap strips of fabric around each leg. Then wrap a strip of fabric from waist to the top of the legs to make it seem like one piece. Alternatively, wrap a strip from the shoulders of the doll to beyond the thighs to create a tunic as shown in the blonde, pigtailed doll pictured immediately above.
What Kids Learn from this Project
Miss T was totally immersed in this project. We made a couple of dolls together, then she made the rest in her own time.

Making these clothespin dolls with teach a child how to:
- Organize a work project and assemble the tools.
- Plan and think ahead, by dealing with a multi-step project.
- Apply creativity–from hair colors to fabric choices to actual clothing design, each clothespin is a blank slate, waiting for the child’s imprint. While my sample was a doll with long, black hair and a long black velvet dress (I was thinking of a glamorous cabaret singer), Miss T came up with more interesting, casual elements like blue-streaked hair, shorts, and a bare midriff.
- Manipulate materials using fine motor coordination–gluing the hair, cutting the fabric, drawing the doll’s features, and performing other delicate work.
- Finally, the child gains both satisfaction and an enhanced sense of personal competence by having crafted these dolls all on their own.
Next week, we’ll make the house for our clothespin dolls!
.
Don’t forget to sign up for my email newsletter! Every Wednesday, I’ll give you a new idea for an activity or insight to nurture the little ones in your life. Come visit!