How to Plan a Good Stay-at-Home Day with Grandma
It’s rare that I have a whole day with Miss T these days because of her busy extracurricular life. But last week was ski week and, at loose ends, she came to spend a day with grandma.
We planned the day in advance, based on what she wanted to do. Her choices: bake cookies and make new place cards for our Friday night dinners.
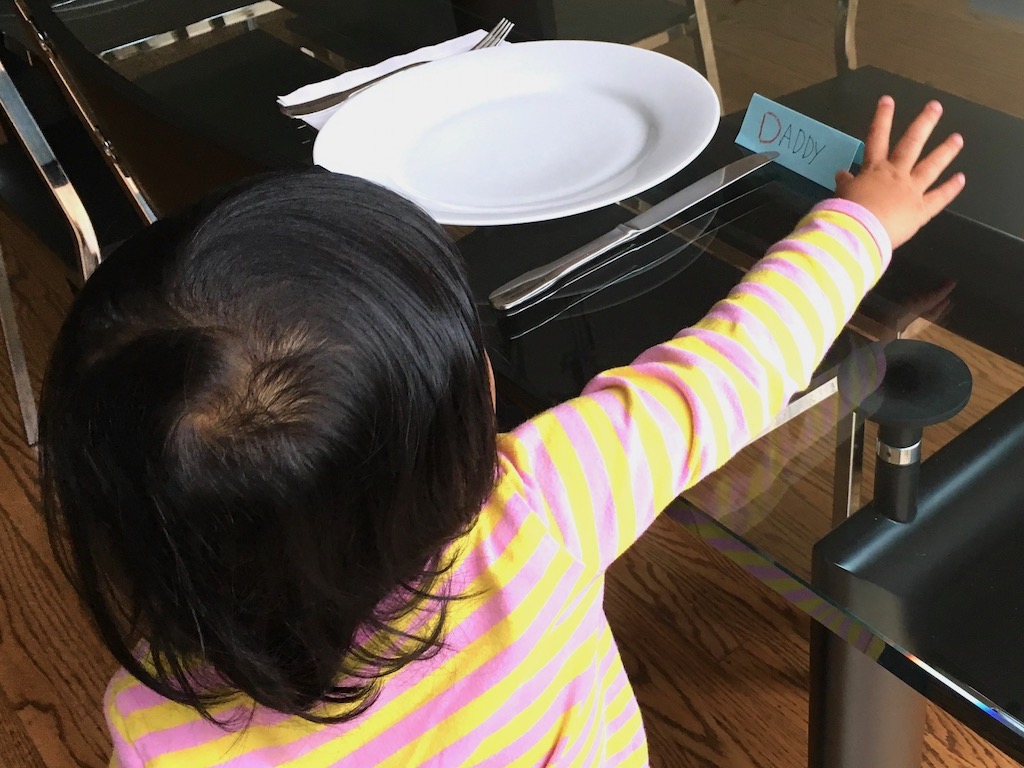
The place cards may seem an odd request from a child. But if you follow this blog, you know that the children are charged with setting the table for Friday night dinner. And whoever sets the table gets to decide where everyone will sit, determined by place cards. (Learn why it’s a good idea to have kids as young as three set the table.)
How to build confidence in a child with new projects.
Planning a Day with Grandma
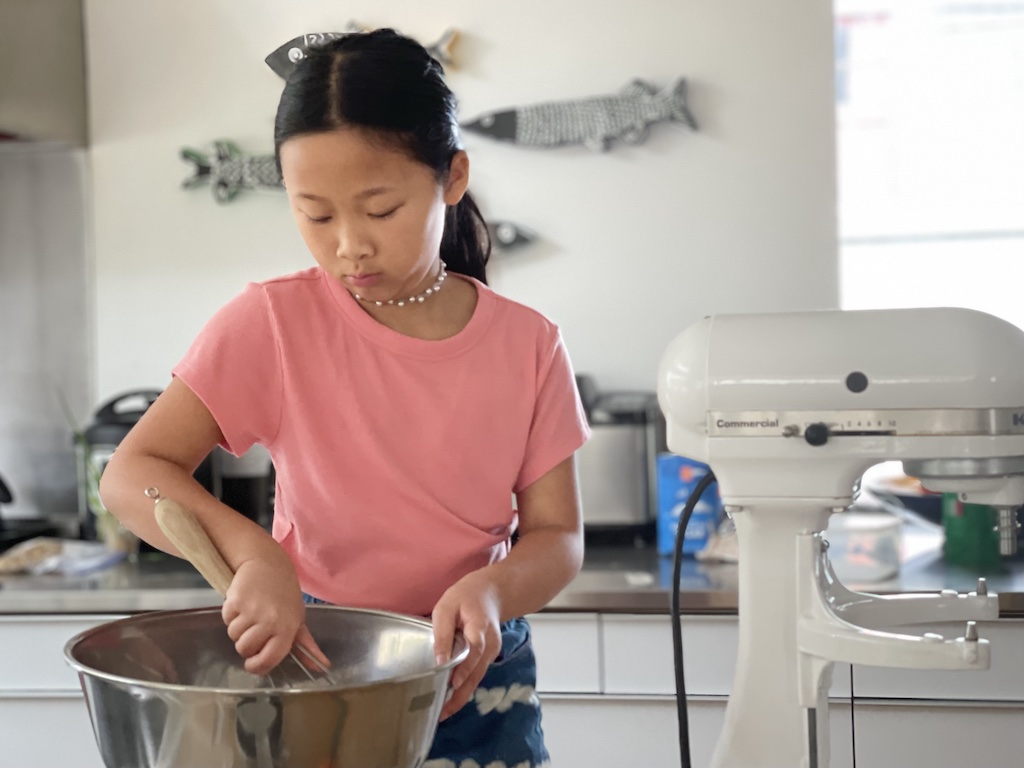
The first thing I wanted to know was, what kind of cookies did Miss T want to bake and how much involvement did she want? She chose rolled cookies and lemon icing. And she wanted to do it all, from start to finish.

I planned an additional backup activity. We’d go on a neighborhood scavenger hunt if we had extra time. Unlike the one I did for her little brother, Miss T wouldn’t need photo clues, so I simply made up a list of things to find and had a button ready as a prize.
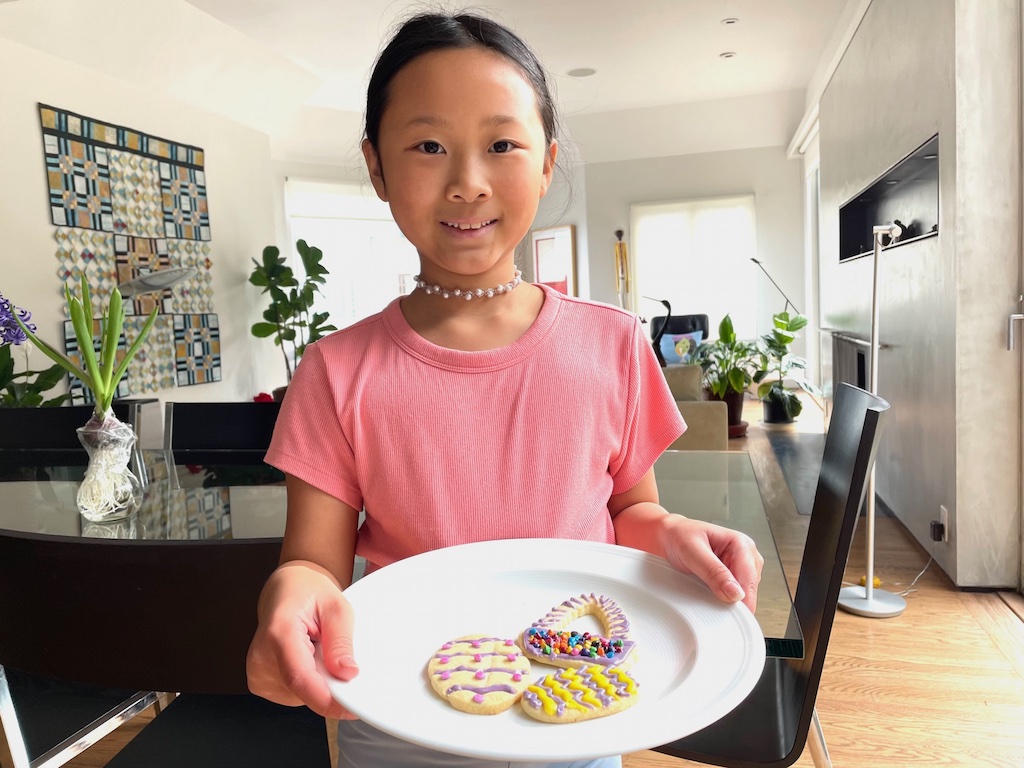
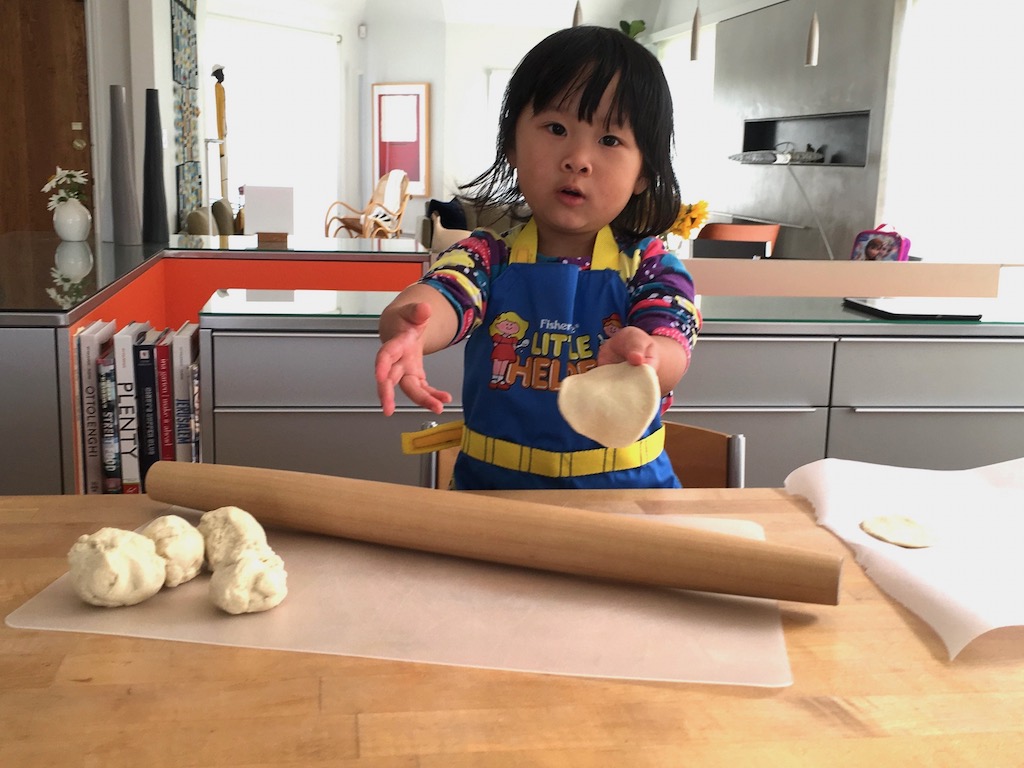
Making Cookies Together

We used a recipe for Celebration Sugar Cookies from Big Fat Cookies by Elinor Klivans, c. 2005 by Chronicle Books. The recipe is also available online.
This recipe is very forgiving–the dough is easy to roll out and its not fussy when rerolled a few times. Butter adds rich flavor, while shortening ensures crisp texture. For the icing, we made Tara Teaspoon’s Lemon Royal Icing, which adds welcome tartness from lemon juice.
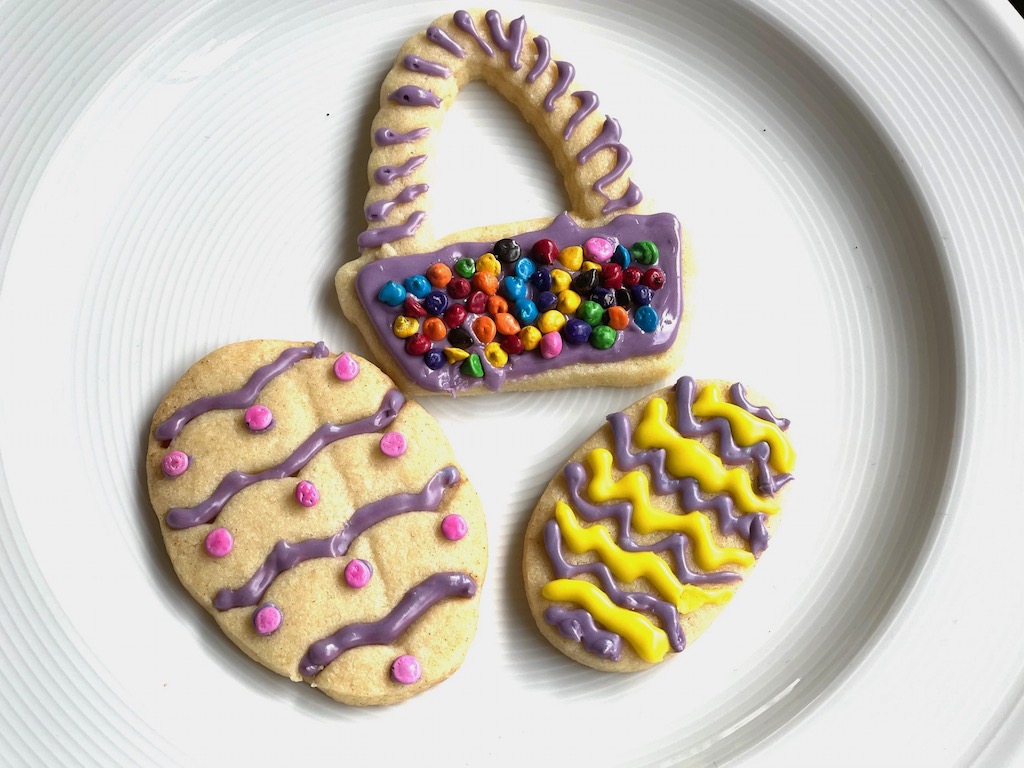
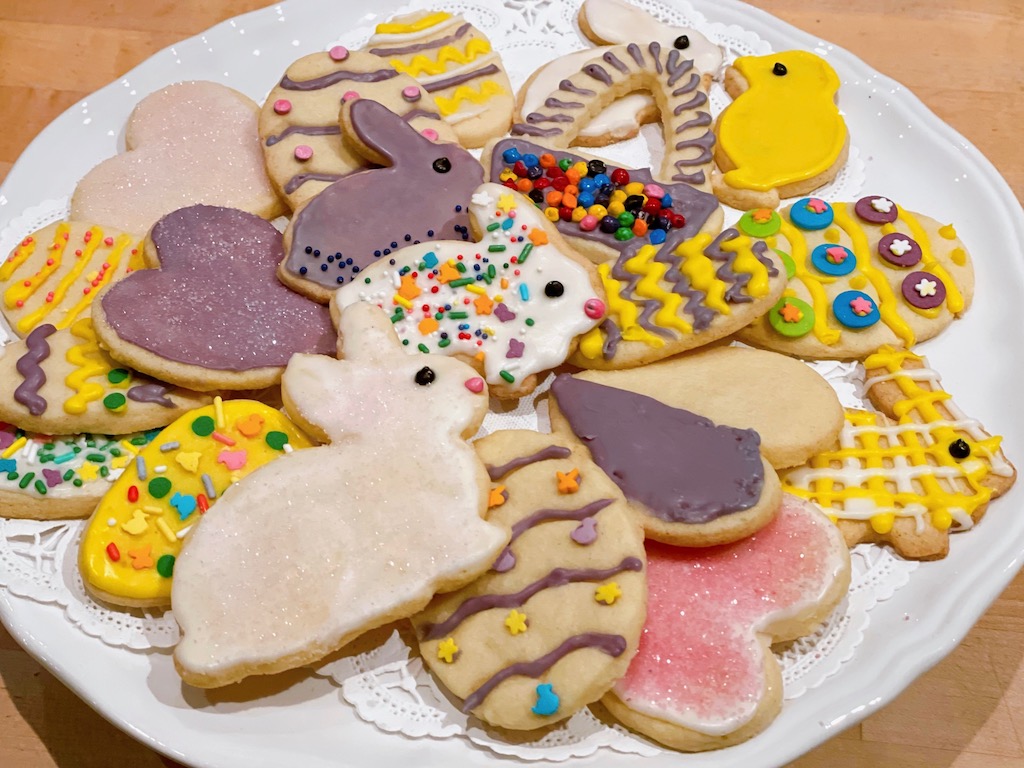
It’s early for Easter, but we used the seasonal cutters anyway: bunnies, baskets, chicks, and eggs.
Tips and Comments
- Next time, I would make the icings in advance and have the dough prepared and chilled. Doing everything in the moment drags out the work.
- We rolled our cookie dough between two sheets of parchment paper or wax paper. The dough still needs a sprinkling of flour, but it’s so much easier to handle and you’ll have less sticking.
- Now that Miss T is capable of rather fancy icing work, I’m buying a few more icing tips and couplers so we can have a variety of colors to work with at once. I buy my pastry bags by the roll –100 at once. It’s cheaper and ensures I won’t run out.
Making Place Cards
We use a place card stamp from Yellow Owl Workshop for stamping the design onto white cardstock, that we cut to size with a paper cutter. Unfortunately, this stamp is no longer available.
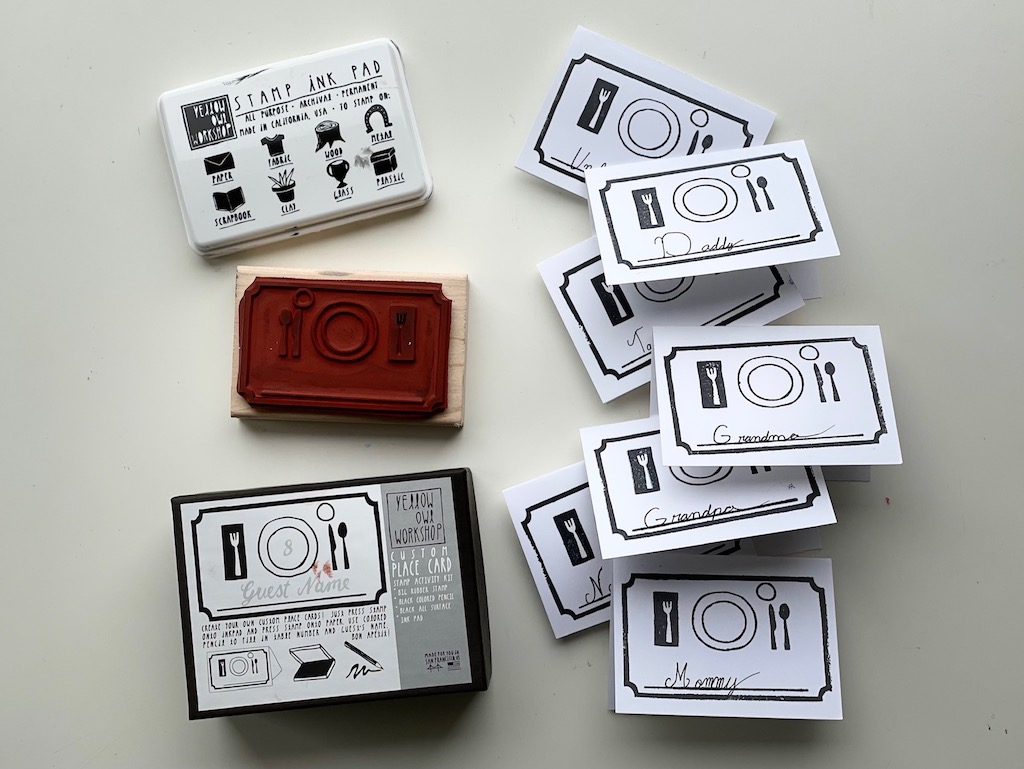
Still, you can cut cards from any color cardstock, fold them in half, and have the child write names on them. Actually, this is what we did before we had the stamp. Writing place cards allows the child to showcase their penmanship.
Improvising the Day with Grandma
I don’t like to have a firm plan for the day, because there are always surprise opportunities.
Transfer a Child’s Art to Embroidery
As it turned out, as we were waiting for the cookies to cool, Miss T drew a very nice ice cream cone.
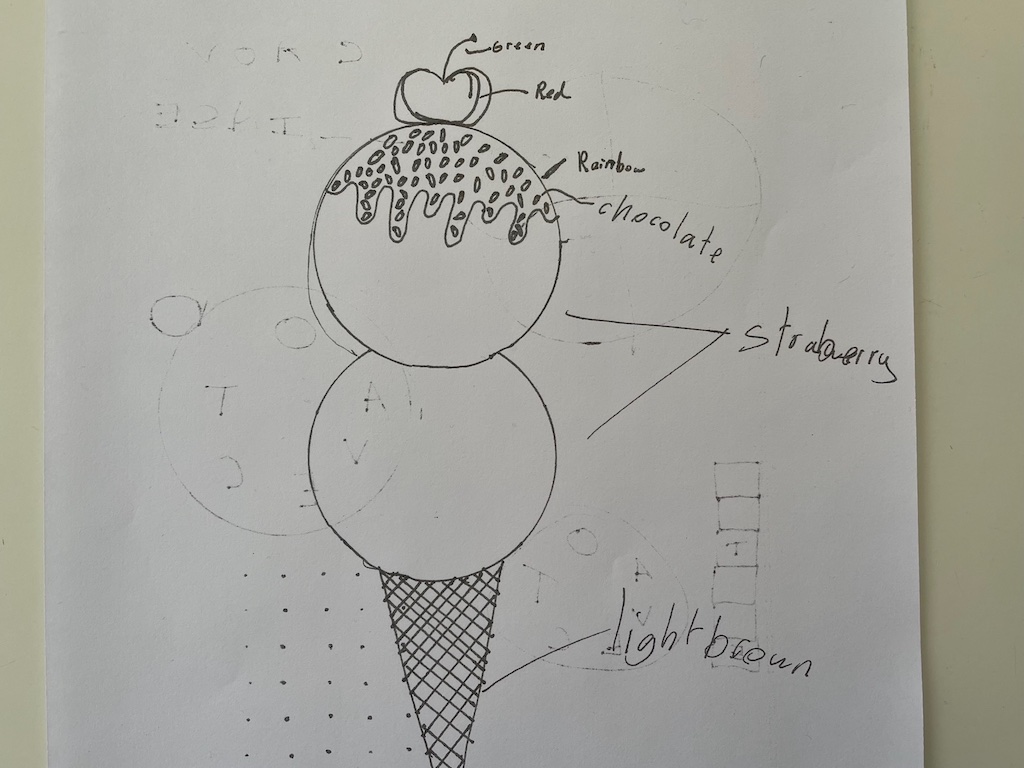
It gave me the idea of turning the art into a kitchen towel to embroider. Miss T learned to embroider when she was seven during Camp Grandma. It was the pandemic year and I taught her remotely via FaceTime.
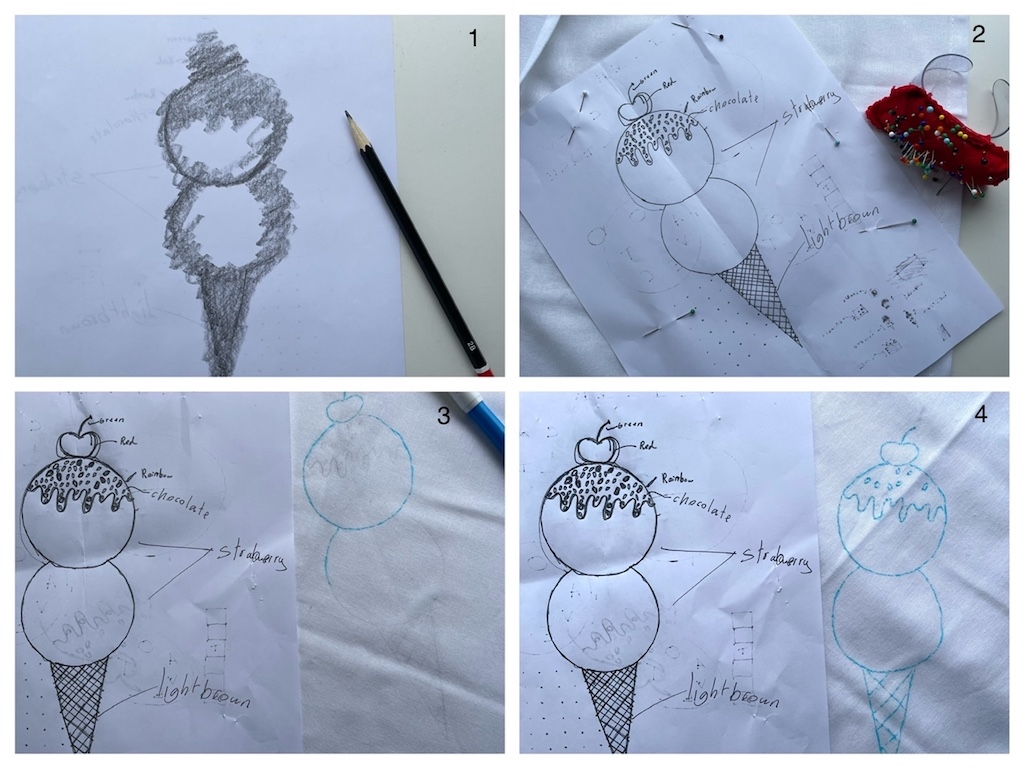
Since I didn’t have dressmaker’s carbon paper to transfer the design, I did it this way:
- Shade the back of the drawing with a soft graphite pencil, such as a 2B sketching pencil.
- Next, flip the drawing over to the right side and pin it to your fabric.
- Now using an ordinary pencil, carefully and firmly trace the lines of the drawing. The lines will transfer to the fabric. Unpin a small section and check to see if the markings have come through. If not, re-pin and trace the lines again.
- Finally, trace over the lines to darken them so they’re easy to see for embroidering. Use a water-soluble marking pen if you have one, or a regular pencil if you don’t.
Making a Greeting Card
When we were done with our projects, Miss T asked to watch videos on my iPad. I could have just said yes, but I thought it would be good to do something constructive at the same time. So, while I gave her permission, I also gave her everything she needed to make a greeting card.
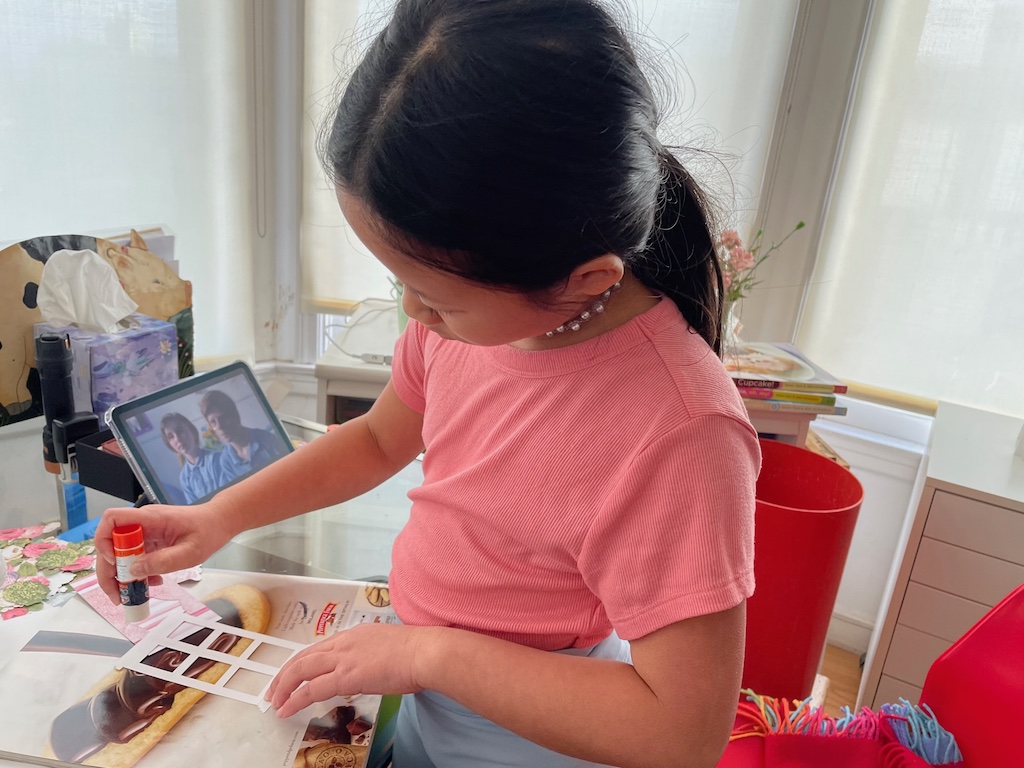
The Anna Griffin window box card is made by cutting different elements with a Cricut cutting machine: flowers, window frame, window background, curtains, and awning. These are assembled into a card.
I tend to cut all the pieces in quantity using a variety of printed cardstock. I store all the various elements in separate envelopes to assemble later.

Making a greeting card turned out to be a creative and productive activity as Miss T spent time considering the patterns and colors available from each envelope, then the flower choices, to design an attractive combination.
If you don’t have a cutting machine, consider cutting out shapes with scissors and various types of craft punches using a variety of patterns and colors of cardstock. Have the grandkids assemble them into a modern art card.
Going Home
Miss T’s swim class began in the late afternoon, so it was time to be picked up by mom. In the day with grandma, we had baked cookies, made place cards, created a design for embroidery, and fashioned a greeting card.
Each project challenged her fine motor skills and inspired creativity, resulting in tangible products she could be proud of.
Miss T is quite accomplished in doing these projects, and I am often surprised at how much she is capable of, at just nine years old.
I’ve worked with her on projects since she was three, and over time, she has continued to build on her proficiency.
While not critical life skills, these projects–and her success at them–increases her competence and reinforces confidence. That’s what a day with grandma is all about.
P.S. We didn’t have time to do the scavenger hunt. We’ll save that for another time.
Sign Up!
Don’t forget to sign up for my email newsletter. Every Wednesday, I’ll give you a new idea for an activity or insight to nurture the little ones in your life.
Love it. My granddaughter is also nine and we too love creating. You offer such fabulous ideas and now to engage with the other 3 siblings.
Thank you so much for your comments, Janice! Love that we have granddaughters the same age.