Kids’ Craft Projects: How to Make them Better
In the nearly three years of “Call Me Grandma!” Miss T, Little N, and I have done many kids’ craft projects together. And sometimes, after the post, I’ve learned to make them better.
Follow the links to the original posts to revisit each project, then check out my latest variations and refinements here.
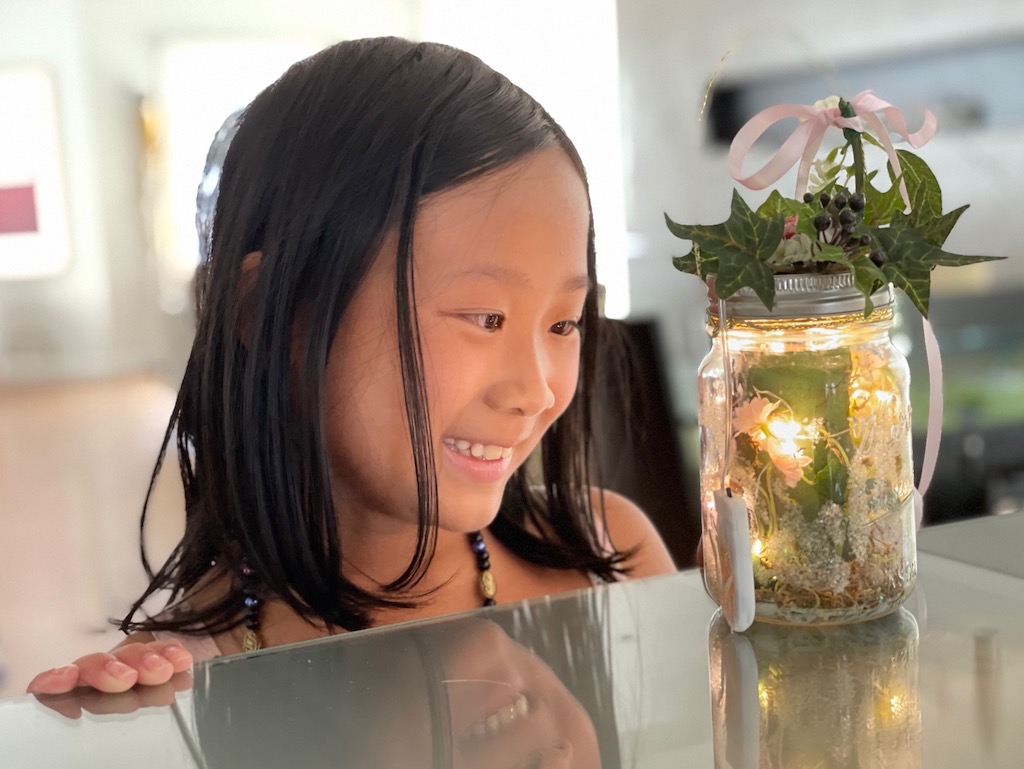
Many Kinds of Fairy Lanterns
Last October, I made a fairy lantern for Miss T. It was a rather quick project and the results were quite magical.
Not to favor a child, I asked Little N if he wanted a lantern, too. He declined, as I expected he would. But then I interested him in a Paw Patrol version, inspired by a kids’ craft project I saw on the Nickelodeon website. Using clip art from the website, we made our lantern following the same method I used for Miss T’s fairy version.
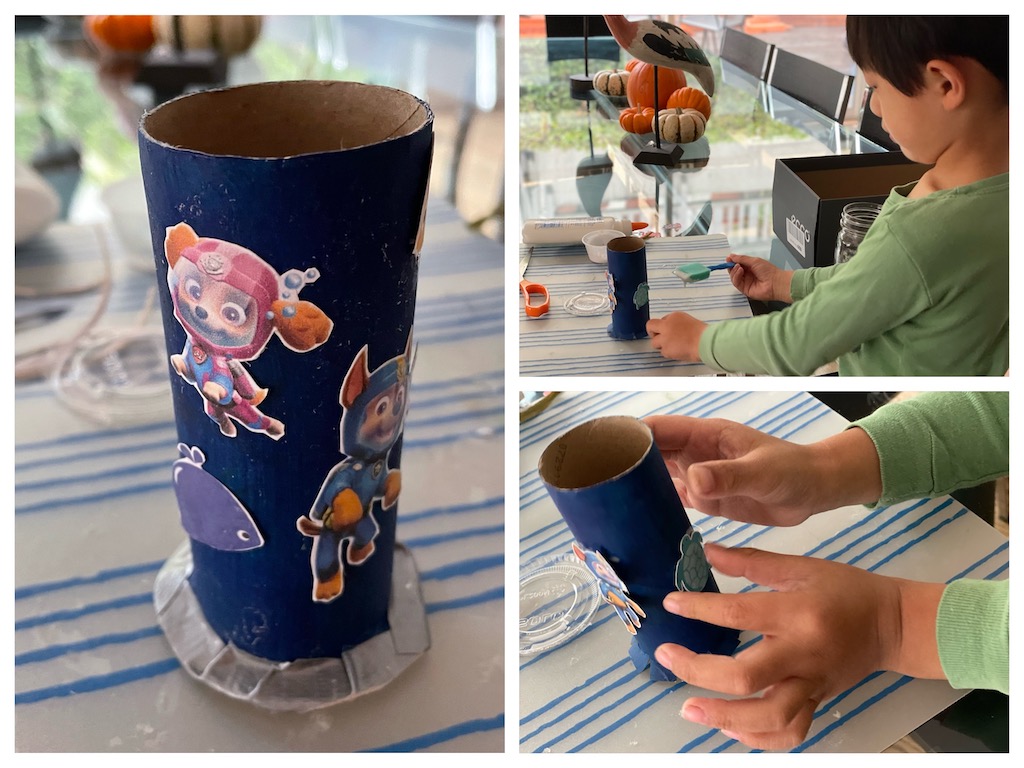
It turned out to be one of our better kids’ craft projects. Little N assembled the lanterns himself, and he was proud of his handiwork.
What I learned was that you could make a “fairy lantern,” without fairies–just use whatever images appeal to your child. No matter the design, a string of fairy lights in a mason jar will entrance any little one.
Enhancing our Fort Fight
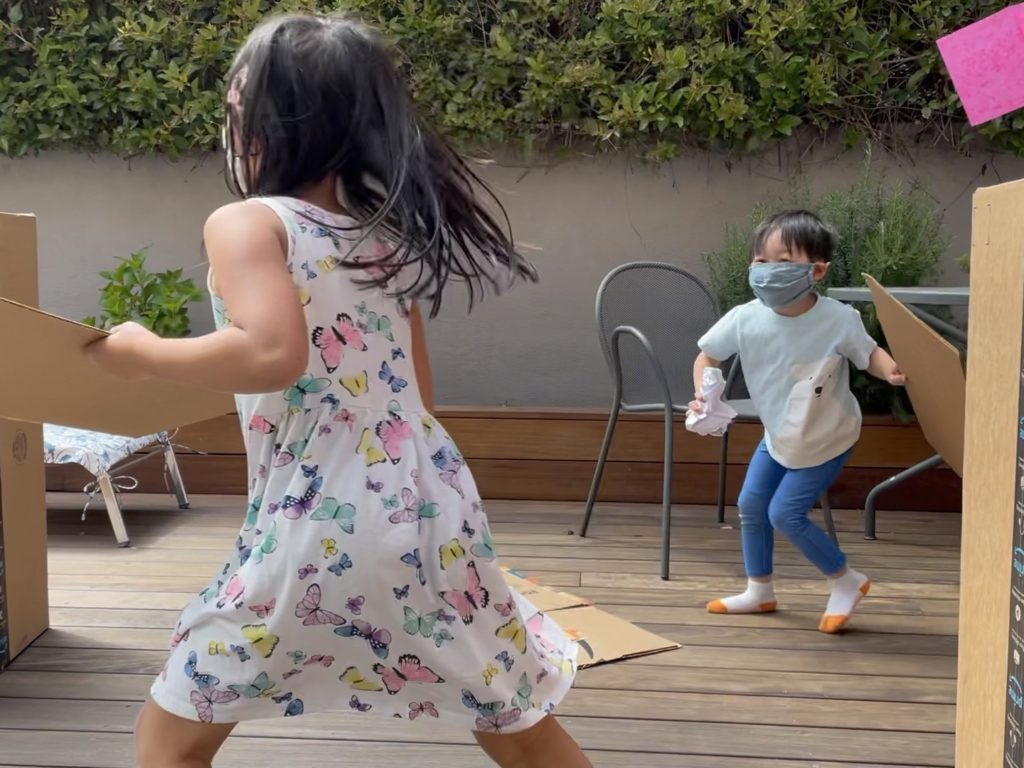
The most fun we’ve had at play was when we turned two large shipping cartons into forts and tried to capture each other’s flag. I described the game in my blog post last April.
This game took no effort. We merely set up two cartons and threw balls of recycled paper at each other. We used cut-off cardboard flaps from other cartons for shields.
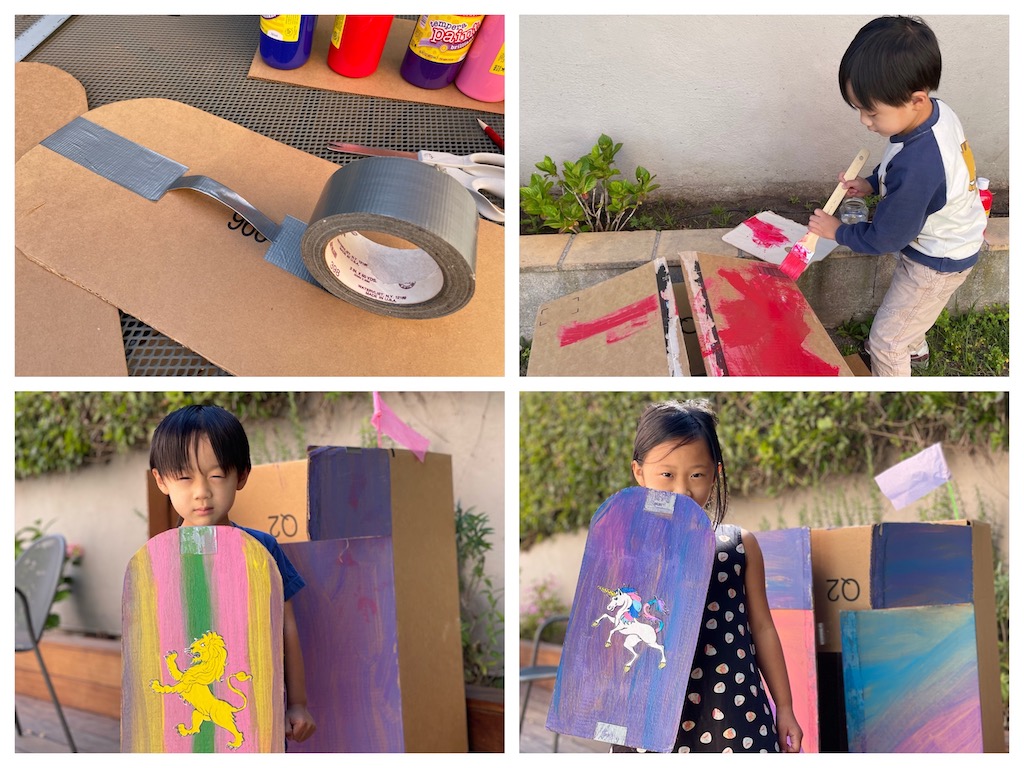
Later on, we refined the game, incorporating some artistic kids’ craft projects:
- First, we painted the forts with tempera paint.
- We cut a flap in the carton at the top to make a window.
- Then we made more substantial shields by adding a hand grip using duct tape.
- We painted the shields and decorated them with imagery from the Royal Heraldry Society of Canada. We sealed the artwork with a coat of with white school glue, which dries clear.
How to Make a Better Treasure Hunt for Little Kids
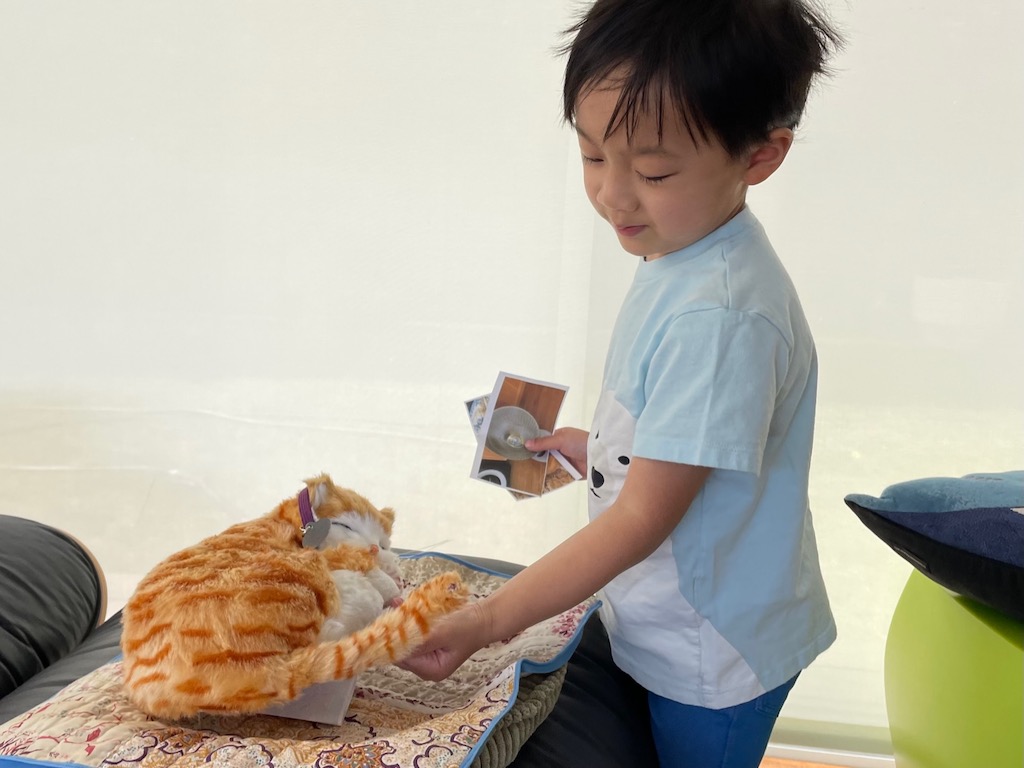
In 2019, I did a post about how to stage a treasure hunt for the grandkids, including ideas for clues. When Miss T was little, I used to read the clues to her. Since then, I created a version for kids who are too young to read, by preparing photo clues.
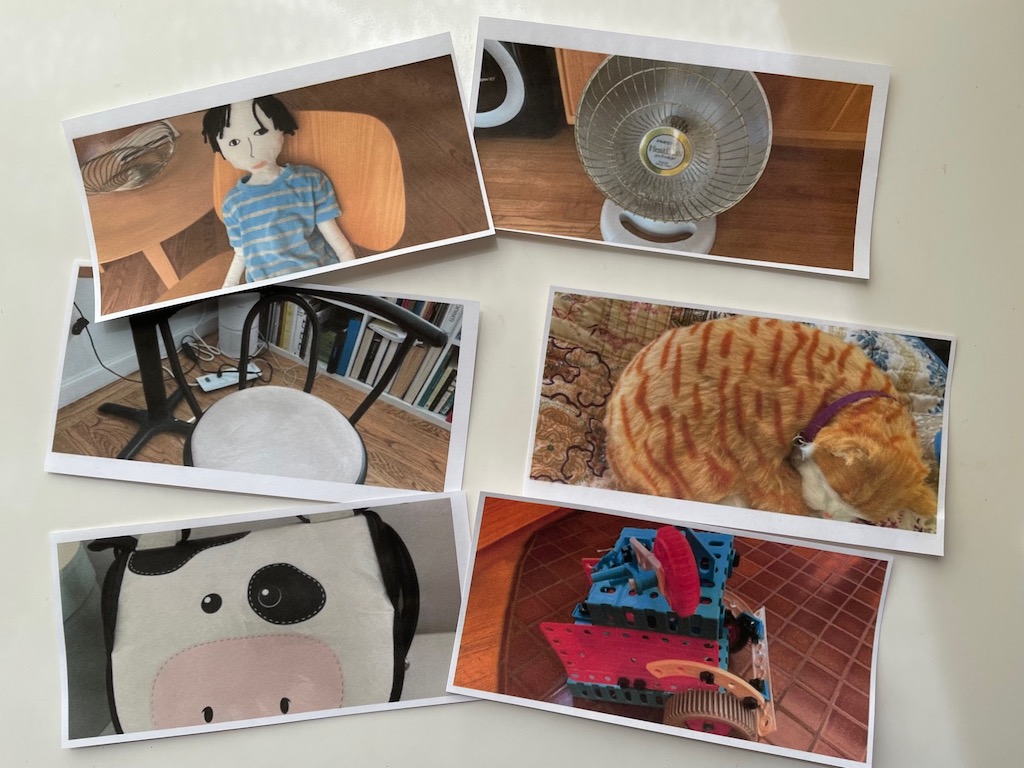
To do this, take photos of the potential hiding places for clues, insert the photos electronically into a Word document, reduce the size of the photos on your document, then print and cut out the picture clues.
Another variation of a treasure hunt is a scavenger hunt. Miss T and I went on one last summer.
While we downloaded and printed the Neighborhood Scavenger Hunt sheet from our library website; you can make your own list of things to find using familiar items in your area.
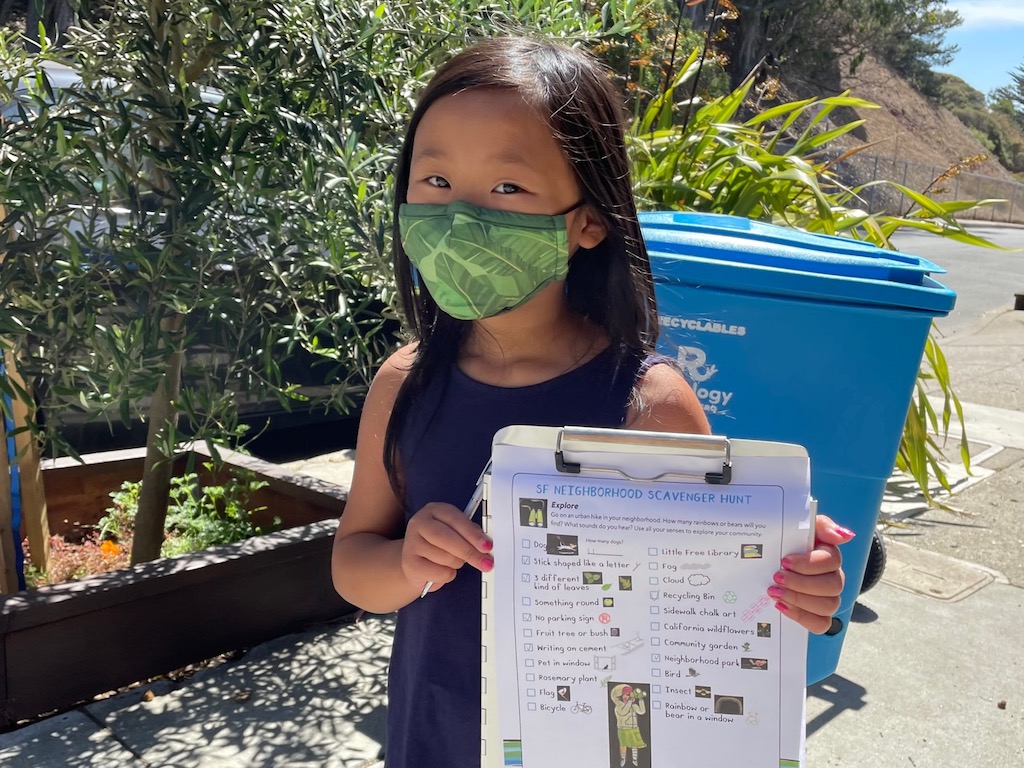
Some of the things we had to find were:
- Recycle bin
- Pet in a window
- Bird
- Stick shaped like the letter “Y”
- Three different kinds of leaves
Customize your list to your neighborhood.
How to Expand on Clothespin Dolls
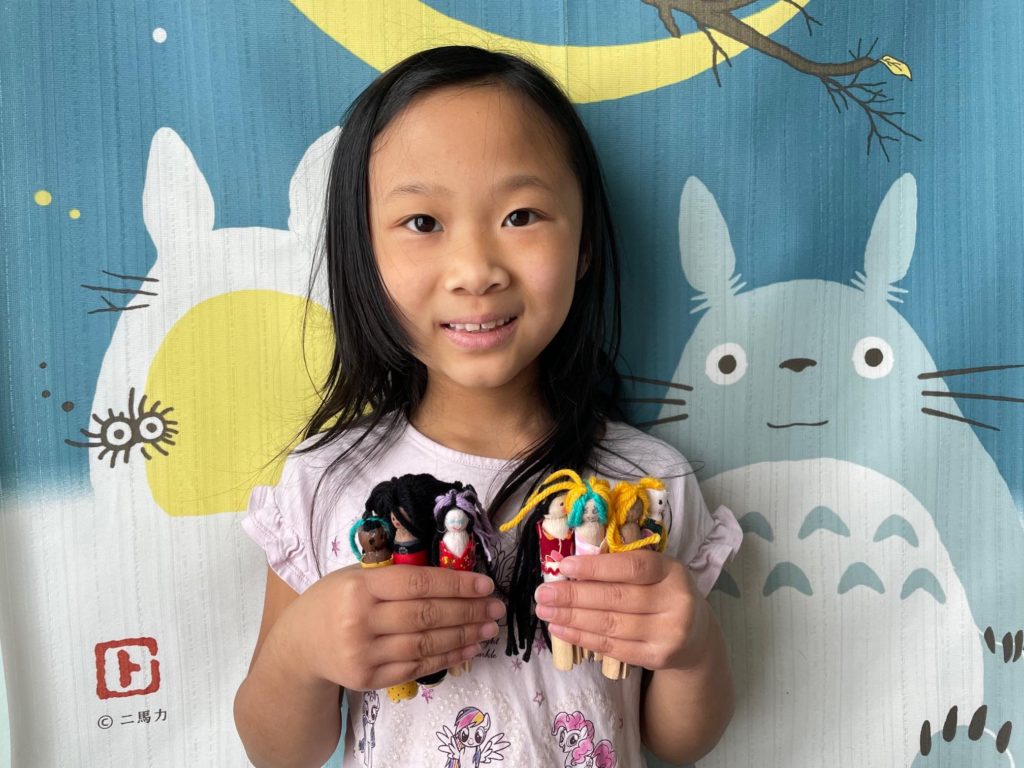
Two years ago in February, Miss T and I made clothespin dolls over FaceTime. This was when we were distanced because of the pandemic and these craft kits that I assembled provided a way for us to remain close by doing projects together online.
The following week, we made a dollhouse, which was really, just a few interior vignettes. It wasn’t until last November that we made a full-blown dollhouse out of shoeboxes.
Since then, we’ve expanded the possibilities of what these clothespin dolls could be. To make an angel as a Christmas tree ornament, use gold lace for the wings and a bit of tinsel for the halo. Stitch a loop with metallic thread in her hair for hanging.
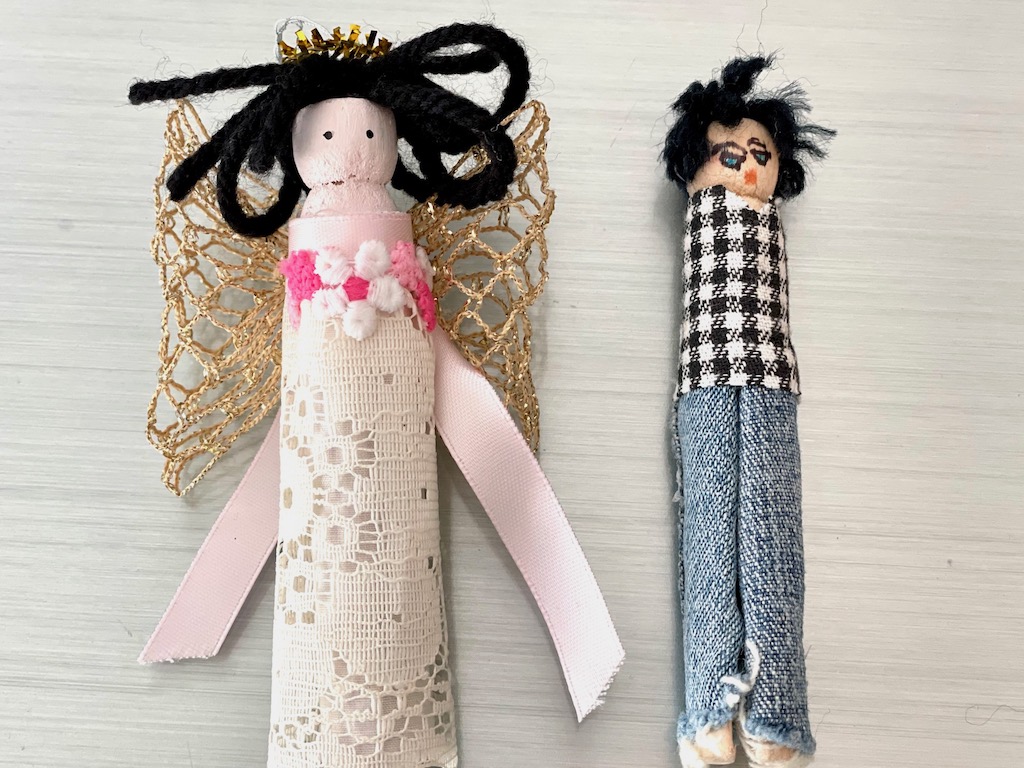
The boy doll was made for Little N, who wanted to play dollhouse with us, but didn’t want to be one of the girl dolls. To make the boy doll, I wrapped denim scraps from an old pair of jeans around each clothespin leg, then wrapped the top with a bit of checked fabric long enough to cover the top of the leg. The possibilities for clothespin dolls are endless!
Kicking it Up a Notch: Table Setting
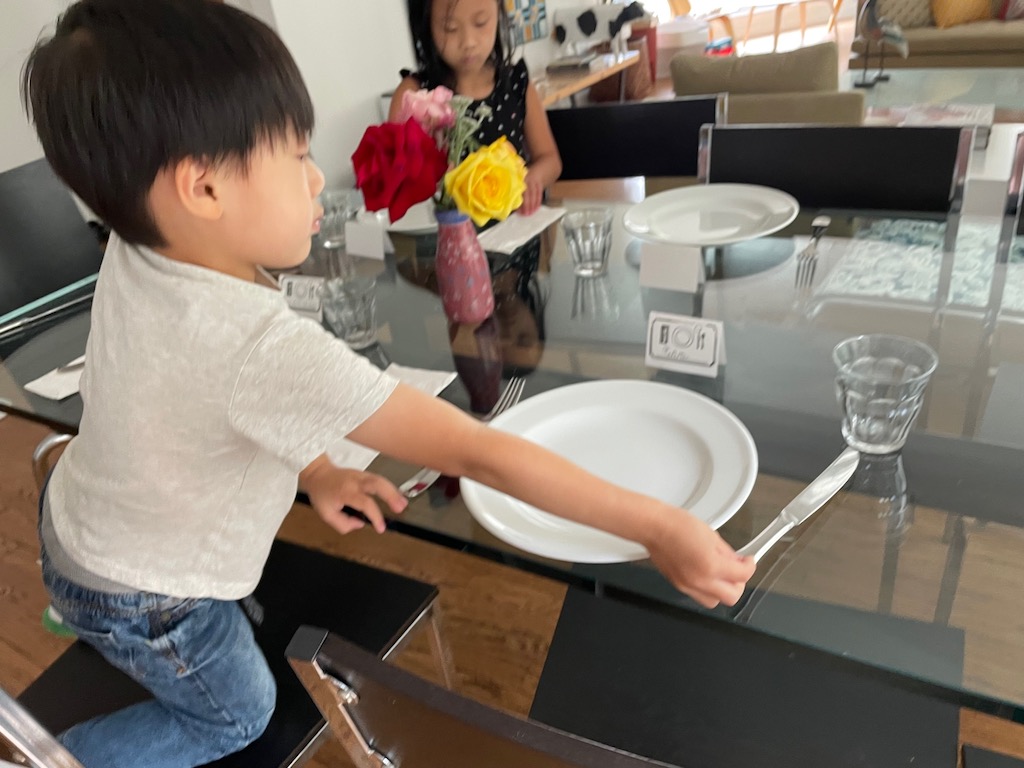
Not a craft, but certainly an activity we’ve improved upon. Children are asked to set the table for our Friday night dinners. Lately, their parents have asked them to clear the table when dinner is done and while the adults are still seated. They are learning to clear from the right.
I’m planning a dining project in the future, where I will set a full table setting and kids will practice drinking soup, buttering bread, using the right utensils, and cutting food properly with a knife and fork. It will be the next chapter on good manners around the table.
.
Don’t forget to sign up for my email newsletter. Every Wednesday, I’ll give you a new idea for an activity or insight to nurture the little ones in your life. Come visit!