Camp Grandma: Learning to Embroider
Of all the critical skills one needs to master in life, I’ll admit learning to embroider isn’t one of them. Still, embroidering gave me endless satisfaction as a child, so I wanted to introduce this activity to Miss T at Camp Grandma.
If you don’t know how to embroider, but would like to try this project, you can find many tutorials for the basic stitches, such as this one from A Pretty Fix. In our project, we just used the simple stem stitch to do the outline work, and a satin stitch to fill in the places meant to be solid.
Miss T’s interest lasted a good three-and-a-half hours. We listened to Hamilton (she’s allowed) while we worked. On a different day, Miss T continued on her own, without prompting, to finish this project and a second one.
Preparing the Embroidery Kit
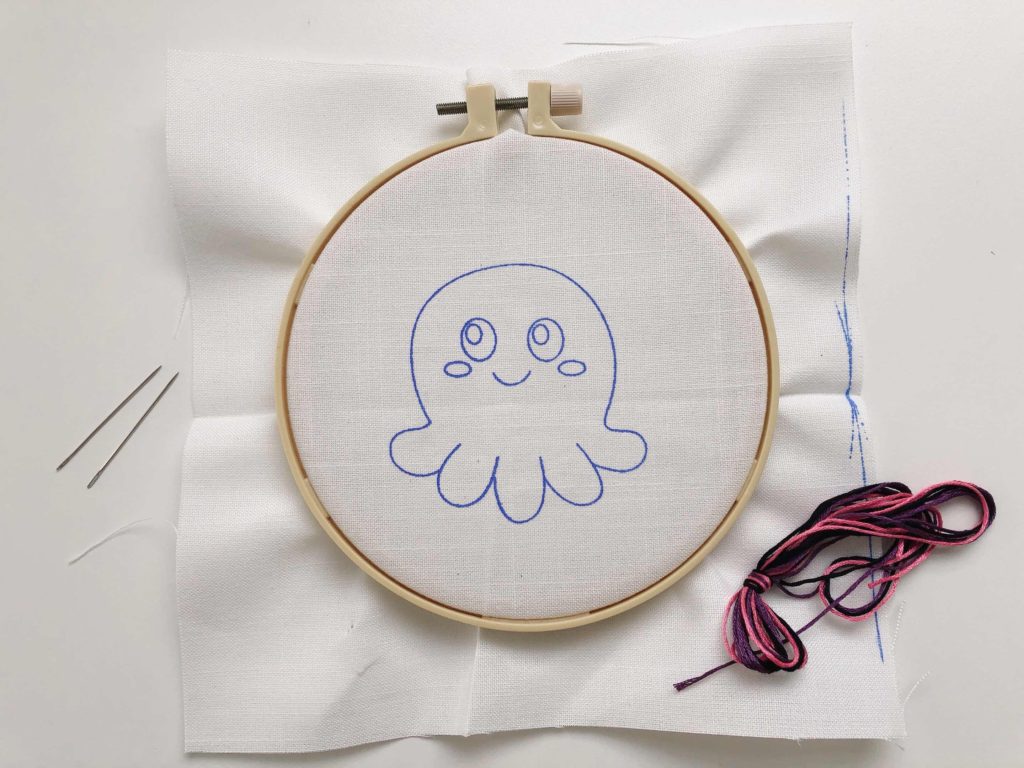
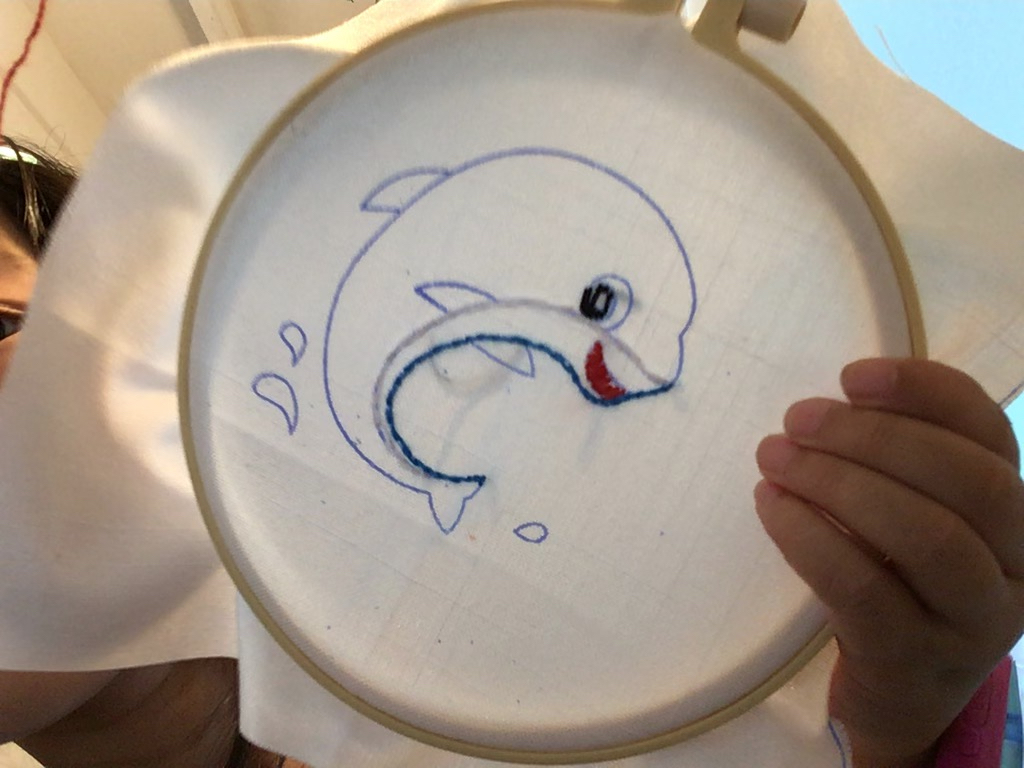
Actually, I cheated because I bought a kit–a set of three projects by Wodison. Each kit comes with a cute ocean animal image imprinted on white fabric, two needles, embroidery thread, and a plastic embroidery hoop.
Having three sets is perfect because you can keep one to demonstrate, while the child stitches the other two.
One caveat: check the kits before you start. After we embroidered the first two, the one Miss T was saving for last, because she liked it the best, had a flaw. The blue outline on the shell veered off beyond the shell shape. The description of the kit on Amazon says the blue lines will come out in the wash, but I was concerned that the fabric would lose its pristine look, so I had Miss T complete the embroidery and I added a couple of sequins over the line.
Alternative: Make Your Own Kit
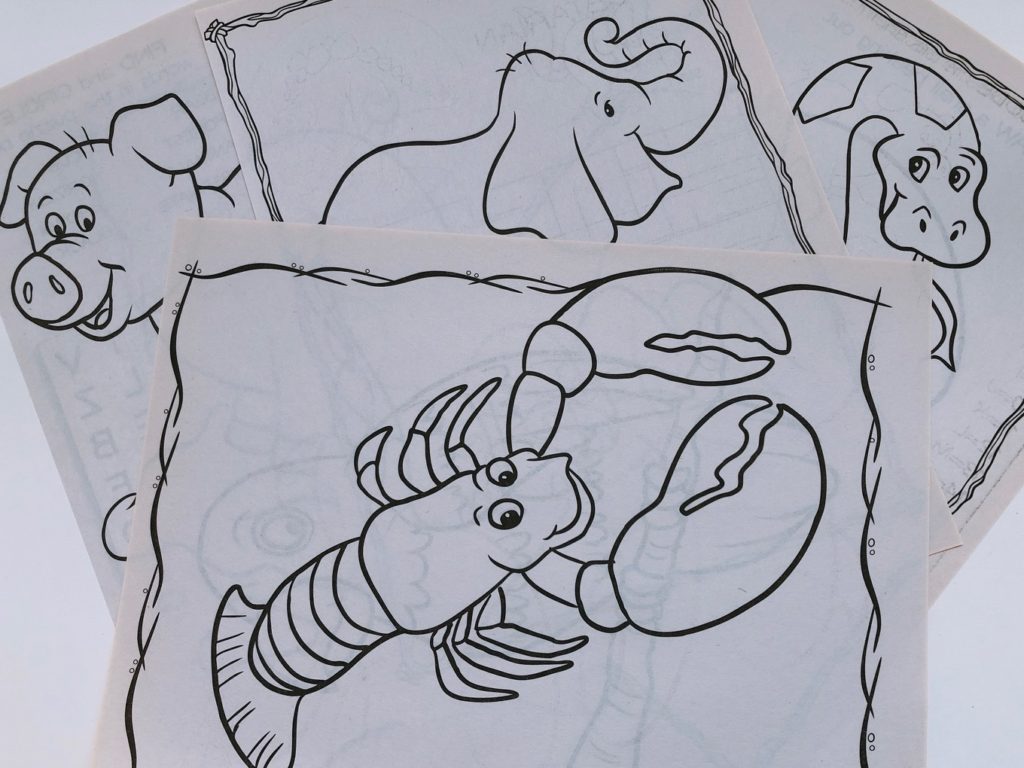
Instead of buying a kit, you can make your own. Find a simple design from a child’s coloring book or hand-draw a design. Use carbon paper (easily found online) to transfer the design to cloth. Add appropriate skeins of embroidery thread, a couple of embroidery needles, and buy an embroidery hoop of the right size,
When I was young, probably just a few years older than Miss T, we used to make dishtowels from rice bag sacks. We’d trace food-related images, such as cookies or a pear, from coloring books, then embroider the outlines. Later I went to Japanese embroidery school (shishu), where we used silken threads and more complex designs on fine fabrics.
Materials Needed for this Project
If you buy a complete embroidery kit, nothing more is needed. If you make your own, be sure to pack–or ensure that the child has at home–the following:
- Fabric to embroider, with design imprinted
- Enough embroidery thread to complete the project
- Embroidery needles (at least two)
- Needle threader, if you think your child will have difficulty threading the needle; even Miss T, who is an extremely dextrous seven-year-old, had trouble some of the time
- Small, sharp scissors for cutting the thread (we used the same scissors as we did for our first Camp Grandma paper doll project
- A small, sturdy bag the child can keep as her ongoing embroidery bag–you might already have one around the house
How to Start this Project
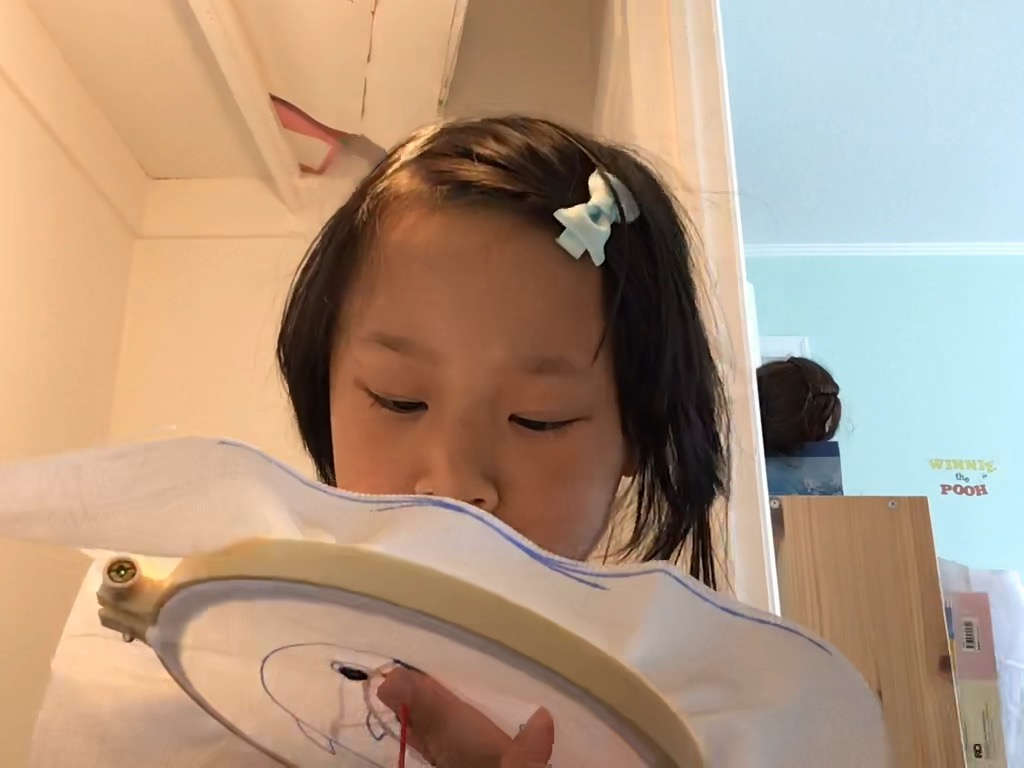
First, show the child how to unscrew the embroidery hoop and demonstrate how to center the project within the confines of the hoop. Explain that the fabric should be taut under the hoop.
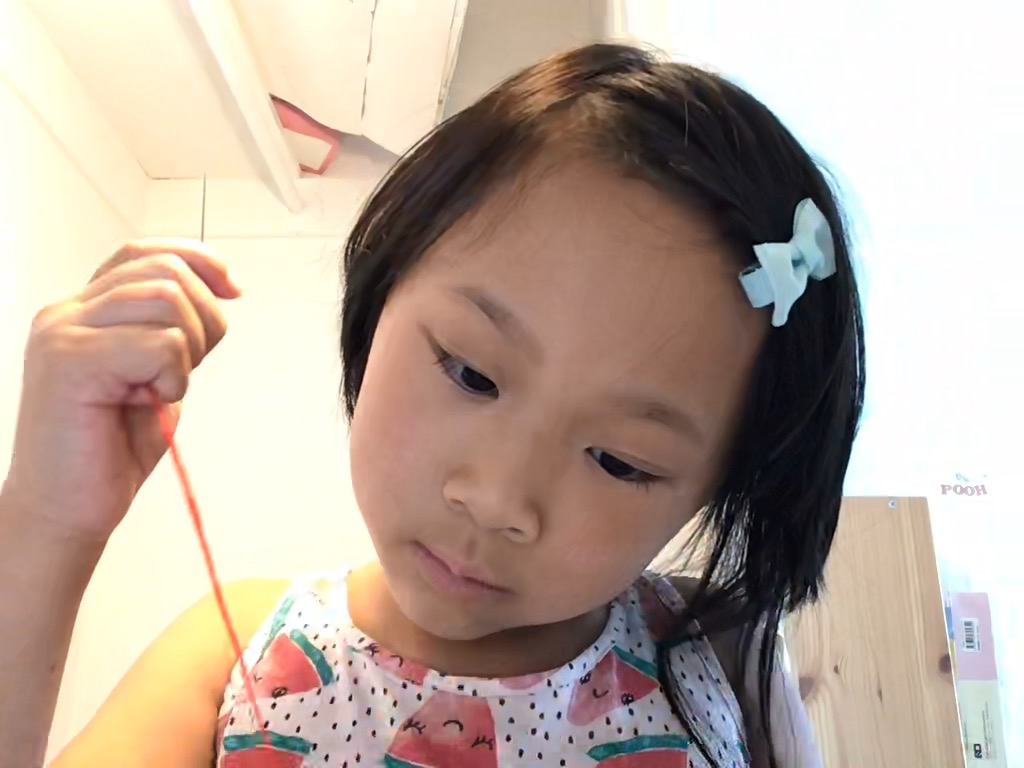
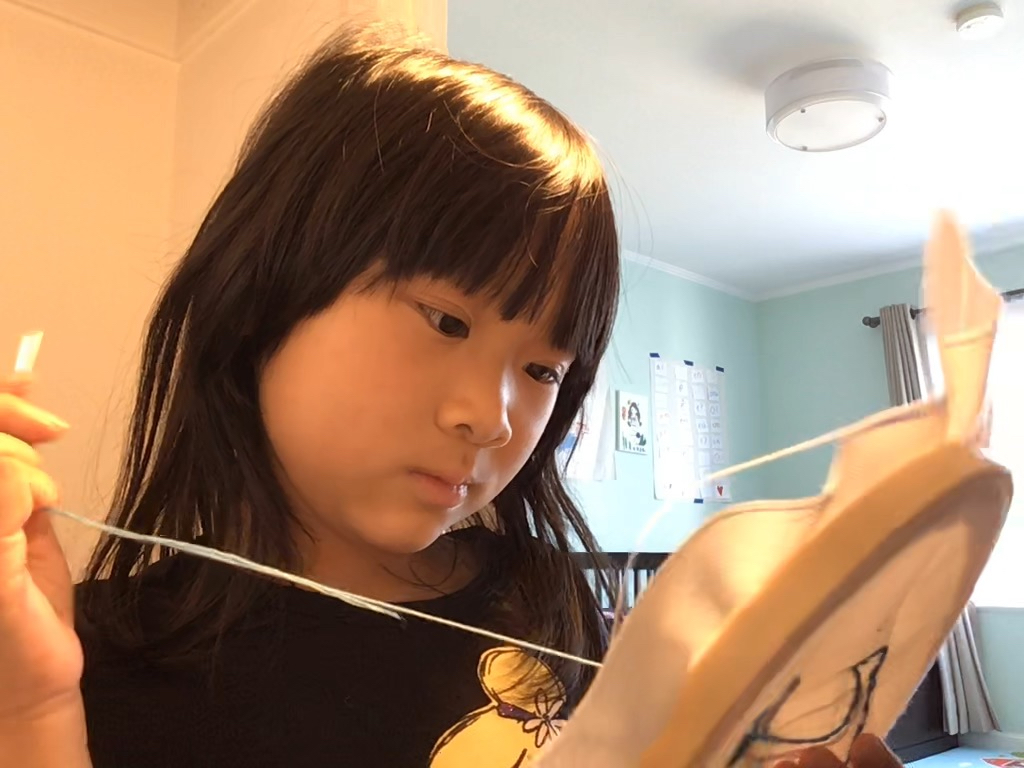
Have the child cut the first embroidery thread they will be using to a manageable length. You want it long enough so there’s enough thread to do a sizable bit of embroidery at one time, with enough extra lead thread to keep the needle from slipping out. But not too long that the thread gets tangled.
Show the child how to split the thread in half, so six strands become three strands. Thread the needle. Use a needle threader if the child struggles to get all three strands threaded on the needle.
Remind the child to keep pulling out more lead thread while sewing to ensure that it doesn’t get caught in the embroidery, resulting in some parts ending up with stitches of six threads instead of three.
The Knotty Problem of Knots
Here’s the part I had difficulty getting across: how to knot the thread to get started. It’s second nature to me, and I didn’t anticipate any difficulty in teaching my technique. In the end, Miss T managed to find her own workaround. However, here’s a good video that might have helped.
Less difficult to demonstrate was how to finish the end of the stitching with a knot. Here’s a video that demonstrates clearly how to do this, if you have trouble.
If you expect you’ll be needing these video tutorials, you could send the links ahead to the parents so the child could practice in advance, or you might be able to show it on your phone via iPad, so you both could see the video at the same time and you can give the child further help as they practice.
I used yarn, which is thicker and more visible online, to demonstrate knot tying.
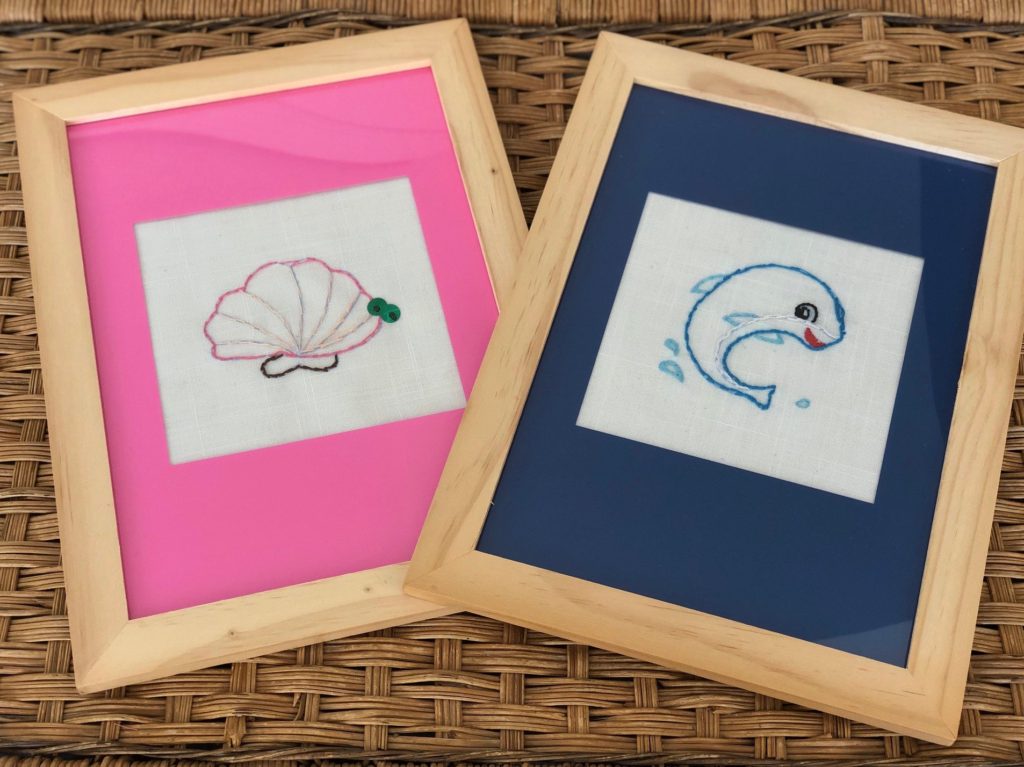
Framing the Results
Once the child has completed the project, it’s important to showcase their work so they can take pride in their accomplishment.
In the garage, I had very cheap, unpainted frames from Ikea that were 9 1/2- X -13 inches with clear plastic fronts instead of glass, that probably cost $2 each at the time. Ikea doesn’t sell them anymore, but there are 11 3/4-inch square ones called Fiskbo that might suit. They’re $2.99 each. I made a mat from colored cardstock, using my Cricut cutter, but you can measure and cut a mat with scissors.
Alternatively, you can keep the project in the embroidery hoop and frame them that way. Here’s a tutorial for that. Given this is a simple child’s project, I’d probably just sew a running stitch to gather the excess fabric away from the embroidery hoop and leave it at that, skipping the felt backing.
What Kids Learn from this Activity
This is project teaches:
- Attention and focus–kids need to be alert to instructions and follow through
- Enhanced small motor skills and hand-eye coordination
- Patience and discipline to work on a project over time and to work neatly
- Facility and competence with a needle and thread
Coming Next Week
In our next session of Camp Grandma, we’ll have some fun making a hanging room ornament.

Camp Grandma topics, to date:
- Introduction to Camp Grandma
- Designing paper doll dresses
- Learning to Embroider (this post)
.
Don’t forget to sign up for my email newsletter! Every Wednesday, I’ll give you a new idea for an activity or insight to nurture the little ones in your life. Come visit!
This is a terrific project and so well explained. I have all the supplies needed — saved from my teen years! I may try to do this with children of a family recently emigrated from Afghanistan. Their mom is so tired of finding entertainment for them at home.
Thank you for having checked out the post, Rosemary. Love that you have kept your supplies. I hope you’re able to do this project with the children. It kept Miss T entertained for hours. Their mom will be happy. Please comment again if you do this, and how it turns out.