Camp Grandma: Fun with Paper Dolls
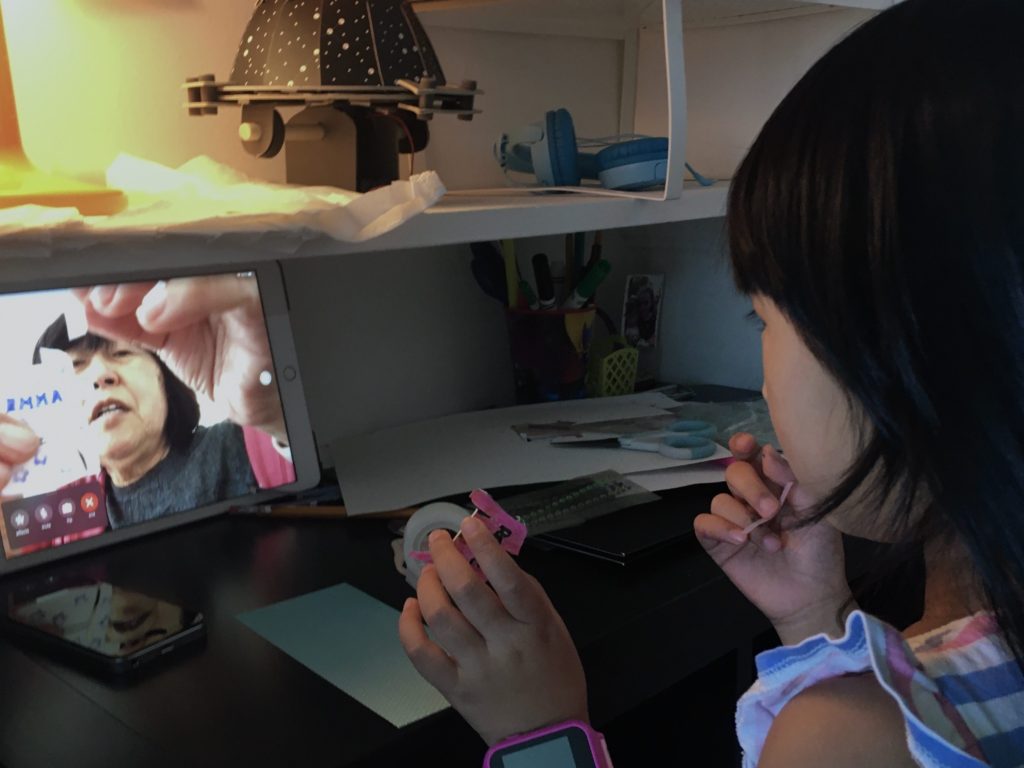
Can you imagine spending three hours engaged online with a seven-year-old? Miss T and I did just that on Friday with our first Camp Grandma session, making paper dolls. A success? You bet! Were the parents happy? Ecstatic.
This is the first of a series featuring the virtual Camp Grandma I started for my granddaughter during the pandemic. It’s a great activity for long-distance grandparents.

I launched the notion of Camp Grandma last week on this blog. I’ll be posting camp craft activities intermittently, between other “Call Me Grandma!” stories, throughout the summer.
Right now, I’ve developed six sessions. Miss T would like Camp Grandma to happen twice weekly, but I’m spacing them out to every Friday. I want to keep camp going until–and if–Miss T goes back to school.
Choosing the Right Paper Doll
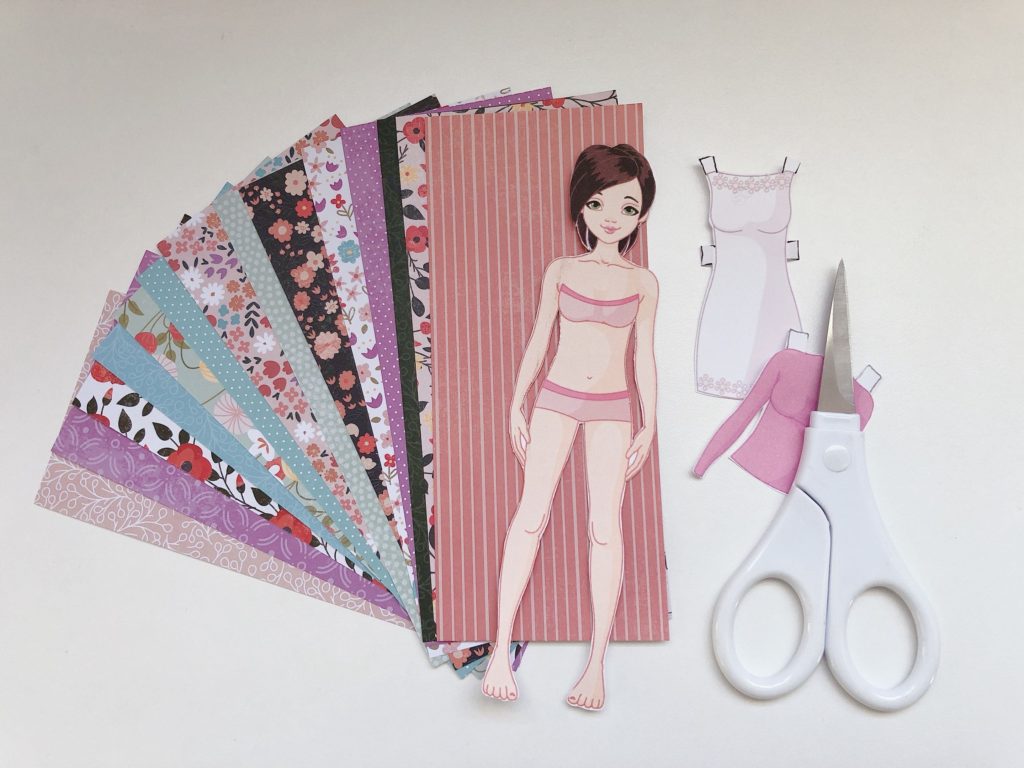
First, choose your doll. You can find very cute paper dolls online for free, tailored to the age and interests of your child. I used one from SuperColoring.
I wanted a doll of an age that would be aspirational for Miss T, who just turned seven. Not a child doll, but a young teen with a figure that showed a realistic body image.
When selecting a doll, try to find one that is symmetrical (left side and right side of the body the same). This will help when making clothes for the doll.
Planning your Craft Activity
The trick to a successful project is anticipating needs and packaging all the project materials together. Because there’s nothing more disappointing than having to stop a project in midstream due to a lack of supplies.
Prepping your Doll
- The doll I chose comes with a set of clothes–doll and clothes are laid out on a single 8 1/2- X 11-inch rectangle. First, print one copy on the heaviest-weight white cardstock your printer can take. Use this printout as your master.
- Next, if the clothes for the doll has no tabs to hold the clothes in place, draw the tabs (see below about tabs), then copy this master sheet on additional cardstock three times. Now you have four sets of images.
- Precut the doll for the child using one of the photocopied sheets. Glue the doll onto heavier cardstock to make her sturdier. You can discard the clothes on that sheet.
- Save the two remaining photocopied sheets, uncut, for the child (the duplicate is there to remedy any mistakes the child might make).
- The original sheet is for you. Precut the doll from this sheet, so you and your child can begin at the same starting point, each with a doll ready to dress.
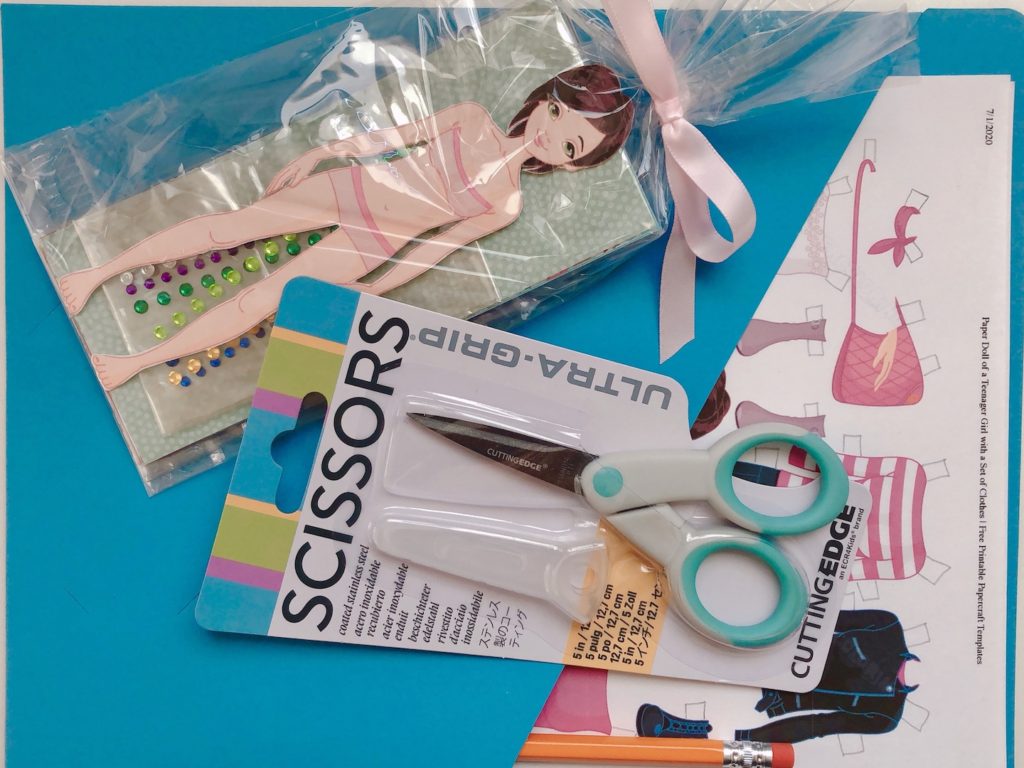
Finally, gather supplies, package them attractively, and let the fun begin!
Materials for your Paper Doll Project
Make sure that you both have the following on hand. The child should have all the materials and tools either from your paper doll kit or available in the child’s home.
- A pre-cut paper doll.
- Cardstock printed with image of the paper doll and her clothes, ready to cut out.
- One sheet of plain white cardstock to design additional clothes.
- Small, sharp scissors; use blunt child-safety ones if the child is not adept at cutting.
- Sharp pencil for tracing the doll’s outline to make clothes.
- Colored marking pens to decorate the doll clothes.
- Clear adhesive tape (Scotch tape) to tape on tabs for the doll clothes, if they get cut off by mistake (see about tabs below).
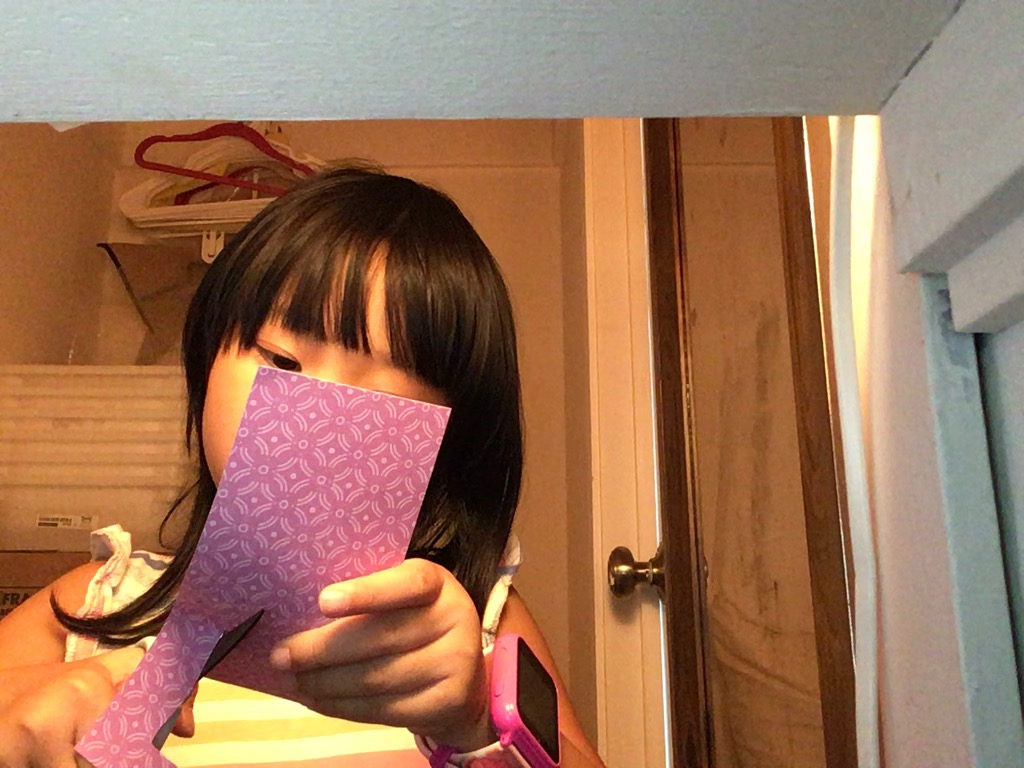
- Pretty printed papers to use as “fabric” for doll clothes. I cut the paper into rectangles so they were just large enough for Miss T to use; and to avoid waste.
- Stick-on “jewels” (optional).
How We Had Fun Together
I grew up with paper dolls–loved them and loved making clothes for them. On the other hand, Miss T is not much of a doll person, and she had never had a paper doll.
Still, she was intrigued.
We cut a few clothes together and tried them on our dolls. Then, I showed Miss T how to make her own doll clothes by flipping the doll, face down, on the back side of patterned paper, tracing around the doll’s body, and then penciling in the rest of the details–the length of the sleeve, the length of the pants, shirt or dress hem, etc., adding tabs, then cutting out the garments.
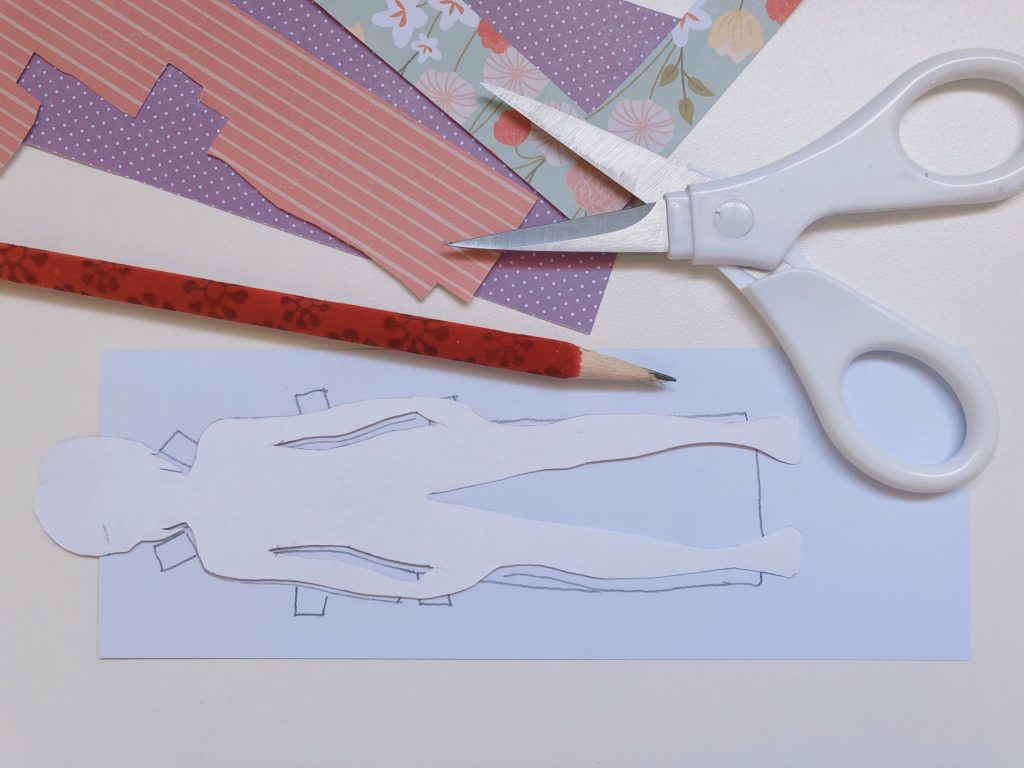
By working from the back side of the doll and the back side of the paper, all pencil mistakes are hidden. This is why a symmetrical doll is so useful. If the doll is asymmetrical, you’ll have to trace the outline of the doll with the doll facing up, and the patterned-side of the paper facing up, too.
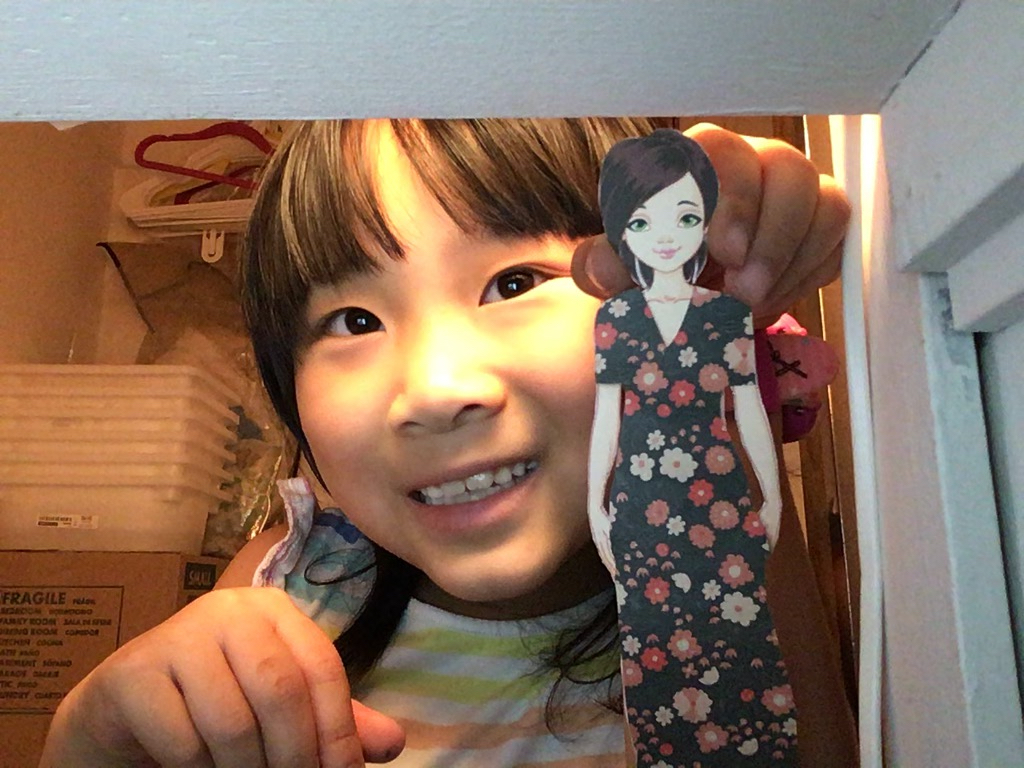
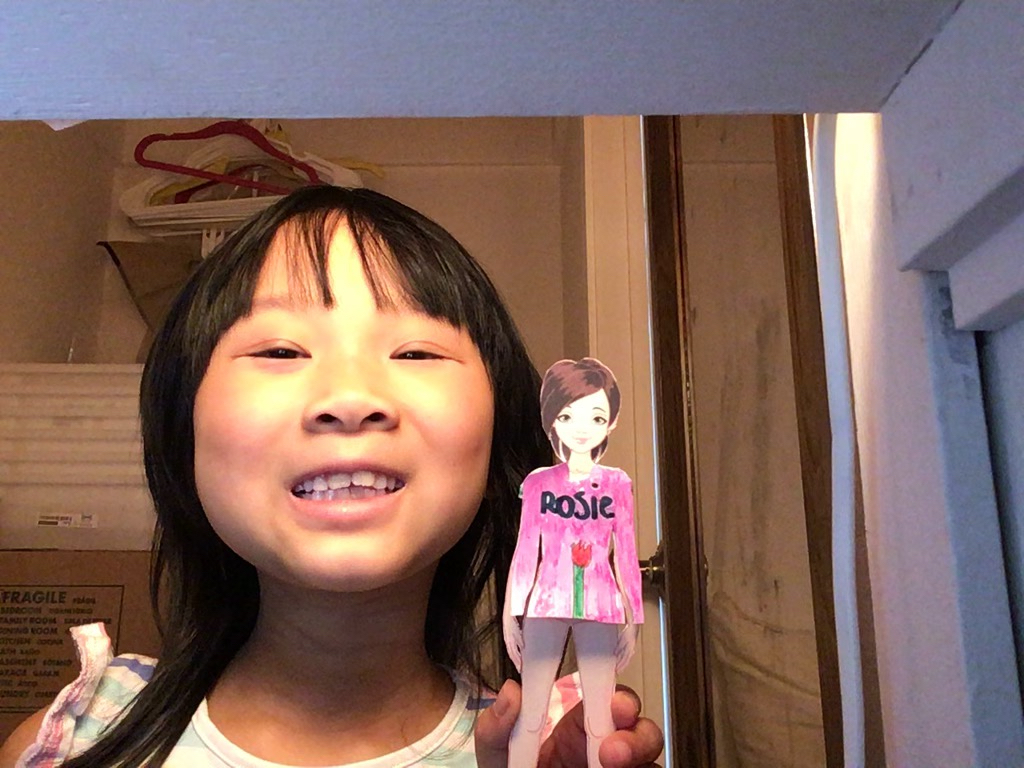
Next, we made our own clothes using the white cardstock, coloring in the details. I made a T-shirt for my doll, Emma. Miss T made an adorable name shirt for her Rosie.
We made hats, swimsuits, pants–chatting away while we dressed our dolls. As we worked, we told stories about our dolls and imagined where they were going in their new outfits.
A Word about Tabs for Paper Doll Clothes
Tabs hold the clothes on the doll, but they need to be in the right place. For tops and dresses, it’s important to have tabs for the shoulders, the upper arms, and if possible, the waist. On the other hand, for bottoms, the waist and hips are the strategic points. With shoes and boots, draw tabs at the ankles to keep the footwear in place.
If kids snip off the tabs by mistake, or forget to make them when they design the outfits, just tape on the tabs with adhesive tape and trim away the excess.
What Kids Learn from this Activity
This is great creative fun and helps to hone a child’s aesthetic taste. They learn to experiment with:
- Combining colors and patterns harmoniously.
- Being creative fashion designers–working with a variety of silhouettes and adding fashion details.
- Practicing fine-motor skills.
- Using imagination to play, as they envision their doll’s life and how to dress them suitably for each occasion.
Coming Next Week
With so many birthday parties now being celebrated online, next week, I’ll share a simple alphabet board game I made, suitable for a four-year-old’s virtual birthday party.
.
Don’t forget to sign up for my email newsletter! Every Wednesday, I’ll give you a new idea for an activity or insight to nurture the little ones in your life. Come visit!
Oh it’s me again Sandy! I loved paper dolls as a child. As a mom I turned them into cookie dolls. I cut out and baked crisp paper doll size sugar cookies. Clothes were made with frosting and or piped melted chocolate and sprinkles and jimmies and all manner of little edible bits were attached. Sugar cookies keep well, so individual cookie dolls could be slipping into cellophane bags and given as gifts (or hung on Christmas/Chanukah trees). Lucy and her friends would sit at the kitchen table and work on these….when moms came to pick up their daughters, they’d sometimes sit down and join the fashion party. Good memories. Lucy is 31 now!
LOVE, LOVE, LOVE this, Alice! You are so talented, I can just imagine what these cookie dolls looked like. I don’t see how anyone could have ever eaten those beauties, though. Thanks for having checked out the post and for sharing your wonderful story. I can’t believe Lucy is 31! Time flies.