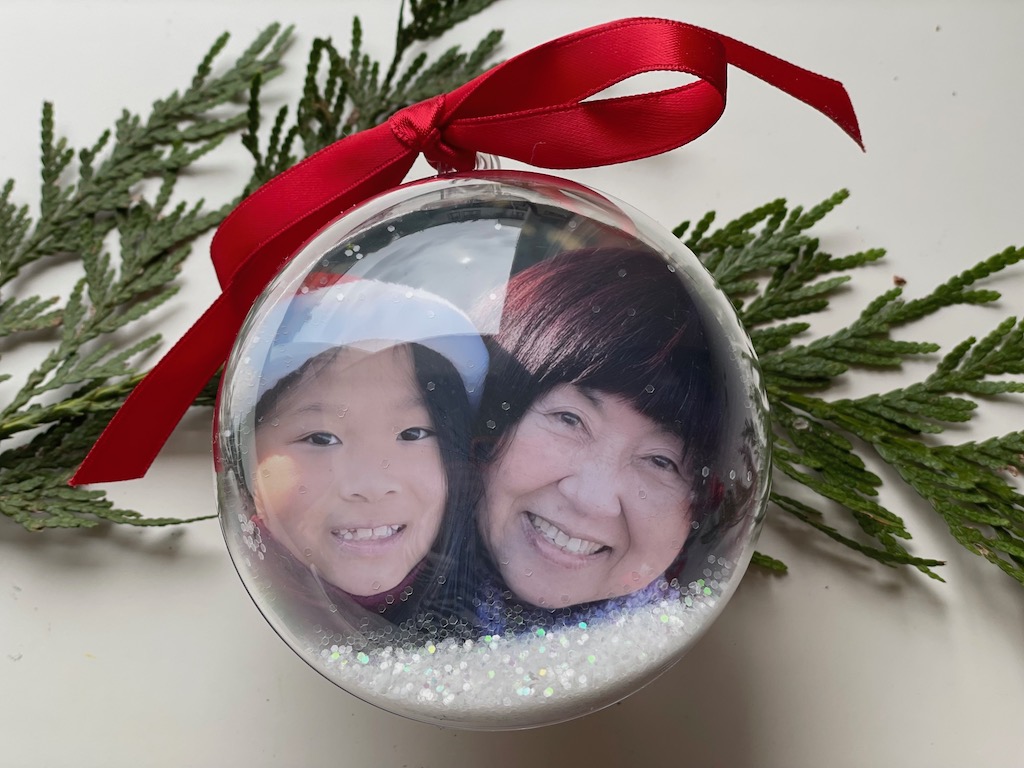
How to Make Photo Christmas Ornaments
Last year on Pinterest, I saw some darling photo Christmas ornaments made to look like snow globes. I had to try making a version myself.
Below is how I did mine; you’ll want to check out the original as well, by Busy Kids Happy Mom.
This is a project that could be made by older grandkids as gifts for family members. It’s quick to assemble and requires few materials, except for the clear acrylic balls that you have to buy in advance.
Materials needed to make photo Christmas ornaments:
- Clear 80 mm plastic acrylic bath bomb mold shells (round balls that open in half, with a built-in hook for hanging)
- Appropriate-size photographs (two for each ornament)
- While school glue (Elmer’s)
- Lightweight cardboard, such as from a manilla folder
- Iridescent glitter (chunky glitter works best)
- 3/4-inch ribbon
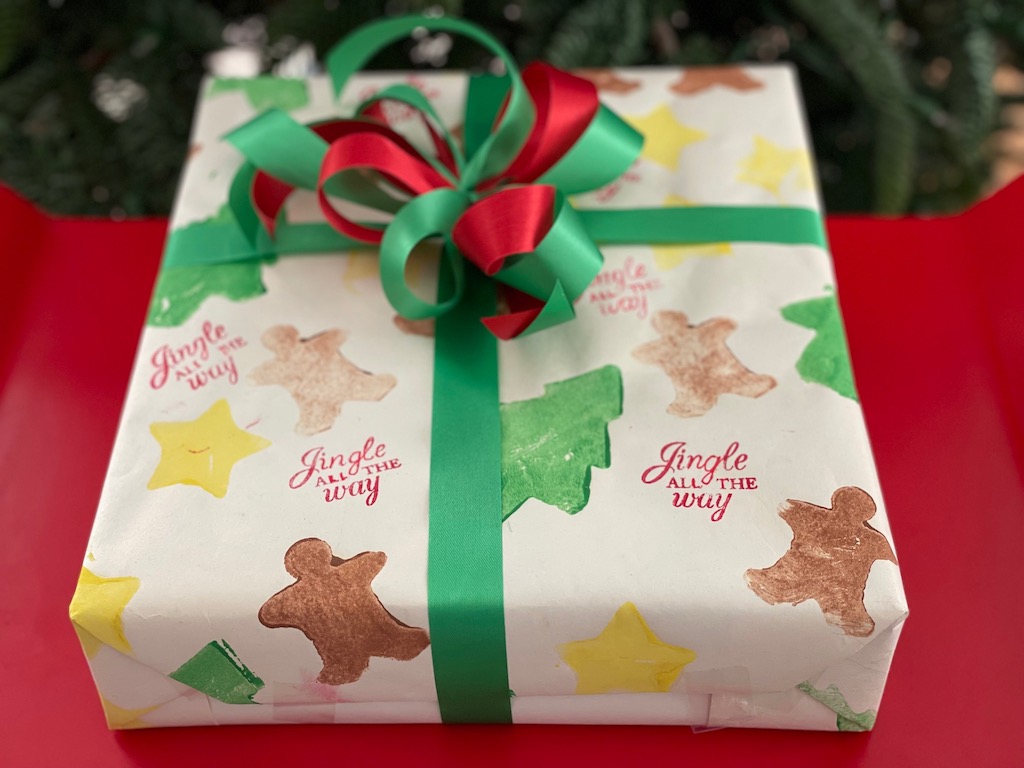
Kids can make adorable Christmas wrap with potato stamps.
Tools needed for photo Christmas ornaments:
- Pencil for tracing
- Scissors
- Sponge brush for glue
Method
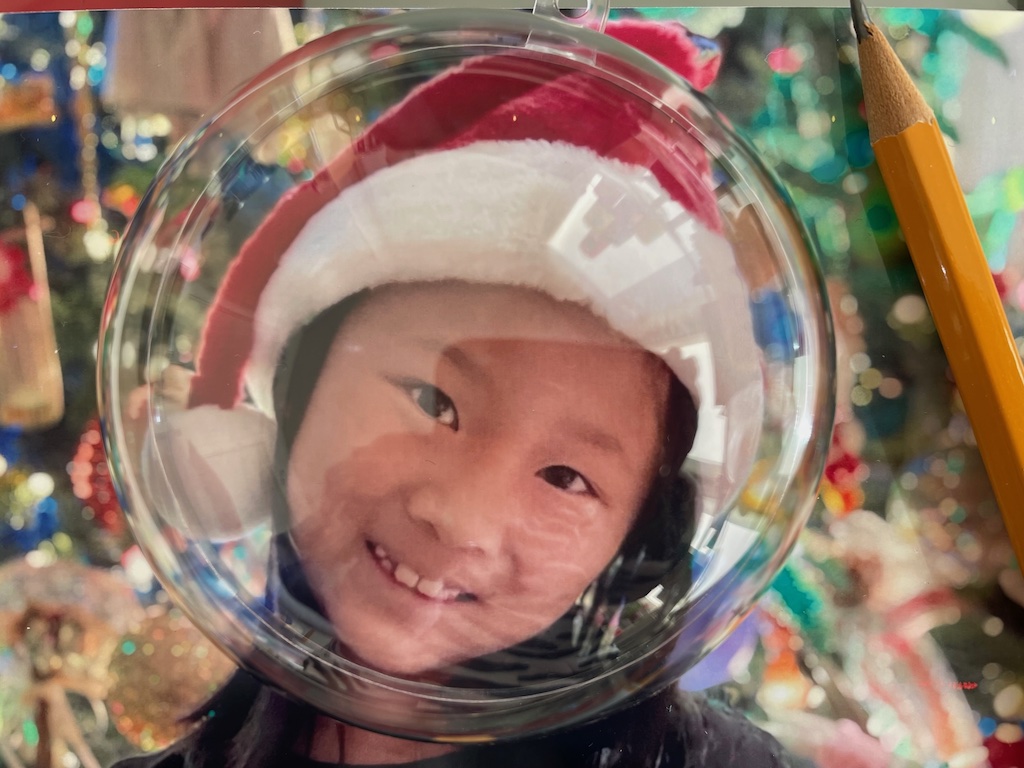
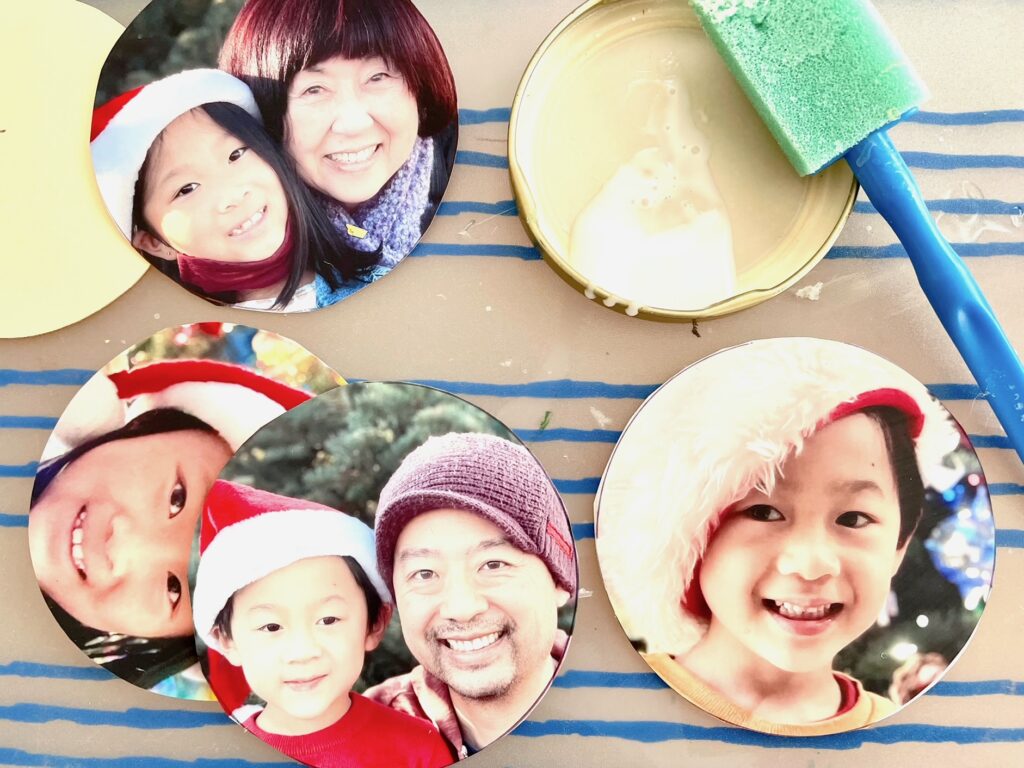
Lay your photograph on a flat surface. Open a plastic ball and lay the slightly smaller half of the ball over your photograph, open-end down. Maneuver the ball over the photo until the image is centered the way you want it. Lightly trace around the ball with a pencil. Cut out the photo along the traced lines.
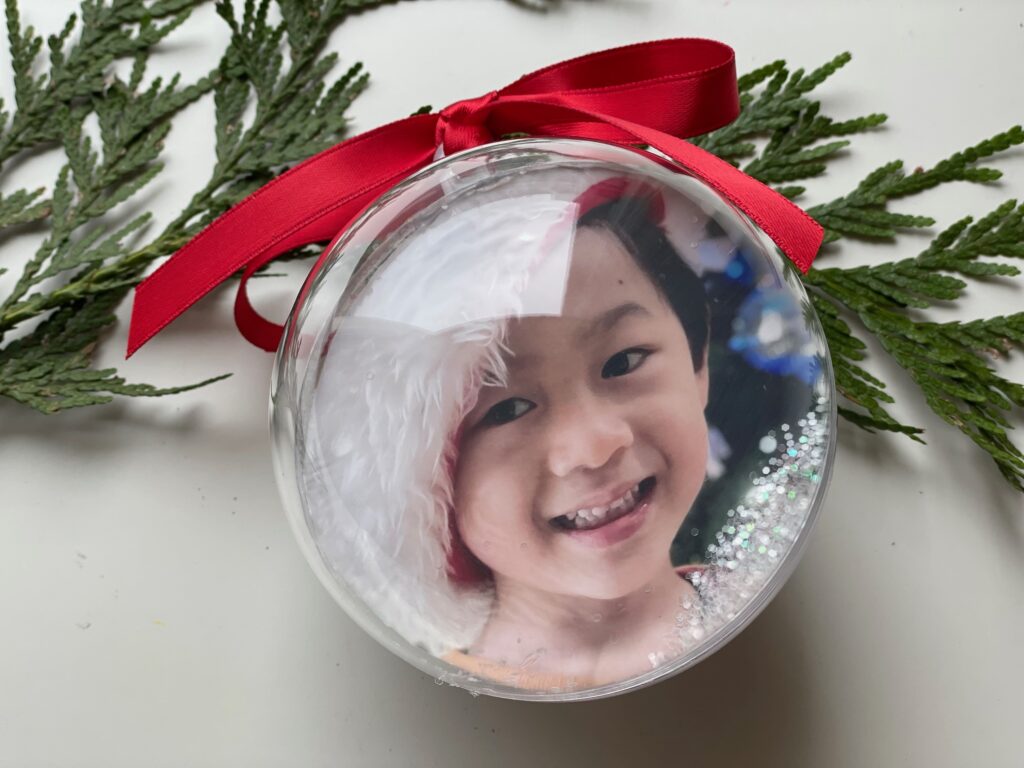
Do the same with a second photo so the ornament can be seen from both sides. You can use the same image or a different one. For example, I made one that showed Miss T on one side, and Little N on the other.
Trace another circle from lightweight cardboard. This will be your backing.
Using a sponge brush (or any kind of inexpensive brush), brush white school glue over the entire front of the photograph and dry completely. Repeat with second photo. The glue coating seems to repel glitter so it won’t stick to the photos when you shake the ball.
Glue both photos onto the cardboard circle, one on each side of the cardboard.
Assembly
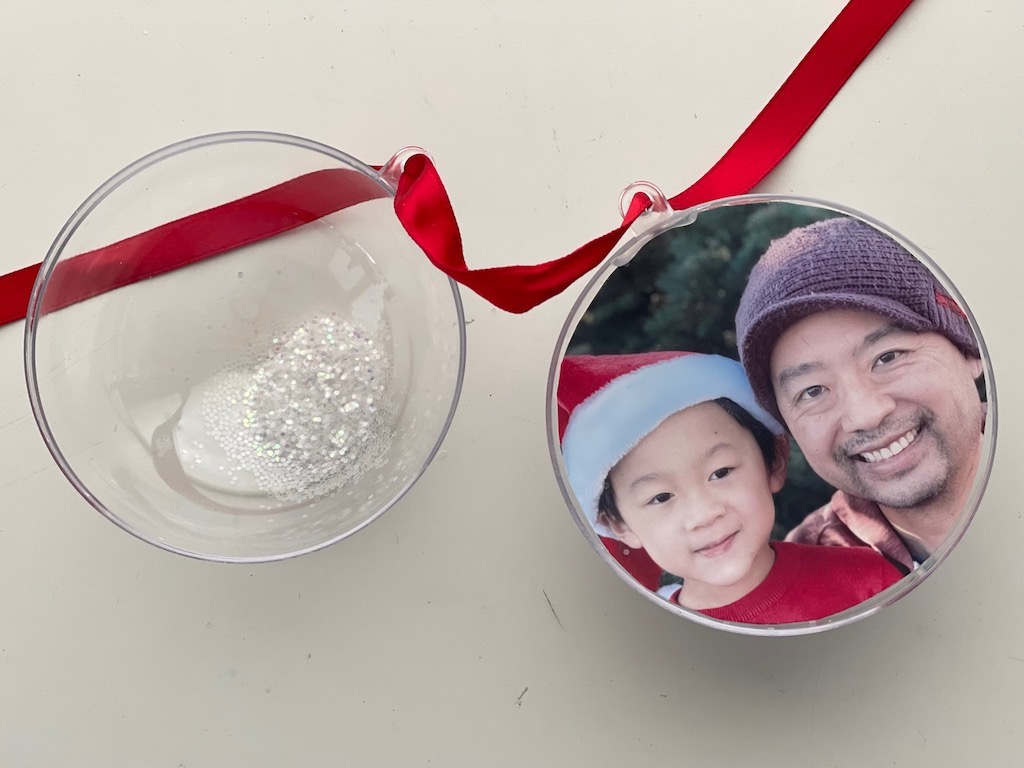
Now spoon some glitter into the slightly smaller half of the ball. Next, lodge the photo circle in the ball half, at the seam. Spoon some glitter over the photo and carefully close the ball. Thread ribbon through the hole for hanging and make a bow.
Notes:
- Chunky glitter seems to work better than fine glitter because it won’t adhere as readily to the inside surface of the ball. Some people rub the inside of the ball with a dryer sheet to minimize cling. The glitter I used, size .035, had no static cling issues.
- Be sure to lock the halves of the ball securely when you put the two halves together.
- If the photo goes in crooked and not exactly in the seam, you can use a heavy-duty needle or T pin to tease out the photo and try again.
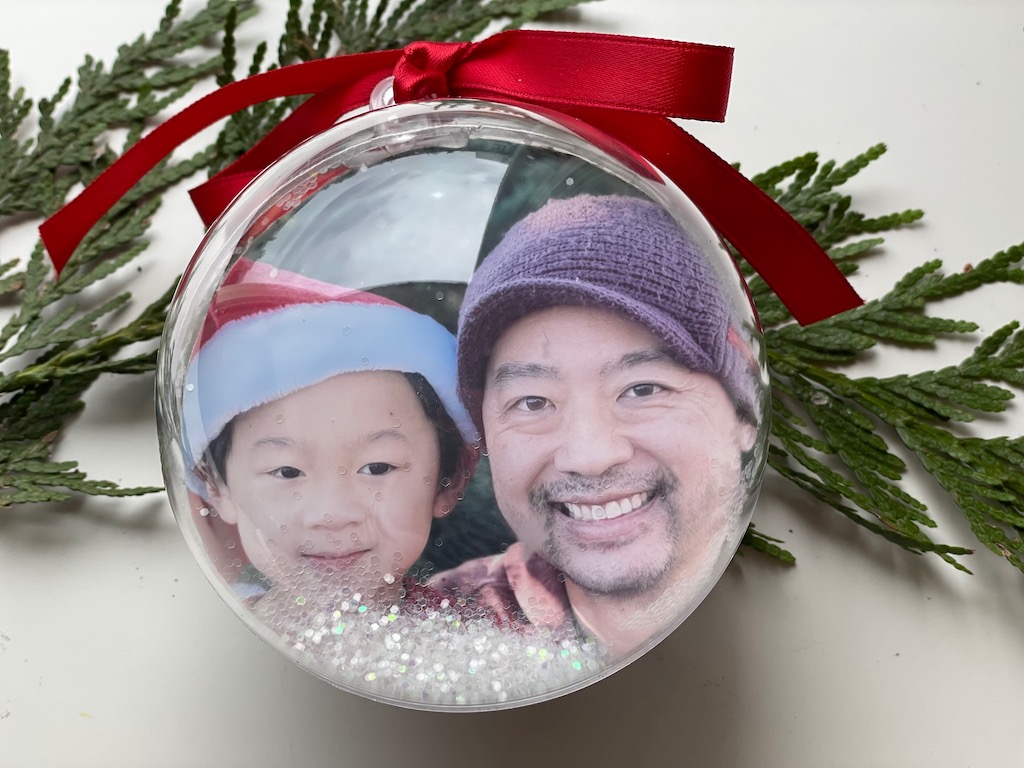
Shake the ornament and watch it snow!
Sign Up!
Don’t forget to sign up for my email newsletter. Every Wednesday, I’ll give you a new idea for an activity or insight to nurture the little ones in your life. Next week, I’ll share another holiday idea.