How to Make Surprise Balls for Any Occasion
Surprise balls are made from crepe paper strips wrapped around small toys and treats. As you unroll the crepe paper ball, it begins to reveal the goodies tucked away between the layers.
I first saw surprise balls at a handcraft store years ago, and I always meant to try making them myself. Finally, this weekend, I did.
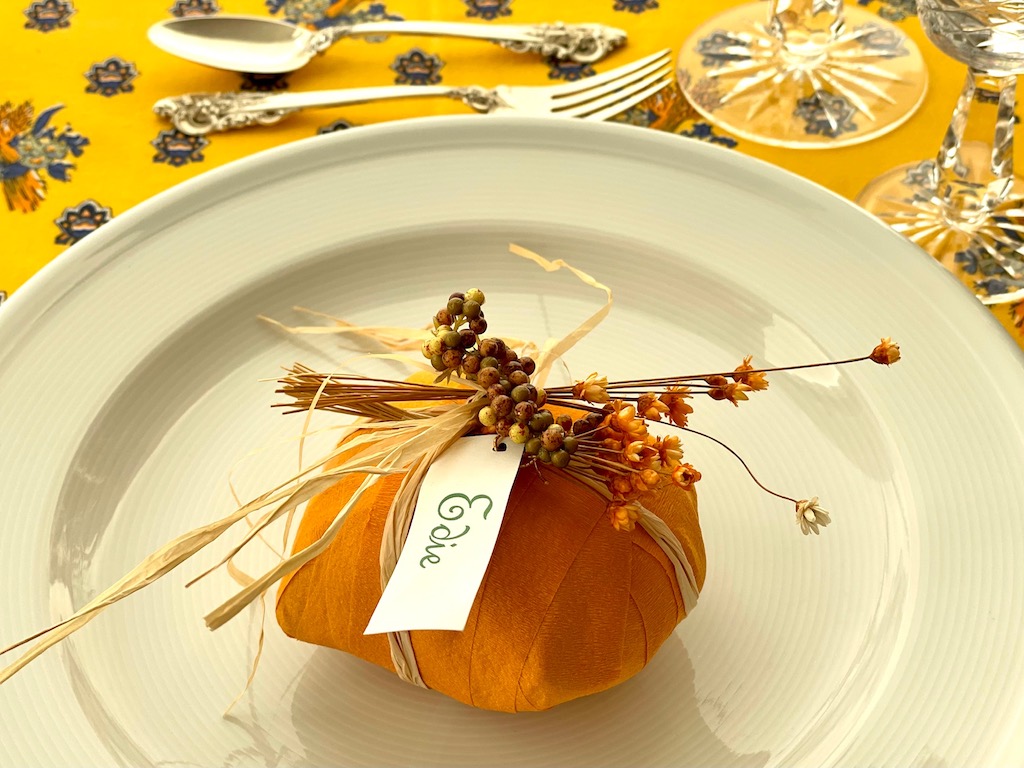
Surprise balls are great for any age–it just depends on what you put inside them. These balls have many uses, too. You can give them as small gifts or party favors. Or, set one at each place setting for a special dinner party.
While I’ve used cheap toys from piñata prize packs for these, you can use pricier items like jewelry, a small fragrance candle, lipstick, or even earbuds–to make it a real gift.
How to Make Surprise Balls
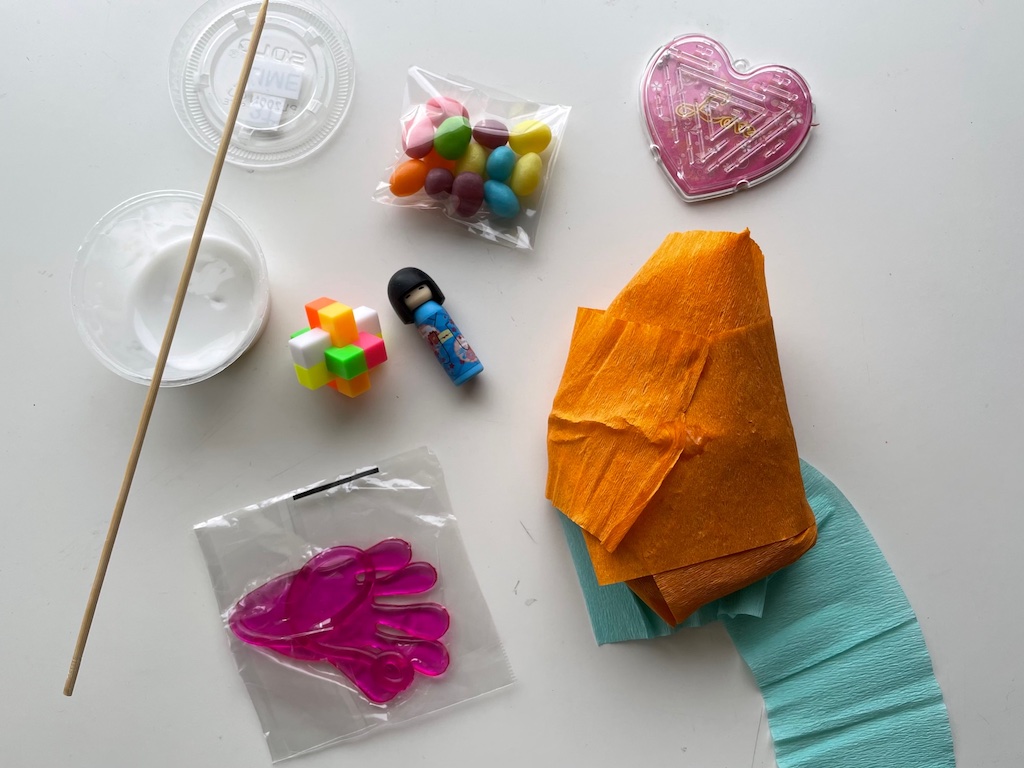
Materials:
- Crepe paper streamers or crepe paper sheets in a variety of colors
- Small toys and treats
- White school glue, such as Elmer’s
What to Do
If you are using crepe paper sheets, cut strips about 1 1/2 inches wide, with the stretchy side vertical on the strip. If you’re using streamers, the strips are precut for you.
Pour some white school glue into a small container. I use a takeout sauce cup because I can snap on the lid afterwards to save remaining glue. Use a skewer for dabbing on small dots of glue, as needed.
Starting with your largest item (or the most special item you want to reveal last), wind crepe paper strips around it, side to side, top to bottom, and diagonally, to cover it completely. Add the next strip and encase another treat as you wrap.
If the end of the strip seems to be coming apart, dab it with a bit of glue to hold; otherwise, just keep winding on the next strip, adding a new treat with each strip.
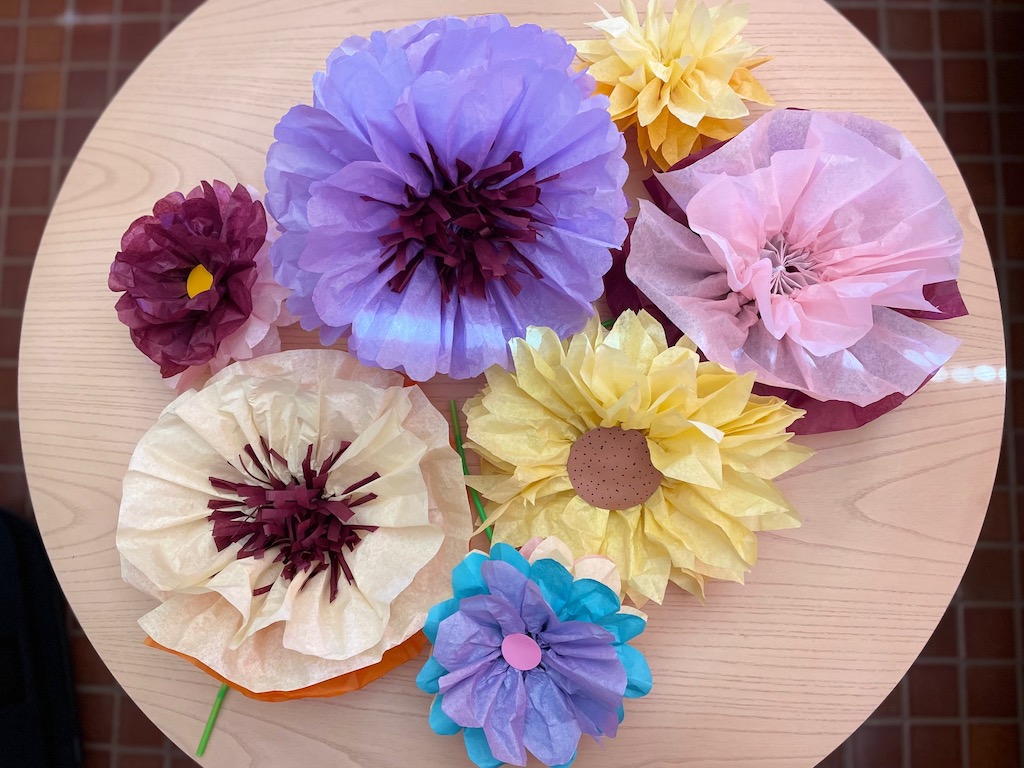
Here’s another great paper craft: make Mexican paper flowers.
Your ball may appear lopsided; try to adjust by filling flat sides with a treat and winding more crepe paper to fill in the holes.
Continue until all the items are encased in the ball. It’s okay if you don’t end up with a perfectly round ball.
Toys and Treats for Surprise Balls
I used leftover piñata prizes from our Camp Grandma end-of-camp party last year, plus a few things I had on hand.
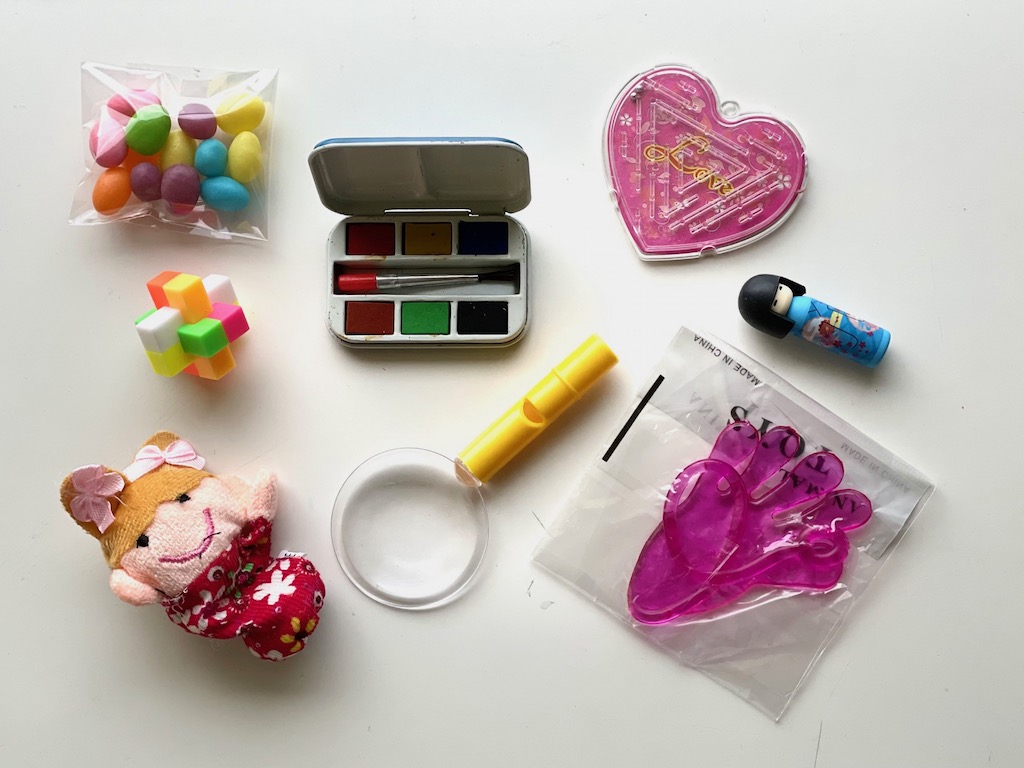
Some Ideas for Kids’ Surprise Balls
- Stickers
- Tattoos
- Candy and gum
- Small cars
- Cute erasers
- Mini packets of slime
- Barettes
- Nail stickers
- Fidget toys
Some ideas for Adult Surprise Balls
- Mini bar of French milled soap
- Seed packet
- Travel mending kit
- Pretty washi tape
- Needle packet
- Mini bottle of hand sanitizer
- Lip gloss
- Nail polish
- Wrapped chocolate truffle
- Tiny picture frame
Some Seasonal Ideas
- A small Christmas ornament
- Small cookie cutter in the shape of a seasonal image (gingerbread men, bunnies, hearts, etc.)
- Valentine chocolate hearts
- Plastic Easter egg with a special treat inside
- Hanukkah gelt
- Chinese red money envelope
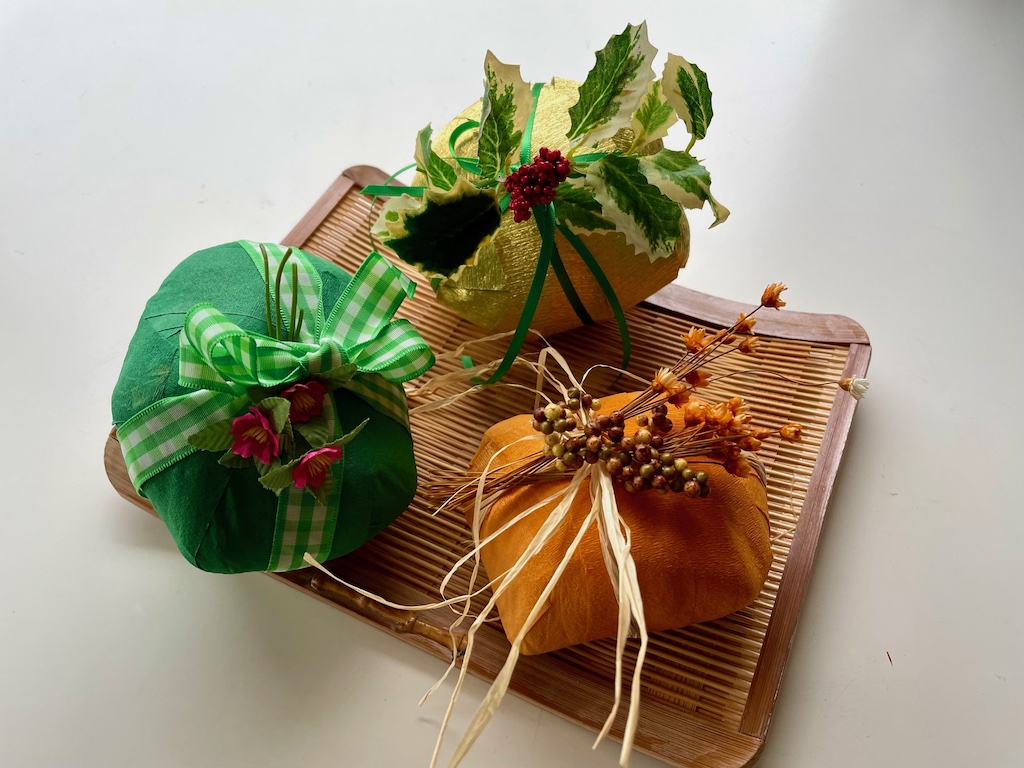
How to Decorate your Surprise Ball
Once you’ve made the balls, you can simply decorate it with stickers.
Or tie on a ribbon like a present. I used gingham for the springtime ball, raffia for fall, and narrow satin ribbon for a winter ball covered in shiny gold crepe paper.
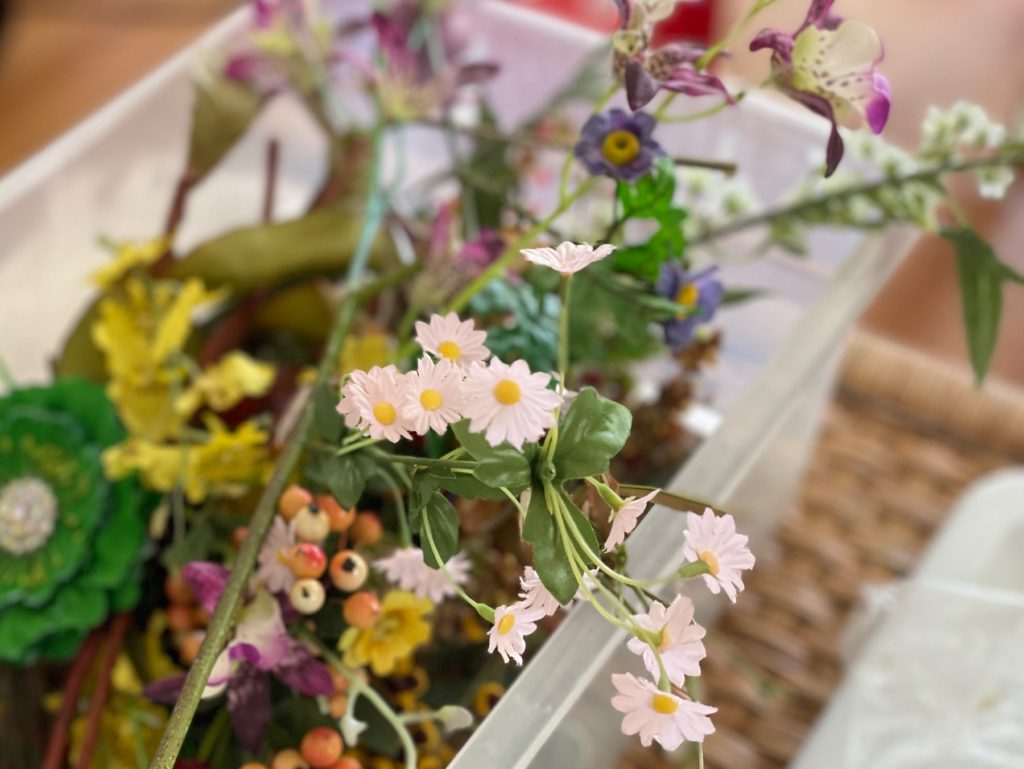
Then I added a seasonal decoration: a small nosegay for spring, straw flowers and berries for fall, and a sprig of holly for winter.
Check out my Pinterest page for more decorating ideas.
Sunshine Surprise Ball
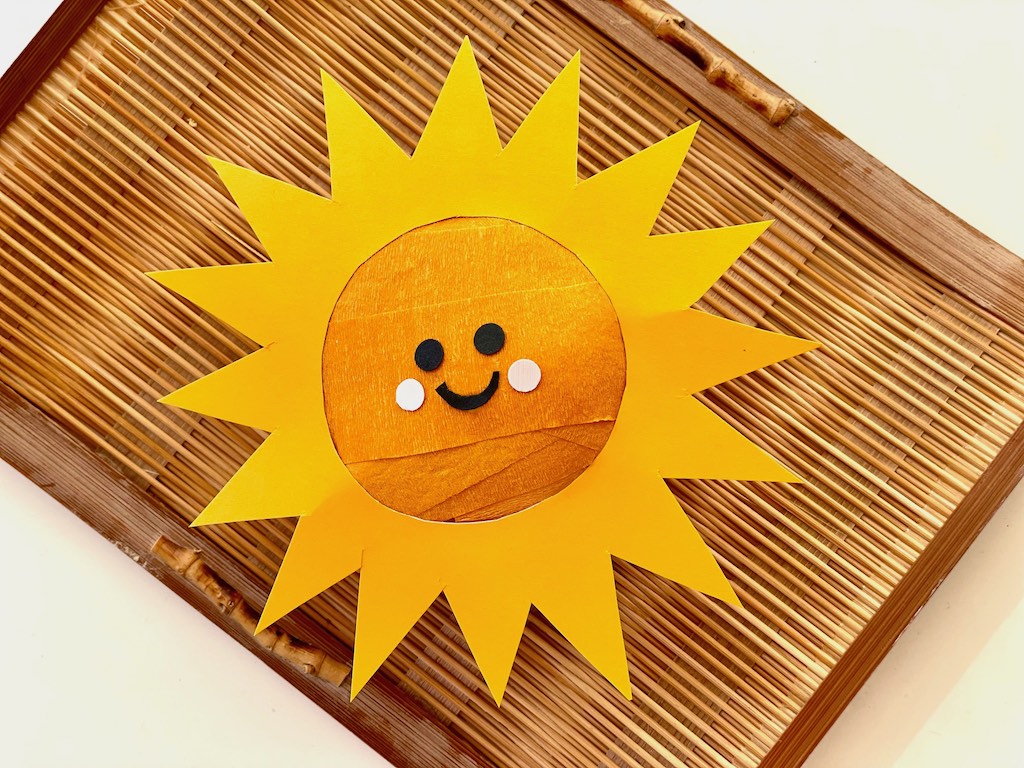
Start with an orange or yellow surprise ball. Now make a pattern for the rays of the sun.
On a discarded manila file folder or paper of similar weight, trace a circle from a cup; the circle should be smaller than the circumference of the ball. Leave a margin of at least 3 inches around the circle to accommodate the rays.
Cut out the circle and discard. Now fold the remaining manila folder so the hole is halved, then fold in half again to divide the hole into quarters. Between each two folds, fold again. Now the hole is divided into eighths. Fold between each two folds again. The hole is now divided into sixteenths.
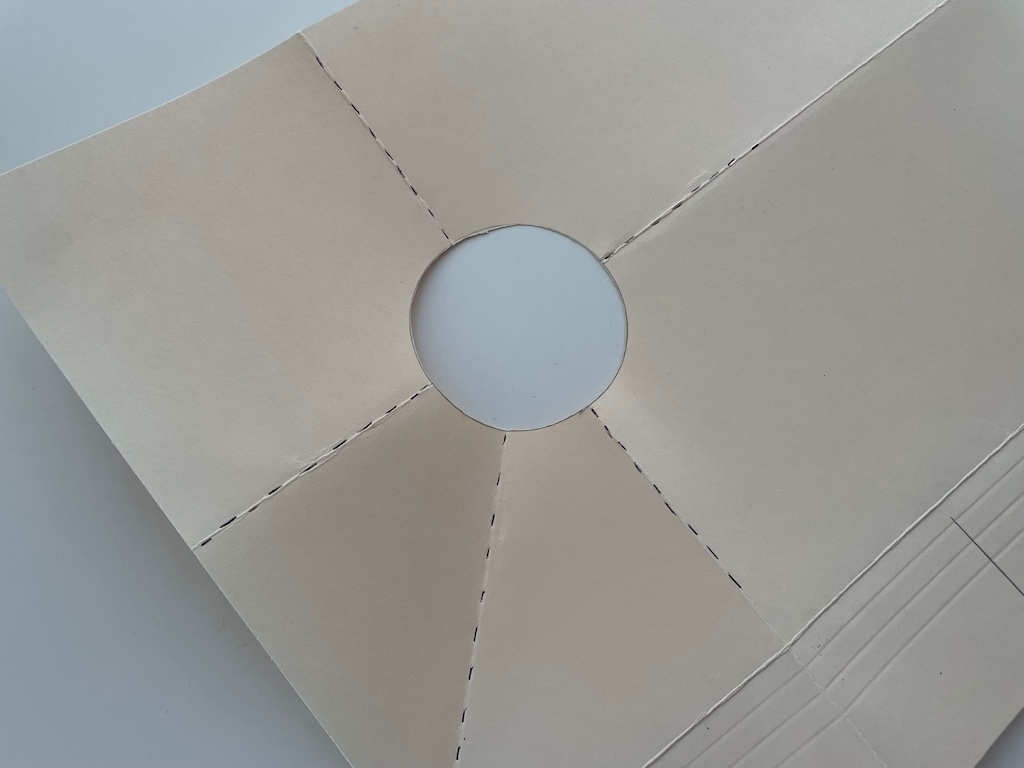
Flatten the manilla folder and measure out a distance from the circle along one of the folds to mark the end point of the sun’s rays. I used 1 1/2 inches (marked in red in the sample below). Now measure the same distance along each fold line.
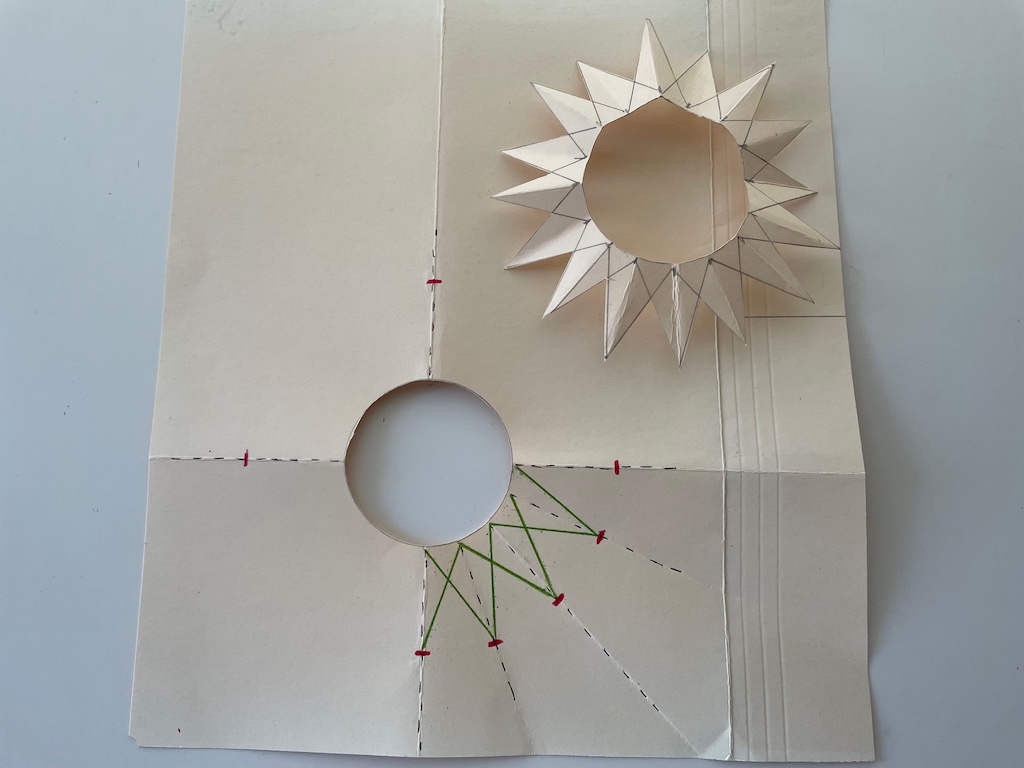
Finally, using your ruler, draw a diagonal line (shown in green in photo above) from each (red) mark to the circle, starting at the top of one fold and connecting the line to the bottom on the next fold. Repeat for all folds. Cut out your pattern.
Trace the pattern onto yellow cardstock, and cut out. Use hole punches from black cardstock for the eyes and from pink cardstock for the cheeks. Freehand draw a mouth on black cardstock and cut out. Affix with white glue.
Sign Up!
Don’t forget to sign up for my email newsletter. Every Wednesday, I’ll give you a new idea for an activity or insight to nurture the little ones in your life.
This is a great idea… also for Halloween treats!!
Or random nuggets under the Christmas tree or on a dining table…during meals. Great last minute surprises. Love this kind of spontaneity. Quick to make with odd treats or surprises.
That sunshine idea… multiples could be hung on a rod or during Christmas as an airmobile in the style of Calder’s. A hanging advent calendar!
Carol, thank you for all your fabulous additional usage ideas! You are so creative.