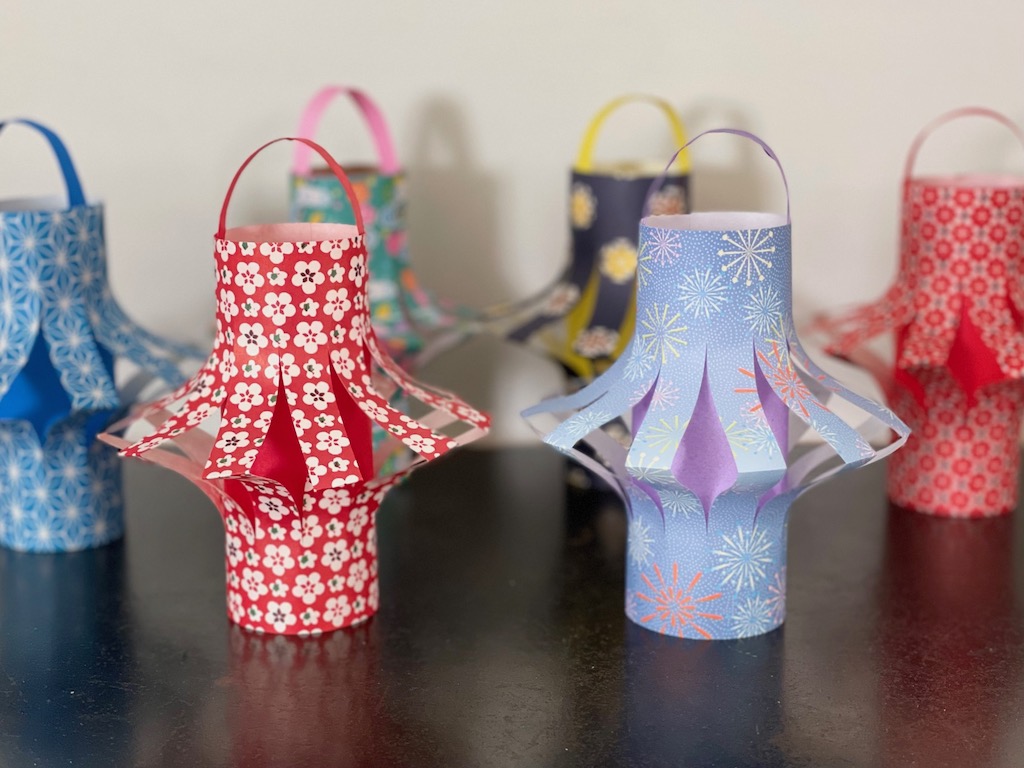
Make DIY Chinese Paper Lanterns in the New Year
The Chinese Lantern Festival is on February 5 this year, following the Lunar New Year which began on Sunday and ends February 1st. Kids can have fun making their own DIY Chinese paper lanterns.
The Lantern Festival celebrates the first full moon of the Lunar New Year. During the festival, streets are adorned with lanterns and special food is served. The festival is enlivened by dragon dances, lion dances, and fireworks.
How to Make your Own DIY Chinese Paper Lanterns
These lanterns are fairy quick and easy to make and require few materials. I used origami paper, which is Japanese, not Chinese, but I love the pretty patterns, the weight of the paper, and the square size. In any case, the art of folding paper likely originated in China. You can use construction paper or any other paper at hand.

These DIY Chinese paper lanterns require measuring, making it a good project for older kids who can use a ruler. For younger children, rule the paper yourself and hand it to them for cutting.
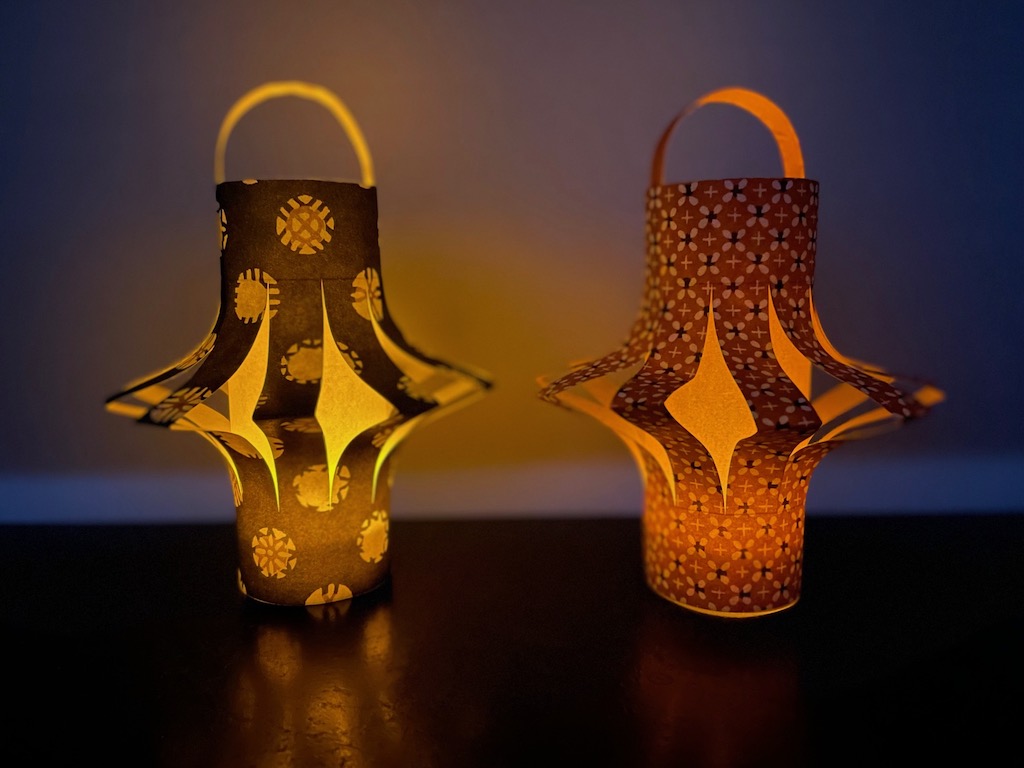
I created these lanterns so you can insert a battery-operated tea light to give them a glow. But you can skip the tea lights–they’re still pretty without.
Materials Needed
- Patterned and solid origami paper, (about 6 X 6 inches)
- Glue stick
- LED tea lights (optional)
Tools Needed
- Ruler
- Pencil and eraser
- Scissors
Overview of the DIY Chinese Paper Lanterns
Basically, you will be making a shorter inner tube with plain origami paper. You’ll take the patterned origami paper, cut strips in the middle of the paper, and glue this paper to the tube. Because the tube is shorter than the patterned paper, the cuts of the outer paper will fan out, giving the lantern its shape.
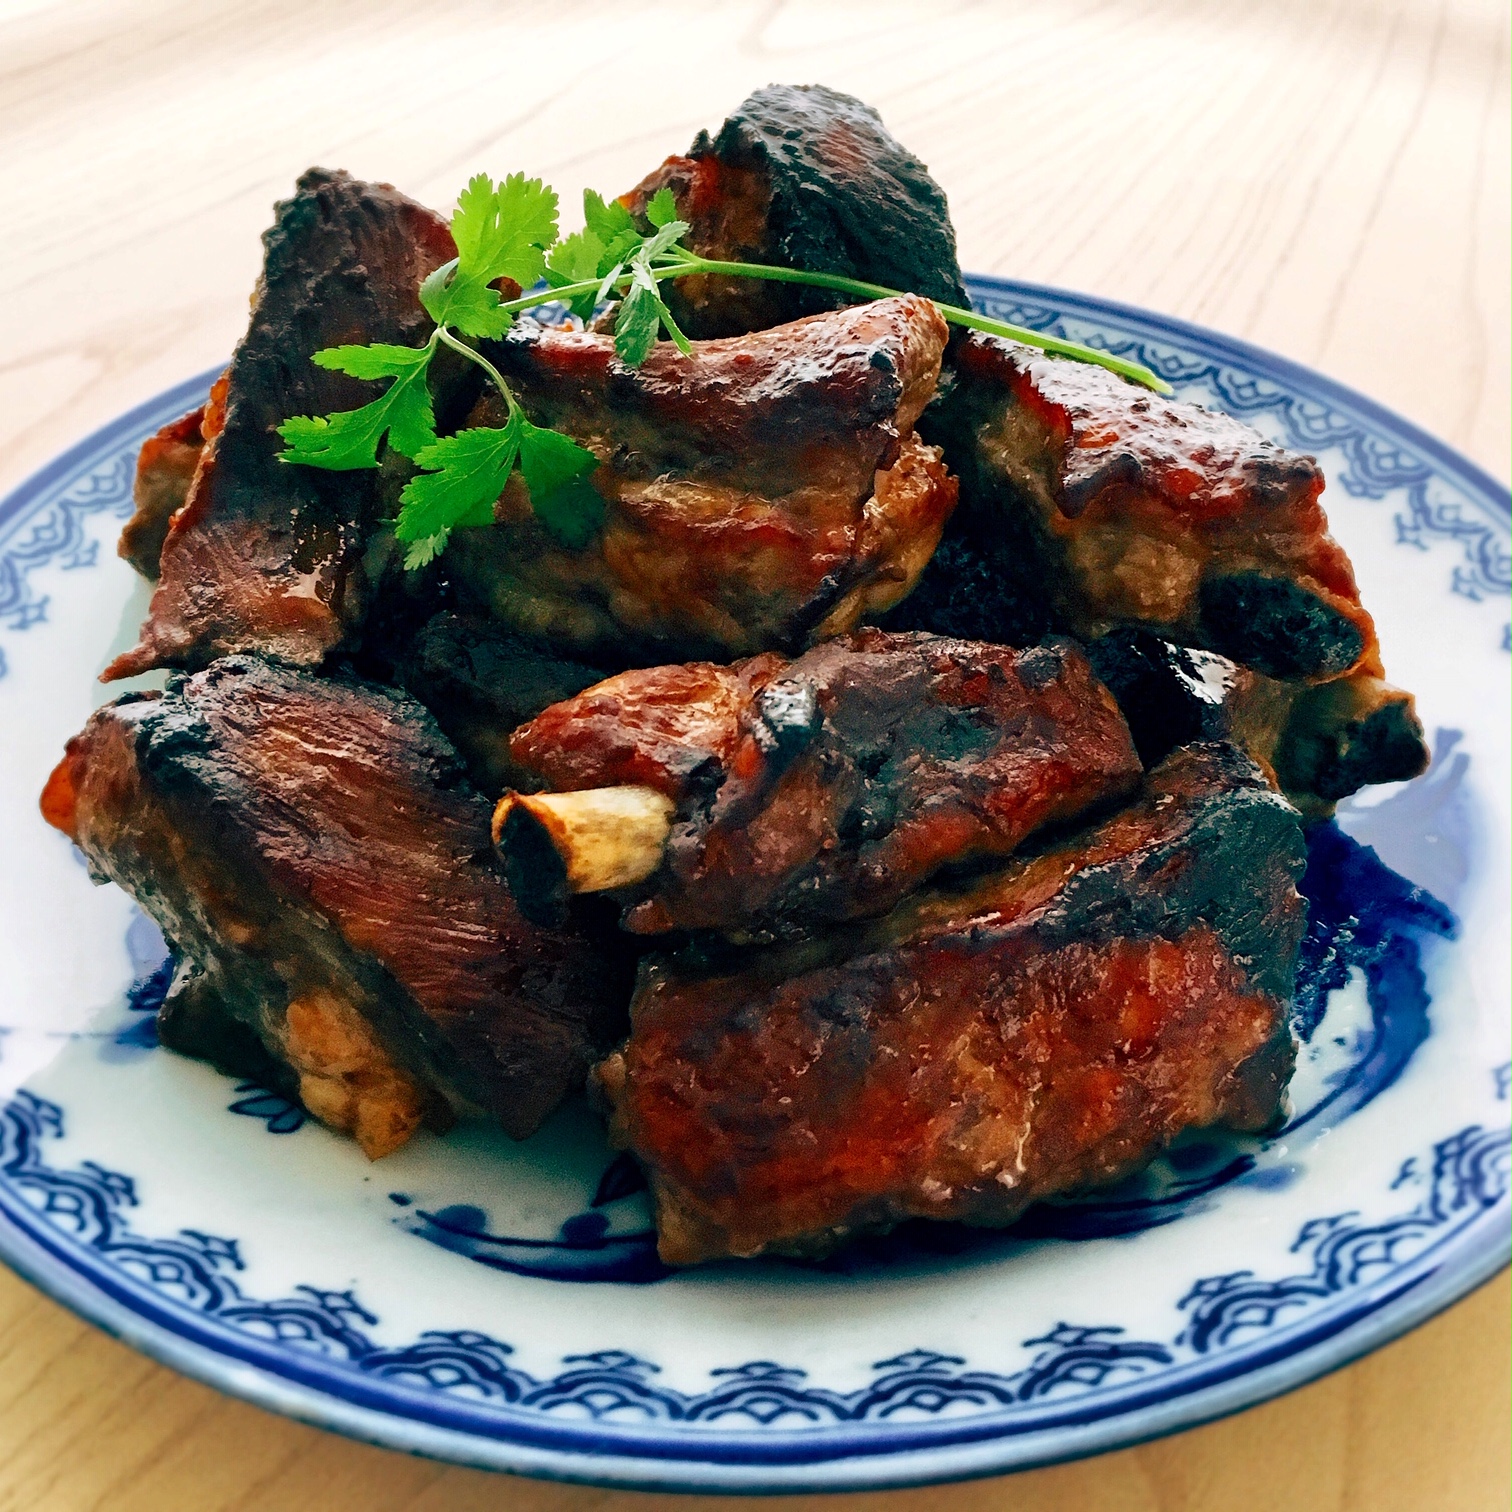
Make this Easy Spareribs Recipe for Chinese New Year.
How to Prepare the Inner Tube
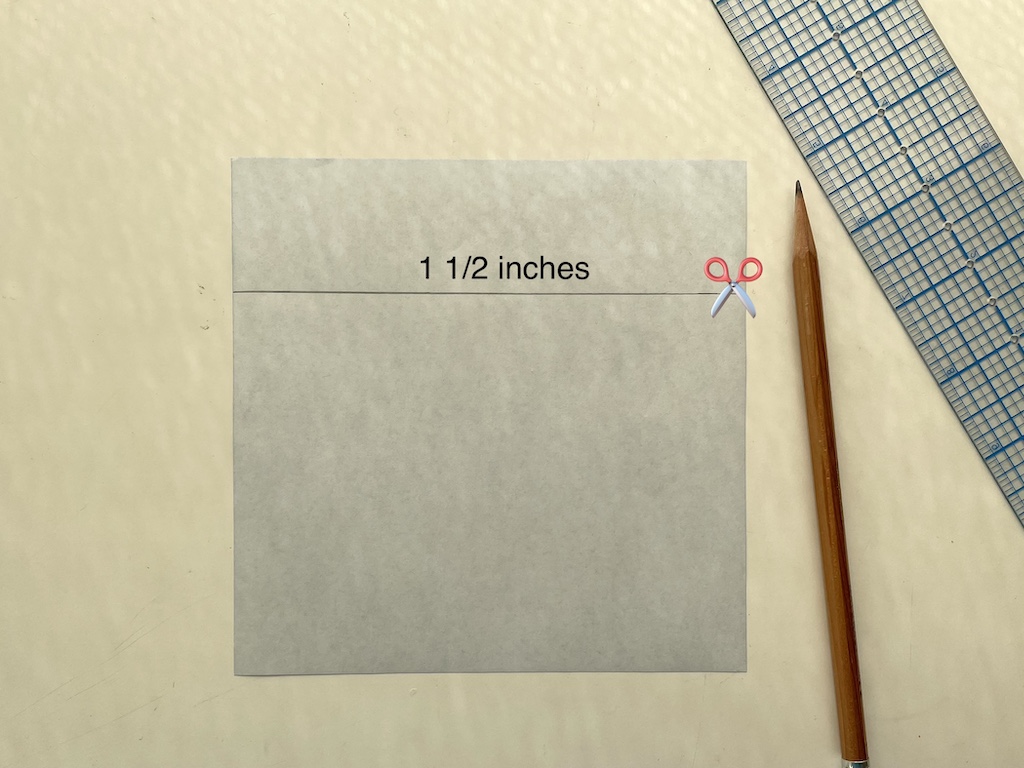
- Start with a solid sheet of origami paper turned color-side down. Measure 1 1/2 inches from the top of the paper and cut off this excess. Save the excess paper for the lantern hanger.
2. Now measure 1/2 inch from one short side of the paper and rule it with your pencil; this will be your glue line.

3. Using a glue stick, spread the glue, top to bottom, from the edge of the paper to your glue line. Roll the paper, colored side out and secure to the glue line to form a tube. Set the tube aside.
How to Cut the Lantern Paper
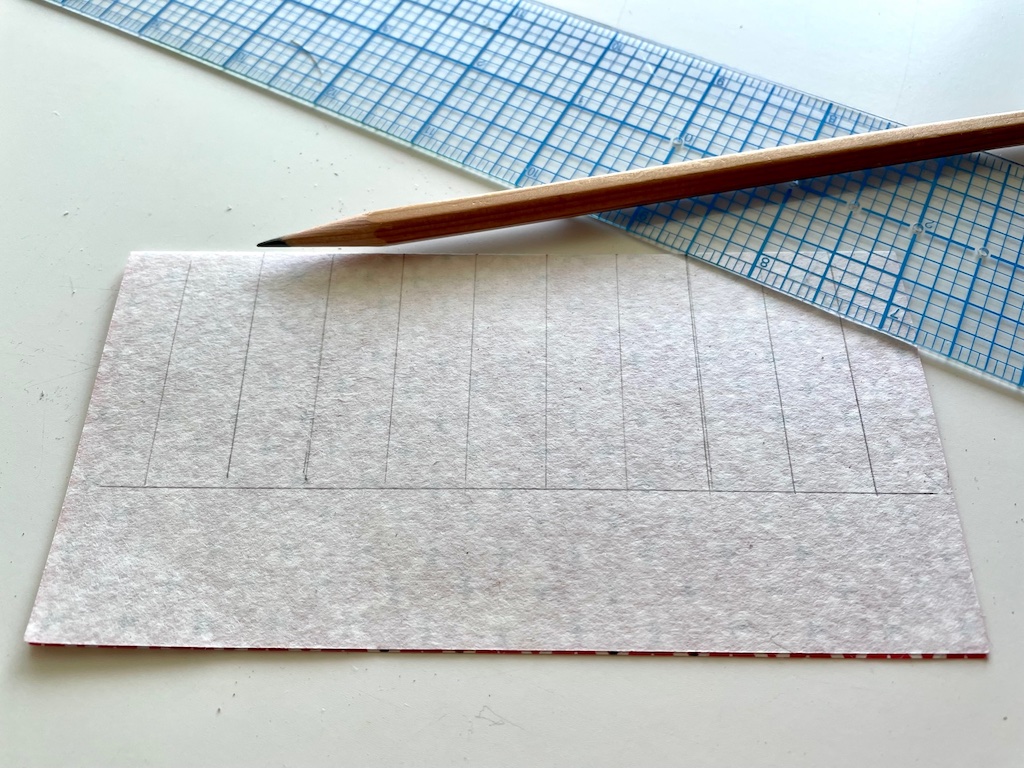
4. Fold your patterned paper in half, right sides in. Measure 1 inch from the bottom (opposite side from the fold) and draw a line. This will be the base line for the lantern.
5. Now measure and rule 1/2-inch lines perpendicular to the 1-inch line to form the strips. Because origami paper isn’t exactly 6 inches, your last strip will not be a full 1/2-inch wide. That’s okay, because that last strip will be overlapped.
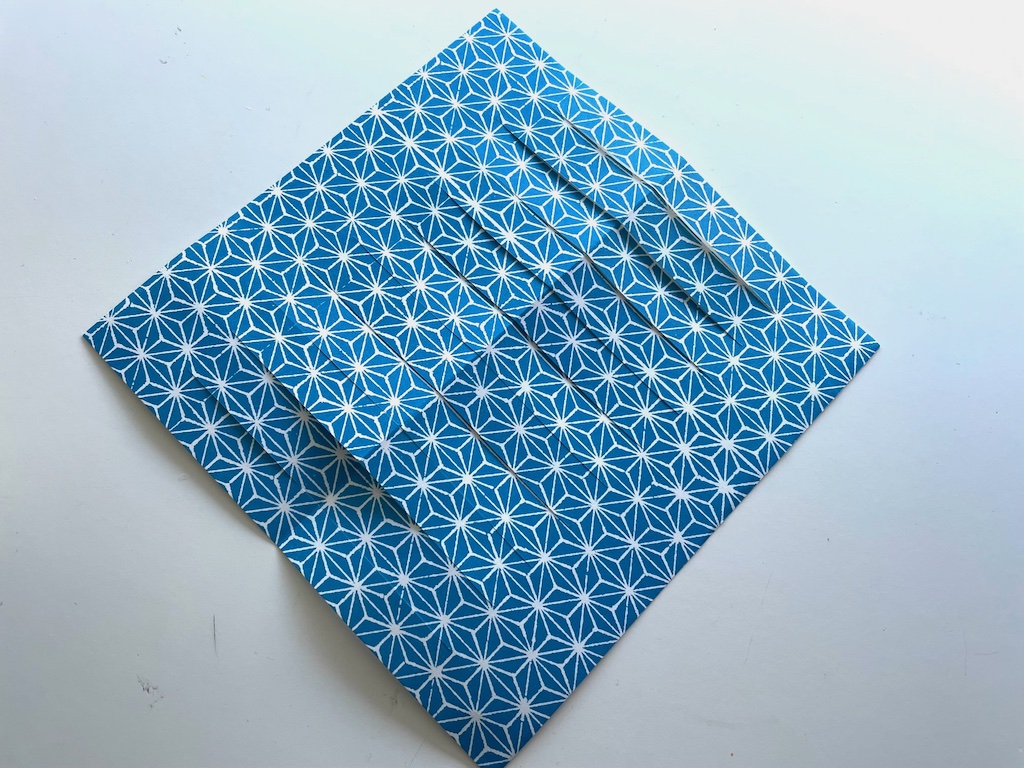
6. Cut the strips, following your pencil markings, from the fold line to the base line. (Because the paper is folded, you are cutting two thicknesses together.) Now open up the paper to the patterned side, and refold the fold line, this time with pattern side out, so the strips are now folded outward.
How to Attach the Lantern
7. Flip the paper back, so the pattern side is down. Spread glue along the base line from the outer edge of the paper to just to where the strips start so you have an inch of glued space. Now spread glue to the opposite side (from the top of the paper) to where the strips start. Now you have two one-inch bands of glue, at the top and bottom of your paper.
8. Starting at the base line, press the patterned paper to the pre-prepared tube while simultaneously pressing the top side, matching the edges of the patterned paper to the edges of the tube.
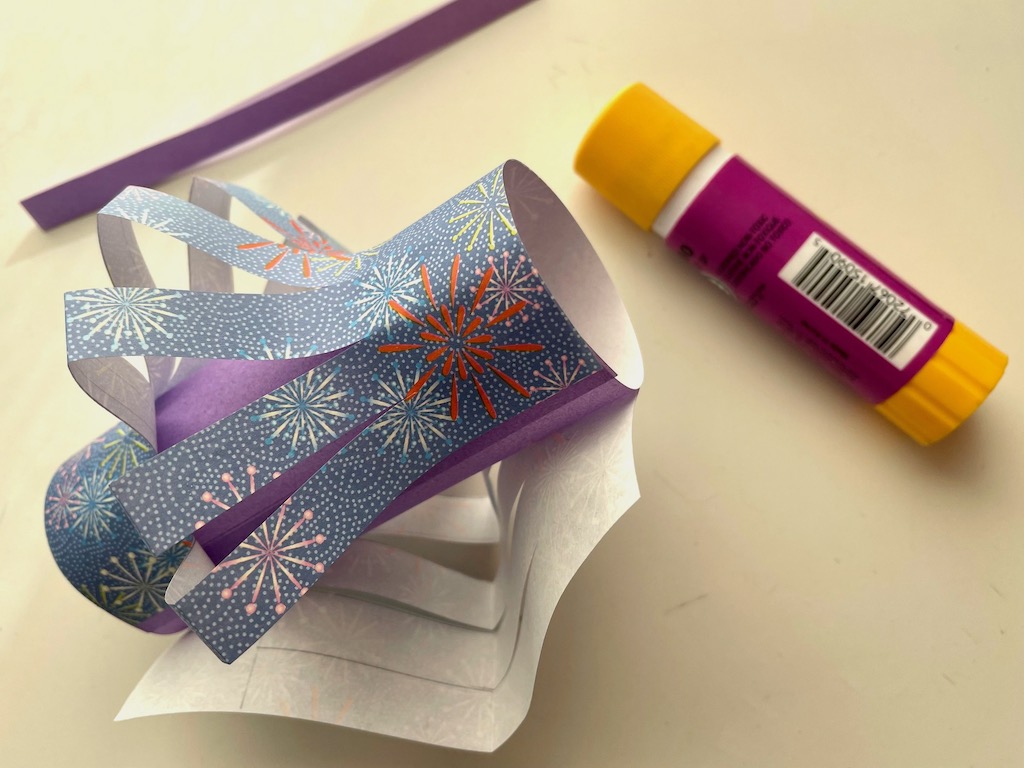
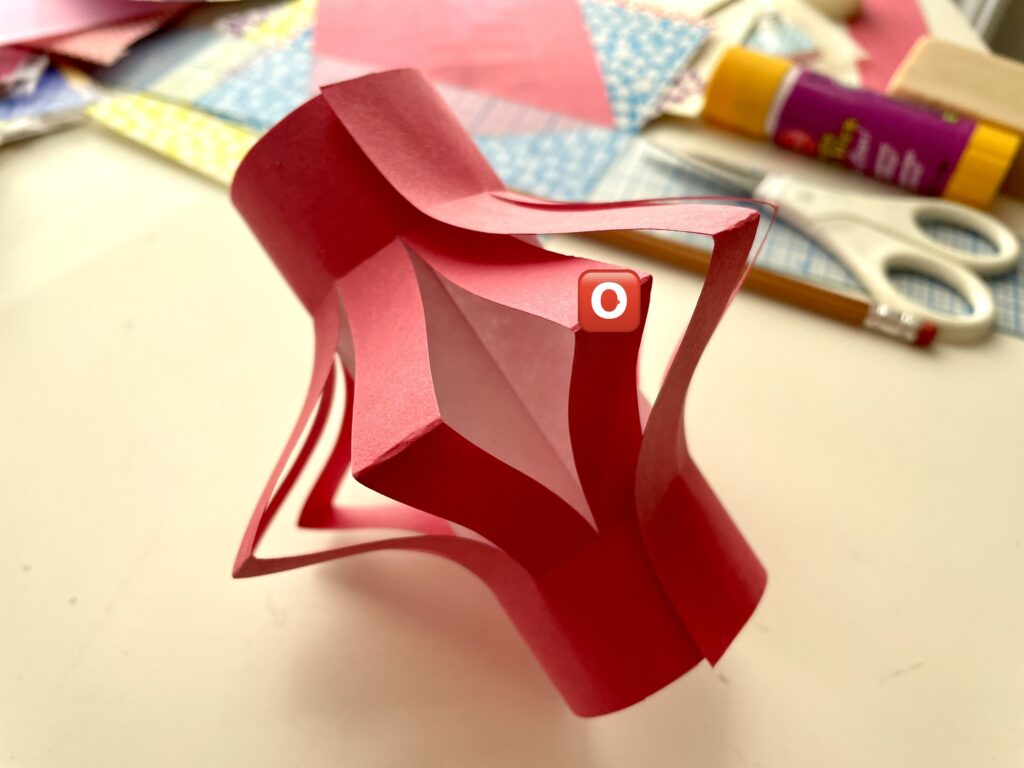
Work your way around the tube, little by little. Since the tube is shorter than the patterned paper, the folded strips will automatically spread out, giving the lantern its look.
9. When your lantern paper is glued completely around the tube, overlap the last strip. Add a dot of glue to the fold on the bottom strip and glue the fold to the top strip. This isn’t necessary, but just makes the lantern neater.
10. To make a handle for the lantern, cut a 1-inch strip from the excess paper you saved. Fold it lengthwise in thirds and glue together. Measure 1 1/2 inches from each end and mark with a pencil. Add glue to each end up to the 1 1/2-inch mark. Affix handle to lantern, gluing the handle to the inside, and pressing handle and lantern together with fingers until it is secure.
Paper Lantern Variations
- You can use any kind of paper such as construction paper or gift wrap paper, instead of origami paper. Just cut the paper to a 6- X 6-inch square and then follow the basic lantern instructions. Use white printer paper for the inner tube.
- Instead of making an origami tube, you can use an empty toilet paper roll. Paint the roll with tempera or acrylic paint. This lantern will be opaque, so not suitable for an LED light.

How to Use your Chinese Paper Lanterns
- Group them on the dinner table for a table centerpiece.
- Thread them through ribbon or string and hang them decoratively from the ceiling.
- Use them for party decorations.
- Have a lantern-making party.
What Kids Learn from this Activity
This is a good way for kids to learn about the Lunar New Year and its culture. With so many global festivities celebrated each year, make a point of doing an activity to learn about each one to give kids an international outlook.
YouTube has a good collection of videos for kids, for any occasion. For the Lunar New Year, here are two of many:
- A basic Lunar New Year introduction from Scholastic.
- A more detailed one with puppets from Socratica Kids.
The lantern-making activity will also teach kids:
- How to use a ruler to measure accurately
- An opportunity to practice small motor skills
Happy Lunar New Year!
Sign Up!
Don’t forget to sign up for my email newsletter. Every Wednesday, I’ll give you a new idea for an activity or insight to nurture the little ones in your life.
These are so pretty! I made some to send to my 2yr old granddaughter. I think she’ll like the lights and colors.
I used sturdy wrapping paper cut in 6-inch squares since I didn’t have origami paper.
Thanks so much for your comments, Rosemary! I’m sure your granddaughter will love the lanterns–made with so much love.