How to Keep a Child’s Stuffie from Getting Lost
With the approach of summer and family travel plans underway, it’s a good time to think about how to protect a child’s beloved stuffie companion. Even staying at home, a stuffie can be lost at the playground or after an outing.
The way I keep track of my own gear is by attaching an Apple AirTag to my travel umbrella and another to my suitcase. It alerts me when I’ve left those items behind and allows me to retrieve them.
So why not use one for a child’s favorite stuffie?
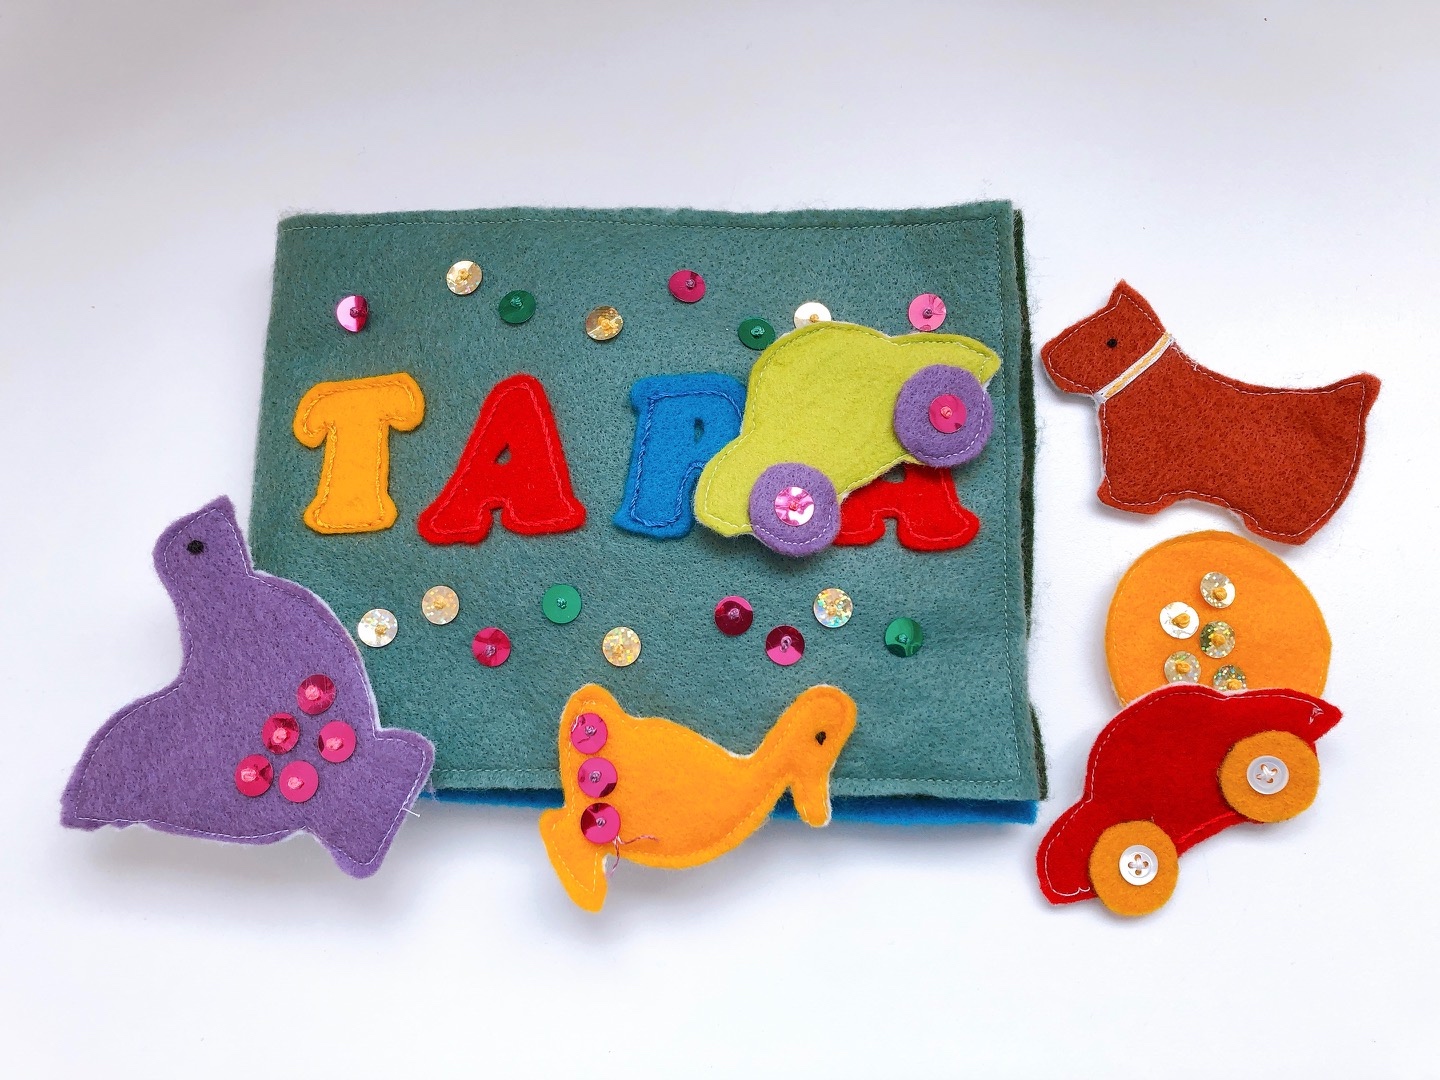
More felt projects: create a felt book for a toddler with pieces to arrange and rearrange.
Aside from an AirTag, which is a bit pricey but does go on sale occasionally, you can also find alternative electronic trackers, including some that are less expensive than Apple’s.
Designing an AirTag Holder
The challenge was to find a way to affix the AirTag to the stuffie in an unobtrusive way. I wanted the AirTag to stay hidden, although it’s unlikely it can be reused by a thief.
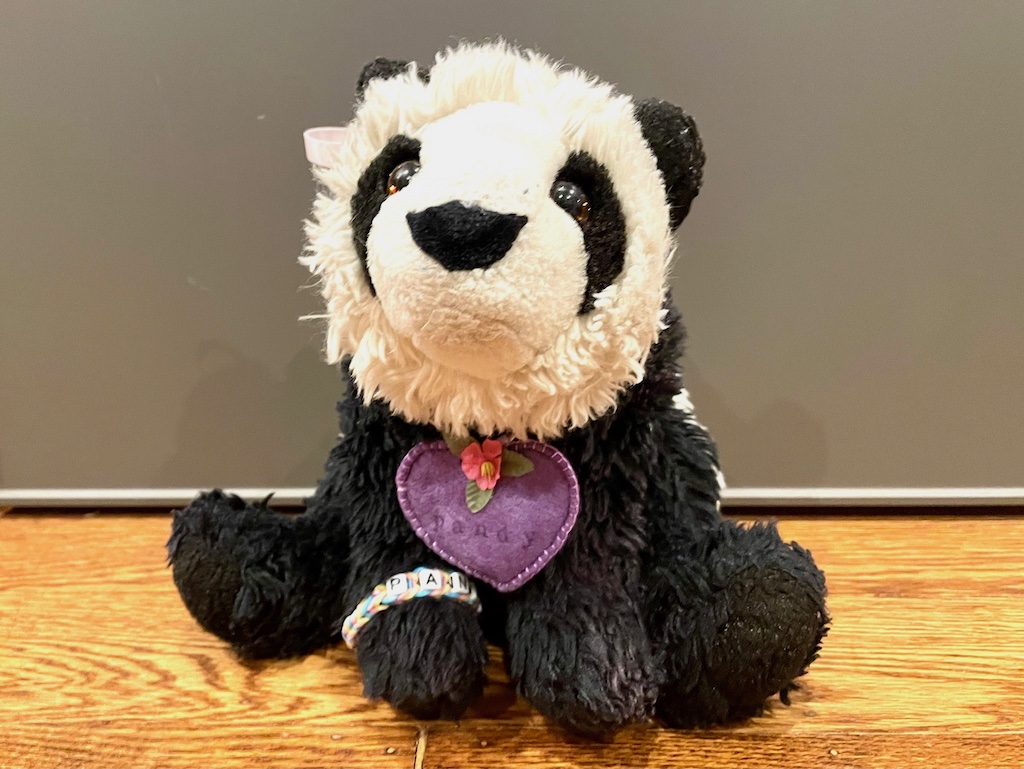
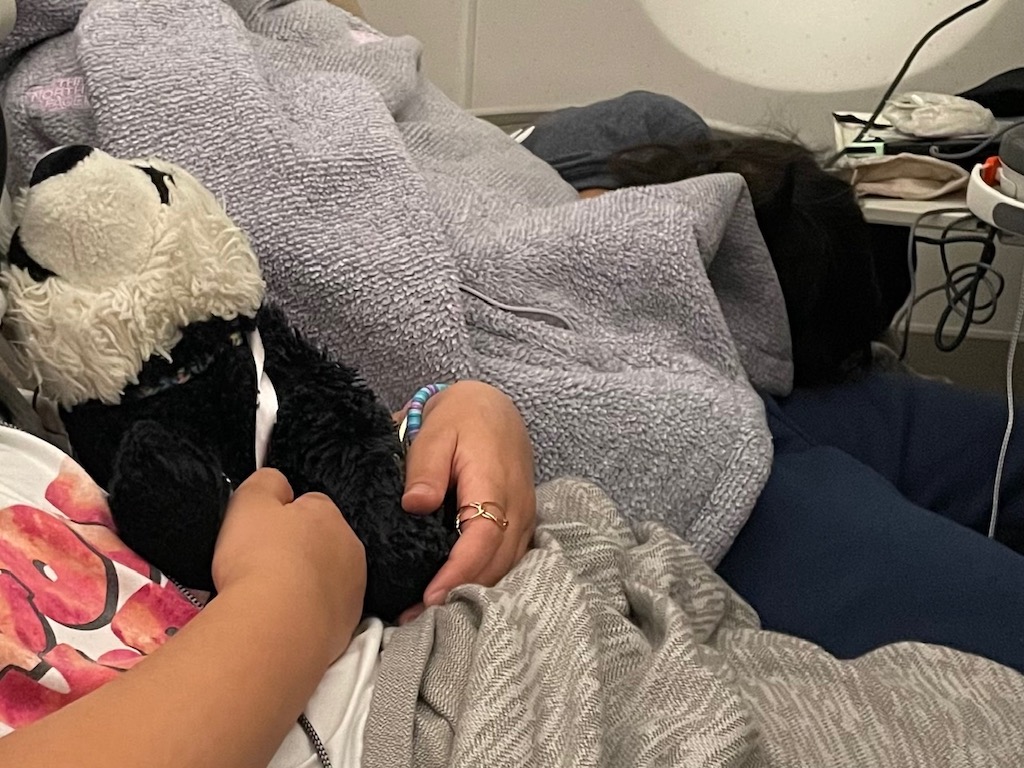
So, I came up with a heart-shaped AirTag holder for Miss T’s favorite stuffie, the well-worn and much-beloved Pandy. Pandy has been to faraway places like Paris, Tokyo, and Bangkok. I know Miss T would be devastated to lose this adored panda companion.
I thought it would be good to have the panda’s name on the AirTag holder. That makes it more personal, and if Pandy is found, she’s more likely to be returned; the finder will know that this stuffie is special enough to have a name.
In addition to the AirTag, you might want to add a lost-and-found tag. While the AirTag will track the stuffie, if someone finds Pandy and is trying to return her, they will need an email address and/or a mobile number to alert the owner. You’ll have to decide what contact information you feel safe to share–certainly not your home address.
Make bean bags from felt scraps and play our fun, bean bag games!
Felt Heart AirTag Holder
Materials Needed:
- Felt
- Sheet of scrap paper to make a pattern
- Ribbon (polyester satin preferred)
- Embroidery thread (optional)
- Small artificial flower (optional)
Tools Needed:
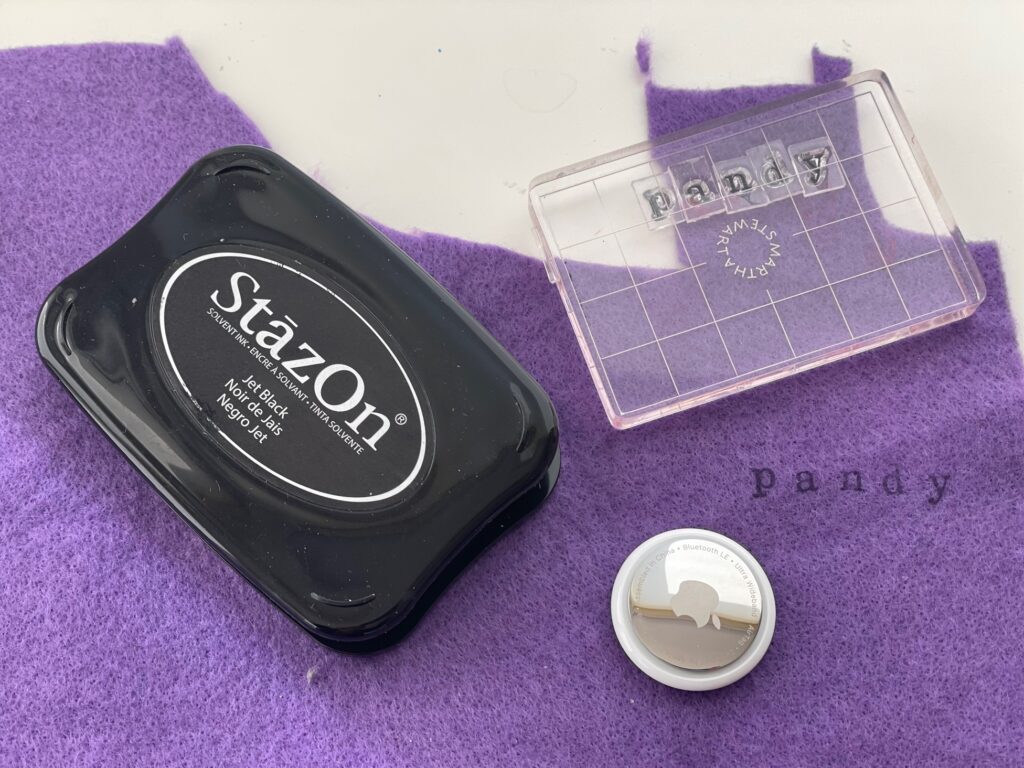
- Alphabet stamps and indelible ink stamp pad (optional)
- Pencil
- Sharp fabric shears
- Sewing pins, needle and thread
- Embroidery needle (if embroidering)
- Sewing machine (or you can hand-stitch)
How to Make the AirTag Holder
Print the Name:
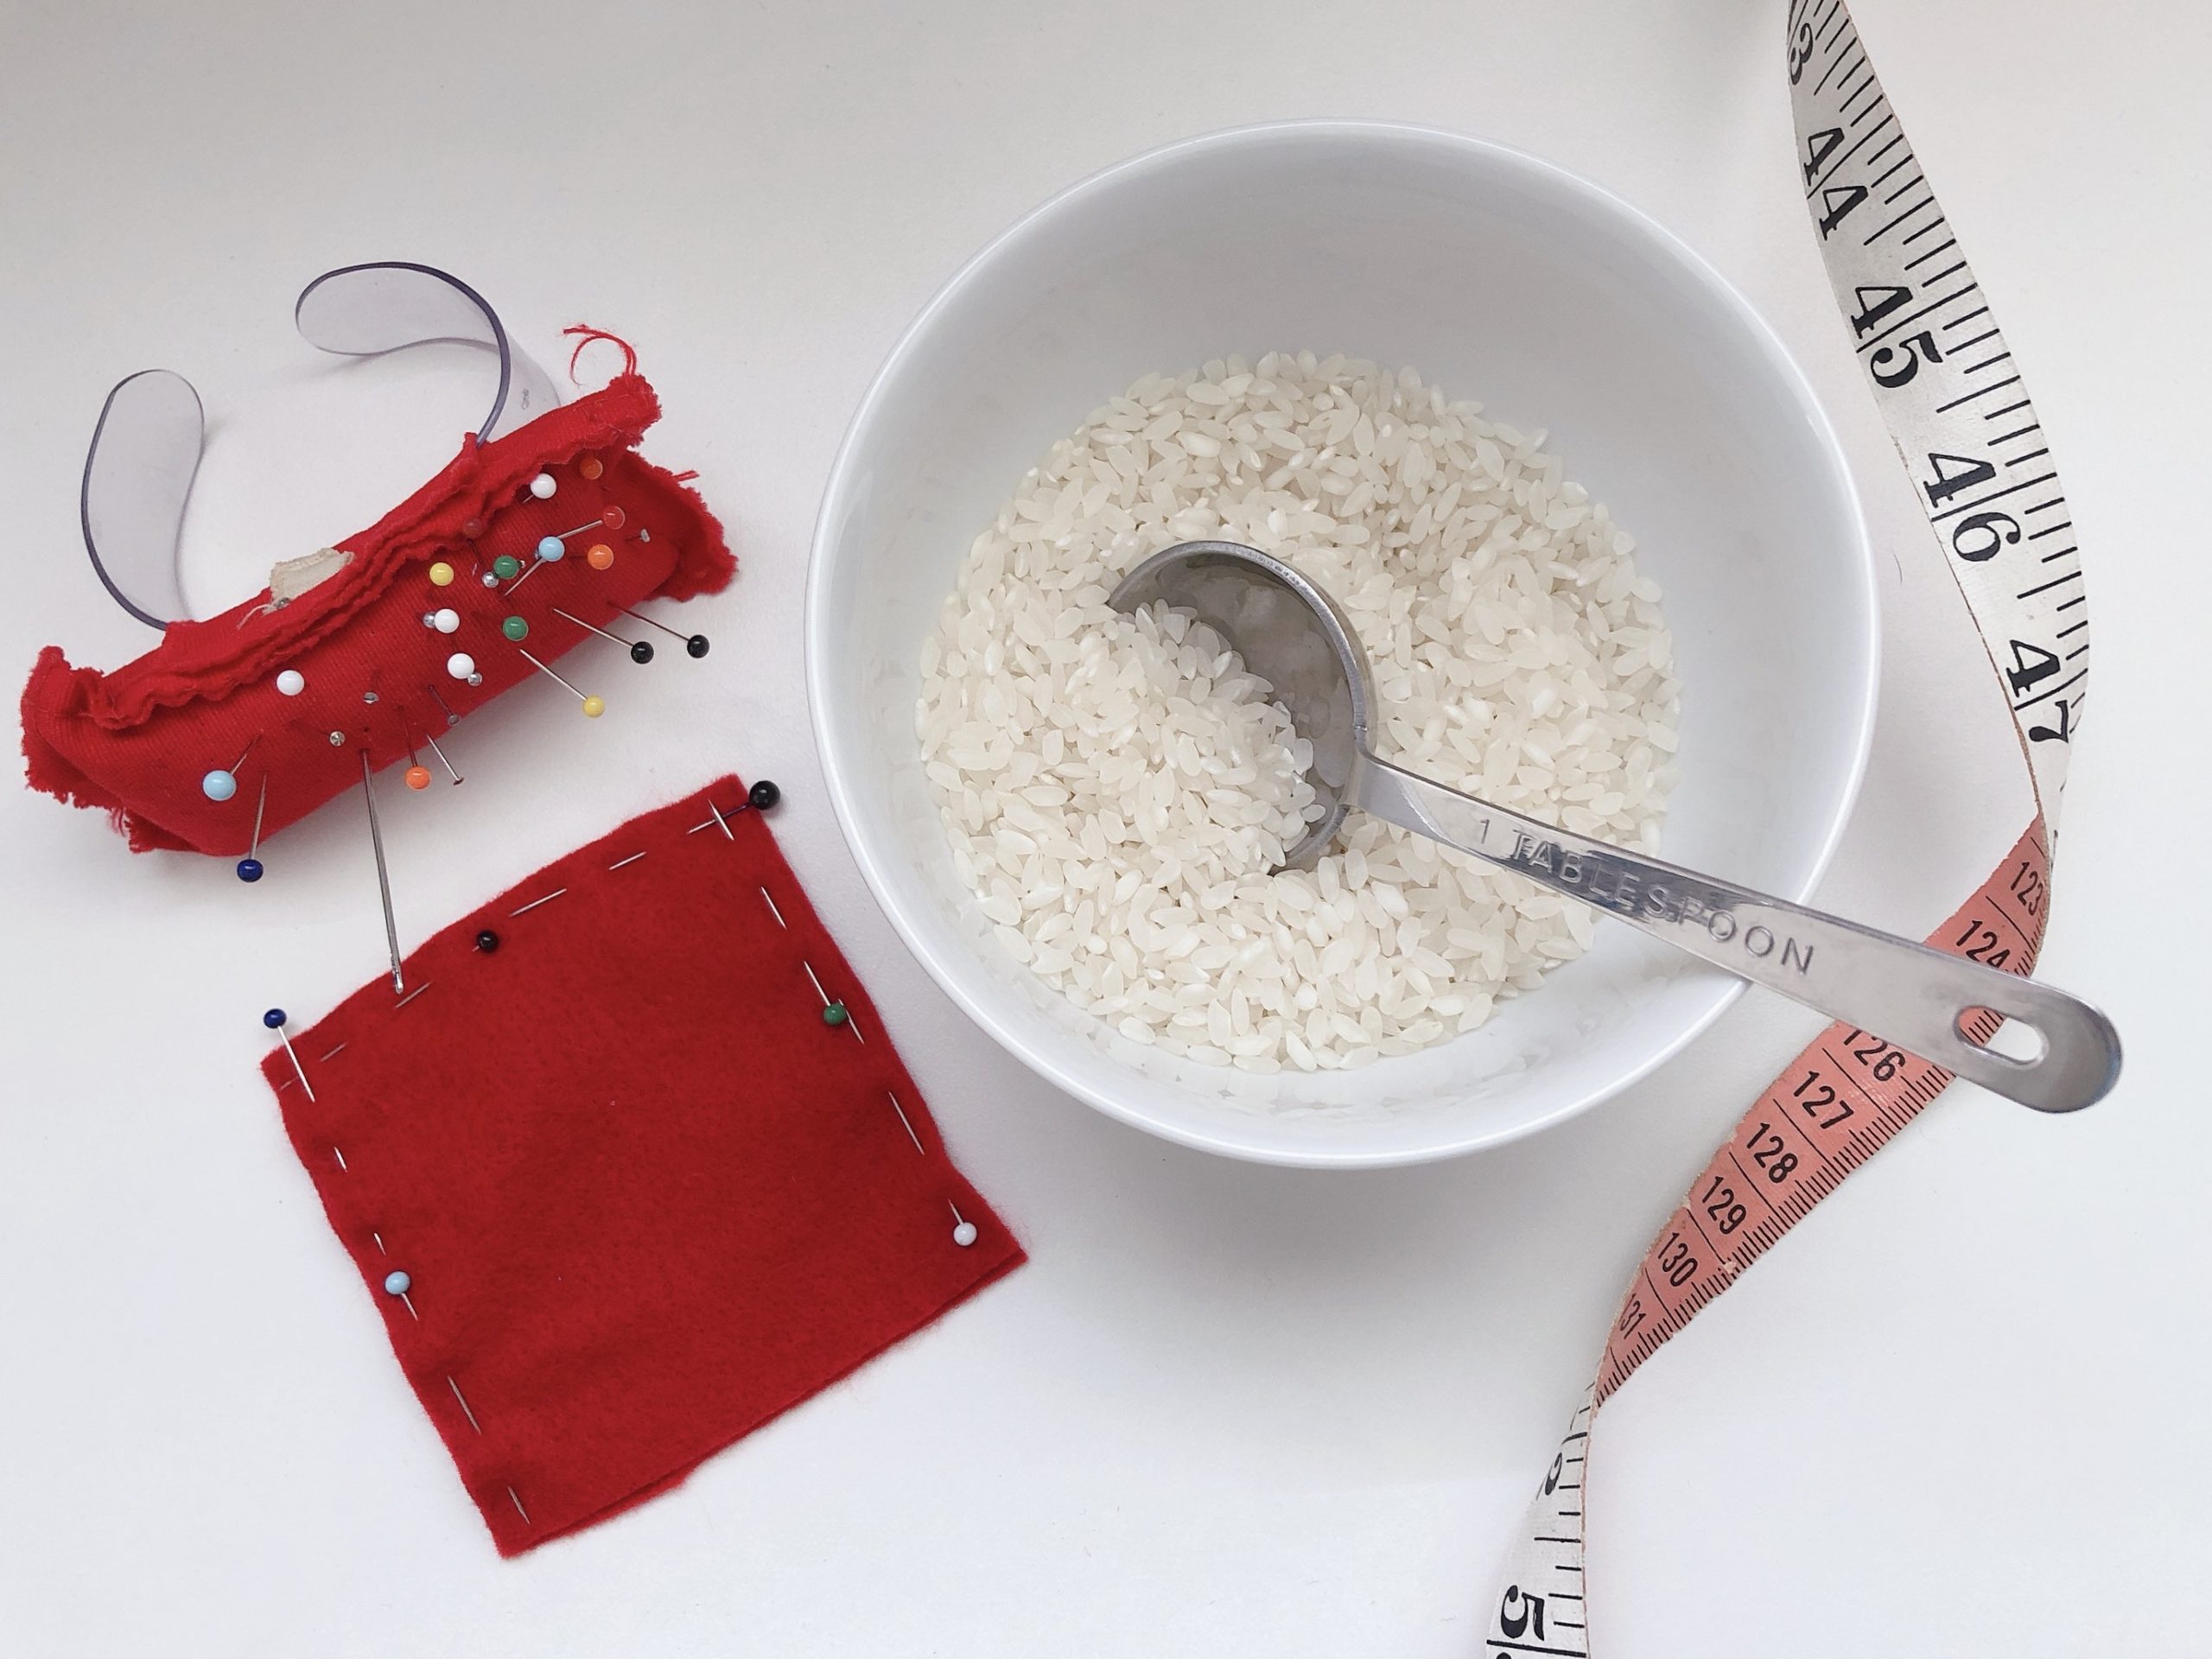
First, stamp the stuffie’s name on the felt, leaving enough margin to cut the heart shape. I stamped the name before cutting the heart so I could cut the heart around the name–I think it’s easier than trying to stamp the name evenly onto a pre-cut shape.
Make the Pattern:
Next, fold a sheet of paper and center the AirTag on the fold, so the middle of the AirTag lines up to the fold. This will give you the general size of the heart shape you’ll need to cut. Draw the heart shape, leaving enough space for the AirTag. My final heart pattern fitted into a box 3 inches wide and 2 1/4 inches high.
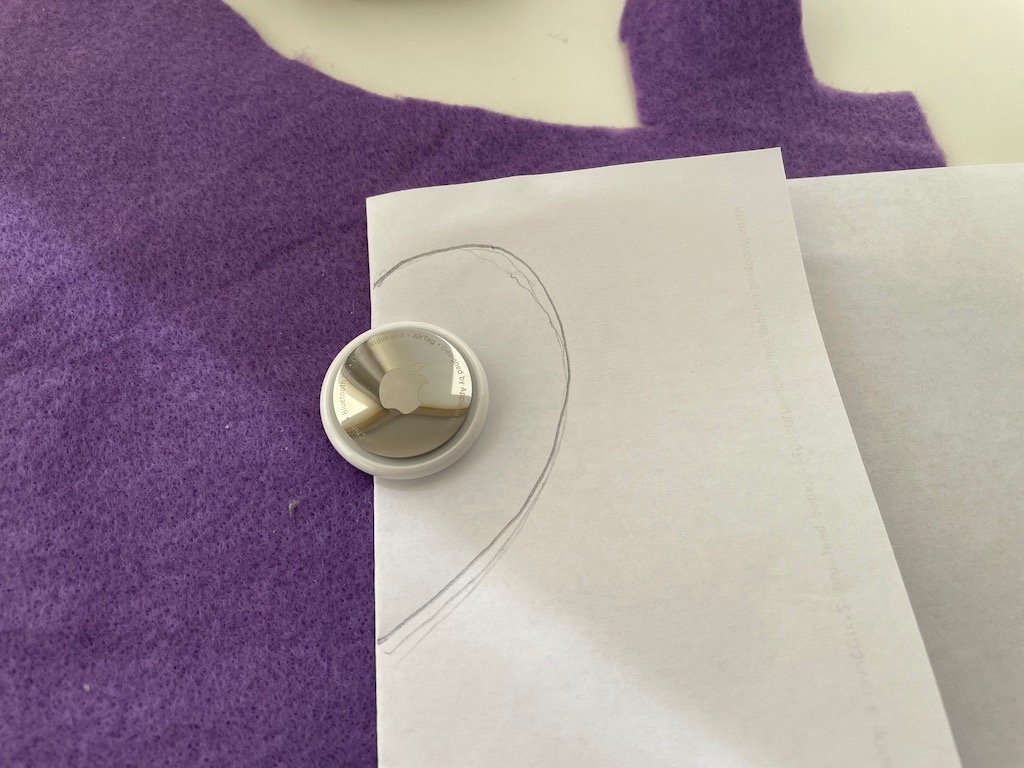
With the paper folded, cut out your heart pattern. Pin the pattern on the felt, trying to center the stuffie’s name.
Tip: If you make the pattern from white tissue paper or tracing paper, you’ll be able to see the imprinted name through the paper and you can easily maneuver your heart pattern to center it over the name.
Cut the Heart:
Cut out the heart from the imprinted felt and cut a second heart for the backing. Slit the backing heart in half through the middle vertically so you can insert the AirTag.
Affix the Ribbon:
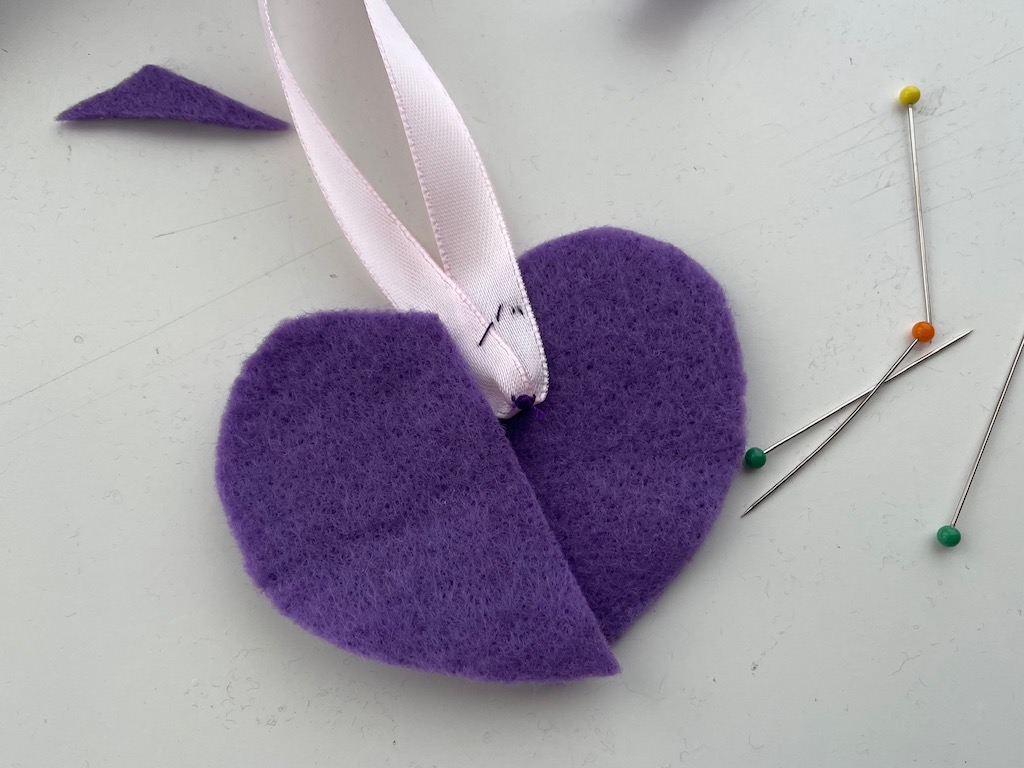
Cut a length of ribbon that will be long enough to tie around the neck of the stuffie. I made mine long enough so we could tie a nice bow and then loosely double-knot the bow. I like polyester satin because it won’t wrinkle so the bow will always look fresh.
Fold the ribbon in half, and with a needle and thread, make a running stitch crosswise, across the width of the ribbon. Pull the stitches together to gather, and knot the thread. This squinches the ribbon together so when it’s stitched in place at the top of the heart, the ribbon will hang better on the stuffie.
Stitch the Heart:
Now pin the heart, name-side out, to the second heart, pinning the gathered ribbon at the top, between the two hearts. Baste the two hearts together. Top-stitch along the heart, 1/4-inch from the edge, catching the ribbon between.
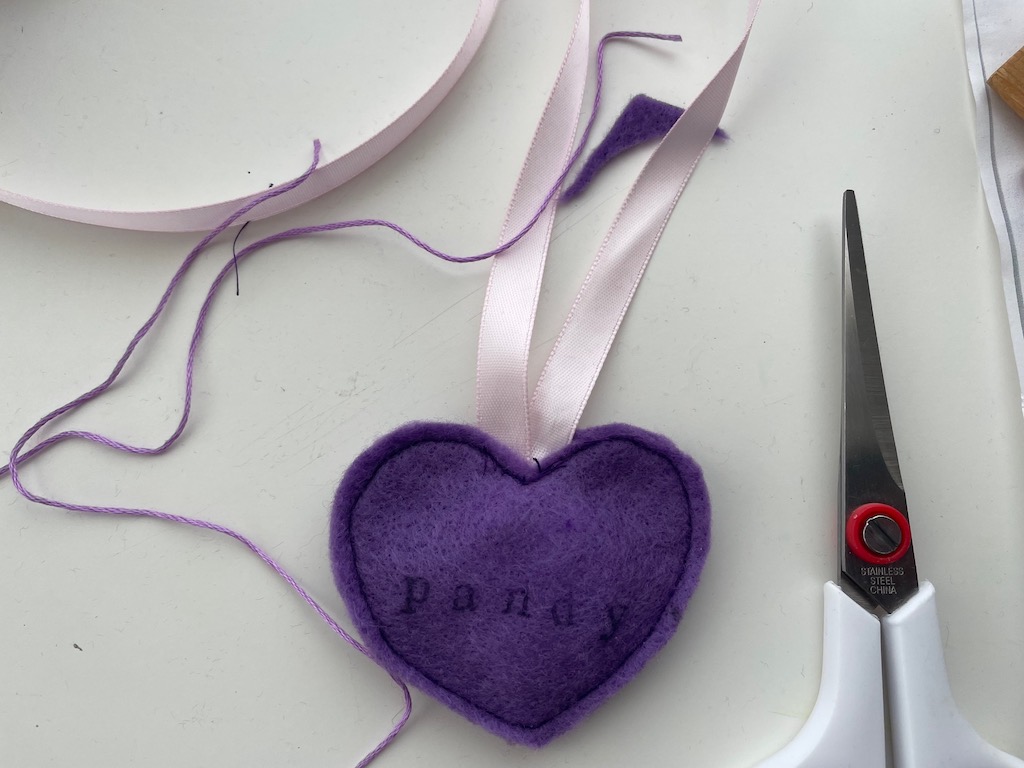
Stuff and Close the Heart:
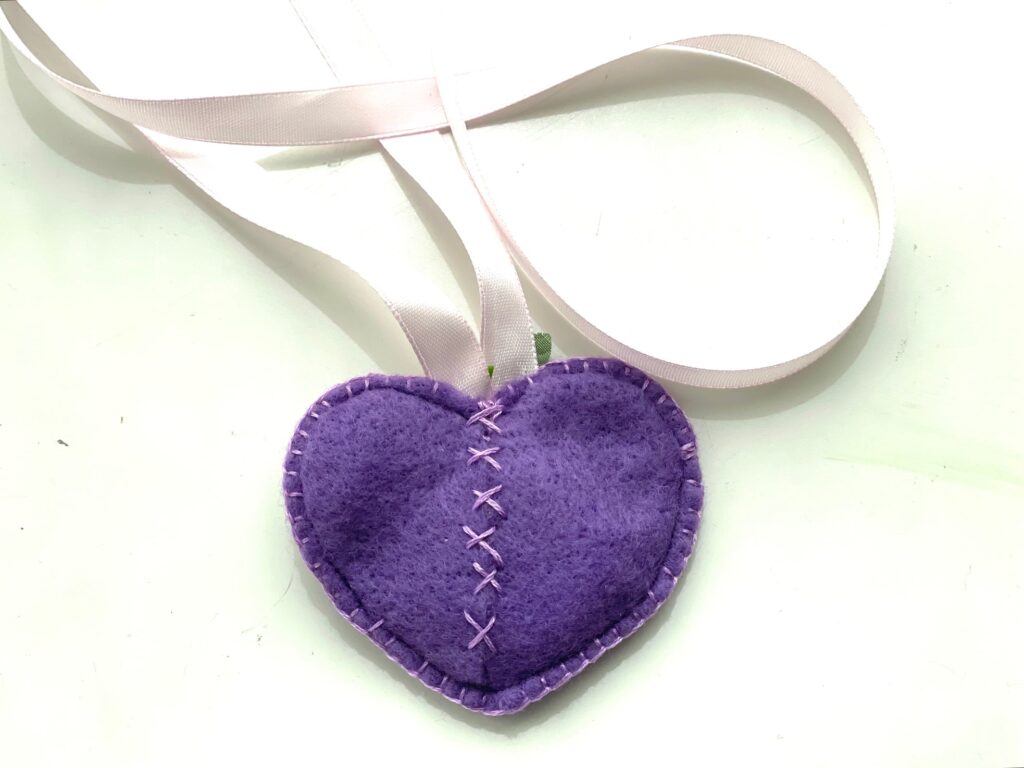
Insert the AirTag and close up the back of the heart by making cross stitches, catching each side of the heart.
Embellishments
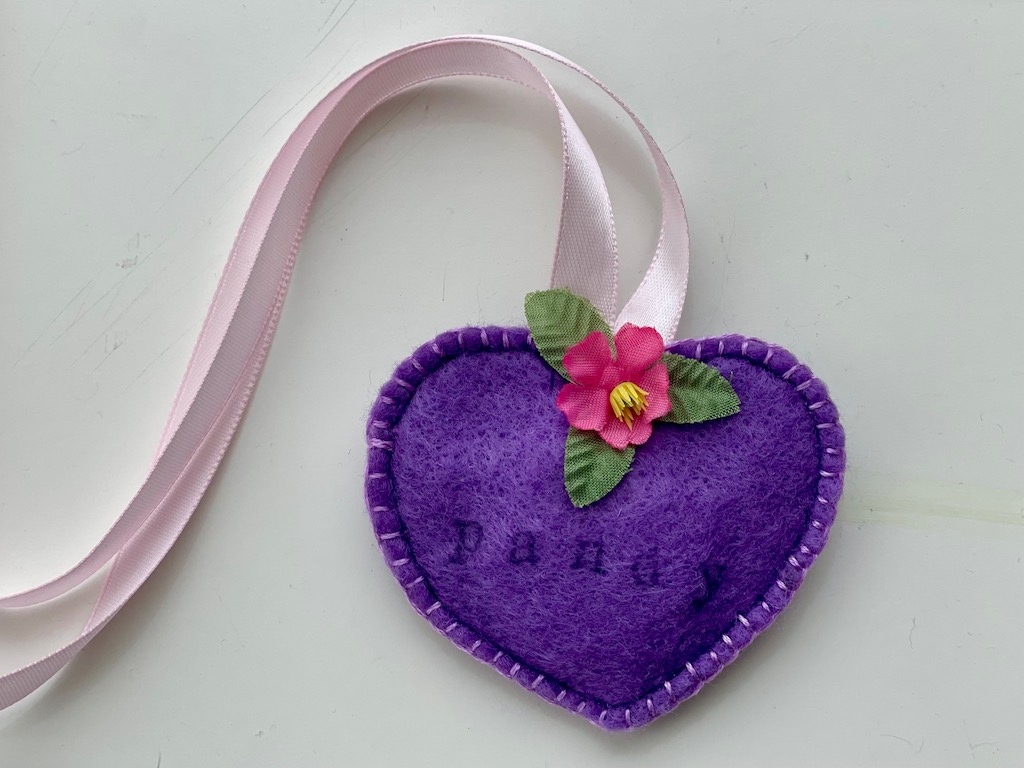
You can stop at this point. I added a blanket stitch around the edges. Then I stitched an artificial flower at the top.
With the ribbon tied securely around Pandy’s neck, the panda is ready for vacation.
Next Week
We’ll make a cardboard condominium with poster paint and discarded boxes.
Sign Up!
Don’t forget to sign up for my email newsletter. Every Wednesday, I’ll give you a new idea for an activity or insight to nurture the little ones in your life.