Make a Fun Dragon Puppet for Chinese New Year
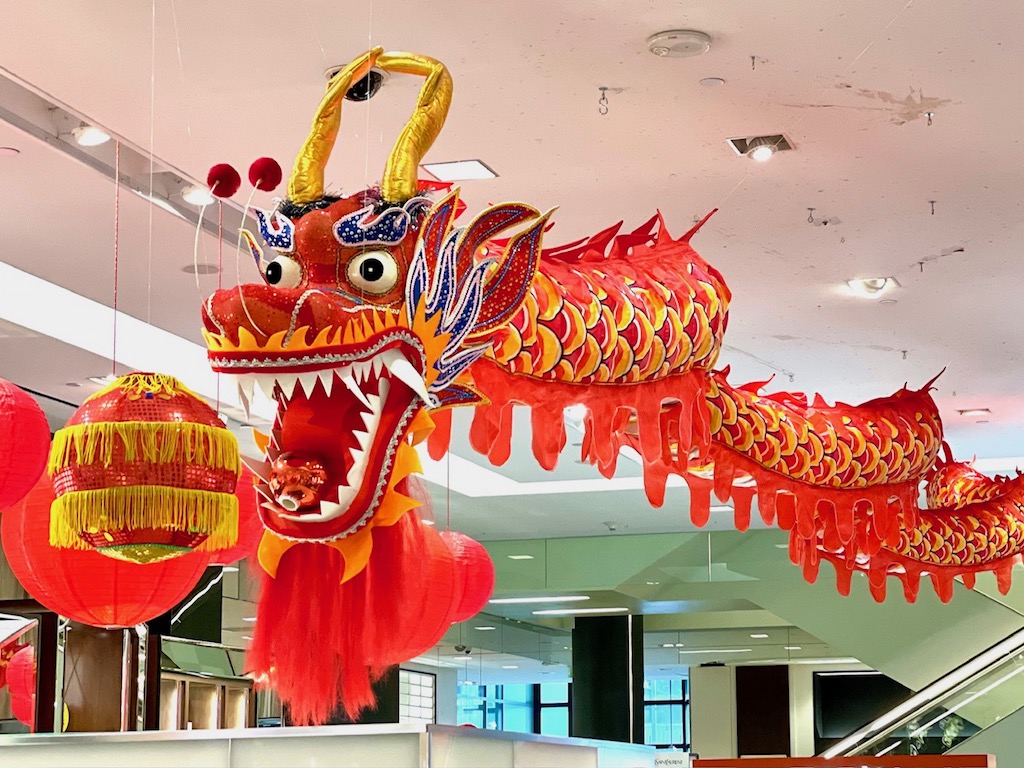
Since this is the year of the dragon, I was toying with how to make a dragon puppet. I turned to my favorite free craft material, toilet paper rolls.
Chinese New Year, or the Lunar New Year, begins on February 10 and ends at the next full moon. Observed through much of Asia and in Chinese communities worldwide, the New Year is a time of happy celebration.
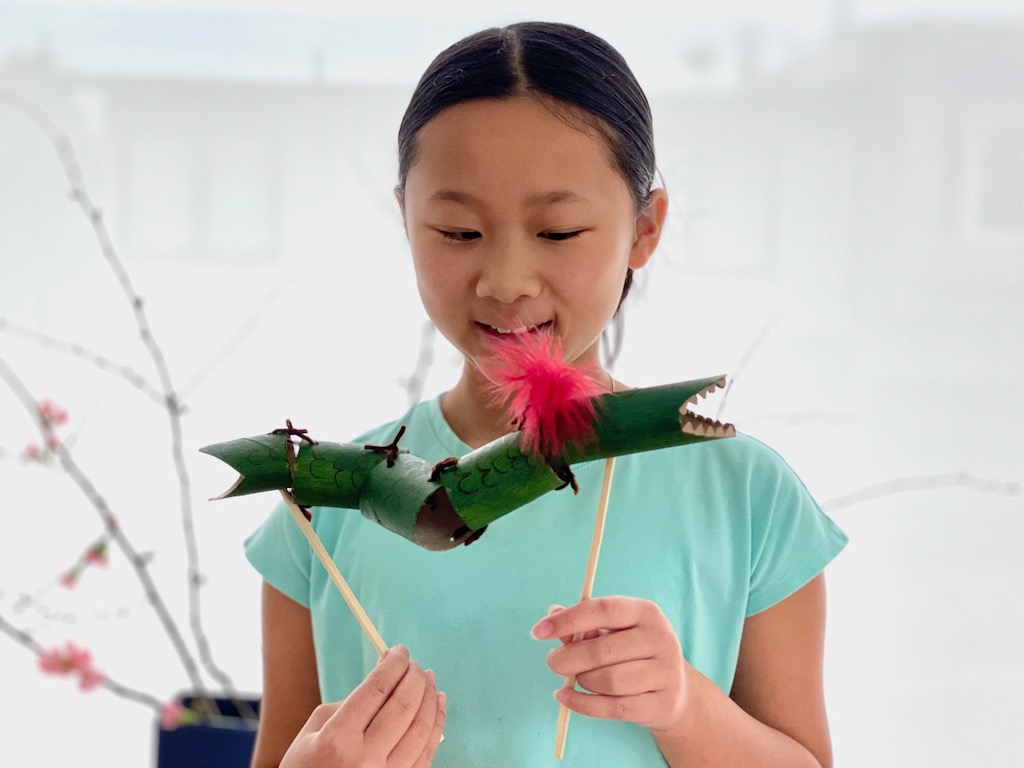
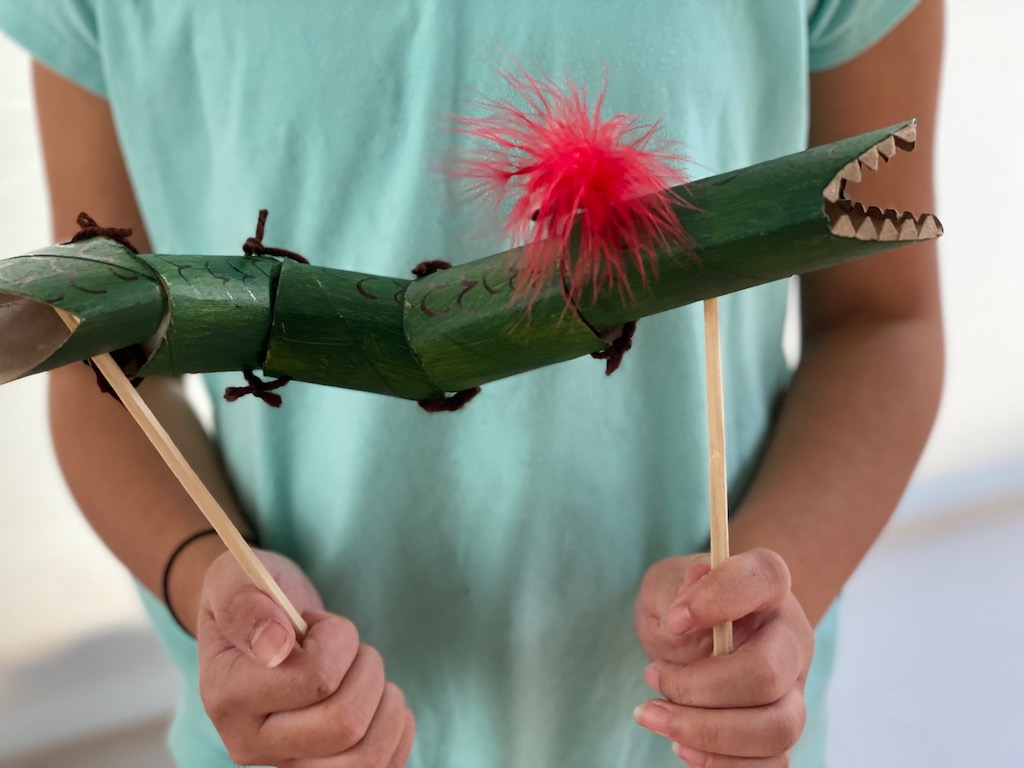
The dragon puppet I came up with has a jointed body and chopstick “legs,” which are really handles so you can manipulate the puppet and make it dance. Here’s a video of a dragon dance, so kids will know what they are replicating in miniature.
A Dragon for Younger Children
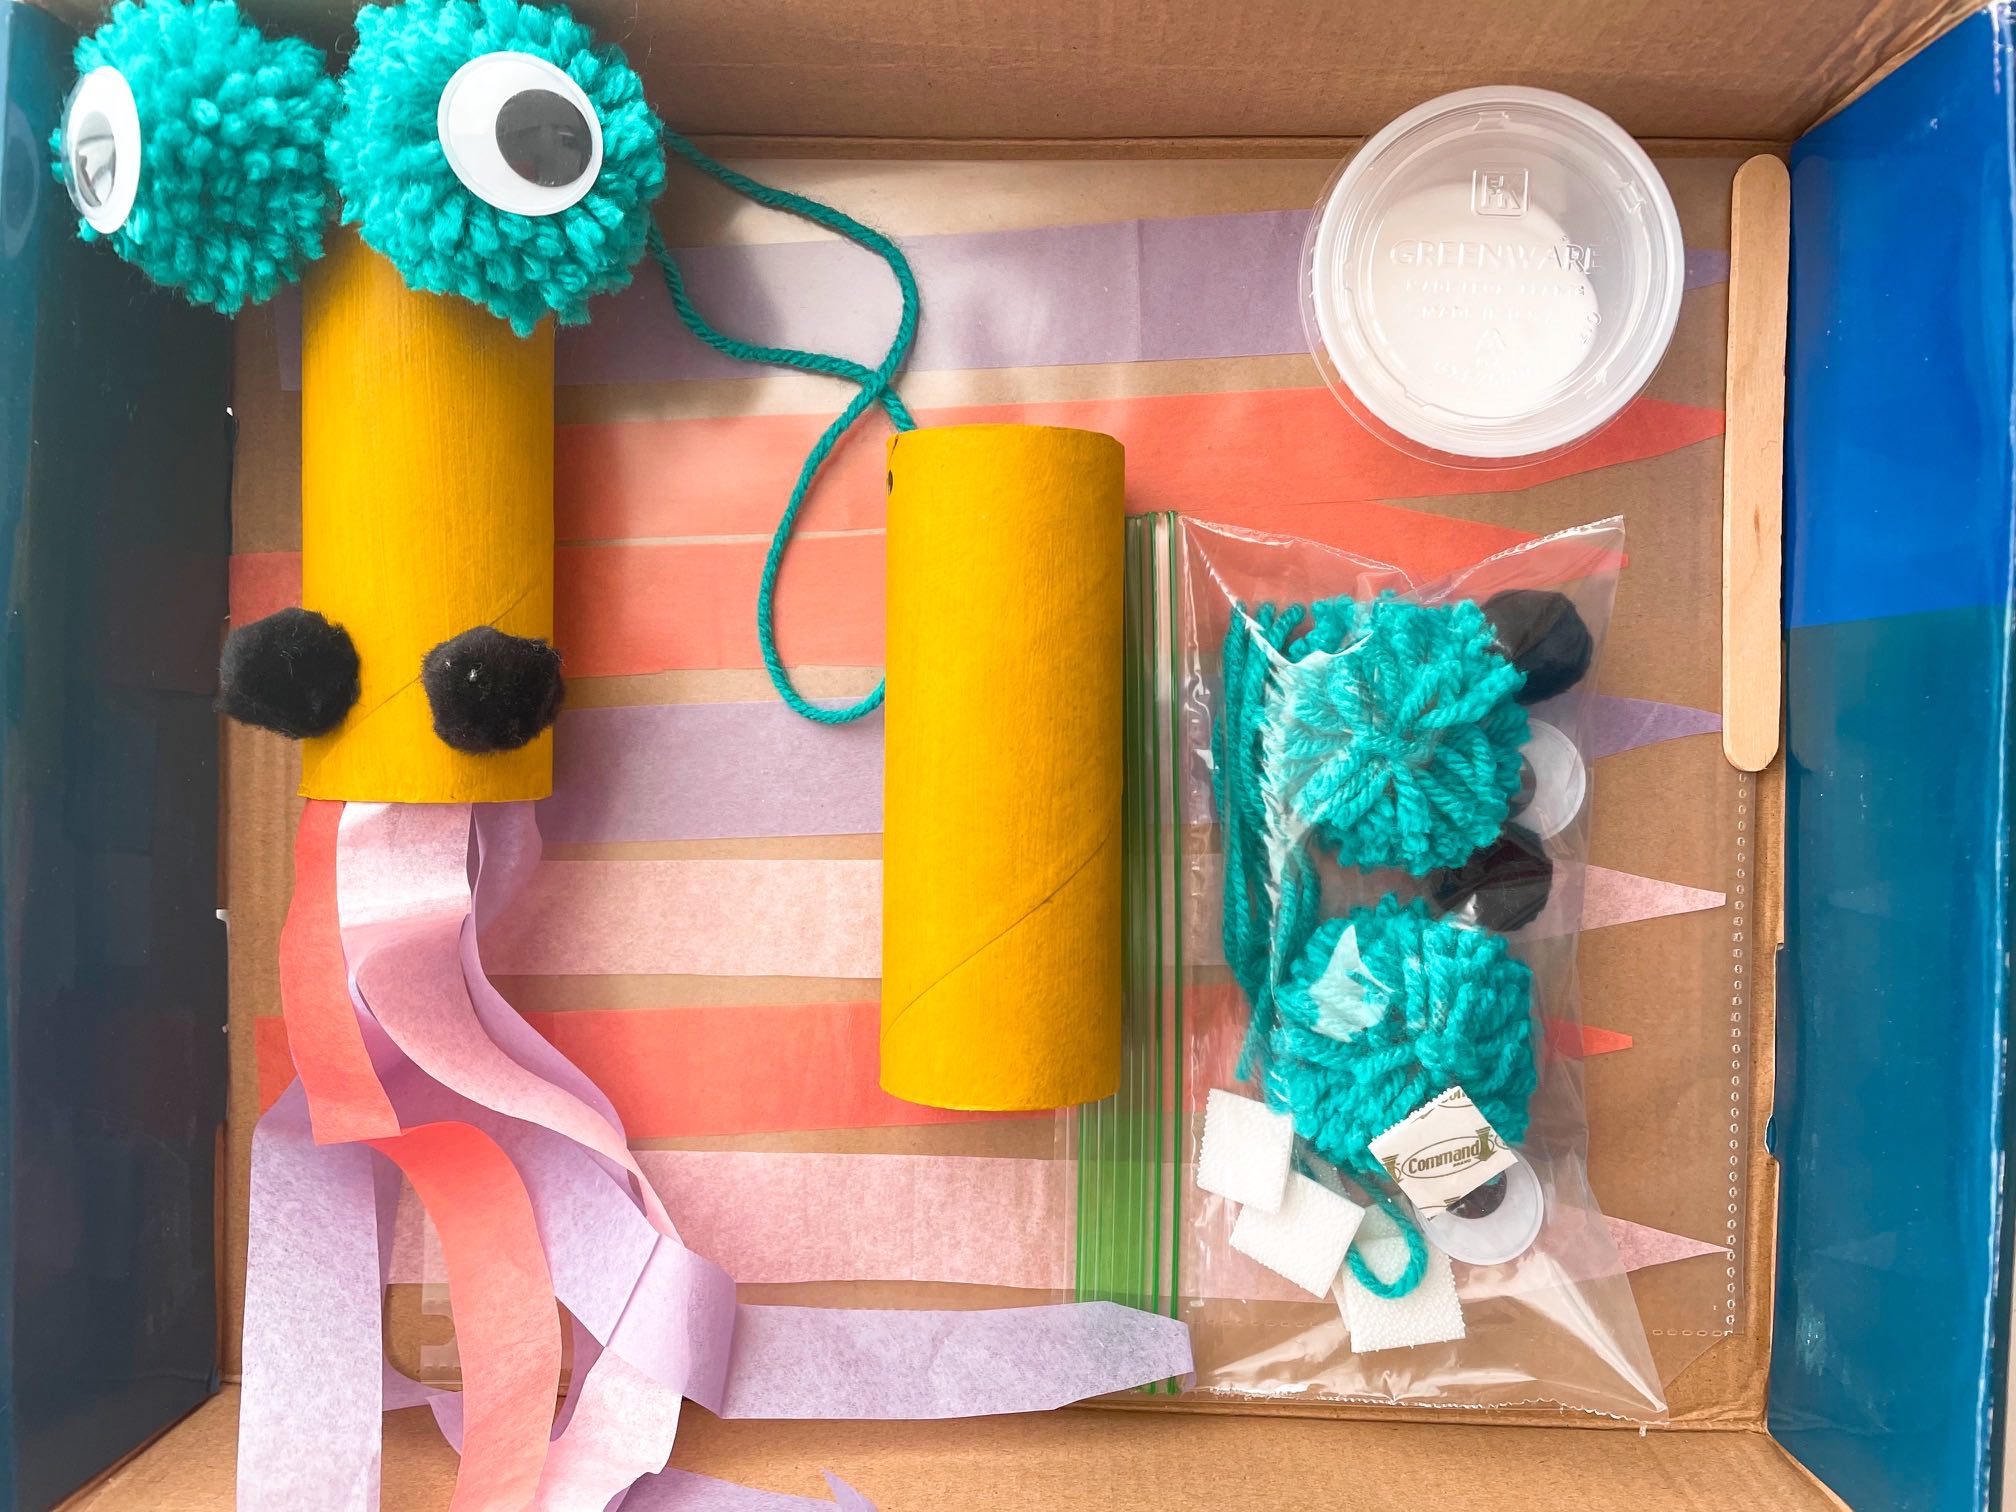
This dragon puppet works better as a craft project for an older child, but a few years ago, Little N and I did a simpler dragon when he was four–and we did the project remotely! I put a kit of materials together to send to his home and we crafted together over FaceTime.
The little kid’s version of a dragon breathes tissue paper fire, and if you attach a yarn loop, the dragon can be worn around the neck.
Younger kids can make this dragon with a little help. I put the materials in a kit.
How to Make a Dragon Puppet
Materials
- 3 empty toilet paper rolls
- Acrylic paint of any color
- Yarn or string
- Thick-nibbed black marking pen (we used a super Sharpie)
- 2 googly eyes (optional)
- White school glue
- Feather (optional)
- 2 wooden chopsticks (1 pair)
Tools
- Large sharp scissors
- Small sharp scissors
- Paint brush
- Hole punch
- Blue painter’s tape (optional)
- X-Acto knife or a tool with a sharp point, such as a skewer, awl, or nail
This puppet is quite simple to make. Just follow the steps.
Make the Head
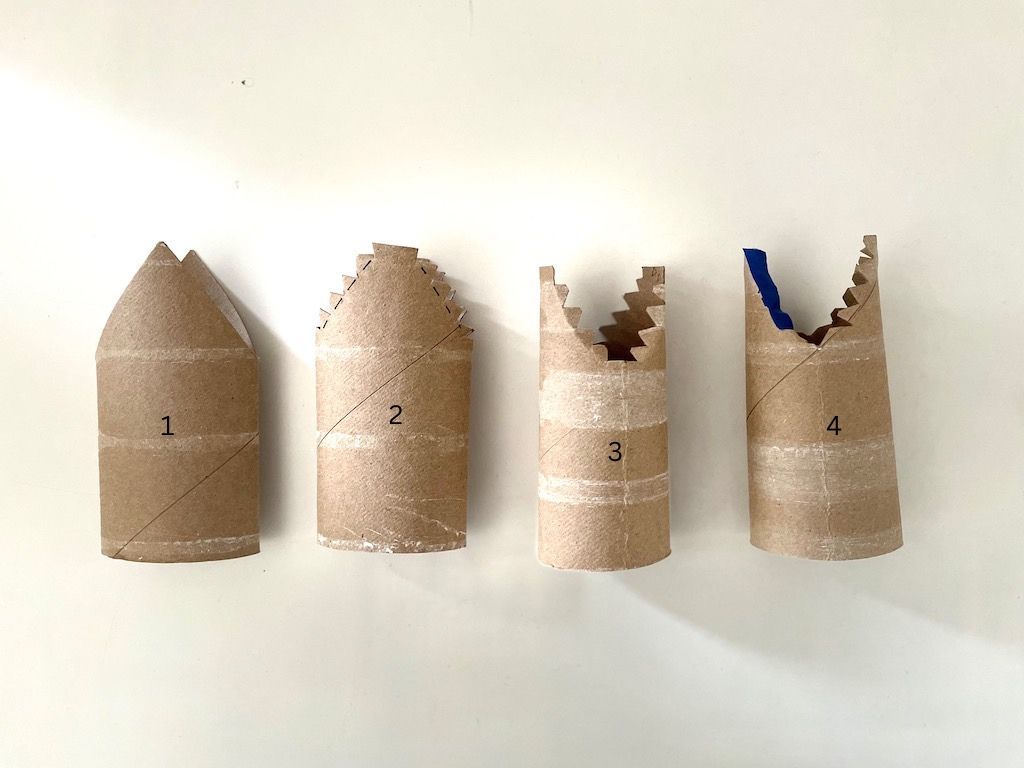
Flatten 1 toilet paper roll in half lengthwise. Cut a “V” from each folded end to the center. (#1) Cut across the top of the “V” to make the blunt mouth of the dragon. Then make zig-zag cuts along both sides of the “V” for the teeth. (#2) Fold in the zig-zag cuts so the teeth is inside the mouth. (#3) Put strips of blue tape to cover the teeth before painting. (#4).
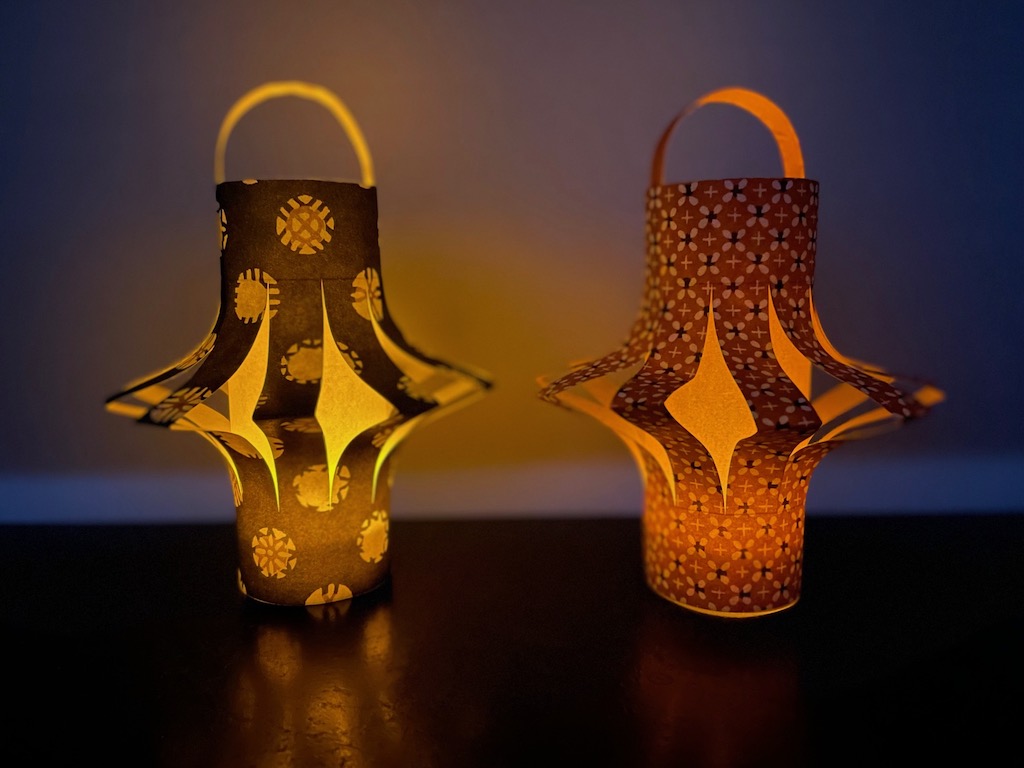
An easy and festive Chinese New Year project: make paper lanterns.
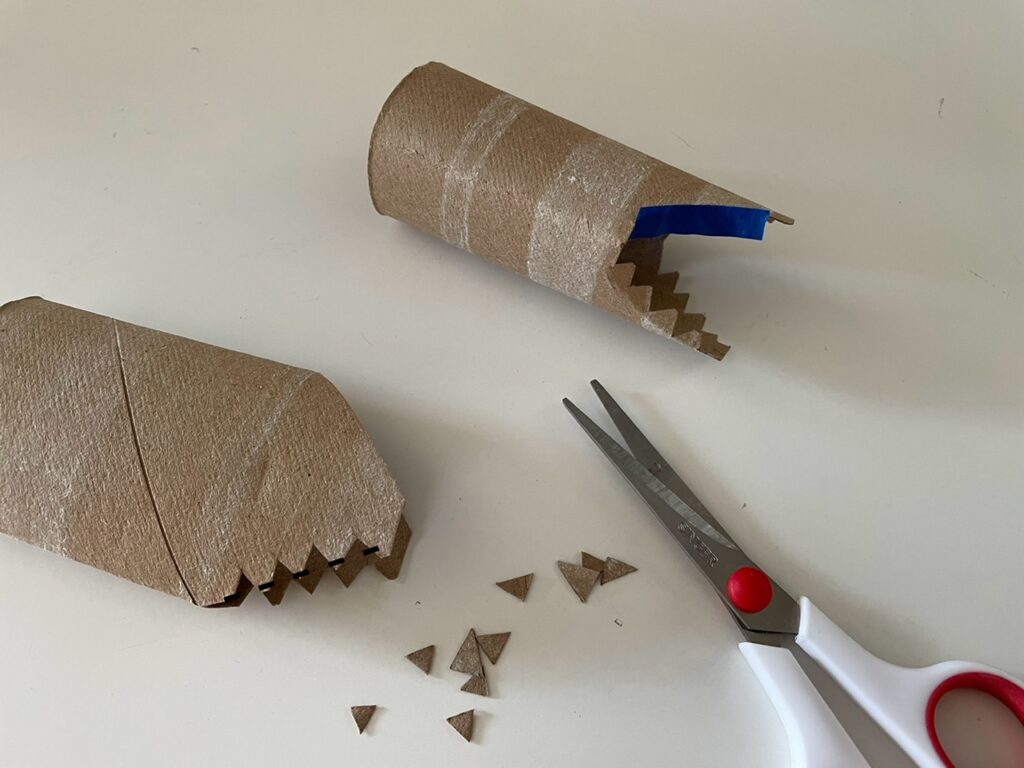
Here’s another look (below) at the dragon’s head to show you how the teeth gets bent into the mouth. Cover the teeth with a strips of blue painter’s tape, to protect the teeth when you paint the head. If you don’t have painter’s tape, paint very carefully around the mouth with a small paintbrush.
Make the Body
Once you’ve shaped the head the rest is easy. Cut the remaining 2 rolls in half, crosswise. Take one of the cut rolls and snip a “V” about 1 inch deep, to make a tail. (See photo below.)
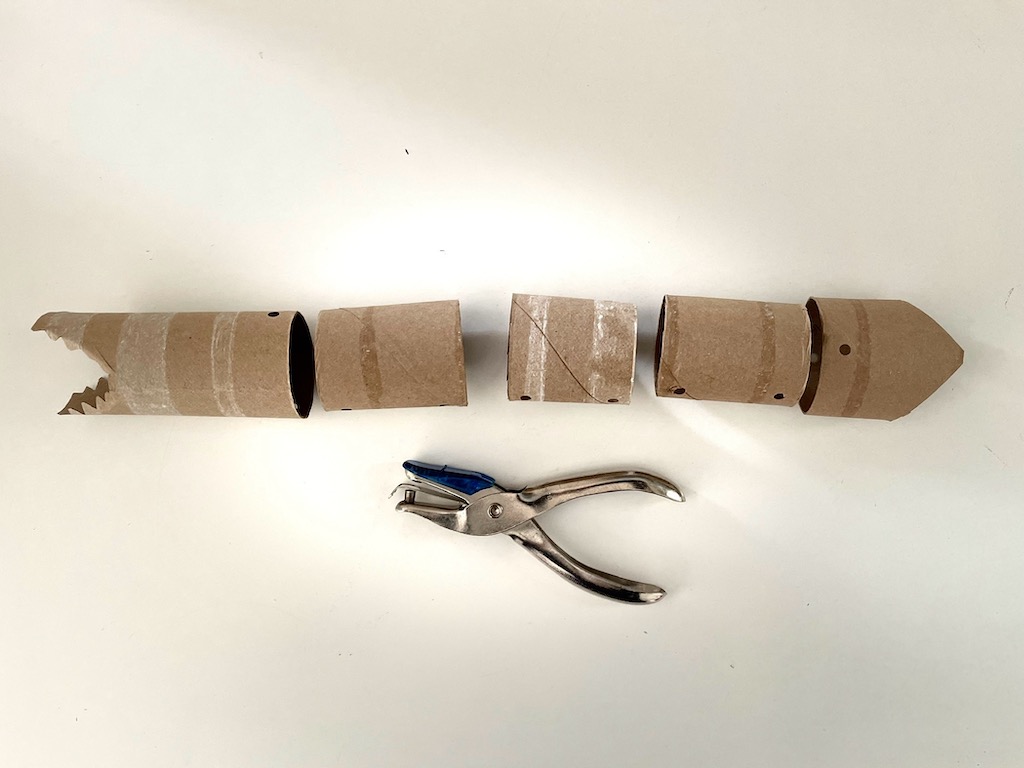
Now you’ll have to punch holes so you can connect all the pieces to join head and body parts together.
Punch 1 hole in the top of the head, about 3/8 to 1/2-inch from the cut edge. Punch a hole in the bottom of the head, corresponding to the top hole.
Punch corresponding holes in the body segments, except for the tail piece. Each of the body segments should have 4 punched holes: 2 on the top of the body and 2 the bottom of the body. For the tail, punch just 2 holes, because the end of the tail will not connect to another piece.
Paint and Mark
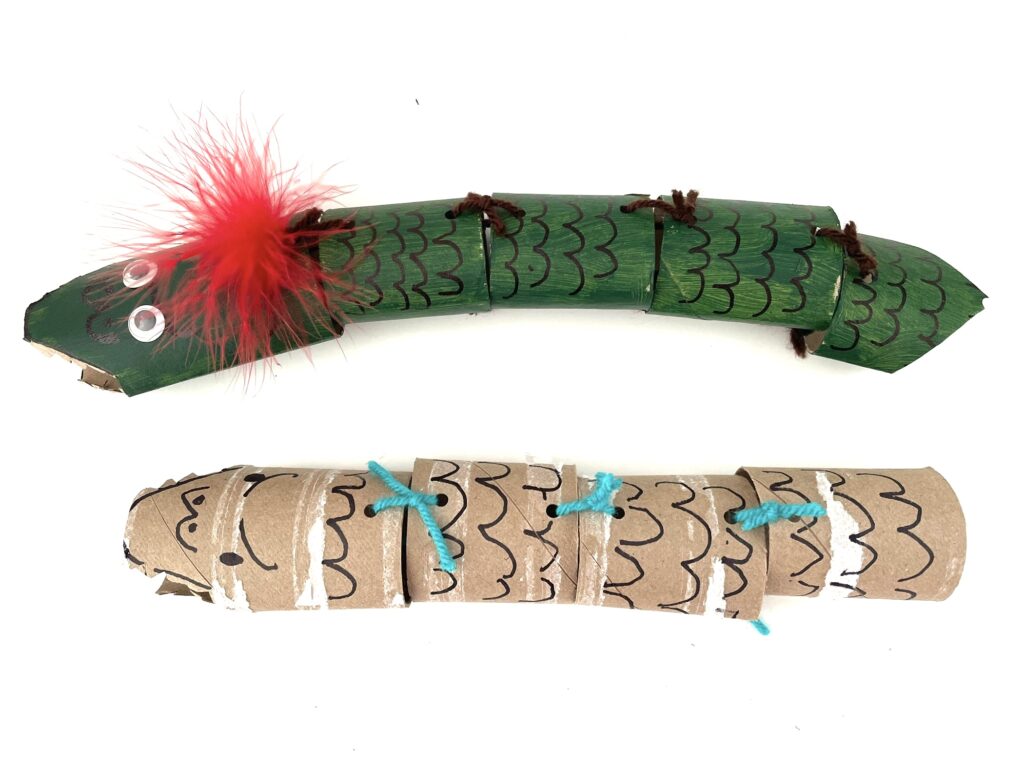
Paint all the pieces and set aside to dry. Draw the features on the dragon’s head–snout, nostrils, and a continuous, curved eyebrow or furrow, across the forehead using a black marking pen. Glue on googly eyes or draw the eyes with your black pen. You can draw the scales now, or wait till the dragon has been assembled.
Assemble your Dragon Puppet
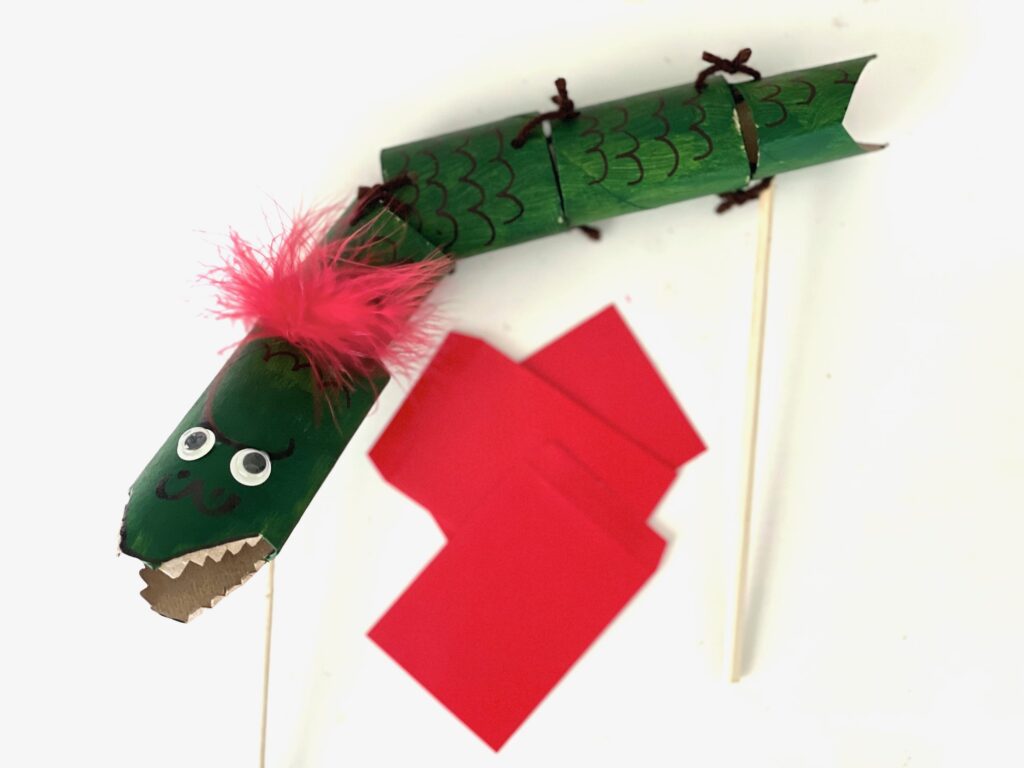
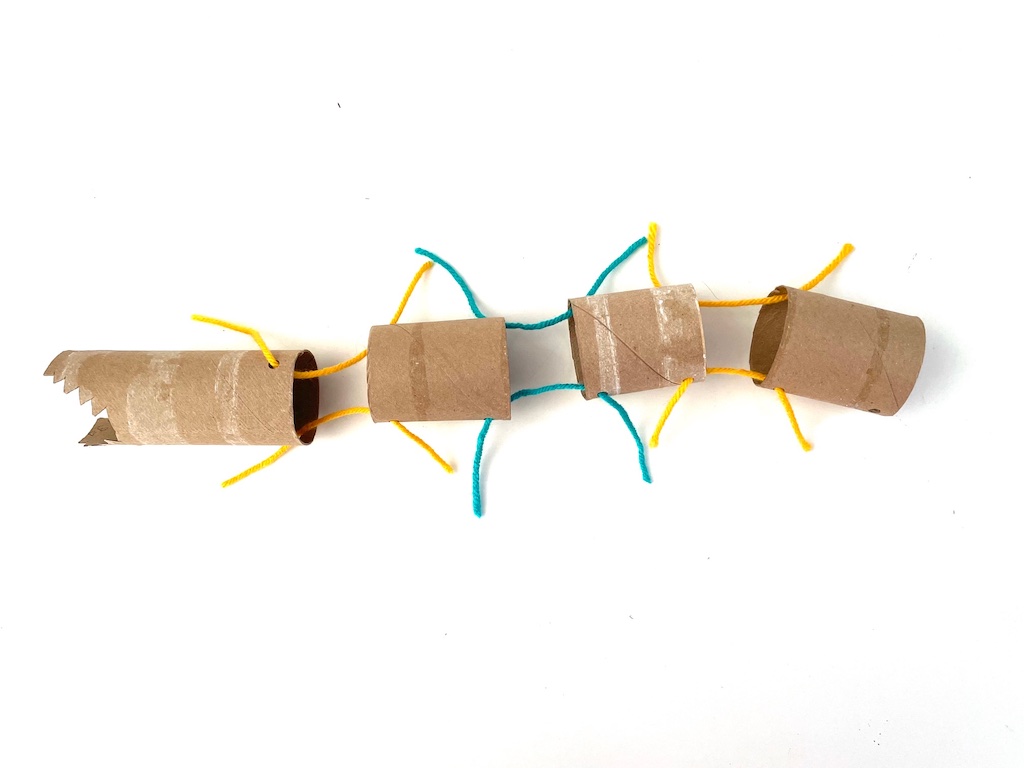
Use yarn or string to tie the dragon segments together. Don’t tie them too tightly or the dragon won’t be flexible enough to dance. I left about a 3/8-inch to 1/2-inch space between segments. If you haven’t drawn the scales, do it now.
Pierce 2 small holes on the underside of the dragon at head and tail (I used an X-Acto knife to cut a small X). This should be done by an adult. Work a chopstick into each hole as handles for the dragon puppet. It’s best to make the holes smaller than the width of the chopstick and wiggle the chopstick into the hole, so it stays in place.
Poke a feather (if using) into the hole, to connect the dragon head to the body. Now let the dragon dance begin!
“Gong hei fat choy.” Wishing you great happiness and prosperity!
Sign Up!
Don’t forget to sign up for my email newsletter. Every Wednesday, I’ll give you a new idea for an activity or insight to nurture the little ones in your life.