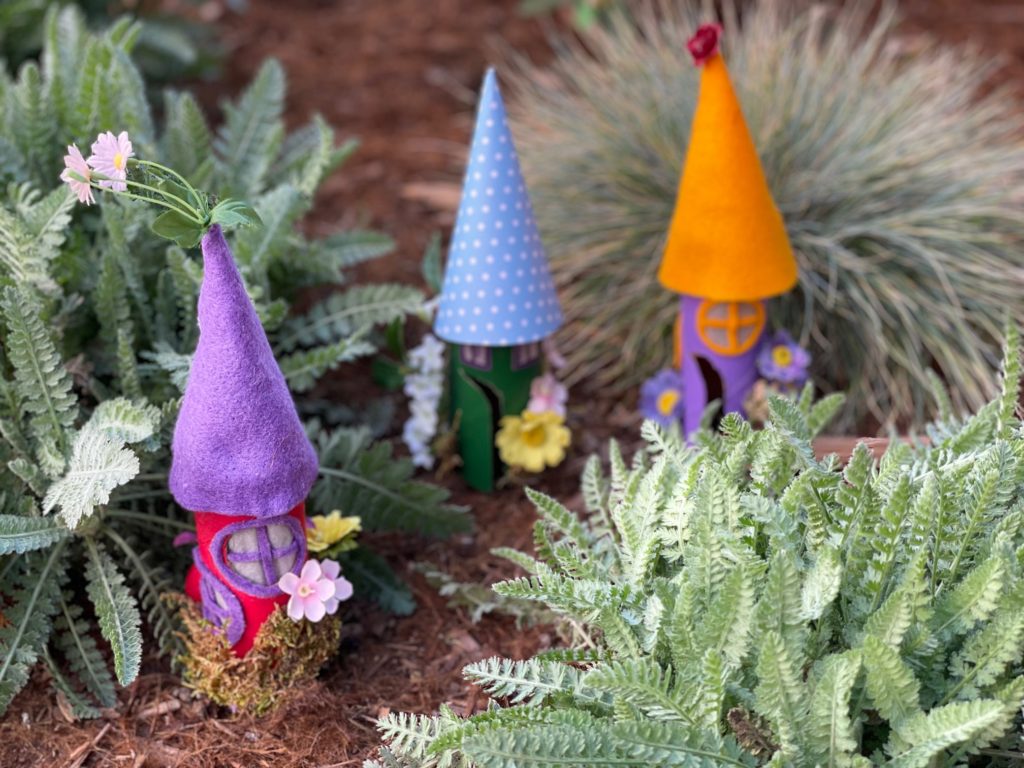
Toilet Paper Roll Crafts: How to Make a Fairy House
I like making toilet paper roll crafts with the grandkids because it seems such a shame to simply toss the rolls out. They are pre-formed into nice cylinders and the cardboard takes well to acrylic paints–except for some reason, yellow, where the paint tends to streak.
More toilet paper roll crafts: make cars.

Inspiration for Toilet Roll Crafts
Recently, I saw the cutest fairy houses on Pinterest. But this was not a how-to post; the adorable houses had been for sale on Etsy and were no longer available.
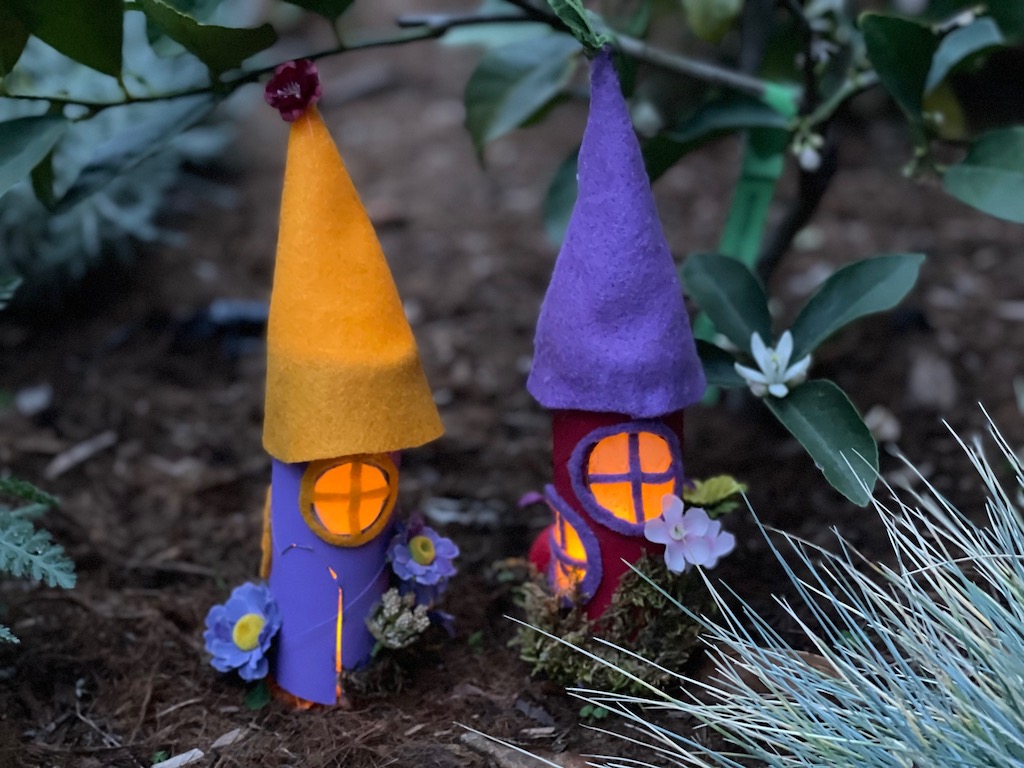
So, Miss T and I tried to replicate the little houses ourselves. Ours are not of the artistic quality of the originals, but they’re just meant to be a fun project.
Toilet Paper Roll Craft Fairy Houses
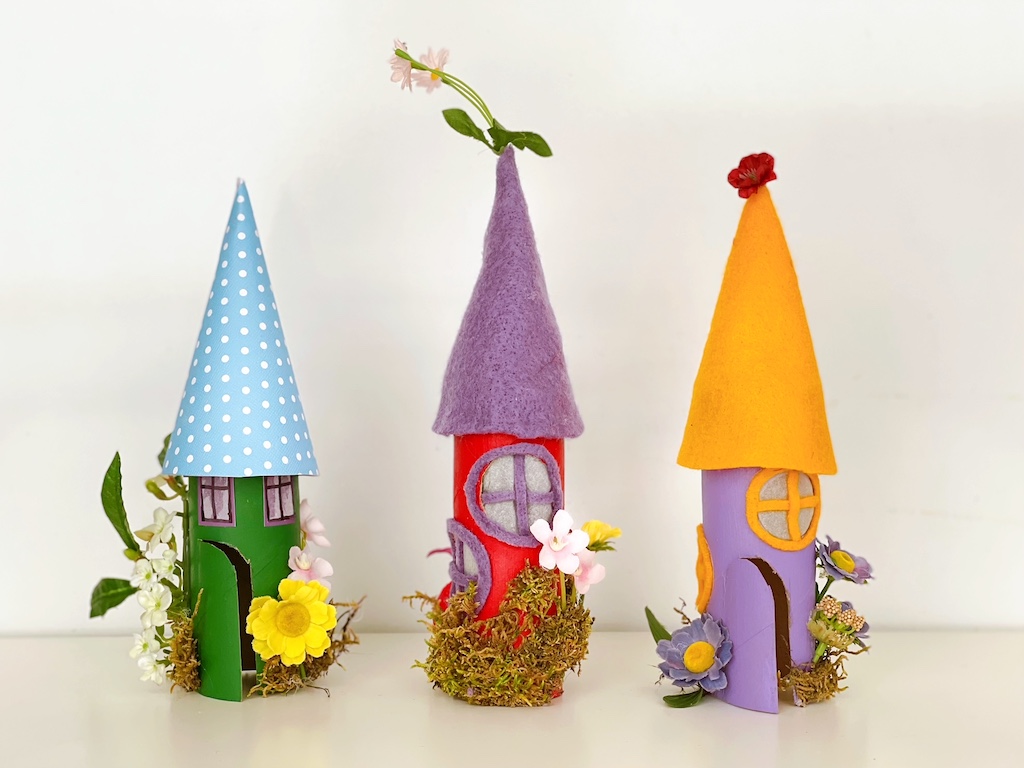
There are two ways we tried making the houses: the easy way and the hard way. It comes down to two considerations:
Materials Choice
One is made entirely with paper (easy); the other uses felt (harder).
House Construction
One has windows simply pasted on (easy).
The other has cut-out holes so you can see the glow when you add a battery-operated tea light (so cool, but harder).
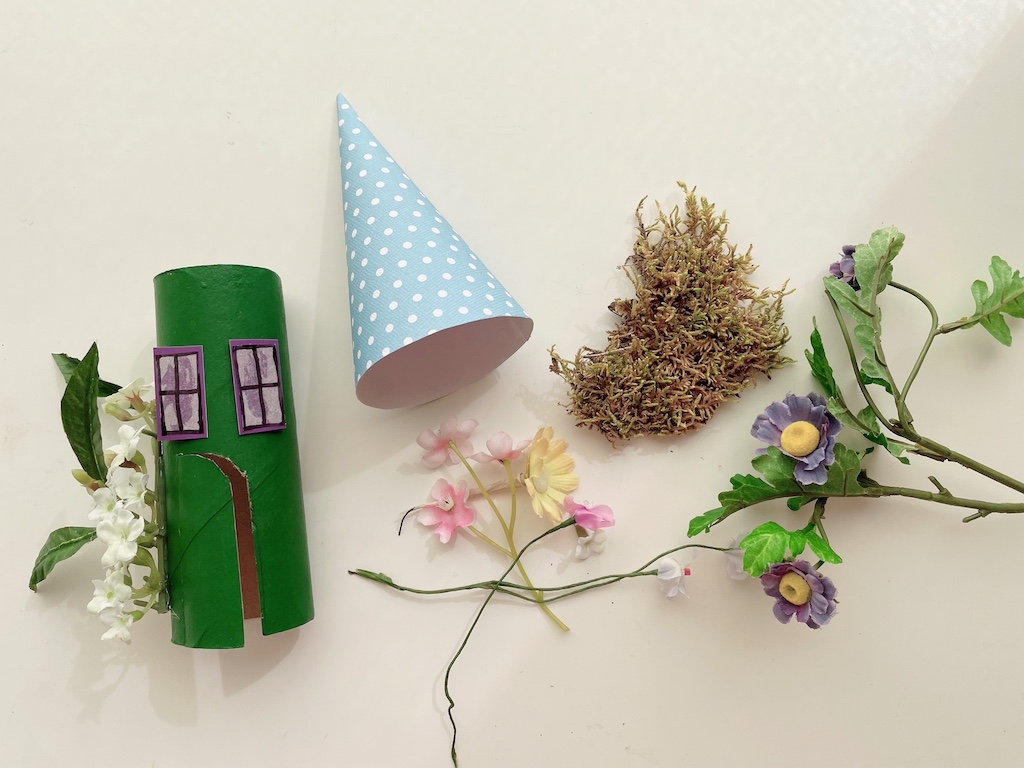
Supplies Needed
- Toilet paper roll
- Small, sharp scissors
- Acrylic paint
- Paint brush
- Light cardstock or paper, or felt
- Tracing paper or plain paper for windows
- Pencil
- Black medium point felt tip pen (like a Sharpie)
- Adhesive tape, if using paper for the roof
- Artificial flowers
- Wire cutters (optional, but helps to cut flower stems)
- Dried moss
- Small, low-temperature glue gun
- White school glue (like Elmer’s)
- Small foam brush for applying glue
- Battery-operated tea light (for cut-out window version only)
How to Make the Body of the House
Paint the toilet paper roll with acrylic paint and let dry.
Decide where and what kind of windows you want for your house. Our round windows were 1 inch in diameter. Rectangle windows were 1 inch X 1/2 inch.
If you want a door, mark its location and cut the right side of the door and the top, using sharp scissors. Bend the left side of the door for the hinge.
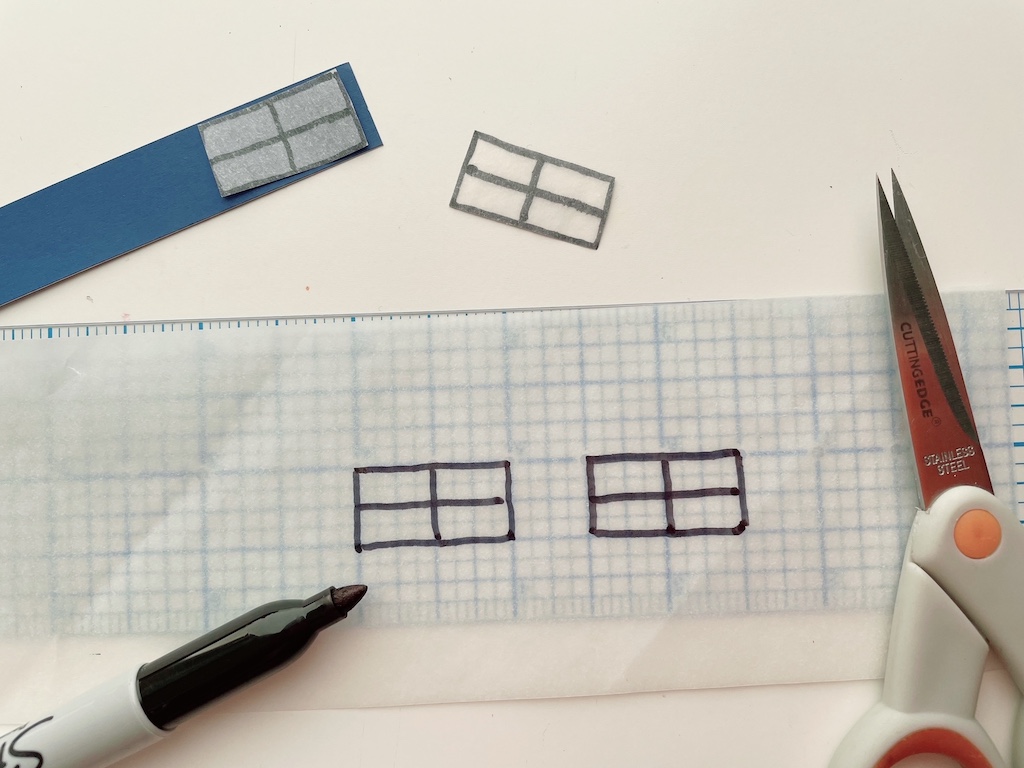
How to Make the Windows
PAPER HOUSE: To make the paper version of the house, draw the window shape and window panes with the black marking pen on tracing paper using a marking pen. Cut out the windows, then use white school glue to glue it to a strip of cardstock slightly bigger than the window, to form the frame. Glue the windows to the house using white school glue.
FELT HOUSE: If you want circular windows for a house that will glow in the dark, cut out window holes in the toilet paper roll.
First you need a pattern. I used a 1-inch hole punch. Alternatively find the right size circular shape you can trace, such as a vinegar bottle cap.
Using your circle pattern, trace the circle on the toilet paper roll to outline the window on your house. With sharp scissors, cut out the circle; this is not easy so it should be done by an adult.
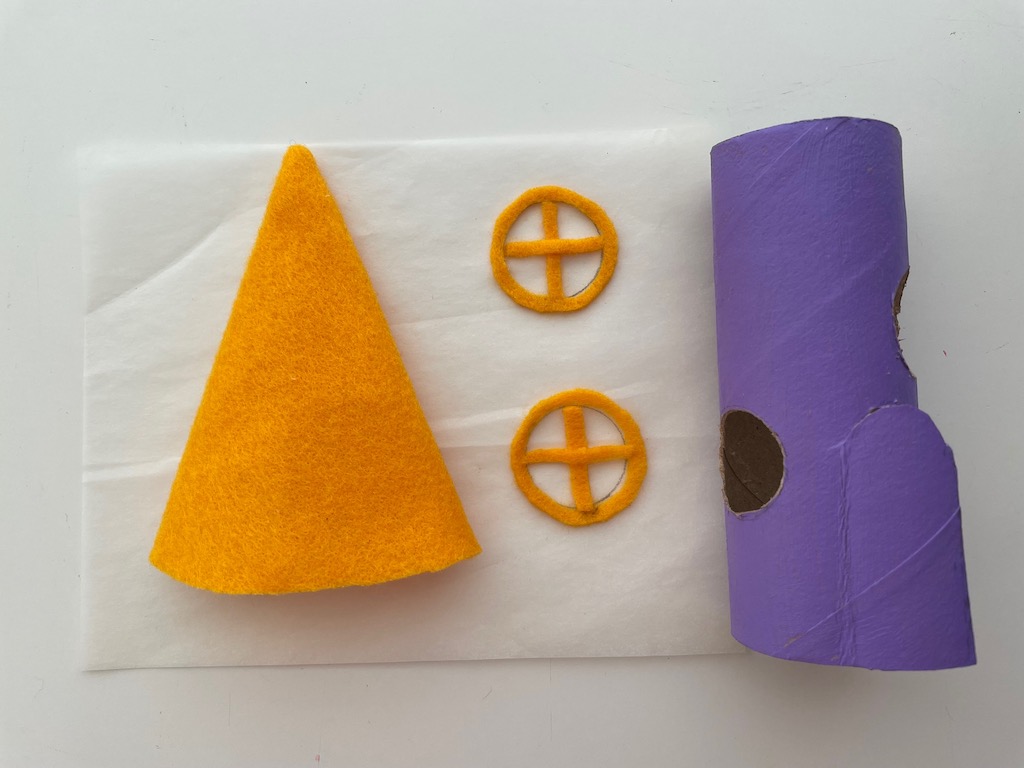
For the felt house windows, trace the 1-inch circle on tracing paper. Now trace the circle on felt, leaving a margin around the circle–you will need it to form the frame. Cut the circle out, then trim around the circle about 1/8-inch to make the frame. Cut thin strips of felt to set off the window panes.
Using white school glue, glue the the circular frame and the cross pieces onto the tracing paper circle. When the glue has dried, cut out the windows and glue over the window holes of the house.
How to Make the Roof
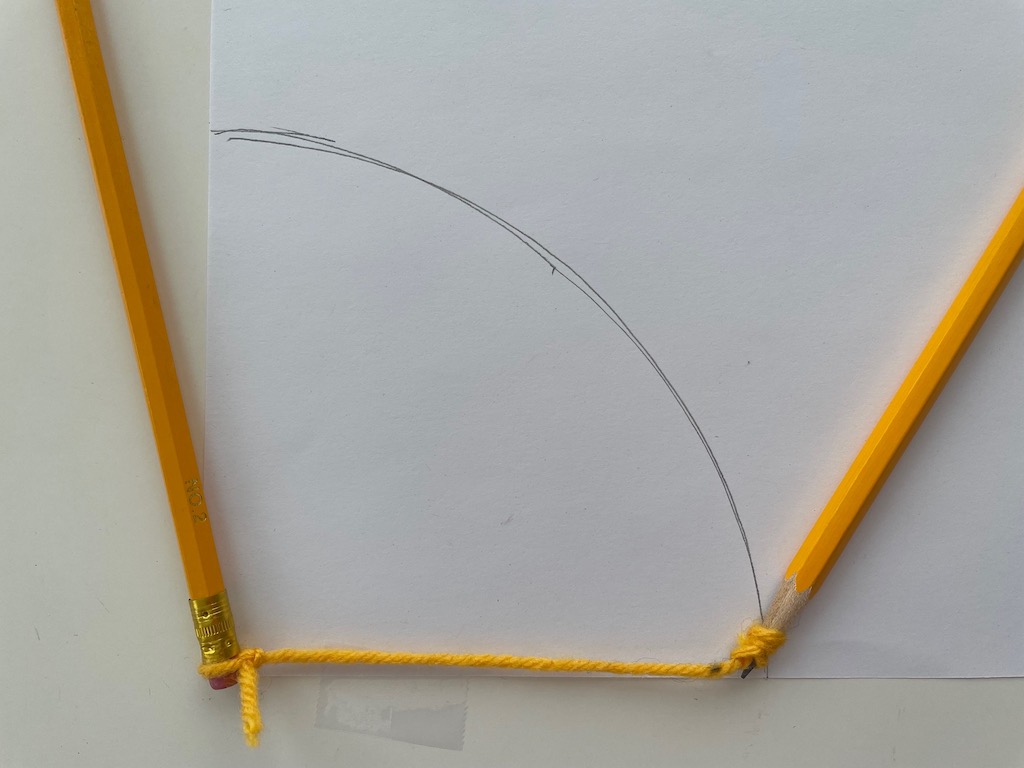
To make a pattern for the roof, tie two pencils together with yarn or string, spaced 4 1/2 inches apart, one tied to the eraser end and the other to the writing tip. Holding the eraser pencil securely in place at the corner of the paper, swing the writing pencil around in an arc, with yarn taut. Use this for your pattern, whether your are making the roof from cardstock or felt.
If you are using cardstock for the roof, you’ll need to coax the stiff paper into a cone shape by rolling it gently a few times. Secure the ends of the roof together with adhesive tape from the inside of the cone.
If you are using felt for the roof, the easiest way to make the roof is to stitch the two straight ends of the felt together with a sewing machine, and turn right-side out. Alternatively, use a glue gun. We found that white school glue is hard to work with–the sides of the roof kept coming apart.
Final Assembly
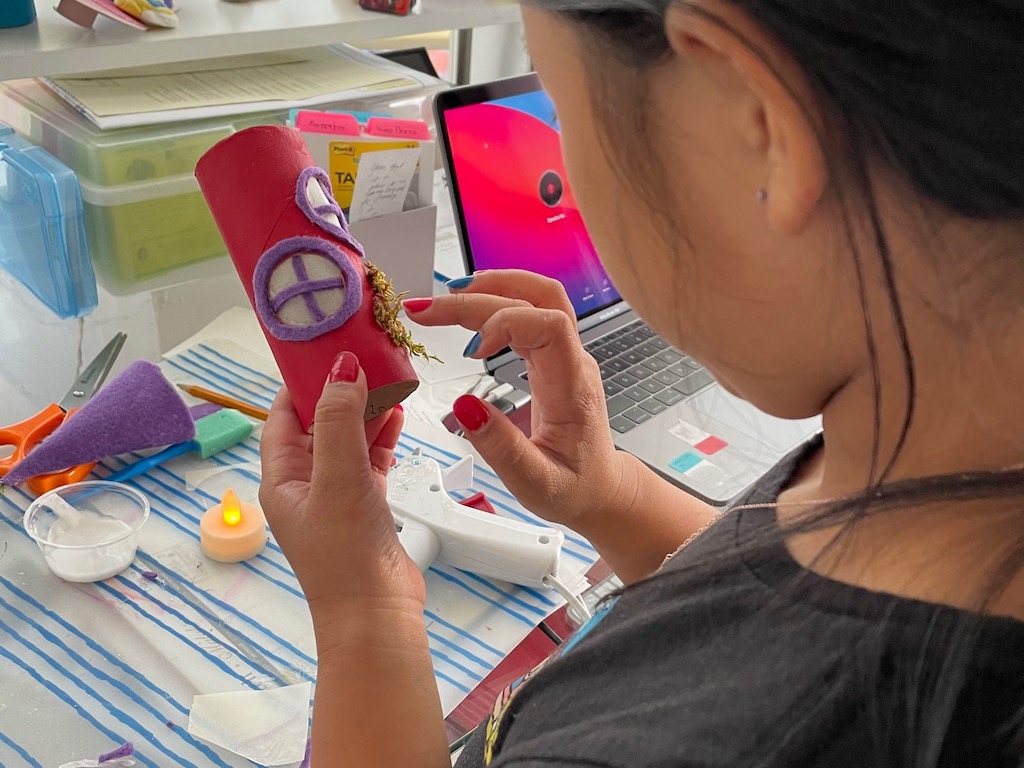
Decorate the house with artificial flowers and moss, attaching the elements with a glue gun.
Finally, attach the roof to the house using a glue gun, dribbling glue along the edge of the top of the house and securing the roof. Or you can simply plop the roof on the house, without attaching it.
What Kids Learn from Toilet Paper Roll Crafts
It’s eye-opening when something so mundane, meant for the waste basket, can be transformed into a whimsical, decorative object.
Kids learn to:
- Respect everyday items and look for new ways to use things that would normally be discarded.
- Unleash their imagination and artistry to create and decorate their fairy house.
- Refine small motor skills.
Don’t forget to sign up for my email newsletter! Every Wednesday, I’ll give you a new idea for an activity or insight to nurture the little ones in your life. Come visit!