How to Make the Best Halloween Diorama
I was inspired to make a diorama with the grandkids after a reel I saw by grandparent_superpowers on Instagram. My son reminded me that he and I had made a Halloween diorama when he was a child, so we tried to remember how we did it.
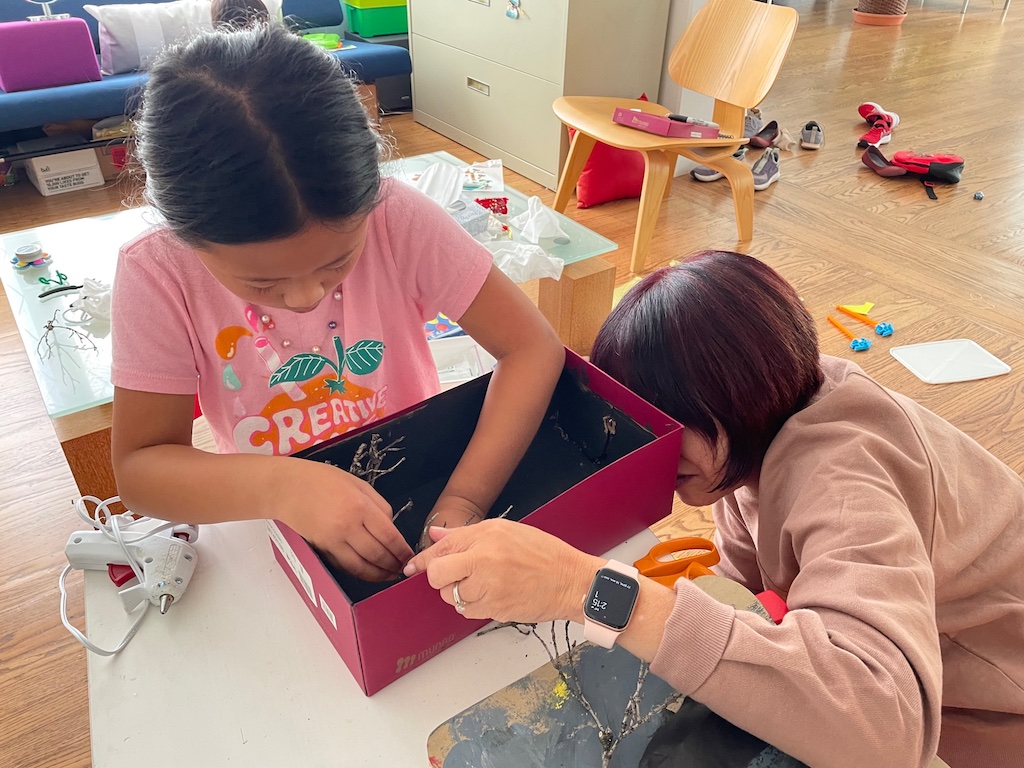
The kind we had made back then consisted of a covered shoebox with a peephole for viewing. So much more exciting to spy on a Halloween scene through a peephole, we decided.
Trial and Error
In trying to reconstruct our Halloween diorama, the grandkids and I started with a covered shoebox and made a hole for viewing. It was too dark to see inside, so we cut out three “skylights” in the cover.
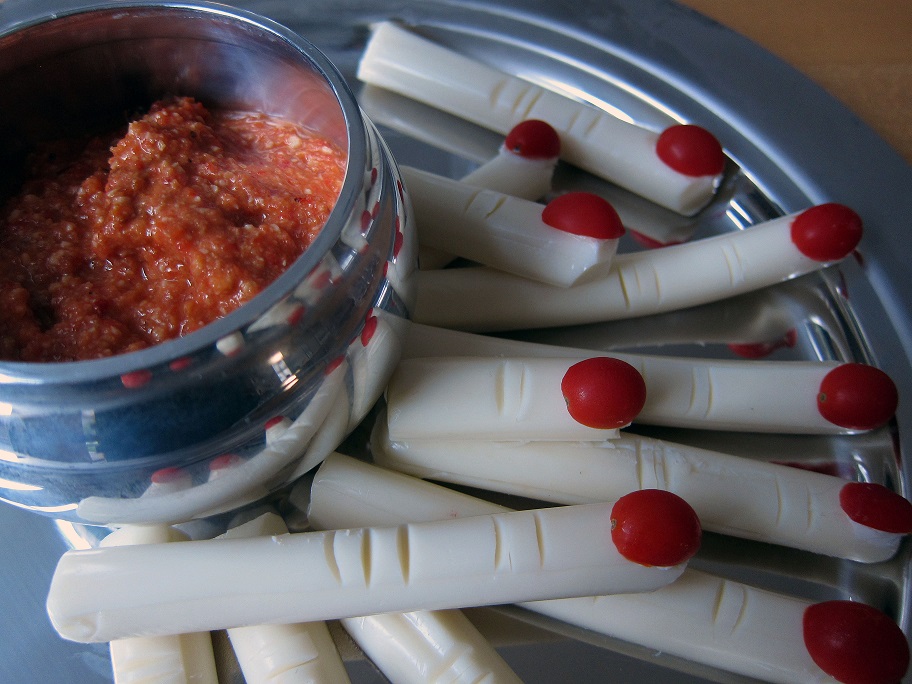
Make a snack of creepy fingers!
That was fine, but for effect, I added a flickering, battery-operated tea light that I had on hand, which we hid behind a strip of black tissue. Eerie!
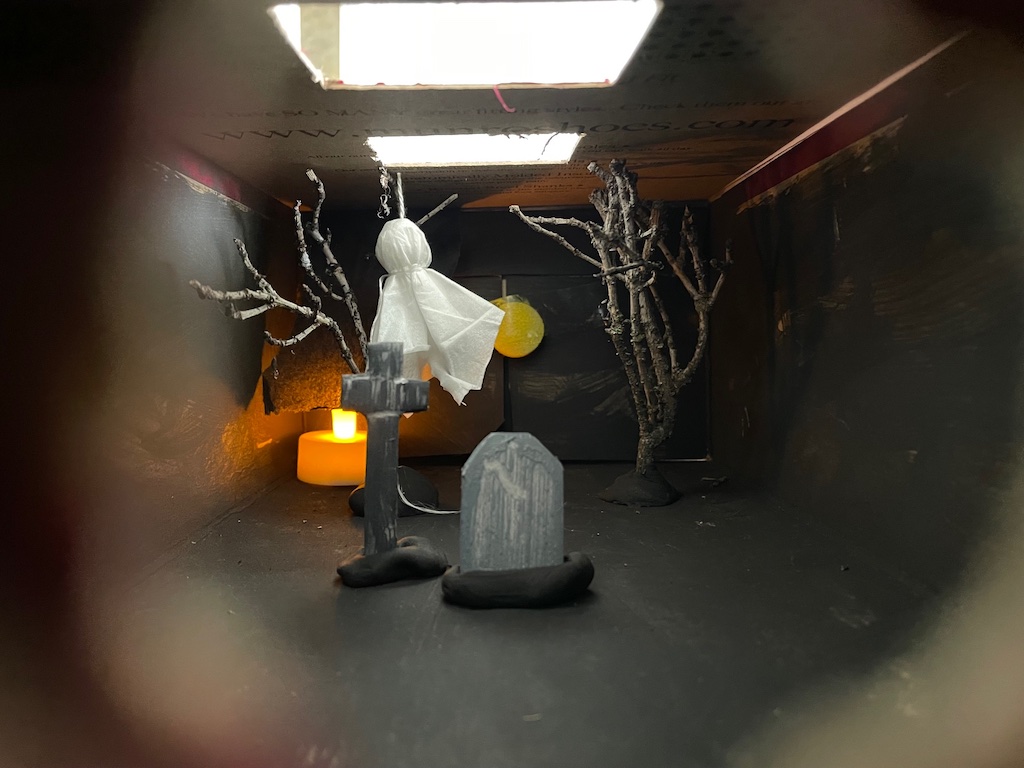
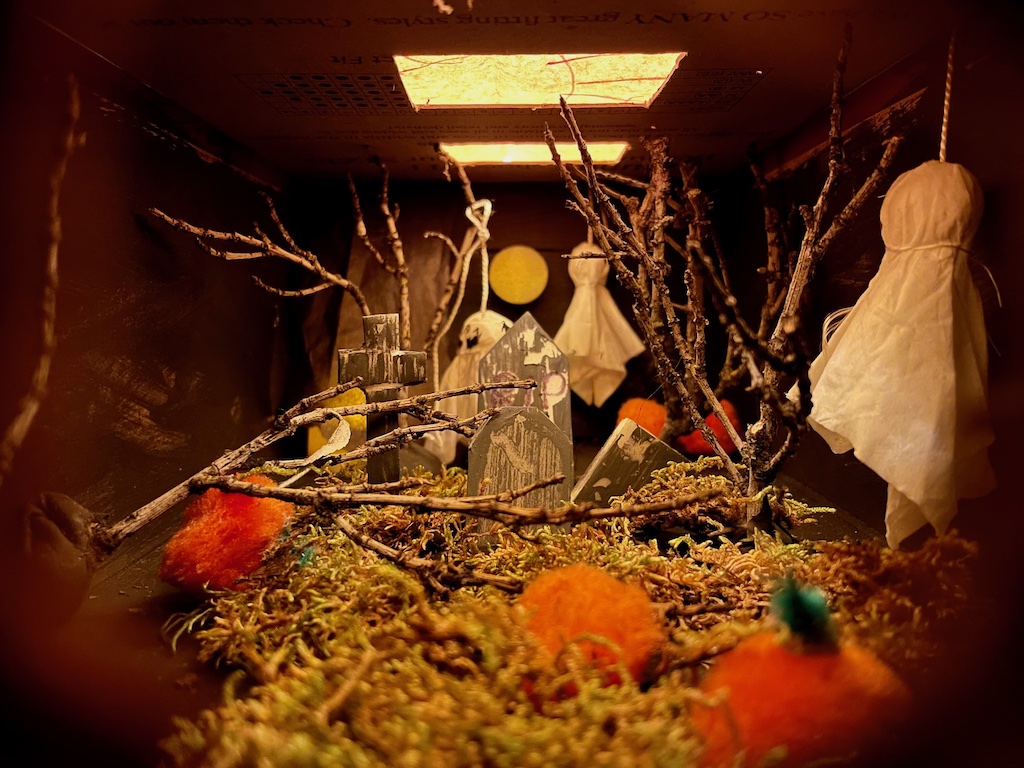
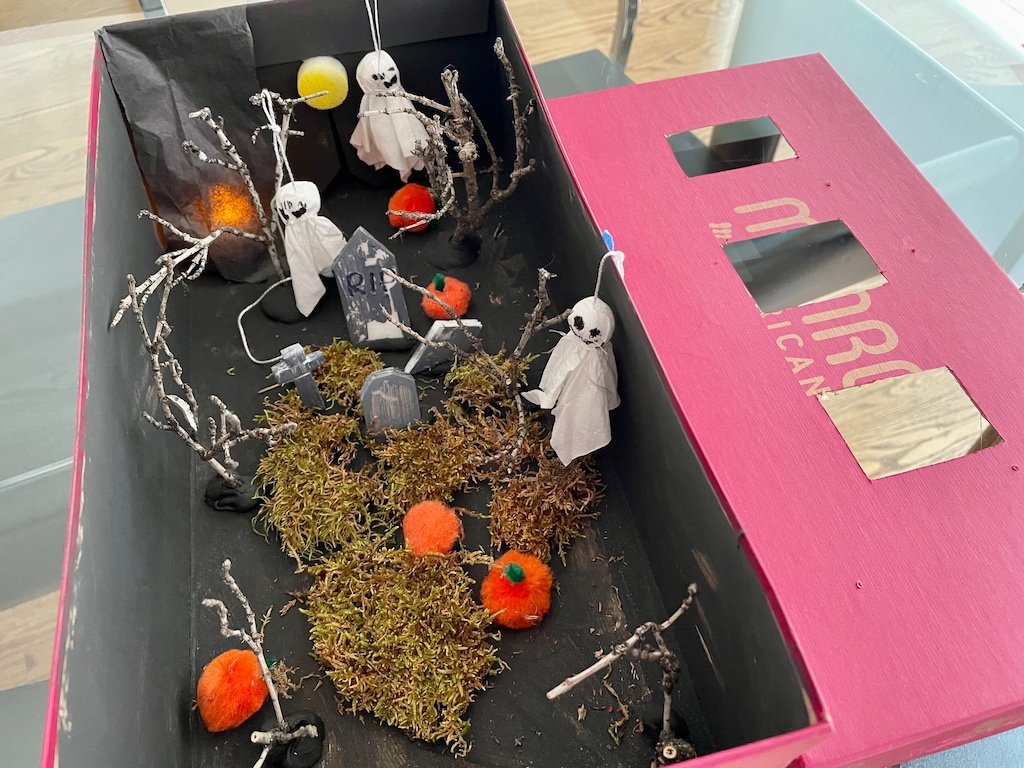
In final form, we populated our diorama with tree branches, pom pom pumpkins, styrofoam gravestones, and tissue paper ghosts. We scattered dried moss on the ground and covered the light holes with orange tissue paper for a more ghostly effect.
How to Make a Halloween Diorama
Materials Needed:
To make the environment:
- Cardboard shoebox
- Black tempera paint
- Dried moss (optional)
- Dried tree branches
- Battery-operated tea light and a strip of black tissue paper (both optional)
- Orange or yellow tissue paper or cellophane to cover the box openings
To make the ghosts:
- 1 sheet of white facial tissue (such as Kleenex)
- 4 small cotton balls or white pompoms
- Fine-point black marking pen
- White thin but strong string (I used white crochet thread)
To make the gravestones:
- Thin styrofoam sheet or cardboard
- Black air dry clay or dark-colored Play-Doh
- Gray tempera paint
To make the pumpkins:
- Small orange pompoms
- Green pipe cleaner
Tools Needed
- Small low-temperature glue gun
- Box cutter or X-acto knife
- Paint brush
- Small sharp scissors
Make the Environment
To start your Halloween diorama, paint the inside of the shoebox black and allow it to dry. Little N did that.
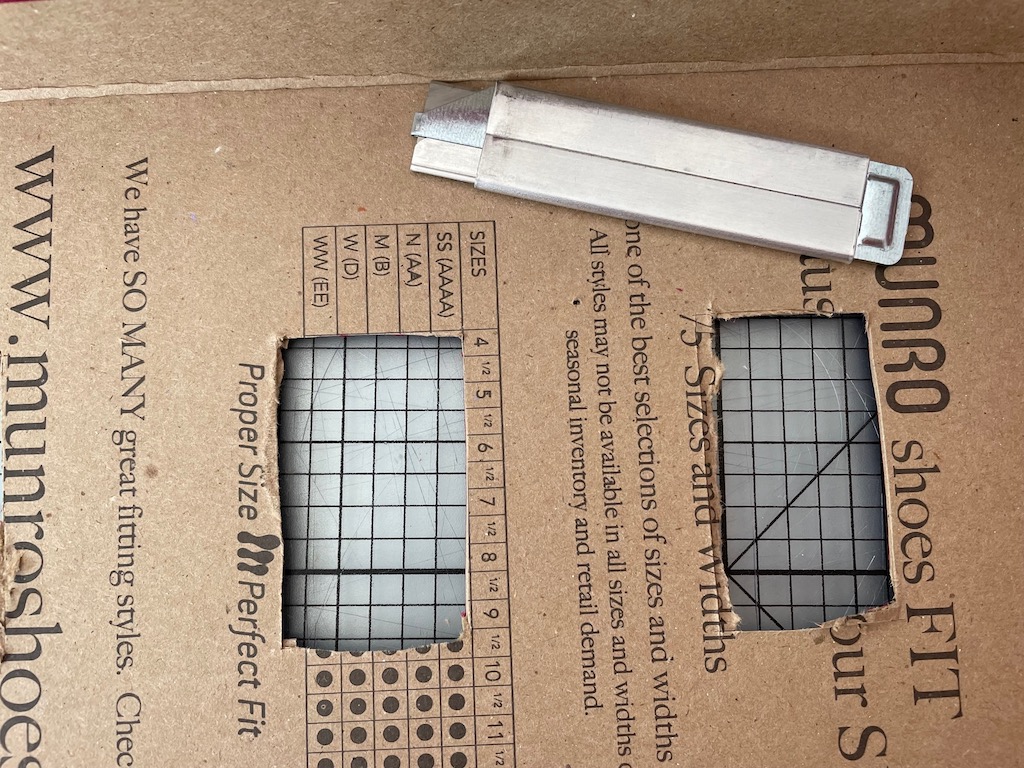
Cut light holes in the box lid with a box cutter or X-acto knife. This is a job for an adult. I cut three rectangular holes and found it’s easiest to flip the box cover upside down and cut over a self-healing cutting mat. A box cutter blade will cut deep, so be sure you have protected the surface under the box cover. And watch your fingers!
Bore a hole in the middle of the short side of a shoebox with an X-acto knife, awl, or metal skewer. Once you have a small hole, enlarge it by twisting a pencil into the hole. To make the hole even larger, I used a fat sharpie, gently pushing and twisting it into the hole to enlarge it.
Make the Ghosts
Cut the tissue in half, then each half in half again. Now you have four sheets for four ghosts. Take one sheet and put a cotton ball or pom pom in the middle.

Cinch the tissue around the ball to form the ghost’s neck. Tie with string. Leave string on both ends so you can hang the ghost from the string.
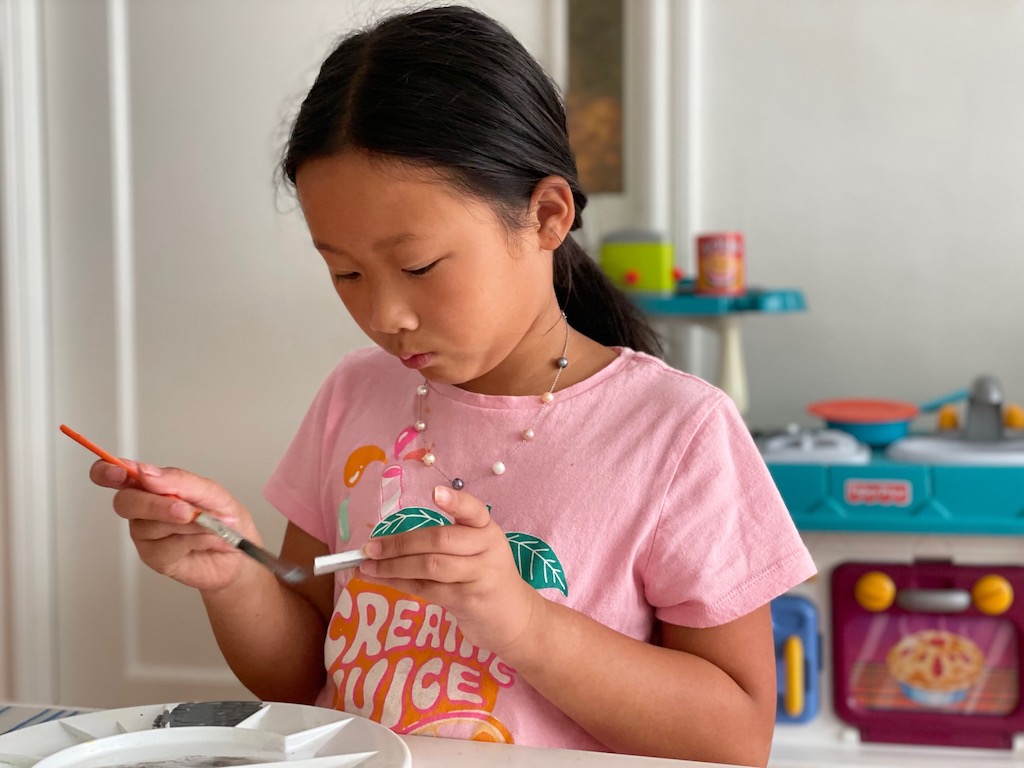
Draw a face with a black marker pen.
Make the Gravestones
Cut gravestones from a styrofoam sheet or cardboard. My styrofoam sheet was a scrap of packing material from a package delivery.
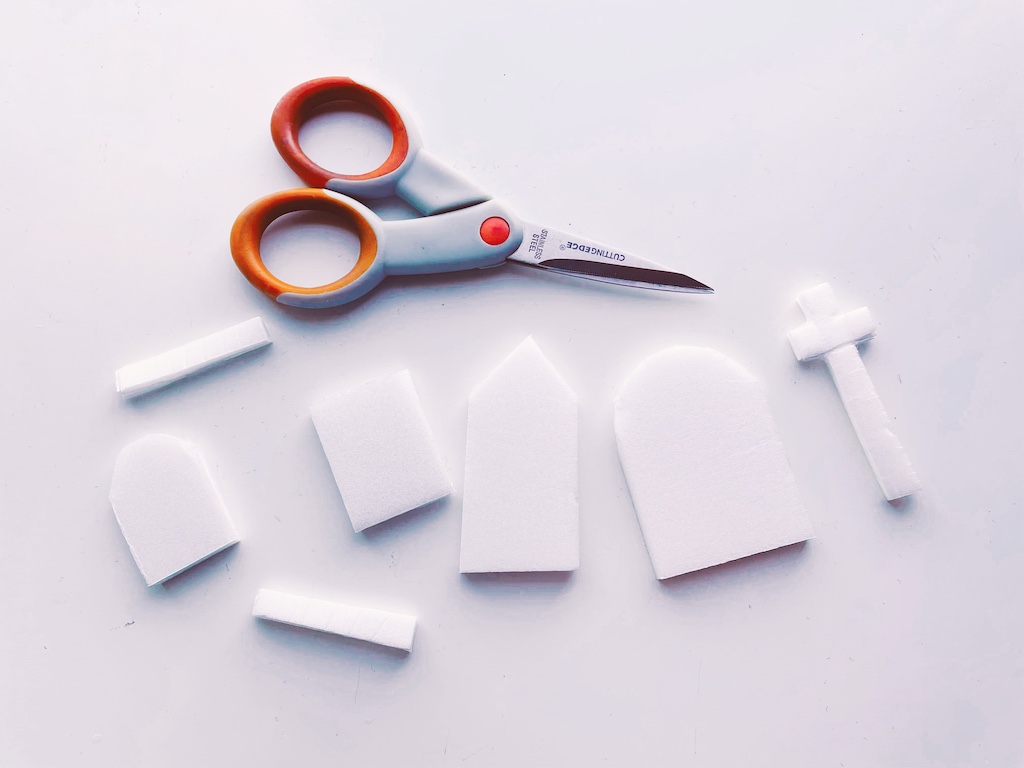
Cut gravestone shapes and paint with gray tempera paint. Allow to dry.
Make the Pumpkins
The pumpkins are simply orange pom poms with a green pipe cleaner stem, affixed with a glue gun. The pumpkins were Miss T’s idea. They add a pop of bright color to the drab, ghostly scene.
Assembly
Start by planting the trees into a base of air dry black clay. If the trees don’t stay put, just dab some hot glue into the clay holes and reattach the trees.
TIP: It helps to have one person watching from the peephole as the second person arranges the elements to ensure that the scene looks best from the vantage of the peephole.
Next, arrange the gravestones and secure with more air dry clay. Attach the ghosts by their strings to the trees, the side of the boxes, or if you want one in the middle of the setting, make a hole through the box cover with a large needle, thread the ghost strings through the hole, and knot in place on the box cover.
Scatter the pumpkins around to add color. If you add a tea light, use a strip of black tissue paper to curtain it, hiding the fixture but keeping its glow.
We also have a moon in our diorama. Little N found a circular piece of foam in my scrap bin that he decided could be a moon. He colored it with marking pens. We hot-glued it to the back wall.
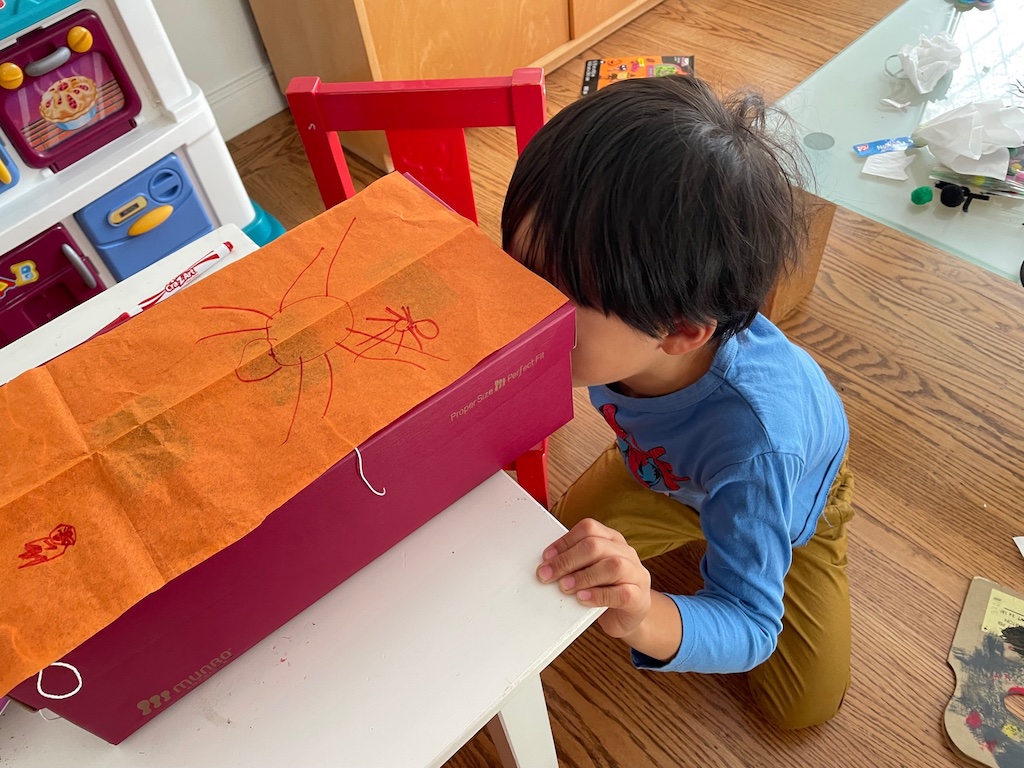
Finally, we cut orange tissue to cover the holes at the top of the box. Little N drew some spiders to decorate it.
The kids decided they didn’t want to glue the tissue to the box, instead, allowing for the diorama to be seen with the tissue for an orange glow, or without, for a different effect.
What Kids Learned
In making the Halloween diorama, the grandkids learned to:
- Think creatively because they were enthusiastic about the project and wanted to contribute to it. Miss T came up with the pom pom pumpkin idea and Little N found us a moon.
- Work cooperatively–each child worked at their skill level and interest level to participate in the project, amiably take turns on who would do what.
- Develop or fine-tune fine motor skills as each child contributed to making and assembling the diorama.
Sign Up!
Don’t forget to sign up for my email newsletter. Every Wednesday, I’ll give you a new idea for an activity or insight to nurture the little ones in your life.
Sounded like a fun project! Great working together.
It was! Thank you.