Fun, Easy Crafts for Kids: How to Make a Suncatcher
I keep a file of fun, easy crafts for kids on a Pinterest board. So, anytime the grandkids come over unexpectedly, I have a few ideas of what we can do.
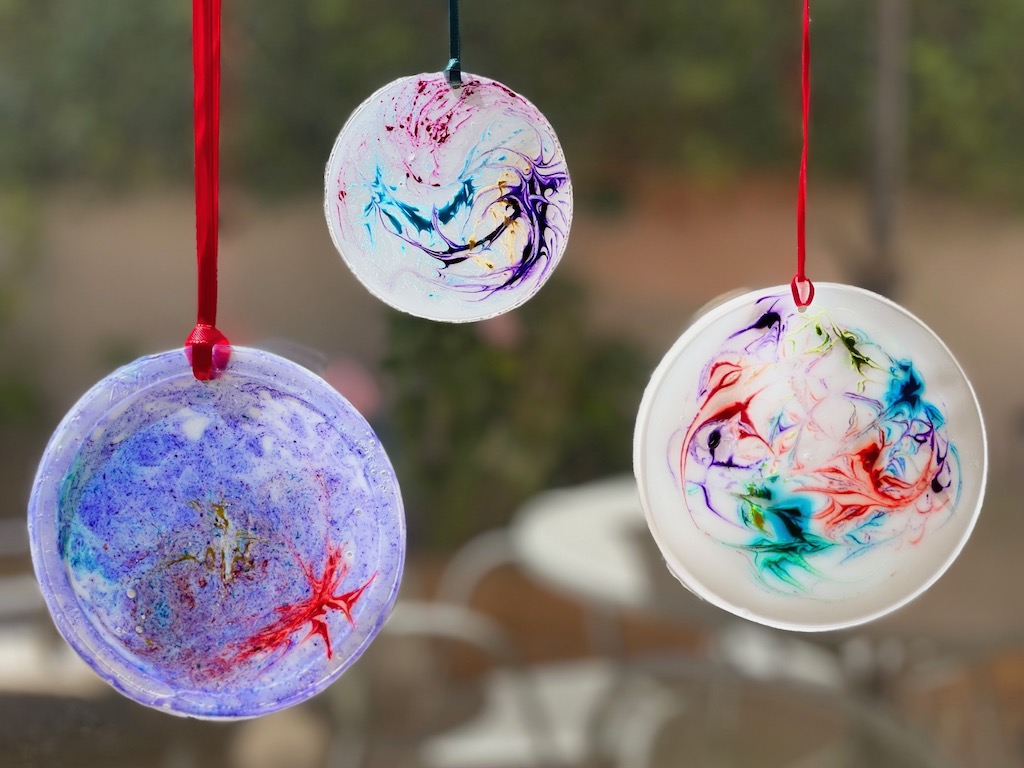
Recently, we made suncatchers from one of the ideas I had saved–it was a craft project from Mombrite.
Setting Up: How to Make a Suncatcher
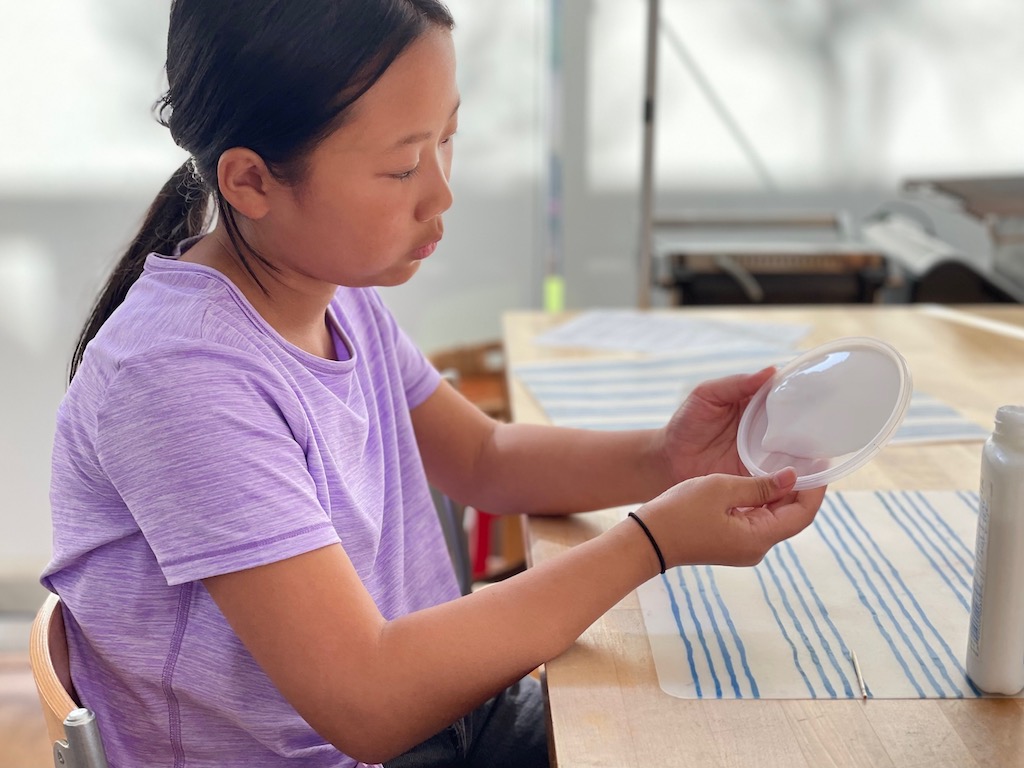
The process is super-simple. You pour out enough white school glue (such as Elmer’s) onto a flexible plastic lid to cover the surface. The lid will serve as your mold. A flexible lid is important because you’ll have to bend back the lid to coax out the finished suncatcher after the glue has dried.
Be sure to pour the glue with the lid rim facing up. The rim will contain the glue.
Do not make the layer of glue too thick, or it will take very long to dry. We started our project on Friday and one of our disks didn’t dry completely until Monday night.
For younger children, tape the lid to the work surface to secure it so it won’t move while they work. Just roll a piece of masking tape or blue painter’s tape into a tube, sticky side out, and affix it to the underside of the plastic lid. Or, a lump of Play-Doh may hold the plastic lid in place until the child has completed their project.
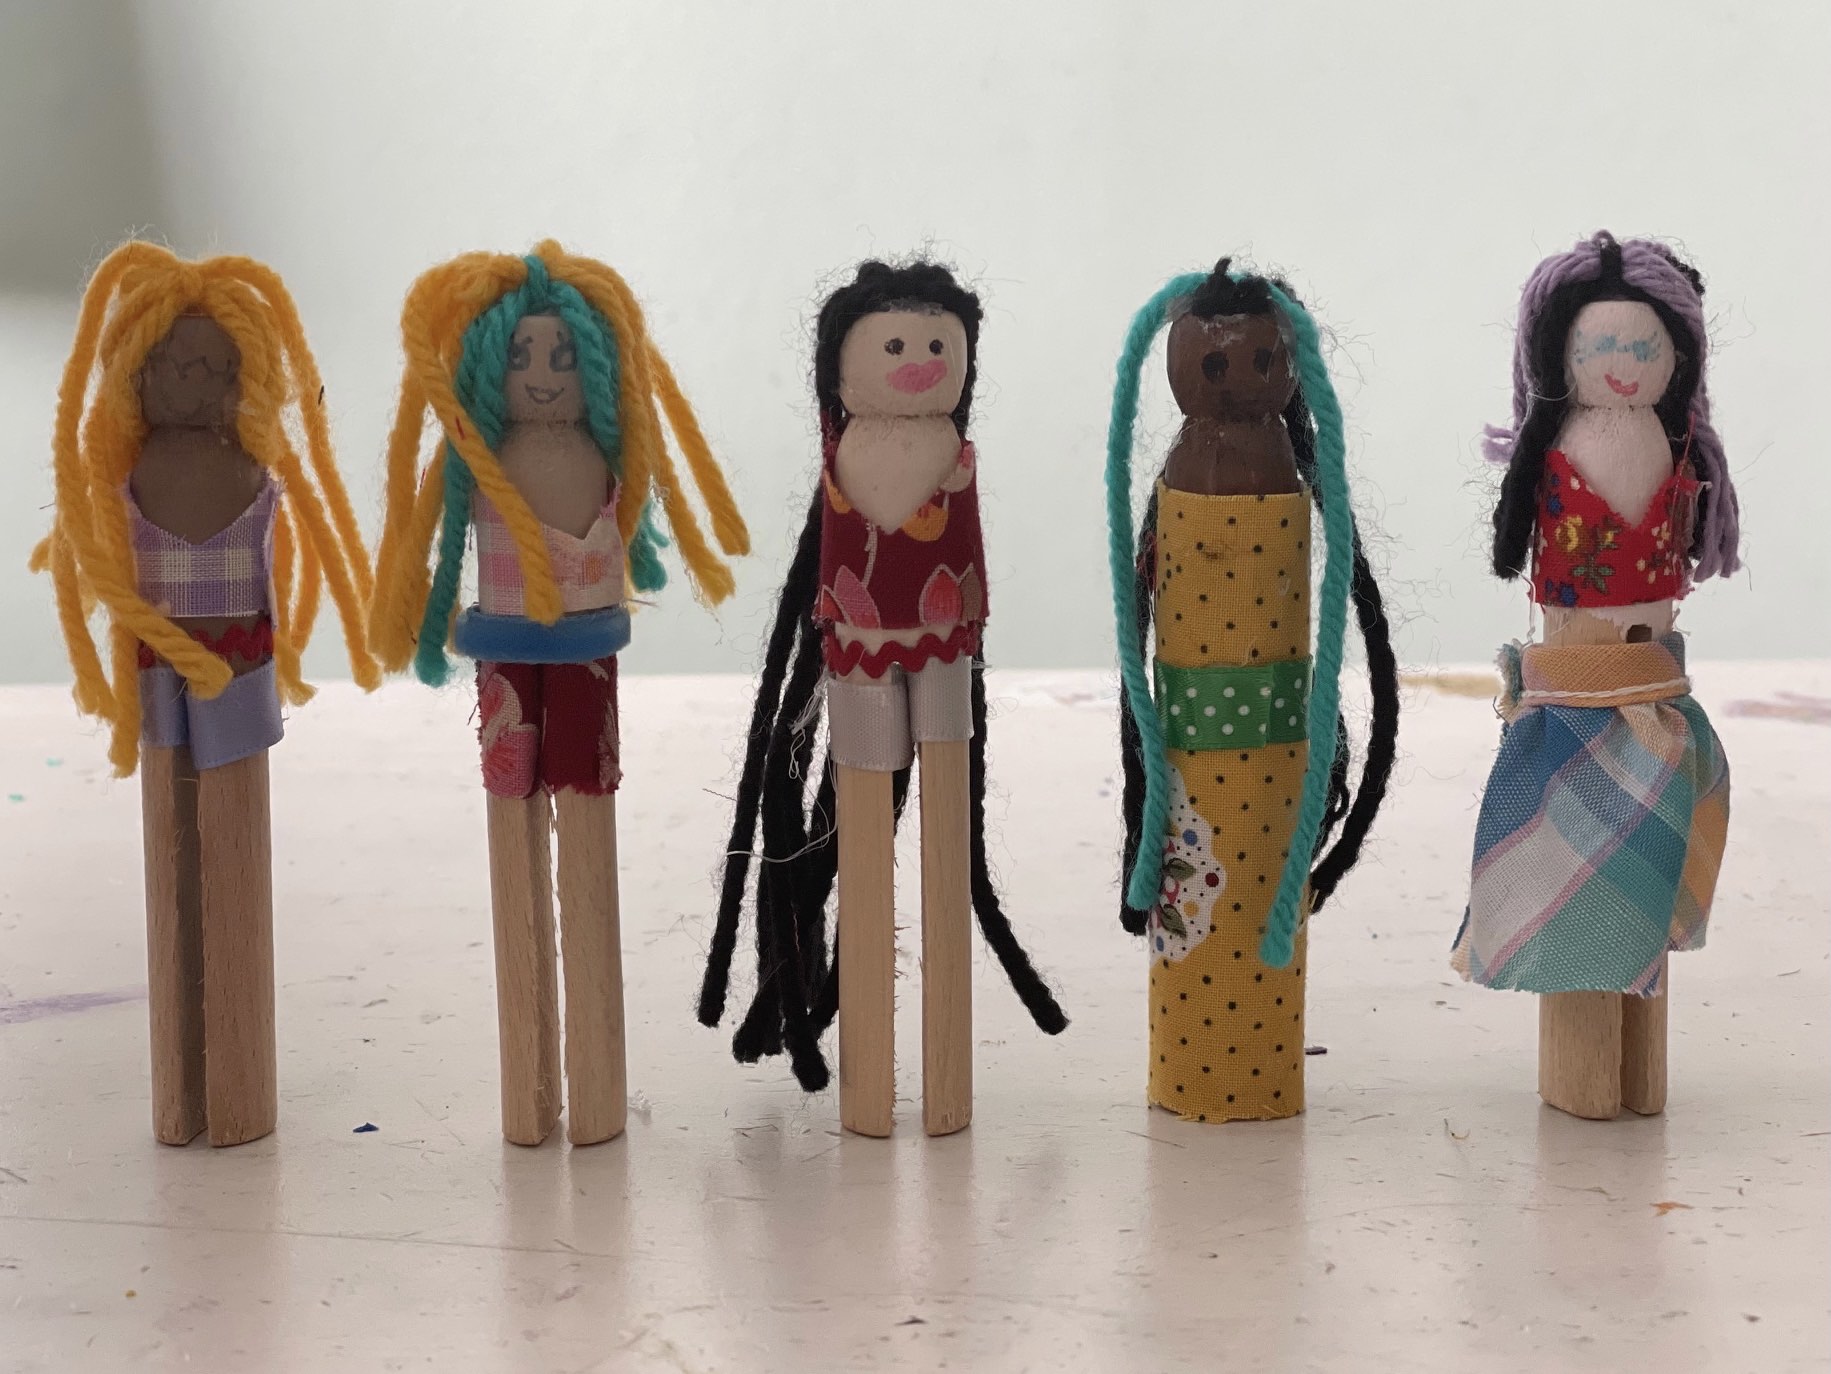
Another fun, easy craft project is clothespin dolls, made from scraps.
Adding Color to your Suncatcher
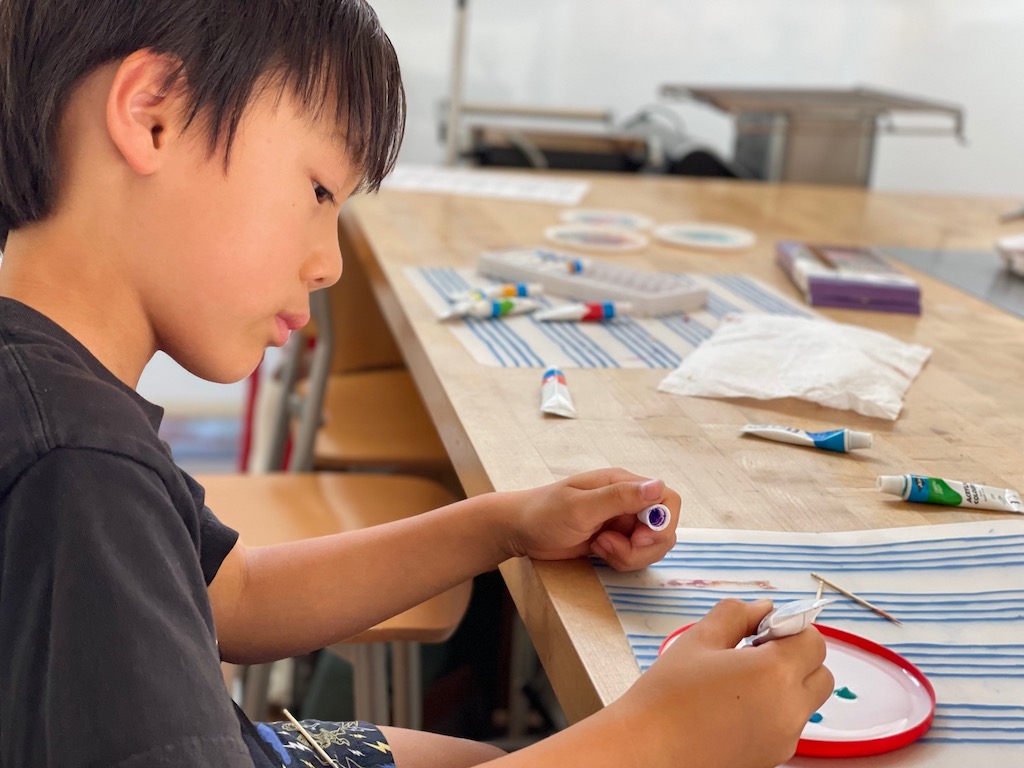
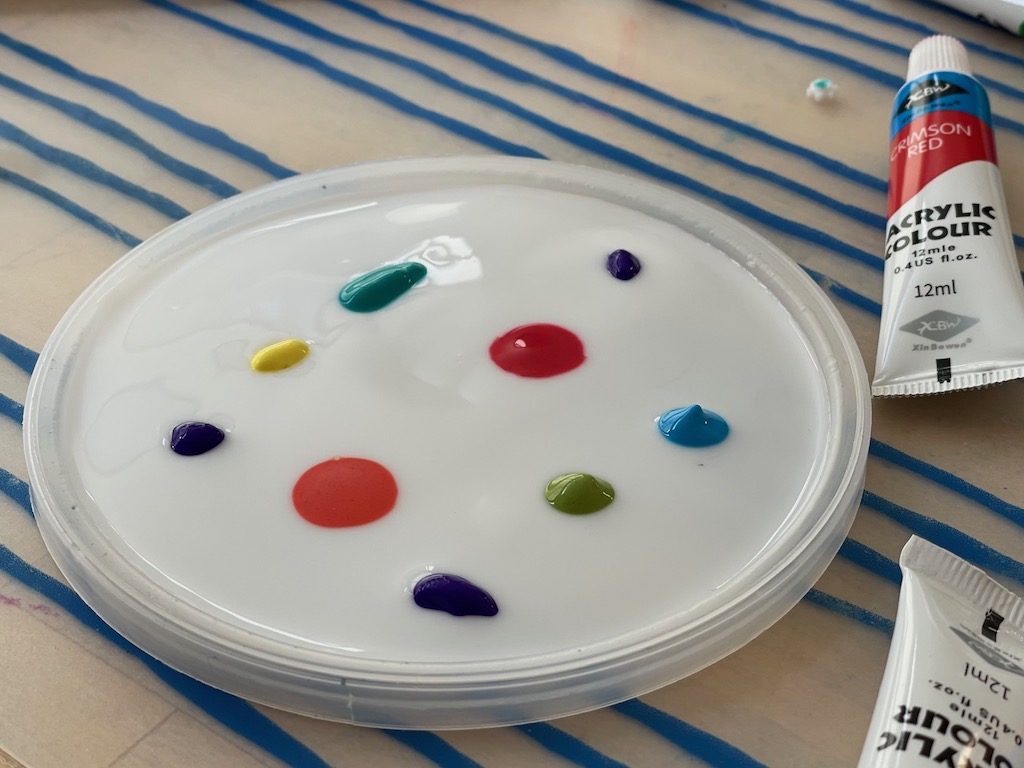
Dot some paint on the glue surface. The instructions call for food coloring or liquid watercolor paint. We used acrylic colors and they worked just fine.
However, if you are becoming concerned about the safety of food coloring yet still have some in your pantry, this is a great way to use up those colors in artwork, instead of ingesting them.
You can work with a variety of colors or just one or two. We preferred multicolored sun catchers so we were generous with the number of paint tubes we used.
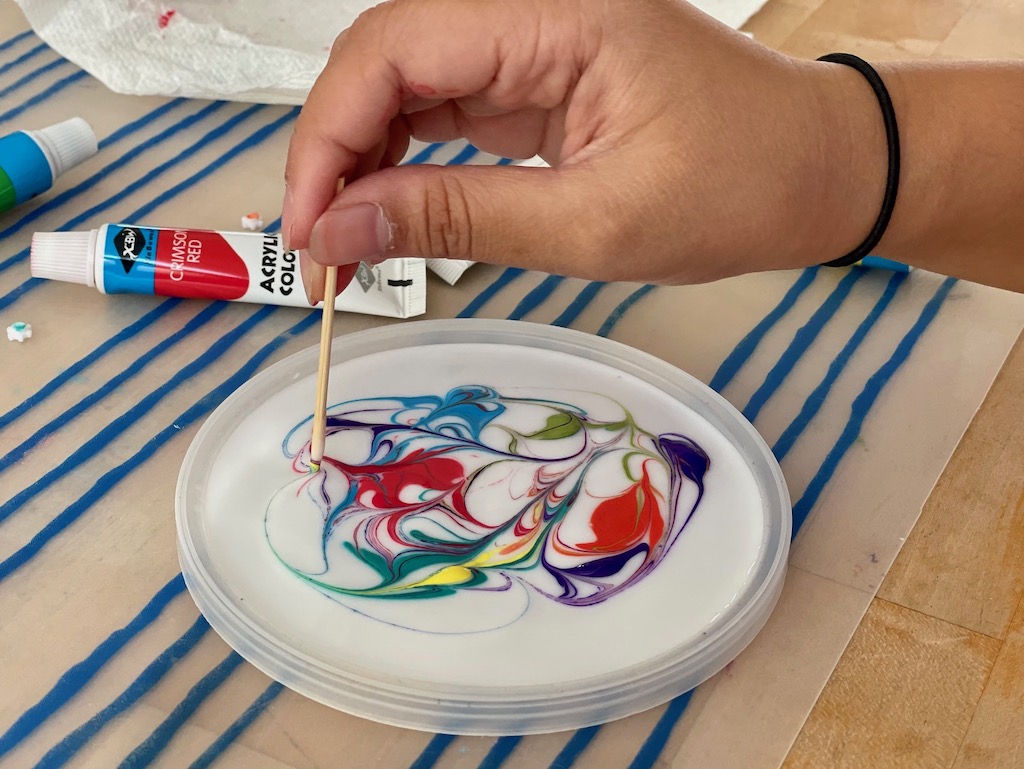
Now take a toothpick and track it through the color dots to create a design.
If colors are mixed up too much, the effect can turn muddy. And if you mix complimentary colors together (red/green, purple/yellow, orange/blue) expect a drab brown.
How to Finish your Suncatcher
Allow the designs to dry undisturbed for two to three days. When completely dry, the glue surface will no longer be tacky to the touch and the glue disk will begin to pull away from the edges of the plastic lid.
Release the glue disk out of the lid by bending the lid back.
What to do with leftover acrylic paint? Make spice jar vases.

To give yourself a head start, put the tip of a paring knife between the edge of the glue disk and the edge of the lid and gently pry the disk from the lid. (This is a job for an adult.)
After the glue disk has been released, make a hole with a hole punch and hang your sun catcher on a window with twine or ribbon. You can hang just one or group a few together at various heights.
Other Uses for Suncatchers
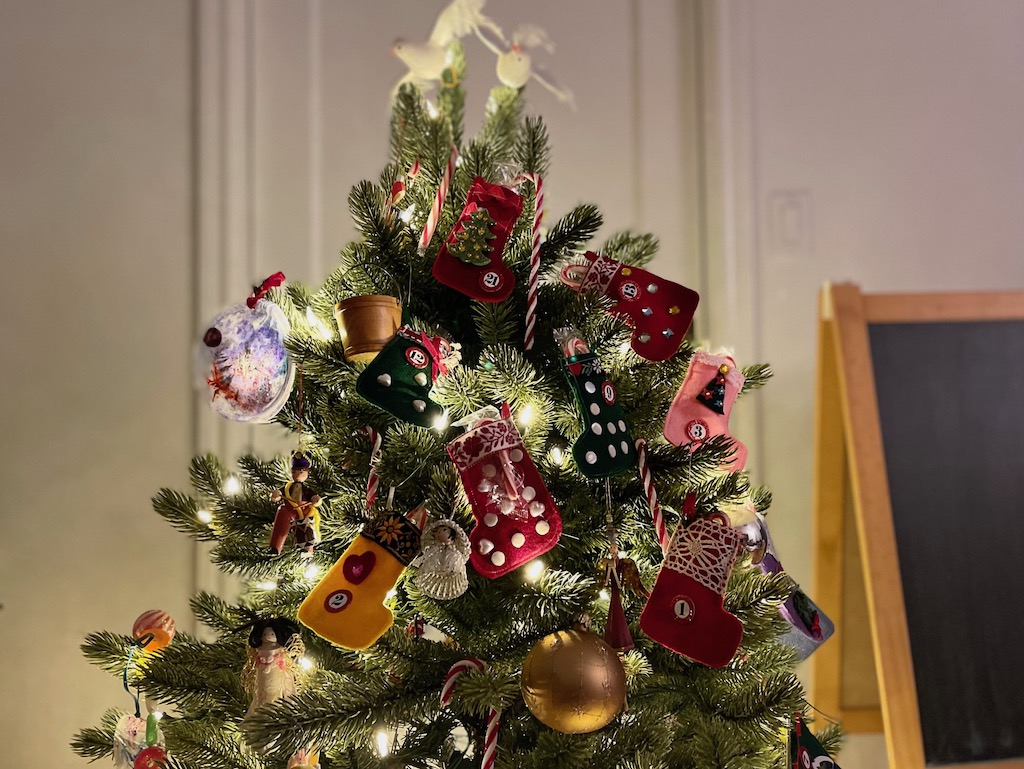
Aside from just being decorative at your window, there are a few other ways you can use suncatchers. Turn them into ornaments for your Christmas tree. Hang them on house plants. Incorporate them into mobiles. Dangle them from light fixtures. Tie one to a suction cup with a hole and you can stick it anywhere.
Learn More about Colors
You can do a separate project beforehand to learn more about colors. It can be a foundation for future fun, easy crafts.
- Understand the science of color–how and why we see color. A simple explanation for kids.
- A tutorial on how to introduce kids to the color wheel.
- Explore the process of how we learn about colors from birth to the first five years. There are related activities you can do with kids to support their learning.
- Use color as a cue to encourage nutritious eating, starting by introducing a food rainbow.
More Fun Easy Craft Ideas
You’ll find additional craft ideas to do with kids that I’ve curated on my Pinterest board, including leaf prints, dinosaur fossils, magic wand reading pointers, and more.
Sign up to Get Grandma’s Favorite Recipes–Free
Sign up here for my email newsletter. Every Wednesday, I’ll give you a new idea for an activity or insight to nurture the little ones in your life. And once you subscribe, I’ll send you a link so you can download your set of quick and easy recipes as my thanks to you.