The Best Activities for Kids with a Luau Theme
Last week, we did a simple luau for the grandkids, using ultra-easy recipes, as an antidote to harsh winter weather. Now here are some activities for kids to enhance their luau experience.
You’ll find two craft projects, as well as some Hawaii-inspired links you can use to tie into your luau party,
How to Make a Paper Lei
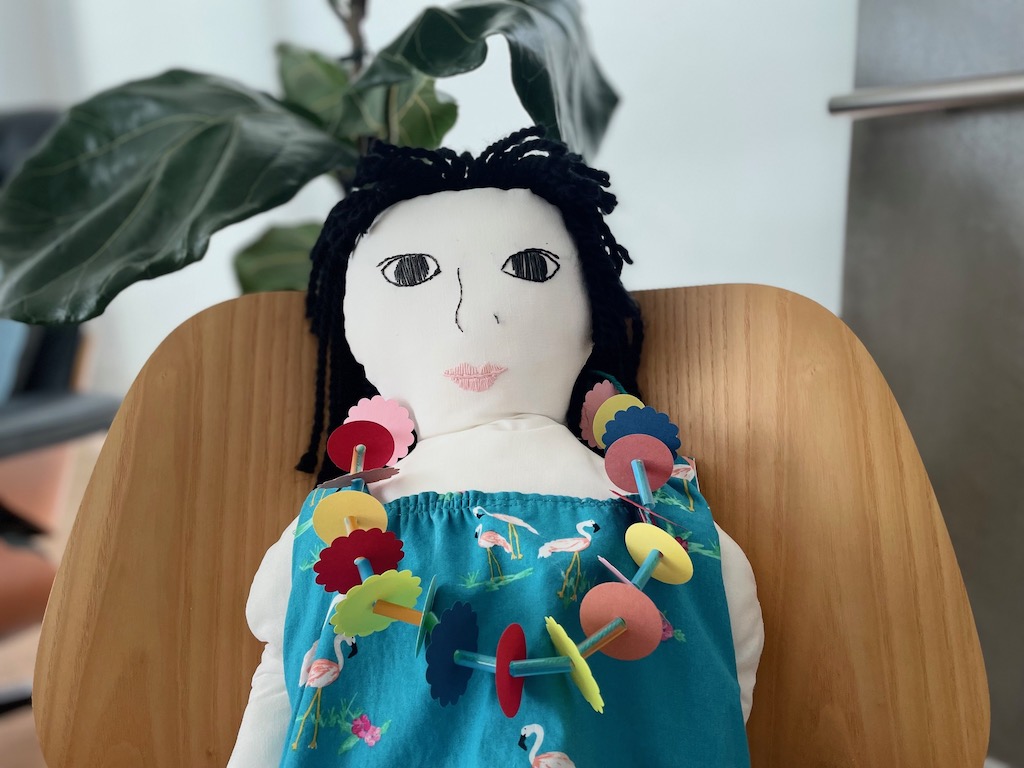
Leis are a beautiful Hawaiian tradition. In Hawaii, we wore leis to school on Lei Day, May 1. We were showered with leis at school graduations and on special occasions.
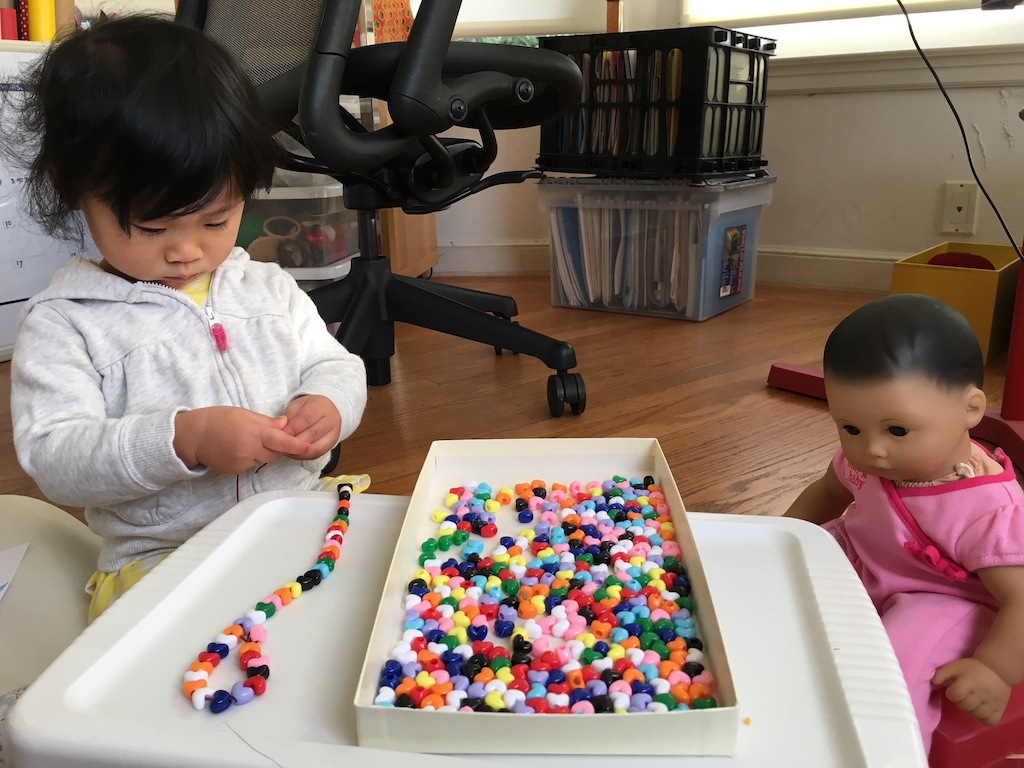
Even young children can string a construction paper lei. And they’ll have fun wearing their leis to your luau afterwards.
Materials
- Toothpick (to make a needle for younger kids)
- White school glue
- Colorful construction paper or cardstock
- Straws, cut in 1-inch lengths
Tools
- Scallop paper punch, circle paper punch, or both (see note)
- Single-hole paper punch to make a 3/8-inch hole
- Long needle with an eye large enough to thread yarn (for older kids)
First, make the needle. To do this, snap the point off the toothpick, then glue the toothpick to the cut end of the yarn with white glue. (Skip this step for older kids who can use a needle. They’ll simply thread the yarn through their needle.)
Next, cut the yarn to the desired length for the lei, allowing an extra 16 inches of excess yarn.
Thread a cut piece of straw to the end of the yarn as a stopper to keep strung pieces from falling off. Tie the yarn to the straw about 8 inches from the end, and tie loosely enough so you can undo the tie afterwards. You’ll be using that 8 inch of excess yarn to tie a bow to finish the lei.
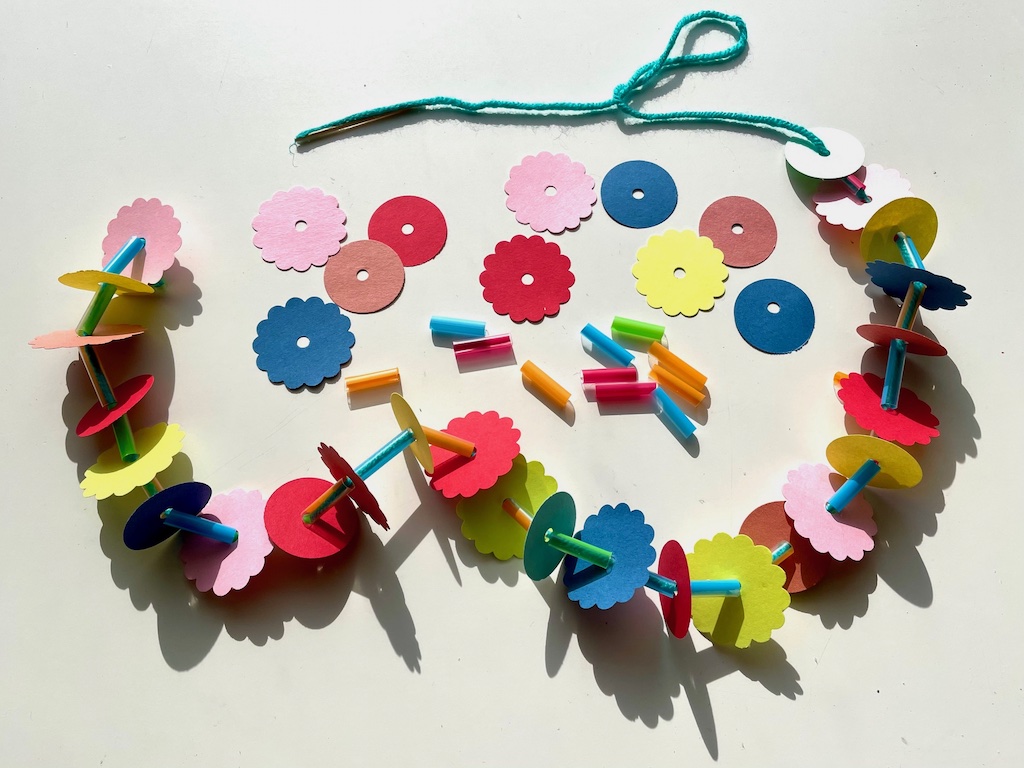
Now using your paper punches, punch out scallops and circles. Punch a hole in the centers of the punched-out pieces. (See note below if you don’t have these tools.)
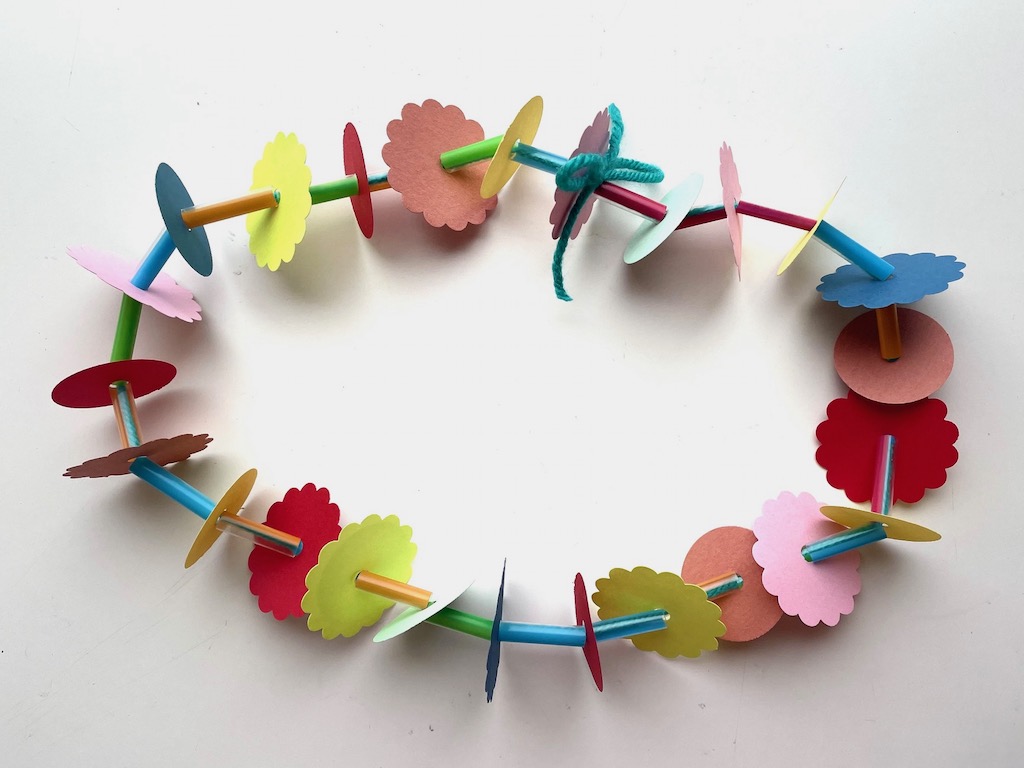
String the lei: scallop, followed by straw, followed by circle, followed by straw, and repeat.
When the lei is complete, untie the straw stopper and tie the lei together, using the 8 inches of excess yarn on both ends of the lei to knot the lei securely and make a bow.
Notes:
- I used a 1 1/2-inch scallop paper punch and 1 1/4-inch circle punch that I already had on hand to make this lei.
- If you don’t want to buy the punches, trace circles from a jar cover, such as a spice jar cover, onto construction paper. Stack four sheets of construction paper together and cut four circles at once. Just make a lei with the circles; skip the scallops.
- If you don’t have a hole punch, poke a hole with a toothpick or skewer. If kids are old enough to use a needle, they don’t need holes punched; simply string the circles with needle and thread.
How to Make a Woven Placemat
This activity for kids is a simple recognition of lauhala weaving. Woven lauhala products are often intricate works of art. The process is time-consuming and the results are exquisite–and correspondingly expensive!
In Old Hawaii, lauhala weaving was a way to produce functional items like field workers’ hats and coffee-picking baskets. (Lau is the Hawaiian word for leaves; hala is the name of the tree.)
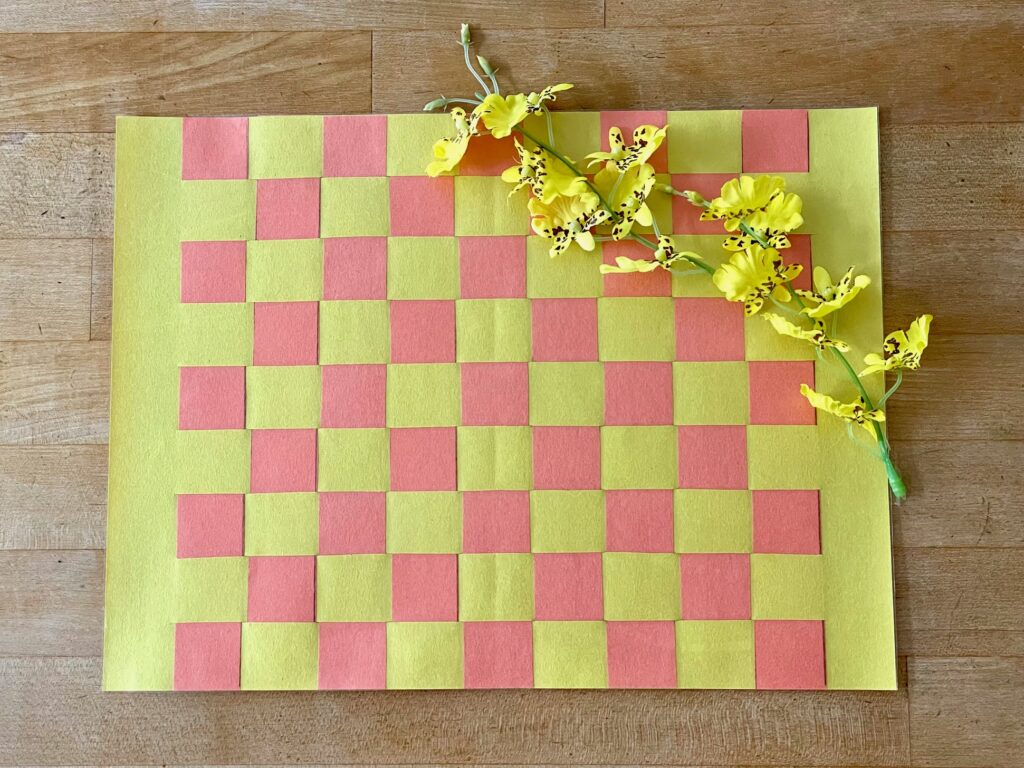
We’re doing a simple weaving project with construction paper instead of lauhala. This is a very small placemat; use cardstock if you want yours bigger.
Materials
- 2 sheets of construction paper, 9 X 12 inches
- Contact paper about 10 X 13 inches
- Glue stick
Tools
- Ruler
- Pencil
- Scissors
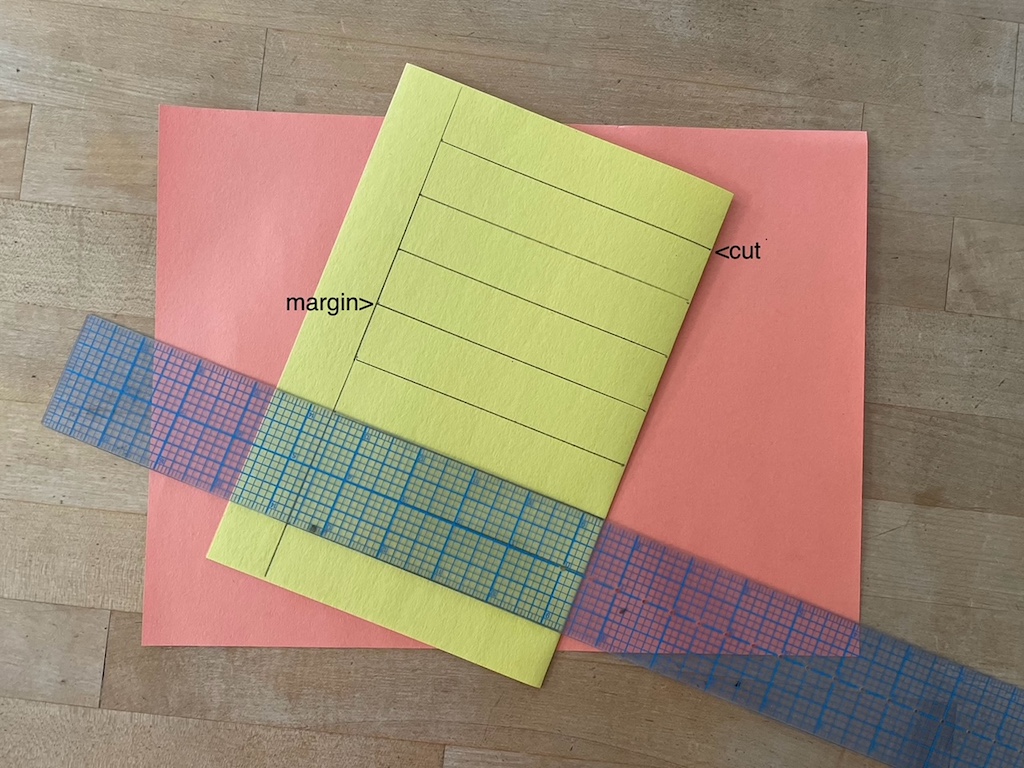
Start by making the backing. First, fold one sheet of construction paper in half, bringing short sides together, so you have a folded rectangle, 9 x 6 inches.
Now, measure 1 inch from the edge of the short side (opposite the fold) and rule a 1-inch margin along that edge. Perpendicular to the 1-inch margin, draw 1-inch lines from the margin to the fold of the paper. These will be your cut lines.
Cut from the folded edge of your construction paper to the margin, along the cut lines. Do not cut beyond the margin. Open the folded paper and flatten.
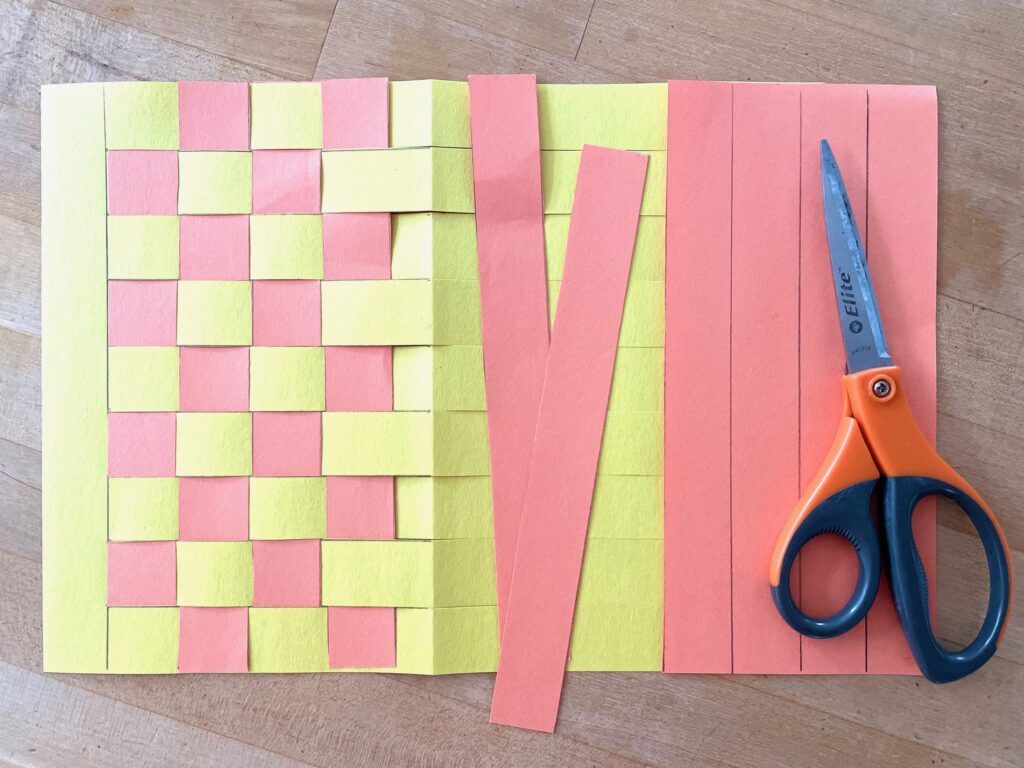
Cut 9 strips, 1-inch wide, from the second construction paper, parallel to the short side, so each strip is 1 X 9 inches.
Weave the strips into the backing. Keep each strip tight against the strip before it. When done, turn the placemat to the back, and use it as the front, so there won’t be any pencil marks showing. Glue the ends of the strips in place with a glue stick.
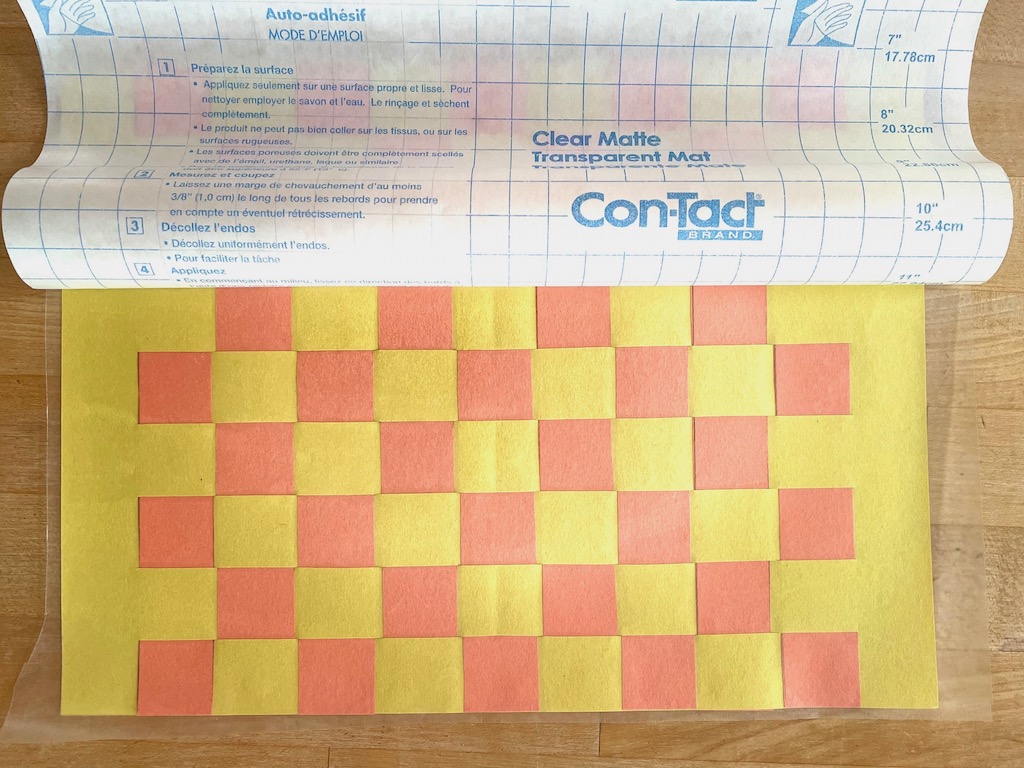
Protect your Placemat
To make your placemat spill-proof, cut clear contact paper a little larger than the placemat. Peel a bit off the backing along the top, and starting at the top, leaving a small margin along the top and sides of the placemat, carefully press contact paper down.
Roll the backing away, a little at a time, until you reach the end of the placemat. Press with hands to smooth. Trim off excess contact paper.
If you like, you can protect both sides of the placemat with contact paper. Or laminate the placemat with a laminating machine if you have one.
Other Luau Activities for Kids
- Go on a pretend trip to Hawaii, as the grandkids and I did to Sweden. You won’t need a passport, but all the activities, such as setting up chairs for airline seats, watching a travelogue video, and drawing postcards, will also work for travel to Hawaii.
- Learn about the Pacific’s fascinating coral reef ecosystem with a printable Pacific reef coloring book.
- Try your hand at stamping with plants. While this activity was designed as a way to explore Hawaiian native plants, you can use plants from your area.
- Learn how Polynesian wayfinders navigated the Pacific Ocean by watching this fascinating video geared to kids.
- If you want to make your luau a bigger deal, or use a luau theme for a birthday party, here are some luau party ideas for kids.
Sign Up!
Don’t forget to sign up for my email newsletter. Every Wednesday, I’ll give you a new idea for an activity or insight to nurture the little ones in your life. Come visit!