Camp Grandma: An Easy Recipe for Kids
This post was written during the pandemic, when we were distanced from the grandkids. I was creating Camp Grandma activities for my grandchild to do remotely and to help us stay connected.
I created virtual Camp Grandma to spend quality time with my grandchild, while enabling her parents, who are working from home, to do their jobs uninterrupted. Finding an easy recipe for kids to make minus parental supervision was a bigger challenge than I had expected.
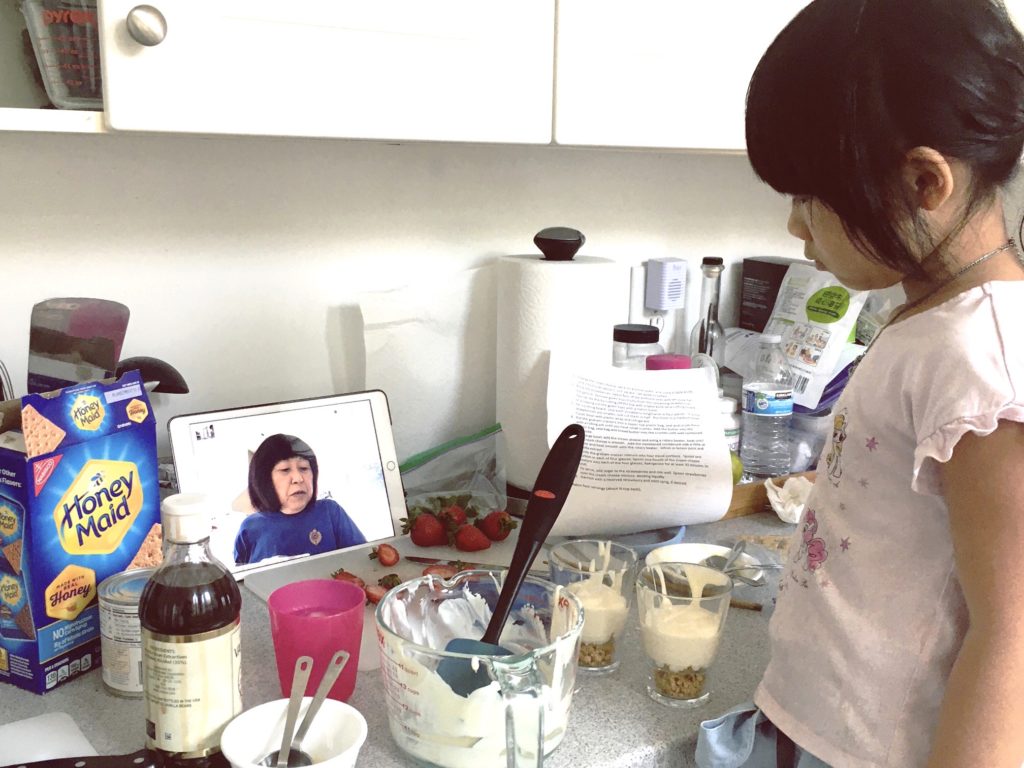
Most easy recipes require an electric mixer, food processor, microwave, stovetop, or oven. And while Miss T has used a standing mixer and the microwave before, I wasn’t comfortable having a seven-year-old employing electrical appliances on her own.
Inspiration came from an Instagram post by Tara Teaspoon featuring a recipe for no-bake Cheesecake in a Jar. I started with her recipe as a base, halved it because it makes 10 servings, then set about rethinking the recipe for a child to make.
Revising the Recipe for Kids
Here’s how I rethought the recipe:
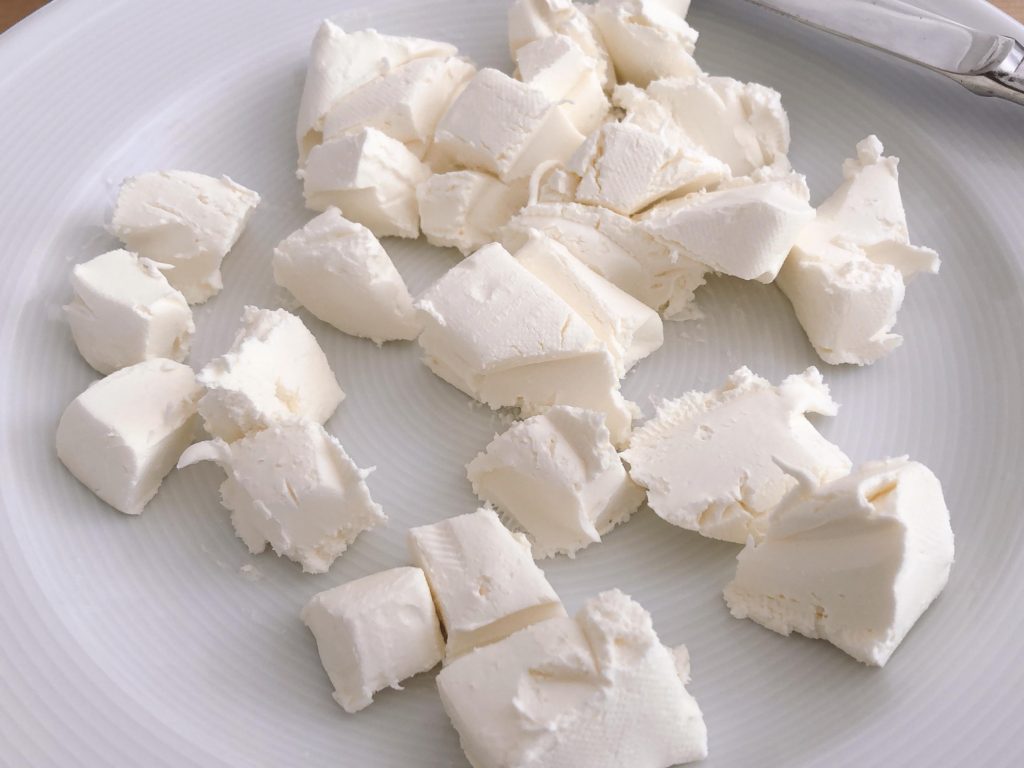
- Cream cheese shouldn’t sit at room temperature more than two hours. Since it’s hard to control the timing with a child, we didn’t start with pre-softened cream cheese. So, the first step of our recipe was to open the cream cheese package and cut up the contents, giving it time to soften while we did the rest of the recipe. This sort of worked. (More about that later.)
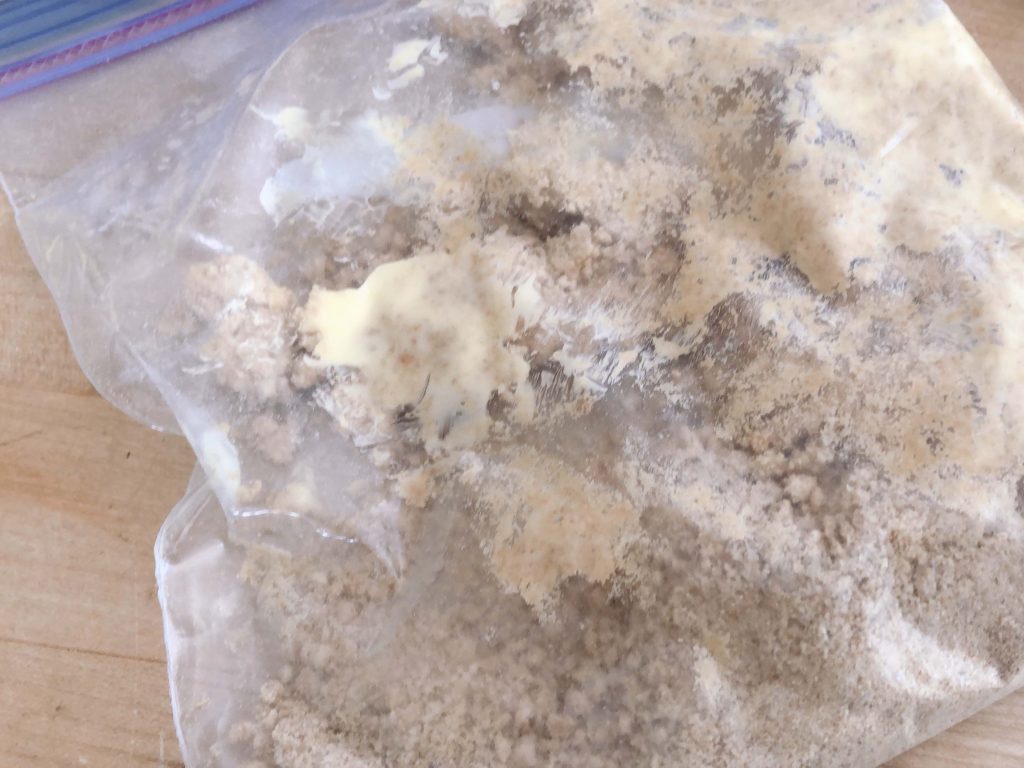
- The original recipe called for melted butter, but we were avoiding stovetop and microwave. Instead, I had Miss T’s parents set out the butter the night before to soften completely. I used more butter than the original recipe because, not being liquid, we would need enough to hold the crumbs together.
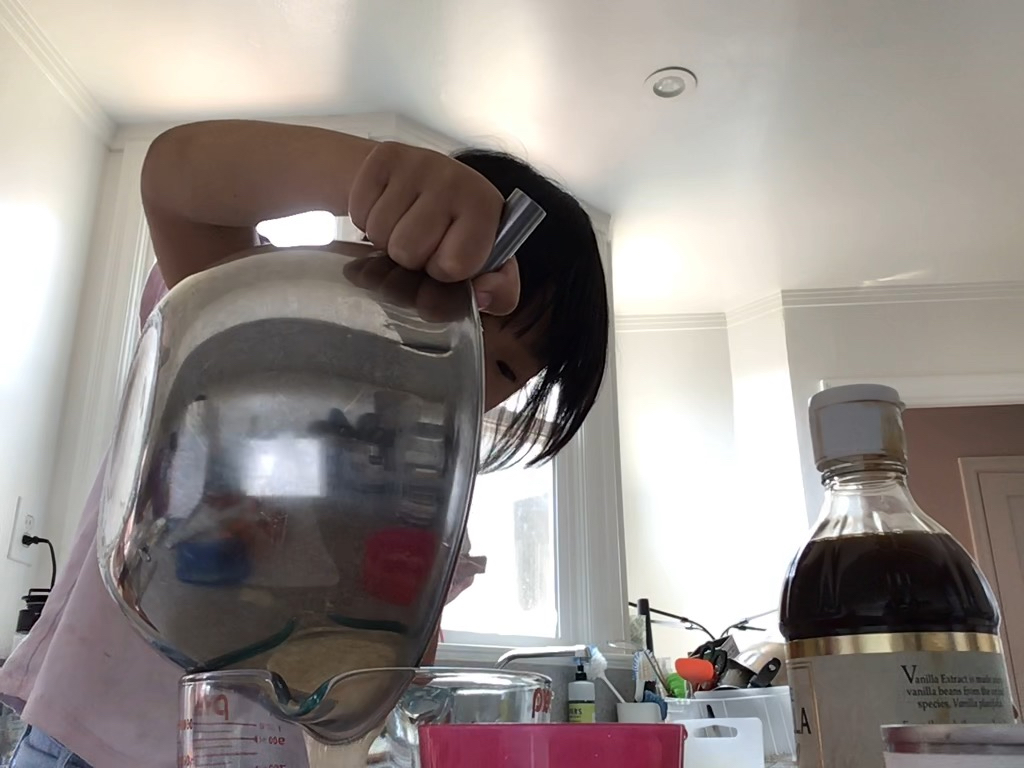
- Instead of blitzing the graham crackers and butter in a food processor, we put the crackers into a zip-top, quart-size freezer bag and crushed them with a rolling pin. Then we added the butter and kneaded and smushed the ingredients together until blended.
- The cream cheese wasn’t completely softened when we were ready for it, so it took some heavy mixing with a wooden spoon to make it smooth and creamy, before we added the sweetened condensed milk. Miss T’s mom contributed some elbow grease to this, but given enough time, I think the child could have done it herself.
- I used strawberries sweetened with a little sugar for the topping. If berries sit in sugar for too long, they’ll bleed and the texture of the berries will grow flabby. To avoid this, I added the sugar to the berries and spooned it on the cheesecake layer just before serving.
- Finally, I rewrote the recipe, clearly describing all the steps in detail. I printed the recipe in bigger type, with purple ink.
How to Plan your Dessert Project
Ensure that between you and the child’s family, you have all the tools and ingredients needed to complete this recipe: one set for the child, and one for you.
Send a list of items needed in advance and ask the parents to gather them and have them ready on the kitchen counter before you begin the project.
Set out 3 tablespoons of butter on the counter overnight to soften.
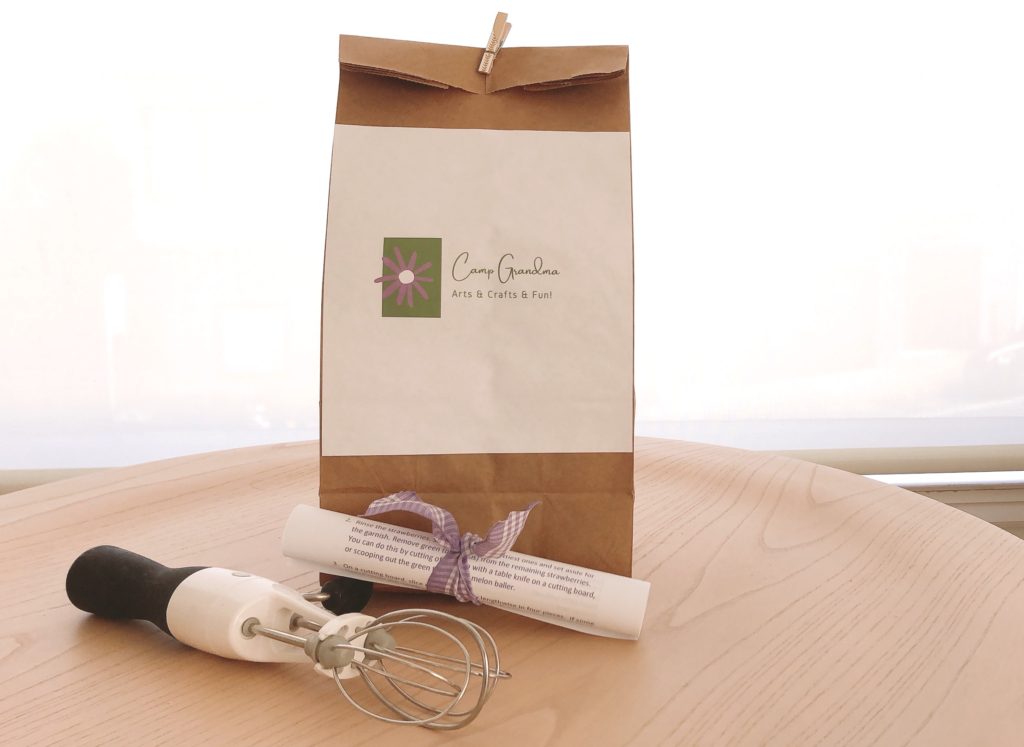
Pack the ingredients you are providing in a paper bag and include the recipe. Deliver it to the child in advance.
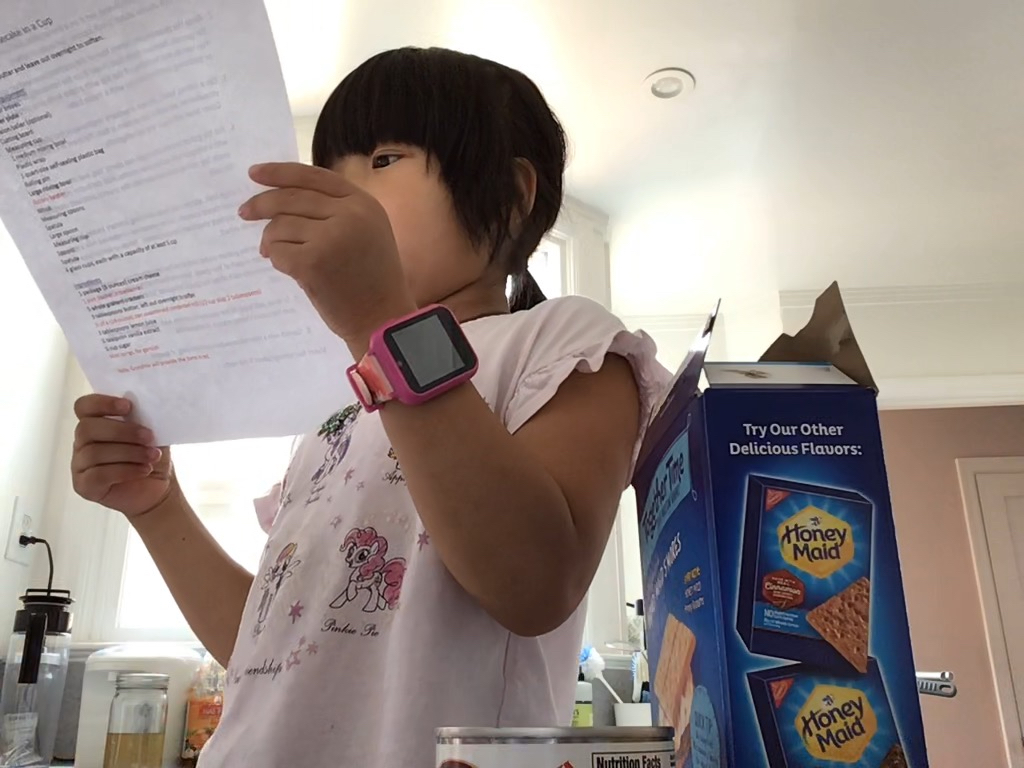
When your camp activity begins, start by having the child read the entire recipe before starting to ensure a good grasp of the procedure.
The Recipe
This recipe is very long because it is extremely detailed for the child. The actual method is quite simple, and it uses just a few ingredients.
Strawberry Cheesecake in a Cup
Preparation the Night Before
Measure out butter and leave out overnight to soften.
Kitchen Equipment
- Dinner plate
- 2 dinner knives (one for cream cheese, one for strawberries)
- Colander to rinse the strawberries
- Melon baller (optional)
- Cutting board to hull strawberries
- 1 medium mixing bowl (for the strawberries)
- Plastic wrap
- 1 quart-size zip-top plastic freezer bag
- Rolling pin
- Large mixing bowl (for the cream cheese)
- Wooden spoon
- Measuring spoons
- Whisk
- Spoon for spooning out graham cracker crust
- Spatula, for scraping bowl
- Spoon for spooning out cream cheese mixture into cups OR 2-cup measuring cup to pour mixture into cups
- 4 glass cups, each with 1-cup capacity
Ingredients
- 1 package (8 ounces) cream cheese
- 1 pint strawberries
- 5 whole graham crackers
- 2 tablespoons butter, left out overnight to soften
- 1/2 of a 14-ounce can sweetened condensed milk (1/2 cup plus 2 tablespoons)
- 3 tablespoons lemon juice
- 1/2 teaspoon vanilla extract
- 1 tablespoon sugar (optional)
- Mint springs, for garnish (optional)
How to Make It: Preparing the Strawberries
- Wash your hands with soap and water.
- Unwrap the cream cheese, set it on a dinner plate, and using a table knife, cut it into chunks about 1-inch square. Set aside to soften.
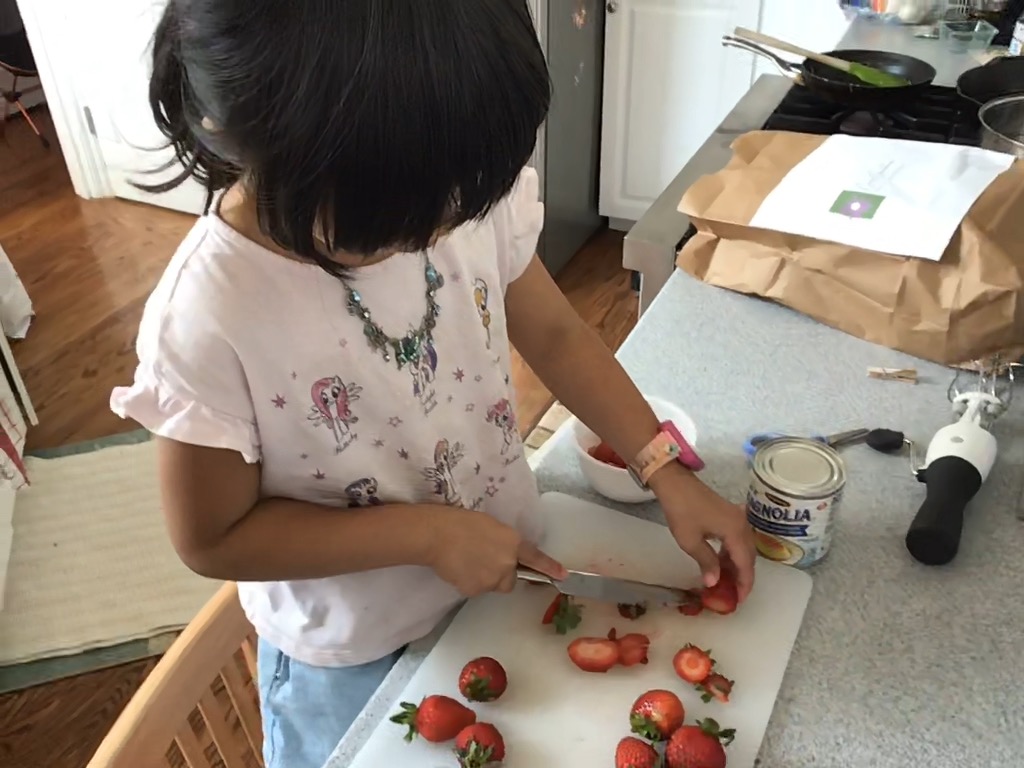
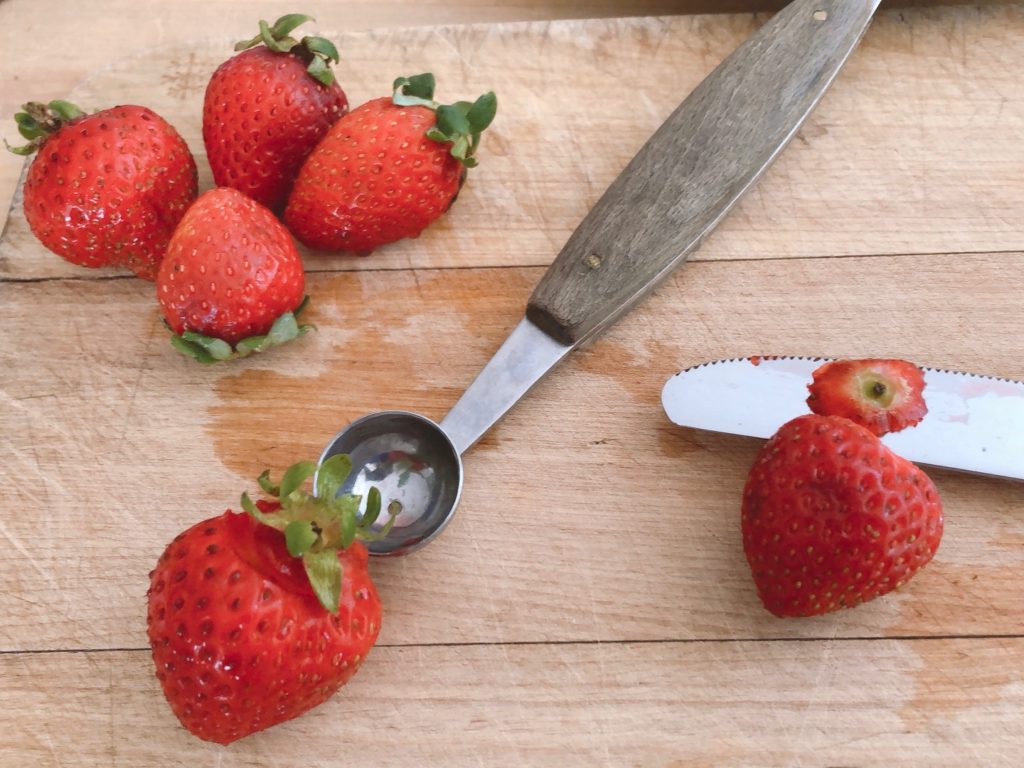
- Put the strawberries in the colander and rinse the strawberries. Select four of the prettiest ones and set aside for the garnish. Remove green tops (hulls) from the remaining strawberries. You can do this by cutting off the top with a table knife on a cutting board, or scooping out the green tops with a melon baller.
- On a cutting board, slice each strawberry lengthwise in four pieces. If some strawberries are smaller, just cut them in half. Put them in a medium bowl, cover bowl with plastic wrap and refrigerate.
How to Make It: The Cheesecake
- Put the graham crackers into the zip-top plastic bag, seal bag and crush crackers by tapping with a rolling pin until you have very small crumbs. Put the butter into the plastic bag; seal bag; knead and smush butter into the crumbs until well combined. Set aside.
- In a large bowl, add the cream cheese and mash it against the bowl using a wooden spoon until the cream cheese starts to soften; then mix until smooth. Add the sweetened condensed milk a little at a time and mix into the cream cheese until smooth. The cream cheese will get softer as you continue to mix.
- Whisk in lemon juice and vanilla extract.
- Spoon graham cracker mixture into four glasses, dividing equally.
- Spoon cream cheese mixture into each of the four glasses, dividing equally. A neater way to do this is to pour the cream cheese mixture into a measuring cup first. Since the measuring cup has a spout, it’s easier to pour the cream cheese mixture into the cups, instead of using a spoon. Cover each dessert with plastic wrap and refrigerate for at least 30 minutes to chill.
How to Make it: Finishing Touches
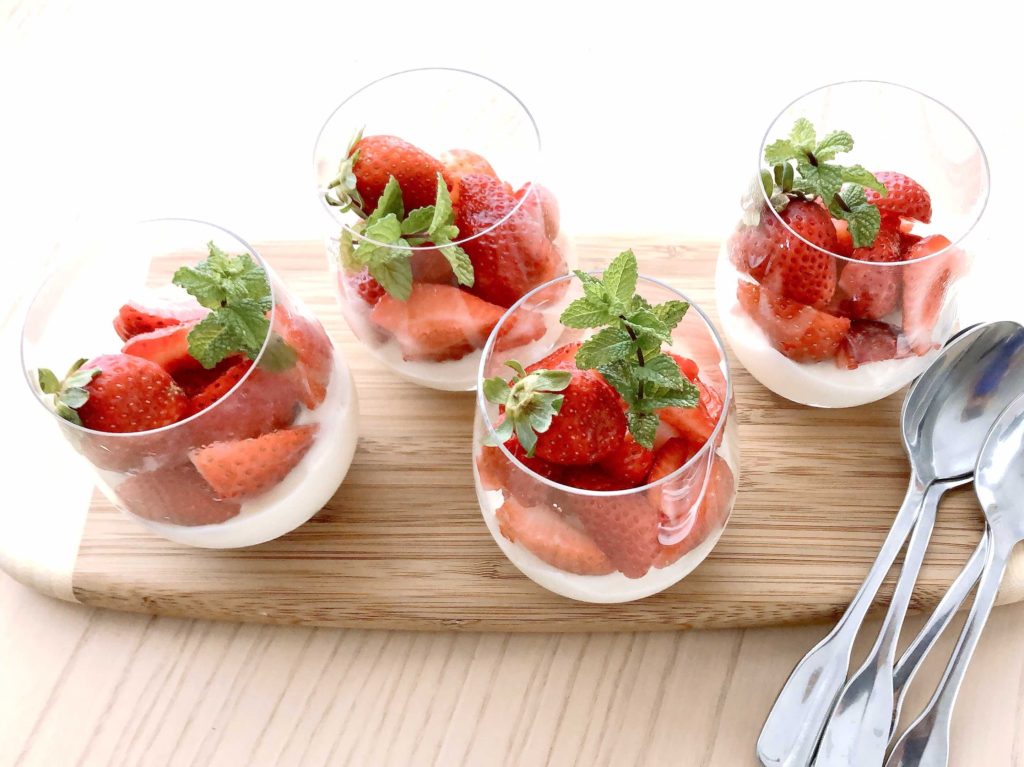
- To serve, remove strawberries from the refrigerator and taste one; if it’s sweet, skip the sugar; if not very sweet, add the sugar to the strawberries and toss to combine. Spoon the strawberries over the cream cheese mixture, dividing equally.
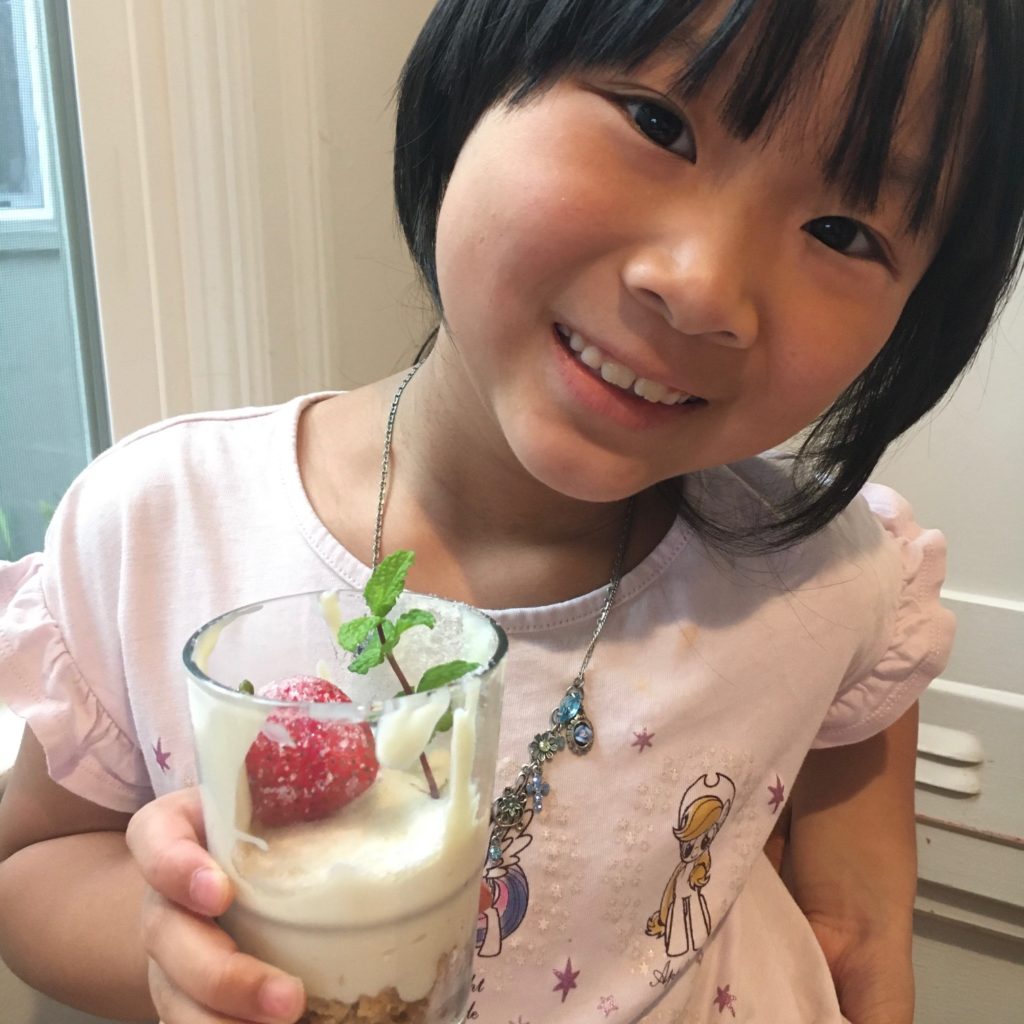
- Garnish each glass with a reserved strawberry and a mint sprig, if using.
Makes four servings (about ¾ cup each).
RECIPE NOTES
- You’ll need a half can of sweetened condensed milk. I opened mine and divided it in half and sent one half to my granddaughter, rather than having us each open a can and using only half.
- Ideally, the cream cheese should be beaten using an electric mixer; it will take longer by hand. You could just go directly to a mixer if you think the child will need help; a parent should supervise this part.
- This is a very rich dessert. For smaller portions, use smaller cups or possibly, although I haven’t tried it, put the cheesecake into muffin tins lined with cupcake liners.
- Miss T forgot about topping her dessert with the reserved berries, so hers just includes the berry garnish. Be sure to remind the child that she will need to top the cheesecake with the berries before serving.
What Kids Learn from this Activity
Cooking together is a wonderful way to teach, and leaves kids with a delicious reward. Kids will:
- Hone their reading and comprehension skills by reading a recipe and following instructions
- Understand the concept of measuring
- Learn to be comfortable with fractions
- Gain confidence in the kitchen
Coming Next Wednesday
In our last session of Camp Grandma, we’re making gift tags from cardstock scraps and decorative paper punches.

Camp Grandma topics, to date:
- Introduction to Camp Grandma
- Designing paper doll dresses
- Learning to Embroider
- Kids’ art project: a hanging room ornament
- Cascarones, Mexican confetti eggs
- Making an easy dessert (this post)
.
Don’t forget to sign up for my email newsletter! Every Wednesday, I’ll give you a new idea for an activity or insight to nurture the little ones in your life. Come visit!