Camp Grandma #6 How to Make Broken Crayon Art
If you’re like me, you have a baggie tucked away someplace, where broken crayons go to die. At Camp Grandma, instead of tossing them, we chose to create broken crayon art.
We used broken crayons for three art projects: 1) melted crayon art, 2) crayon scratch art, and 3) making new crayons from old. These projects impress upon kids that recycling can be creative and fun.
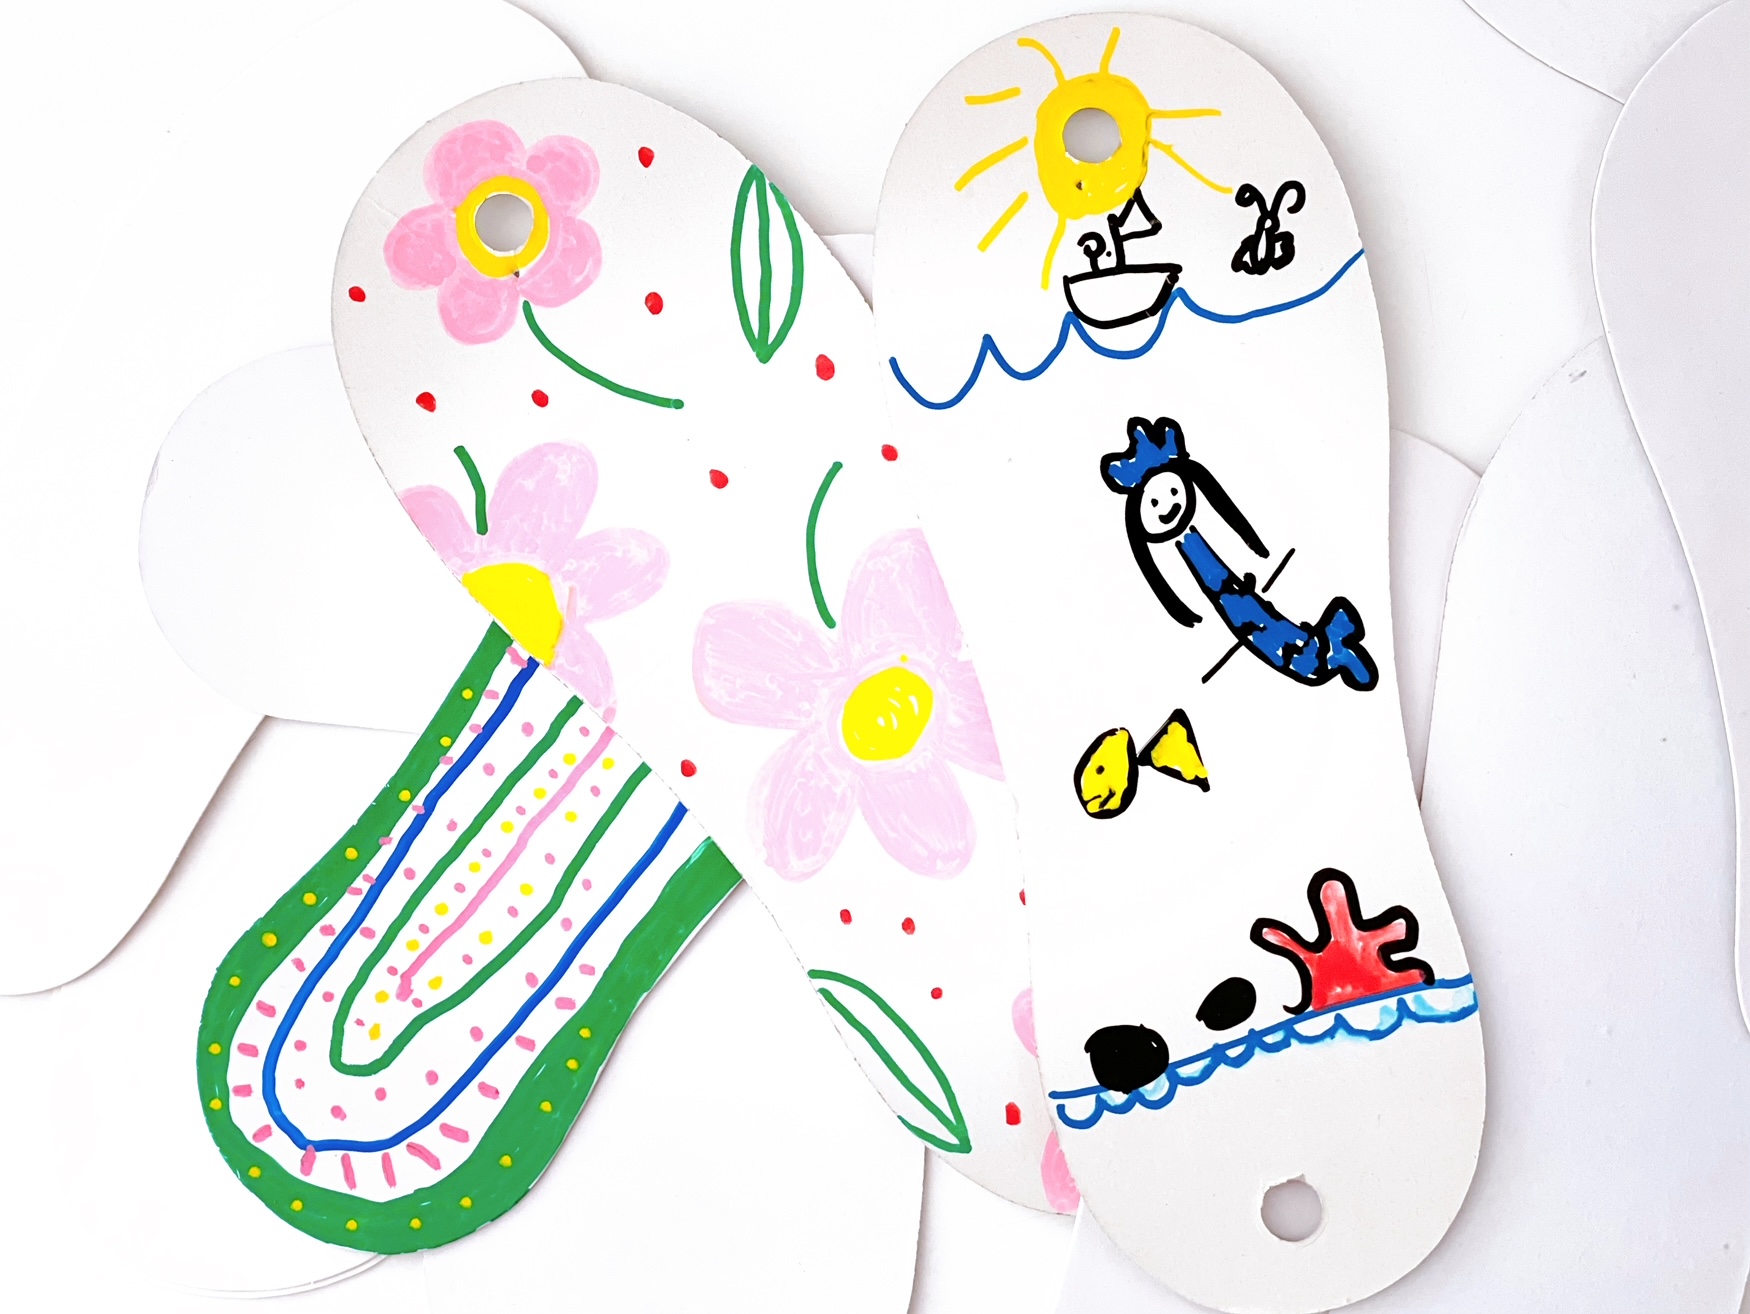
Try these ways to recycle, including creating wall art from sox cardboard packaging.
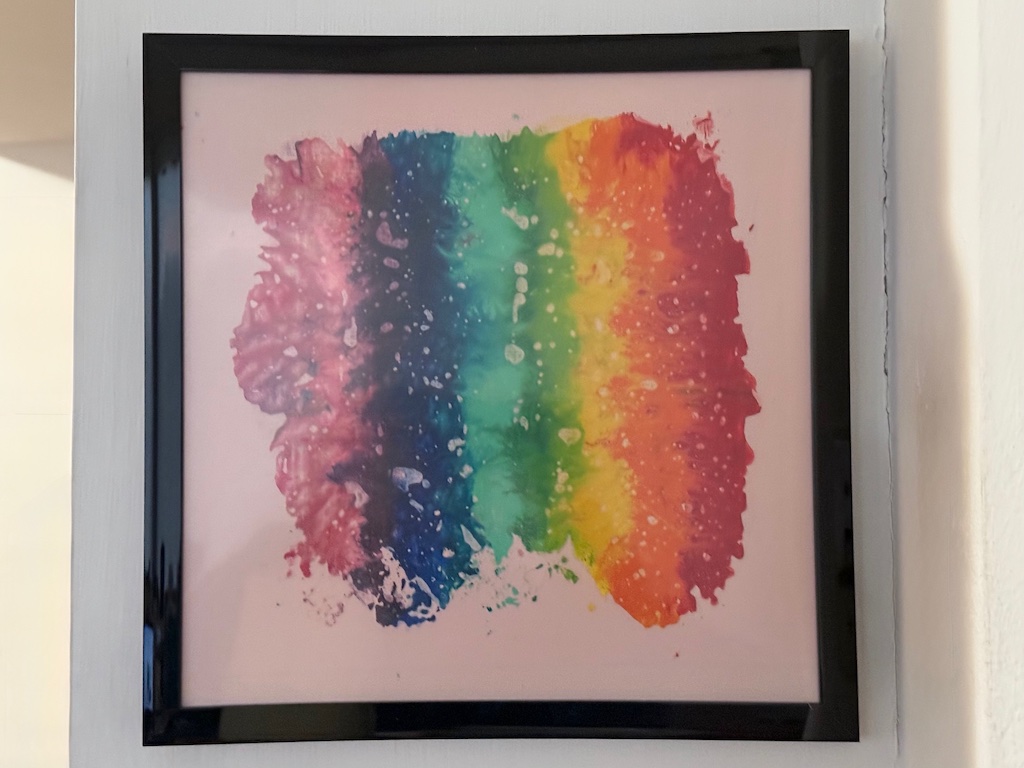
1) Melted Crayon Art
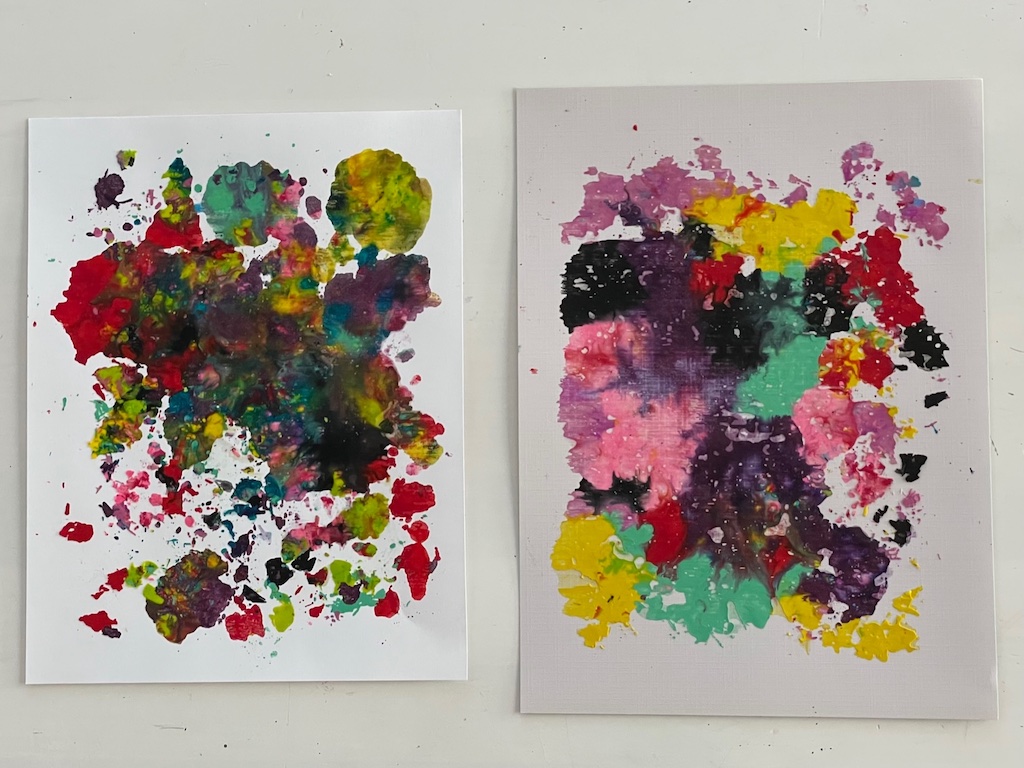
These kids’ works of art look like LeRoy Neiman backgrounds.
Materials Needed for Melted Crayon Art
- Old newspapers to cover work surface
- Broken crayons
- Cardstock (cardstock with linen-like texture will hold melted crayon better)
- Waxed paper or culinary parchment paper
- Easily removable tape, such as blue painters tape or masking tape
Tools Needed for Melted Crayon Art
- Crayon/pencil sharpener
- Spoon
- Iron (preferred) or hair dryer
Optional
- Muffin tin(s)
- Cupcake liners
- Rimmed cookie sheet to hold the muffin tin
Caution
Crayon shavings can get everywhere on surfaces and clothes, so be careful when working on this project. We didn’t have any mess, but your success will depend on your child’s ability to work neatly. In any case, here’s how to remove crayon stains from every surface, if you end up needing advice.
Miss T wanted to share her original hack: If you get any crayon shavings on your table, lift it up with a piece of blue painter’s tape. The crayon bits will adhere to the tape, without smearing the work surface.
Melted Crayon Art: How to Make It
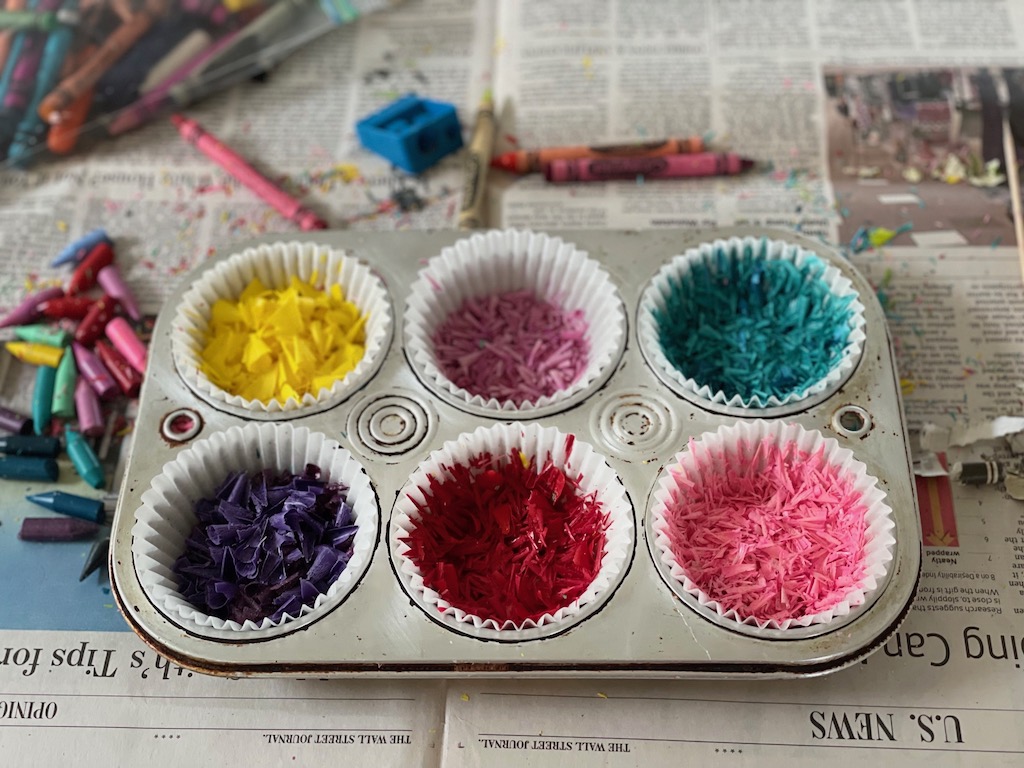
Preparation: Cover work surface with newspapers. Line a muffin tin with paper liners and put the muffin tin on a cookie sheet (if using). The paper liners will keep the muffin tin clean; the cookie sheet will keep crayon shavings contained. Alternatively, use glass or ceramic bowls or jars; not plastic because shavings will stick to plastic.
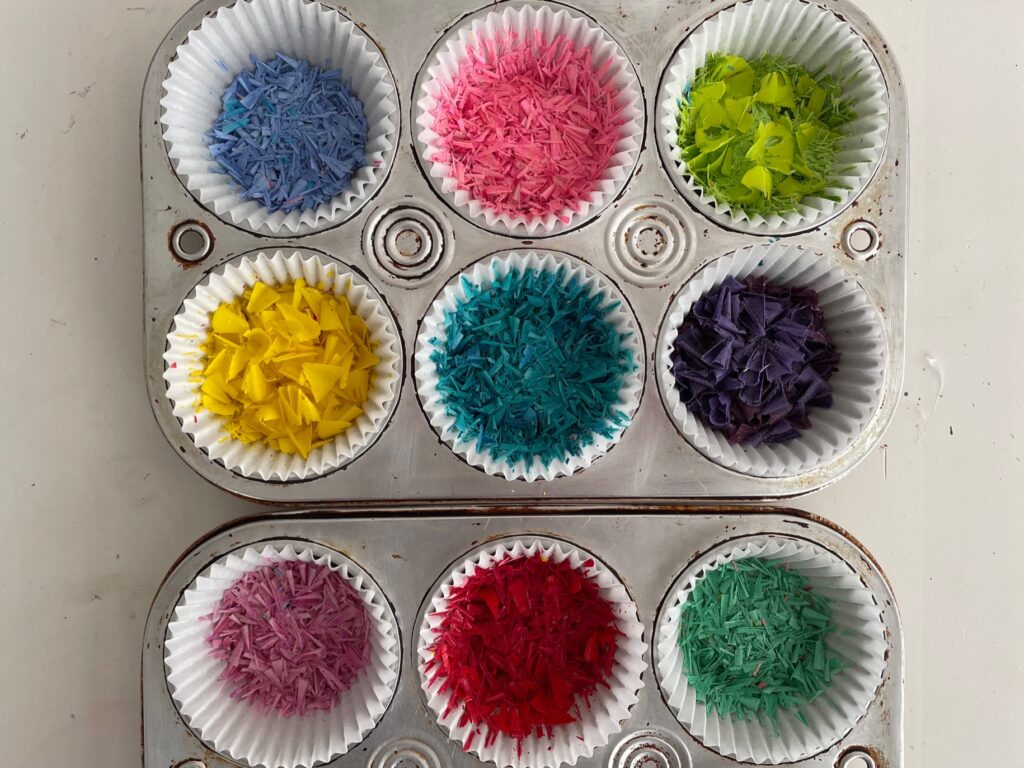
Peel paper off crayons; use a pencil sharpener to shave crayons into the paper-lined muffin tin, keeping each color separate.
Creation: To create your work of art, lay a cardstock sheet on your work surface. Using a spoon, sprinkle crayon shavings on the cardstock.
Melting: Gently move the crayon-covered cardstock to a place you’ve prepared for ironing.
A place for ironing: Protect your table or other work surface before ironing by laying down newspapers, corrugated cardboard, or a pad of art paper with a cardboard backing.
Lay the artwork on your protected work surface. Now tear off waxed paper or parchment larger than the cardstock, lay over the cardstock and tape in place, keeping all the shavings contained.
Heat the iron to the lowest setting and iron the waxed paper or parchment just until crayon shavings melt. Ironing should be done by an adult.
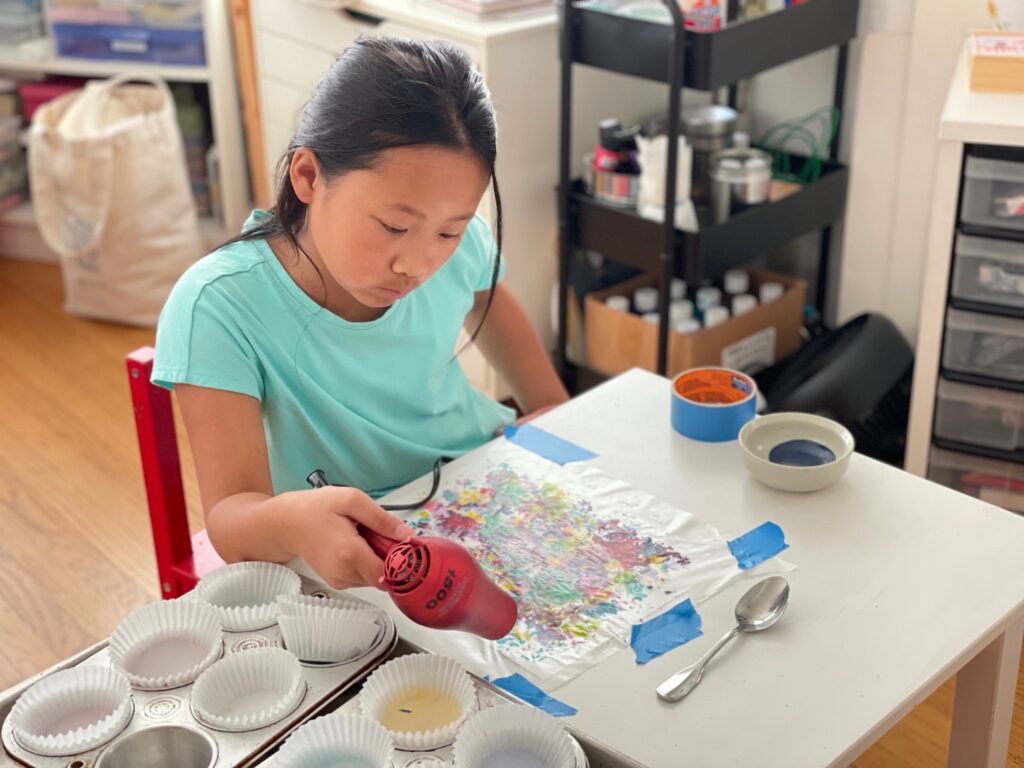
Alternatively, using a hair dryer on the hottest setting. Be careful to keep air moving to avoid overheating the hair dryer and causing a short circuit. A hair dryer is much more time-consuming way to heat the artwork than an iron.
It’s important to let the artwork cool completely, about 5 minutes. Then gently peel back the protective paper and your art is done!
2) Crayon Scratch Art
This is a fascinating project for kids to see colors emerge from a black background.

Materials Needed for Crayon Scratch Art
- Broken crayons
- Cardstock
- Black poster paint
Tools Needed for Crayon Scratch Art
- Paintbrush
- Scratching tool, such as a bamboo skewer or dried-out pen with no ink
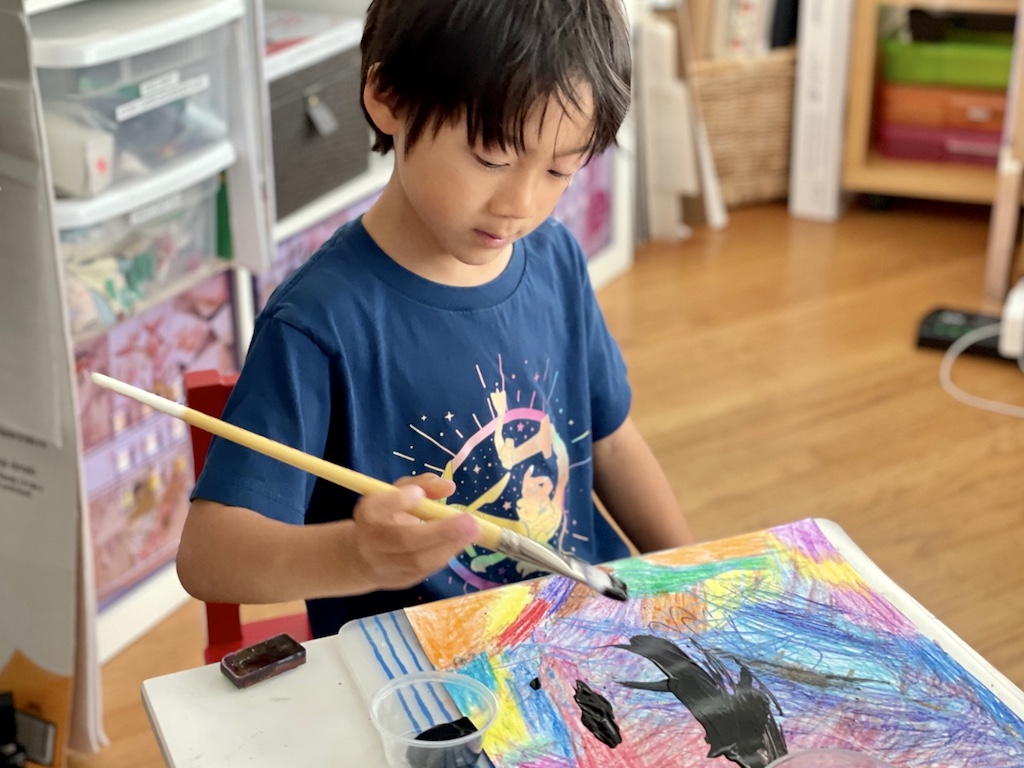
Crayon Scratch Art: How to Make It
Color cardstock with broken crayons until there is no white space left. Paint the entire sheet with black poster paint. Allow to dry completely.
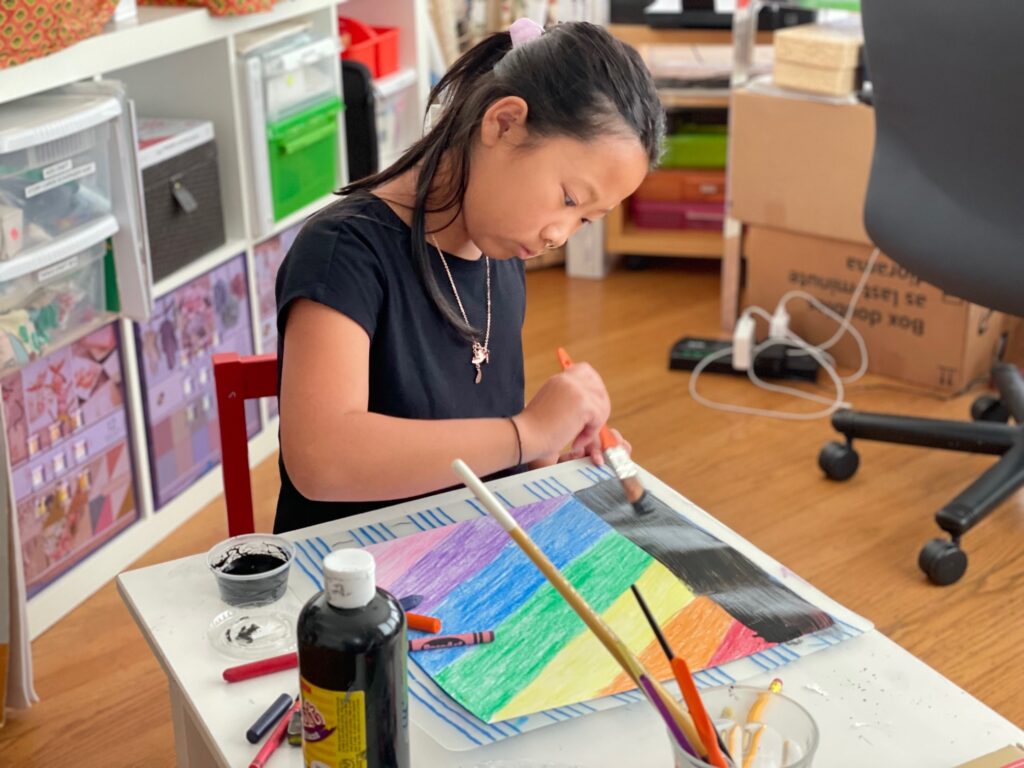
Using a bamboo skewer, scratch out a design on the black surface. The luminous color from the crayons will come through the scratches.
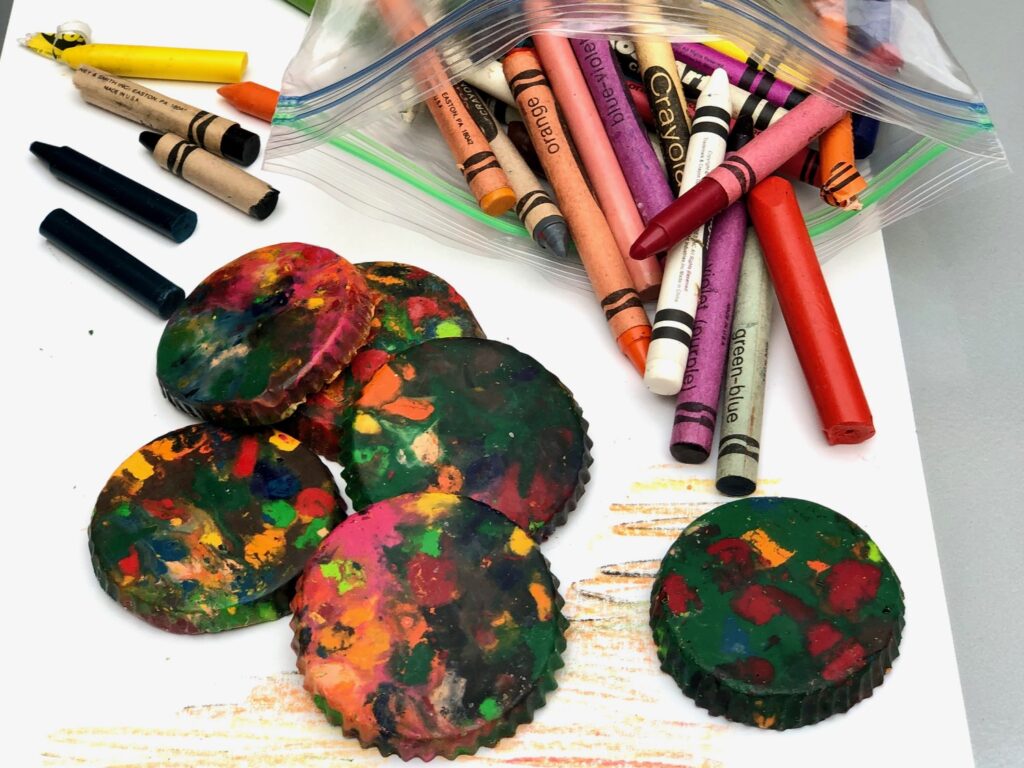
3) Make New Crayons
Now, take all the crayon stubs, peel off any paper remaining, and break or chop crayons into bits to melt in the oven and make new multicolored crayons following my how-to directions.
Camp Grandma is Over for 2023
This year, Camp Grandma was mostly about projects of discovery and preparation for school. To work on creativity, we made puppets from recycle materials, constructed a puppet stage from a cardboard box, and wrote a script for our puppet show.
To help N to practice pencils skills, we traced a detailed Star Wars image and transferred it to art paper for framing. We did grandparent video interviews to practice on-camera skills while helping to preserve family history. And, we’re ending this year’s camp with broken crayon art as our recycle project.
Still to come when busy schedules can be coordinated, is our fourth annual summer party that also celebrates the conclusion of Camp Grandma. There will be games, prizes, and more.
Sign Up!
Don’t forget to sign up for my email newsletter. Every Wednesday, I’ll give you a new idea for an activity or insight to nurture the little ones in your life.