How to Make DIY Christmas Crackers
I was introduced to Christmas crackers by my friend’s New Zealander roommate, Tina, in the 1970s in New York City. I have kept the custom ever since.
We used to buy the crackers from specialty stores like Williams Sonoma, Sur la Table, and even Costco. But more recently, I’ve begun to make them.
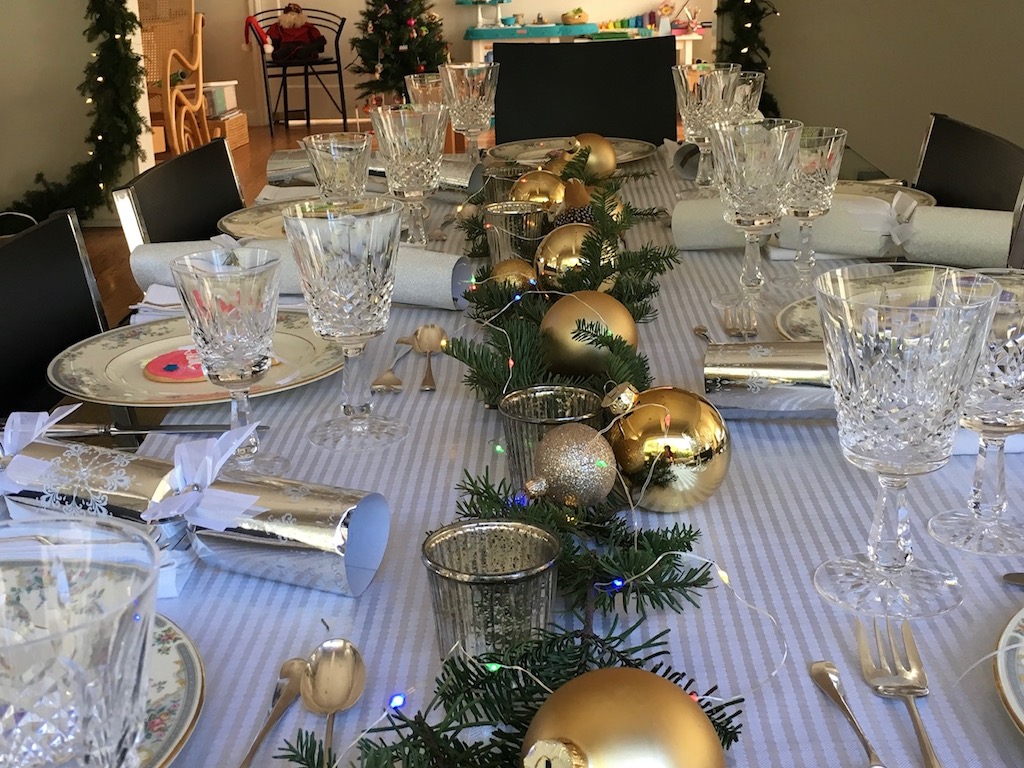
You’ll see Christmas crackers present in all my holiday table settings.
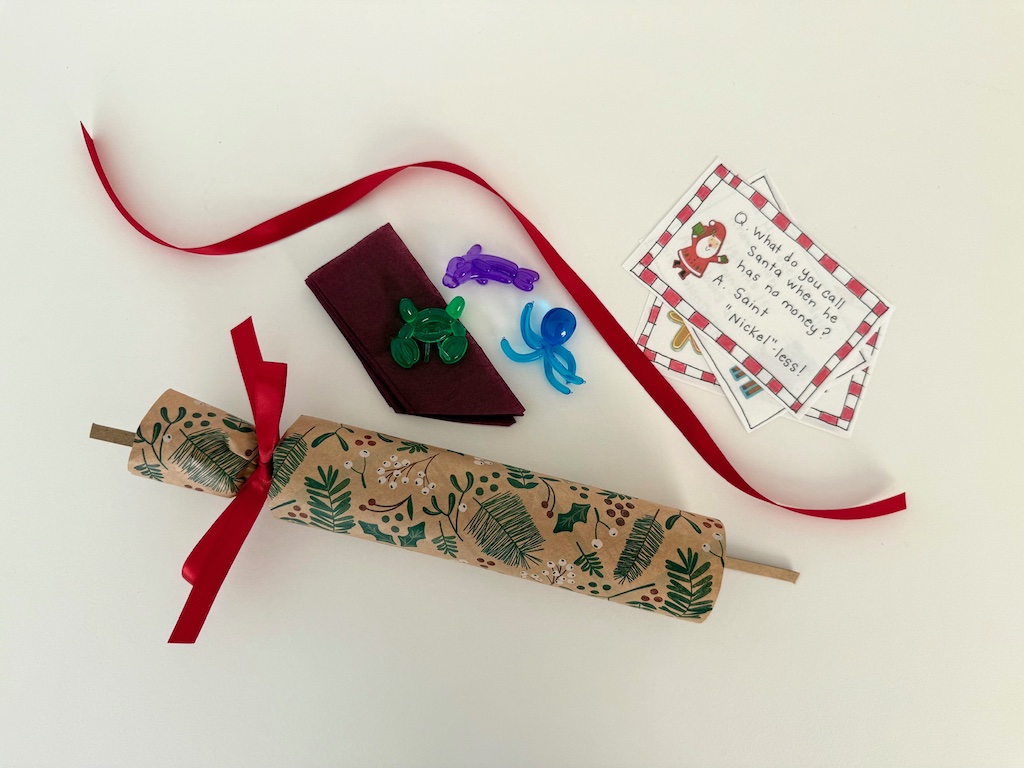
What’s Inside a Christmas Cracker
Christmas crackers, a British tradition, originated in London in the early 1850s. They usually have inside:
- A paper crown
- Christmas joke or riddle
- A small gift
- And a cracker snap
When you pull apart the ends of the tube from both sides, it makes a “bang,” like a pop gun. The sound comes from the cracker snap that detonates from the friction caused by the pull.

Guests can wear the crown, read the jokes, and enjoy the gift at table.
The Olde English Cracker Company was the only place in the U.S. to buy supplies for DIY crackers ten years ago. As the tradition has caught on here, more suppliers have emerged, including Etsy.
Why DIY your Christmas Crackers?
When you make your own, you can customize the design to match your table decor. One year, I used red-and-white stripes for a candy-themed table.

Most crackers have cheap toy prizes. Fancier, but pricier, crackers have more upscale prizes. If you DIY, you can select prizes tailored to each guest.
DIY Christmas Crackers the Easy Way
If you have a Cricut, you can simply buy a template for Christmas crackers, cut on cardstock, and assemble.
The Cricut templates have diamond-shaped cuts along the gathering line to remove excess paper, making tying the ends easier and neater.
If you don’t have a Cricut, you can wrap gift paper around a toilet paper roll.

How to Make a DIY Christmas Cracker
Materials Needed for One Cracker
- Cardboard to make a pattern
- Gift wrap paper, medium thickness
- 1 empty toilet paper roll
- 2 lengths of ribbon, 3/8-inch wide and 18 inches long
- 1 cracker snap (optional)
- 1 paper crown (how-to instructions below)
- Christmas joke or riddle
- Small gift
- Glue stick or clear adhesive tape
Tools Needed
- Pencil
- Ruler
- Scissors or paper cutter
Method
Step #1 Make a Pattern: Measure the cardboard to make a rectangle 6 inches by 10 inches. Cut out the rectangle. Having a pattern makes duplicating more crackers easier.
Step #2 Cut the Paper: Use the pattern to trace a rectangle on gift wrap paper; cut out.
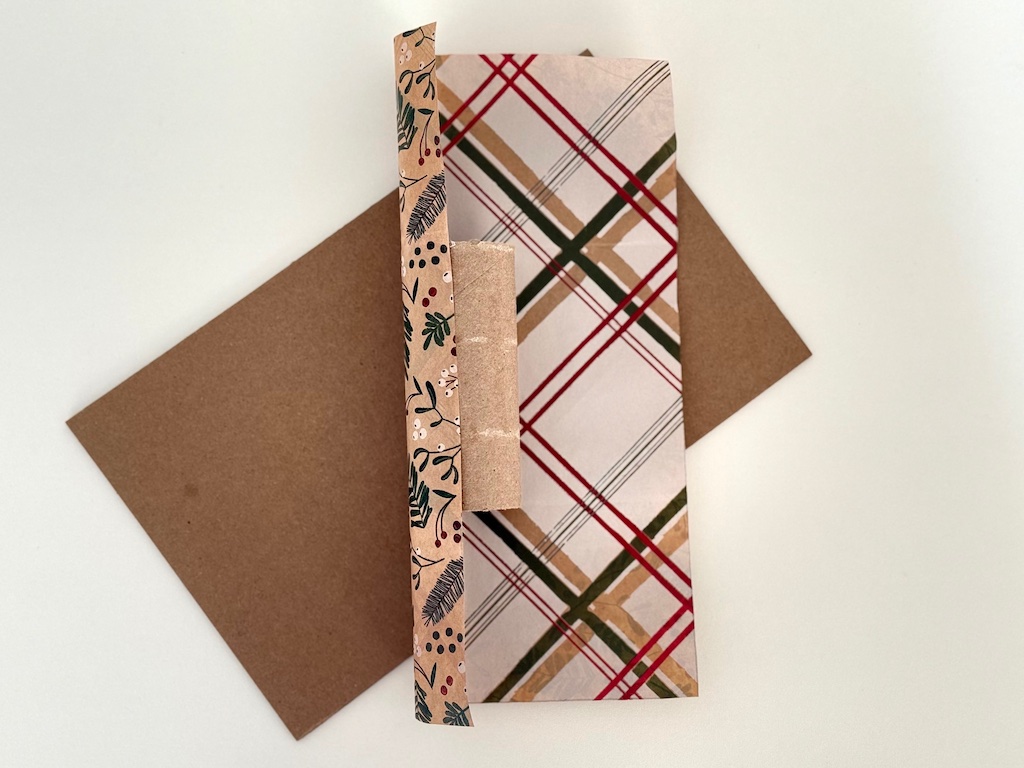
Step #3 Assemble the Cracker: Lay the gift wrap paper nicer side down, vertically, on a work surface. Lay toilet roll vertically at one edge of the paper and centered evenly between the top and bottom ends. Glue the toilet roll to the paper edge and wrap paper around the toilet roll, overlapping the paper and gluing long edge shut.
Alternatively, skip the glue and just hold the paper in place with clear tape.
Giving a gift of money this Christmas? Turn it into a surprise ball.
Thread the cracker snap through the roll, centering it so both ends of the cracker snap stick out from the roll equally.
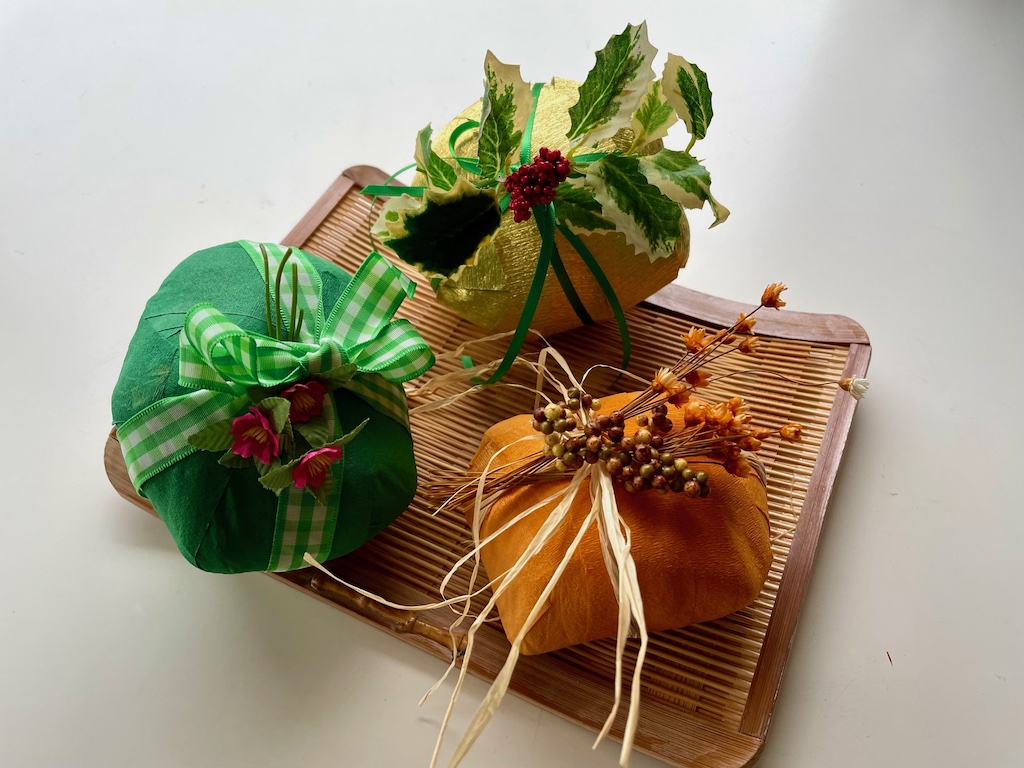
Crimp the paper with your fingers to close the opening on one side of the toilet roll. Tie closed with ribbon.
Fill the cracker from the open side with crown, joke, and gift. Crimp the open side of the roll and tie closed with ribbon.
Alternatively, you can stuff the goodies into the toilet roll before you begin wrapping with the paper, then tie closed.
How to Make a Tissue Paper Hat
It’s easier to buy the hats, but if you’d like to make them, here’s how.
Materials Needed for One Hat
- Small piece of cardboard to make a pattern
- 1 sheet colored tissue paper 20 X 30 inches
- Glue stick
Tools Needed
- Ruler
- Pencil
- Scissors
Method
Step #1 Make a Pattern: Measure the cardboard to make a rectangle 4 inches by 1 1/2 inches. Cut out the rectangle.
Measure along the long side of the rectangle 1 1/4 inches from the left edge and pencil a dot. Draw a line from the top right edge of the rectangle to the dot. Cut along the line. This pattern is for half of the crenellation (point of the crown). You’ll be folding the tissue paper to create the other half.
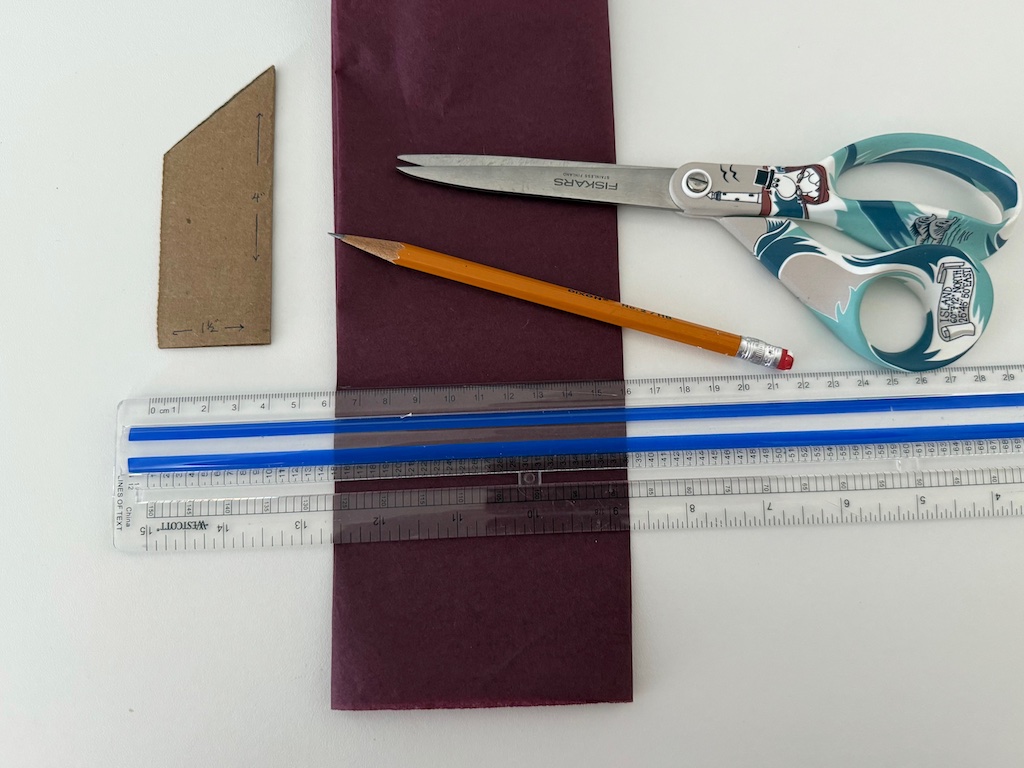
Step #2 Cut the Tissue Paper: It’s difficult to cut a sheet of tissue paper because it’s so thin, so fold your tissue paper crosswise a few times to make it thicker. Measure 4 inches from the bottom of the tissue paper and cut. Now you have a strip of paper 4 inches by 30 inches.
Step #3 Fold the Tissue Paper: Now refold the tissue paper accordion style, at a width of 1 1/2-inches.

Step #4: Cut the Tissue Paper Crenellations: Lining up your pattern with the folded tissue paper, mark the diagonal line and cut the folded strip on the line to form the points of your crown. Open up the paper and count off 7 points and 1/2 of the last point. Trim off remaining tissue paper.
Apply glue to the entire 1/2 of the last point and attach it to the first point to complete the crown.
You’ll have a crown of 23 inches. Re-fold the crown, matching the folds and points until you have the shape of your cardboard pattern to make the crown easy to insert into the toilet paper roll.
Christmas Cracker Tips
Paper Selection: Remember that you’ll be gathering the paper at both ends, so very thick, heavy paper may not work. Too-thin paper may tear. You’ll have to experiment. Paper printed on both sides is nice, because the inside will serve as a decorative liner.
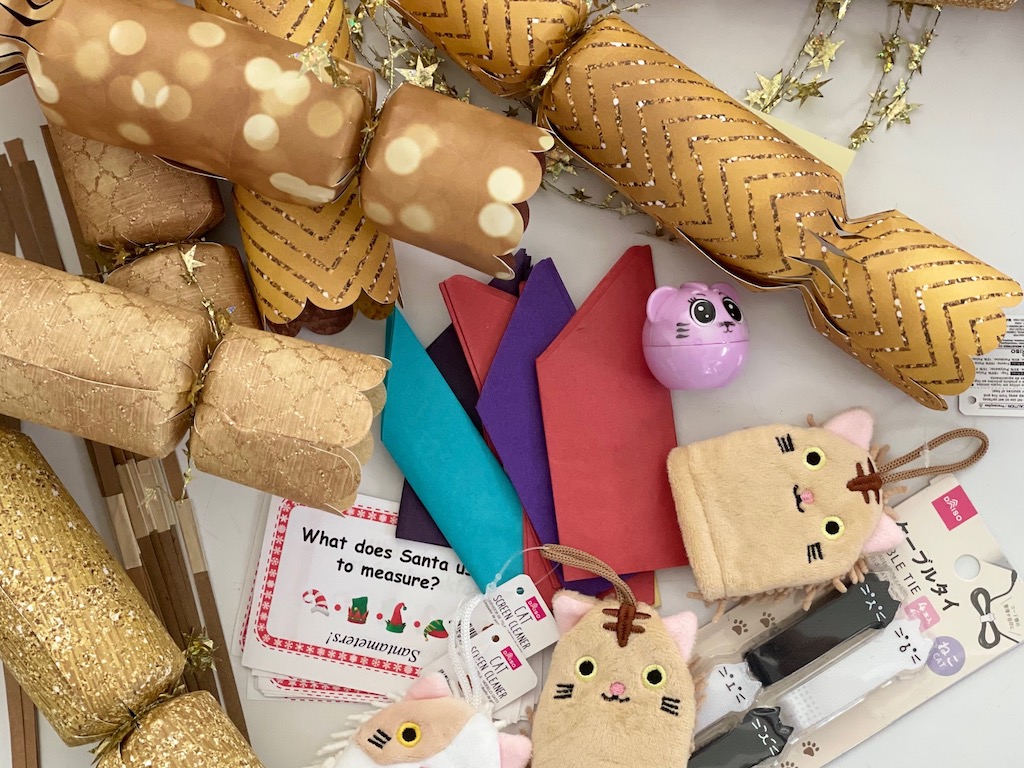
Where to Find Small Gifts: I like Daiso for unique, inexpensive novelty items. A Japanese company, Daiso stores are now in many U.S. locations including the West, Southwest, Midwest, and East Coast. Other good resources are dollar stores and hobby/craft stores.
Gifts like cord organizer ties, stickers, lip balm, washi tape, keychains, temporary tattoos, and travel-size products are good choices. Some ideas from our Advent calendar might work, too. Or, some from our surprise ball.
When selecting gifts, don’t choose anything breakable because when you pull apart a Christmas cracker, the gift may come flying out.

Have fun making Christmas crackers and decorating your holiday table. I’ll be making mine for my snowman table, too!
Sign Up to Get Grandma’s Favorite Recipes–Free!
Sign up here for my email newsletter. Every Wednesday, I’ll give you a new idea for an activity or insight to nurture the little ones in your life. And once you subscribe, I’ll send you a link so you can download your set of quick and easy recipes as my thanks to you.