Recycling Projects for Kids: Making Gift Wrap
From their world of plenty, it’s hard for young children to grasp the environmental impact of waste. So, I’ve been trying to set an example by coming up with recycling projects for kids.
One type of waste that bothers me is the excess from online shopping, although I confess to being a frequent online shopper, myself. Each Amazon purchase requires a shipping carton, crumpled brown wrapping paper as stuffing, and plastic air pillows to keep the goods from shifting. What an extravagant use of resources–and this is before factoring in the air and ground transportation miles required to deliver every order individually!
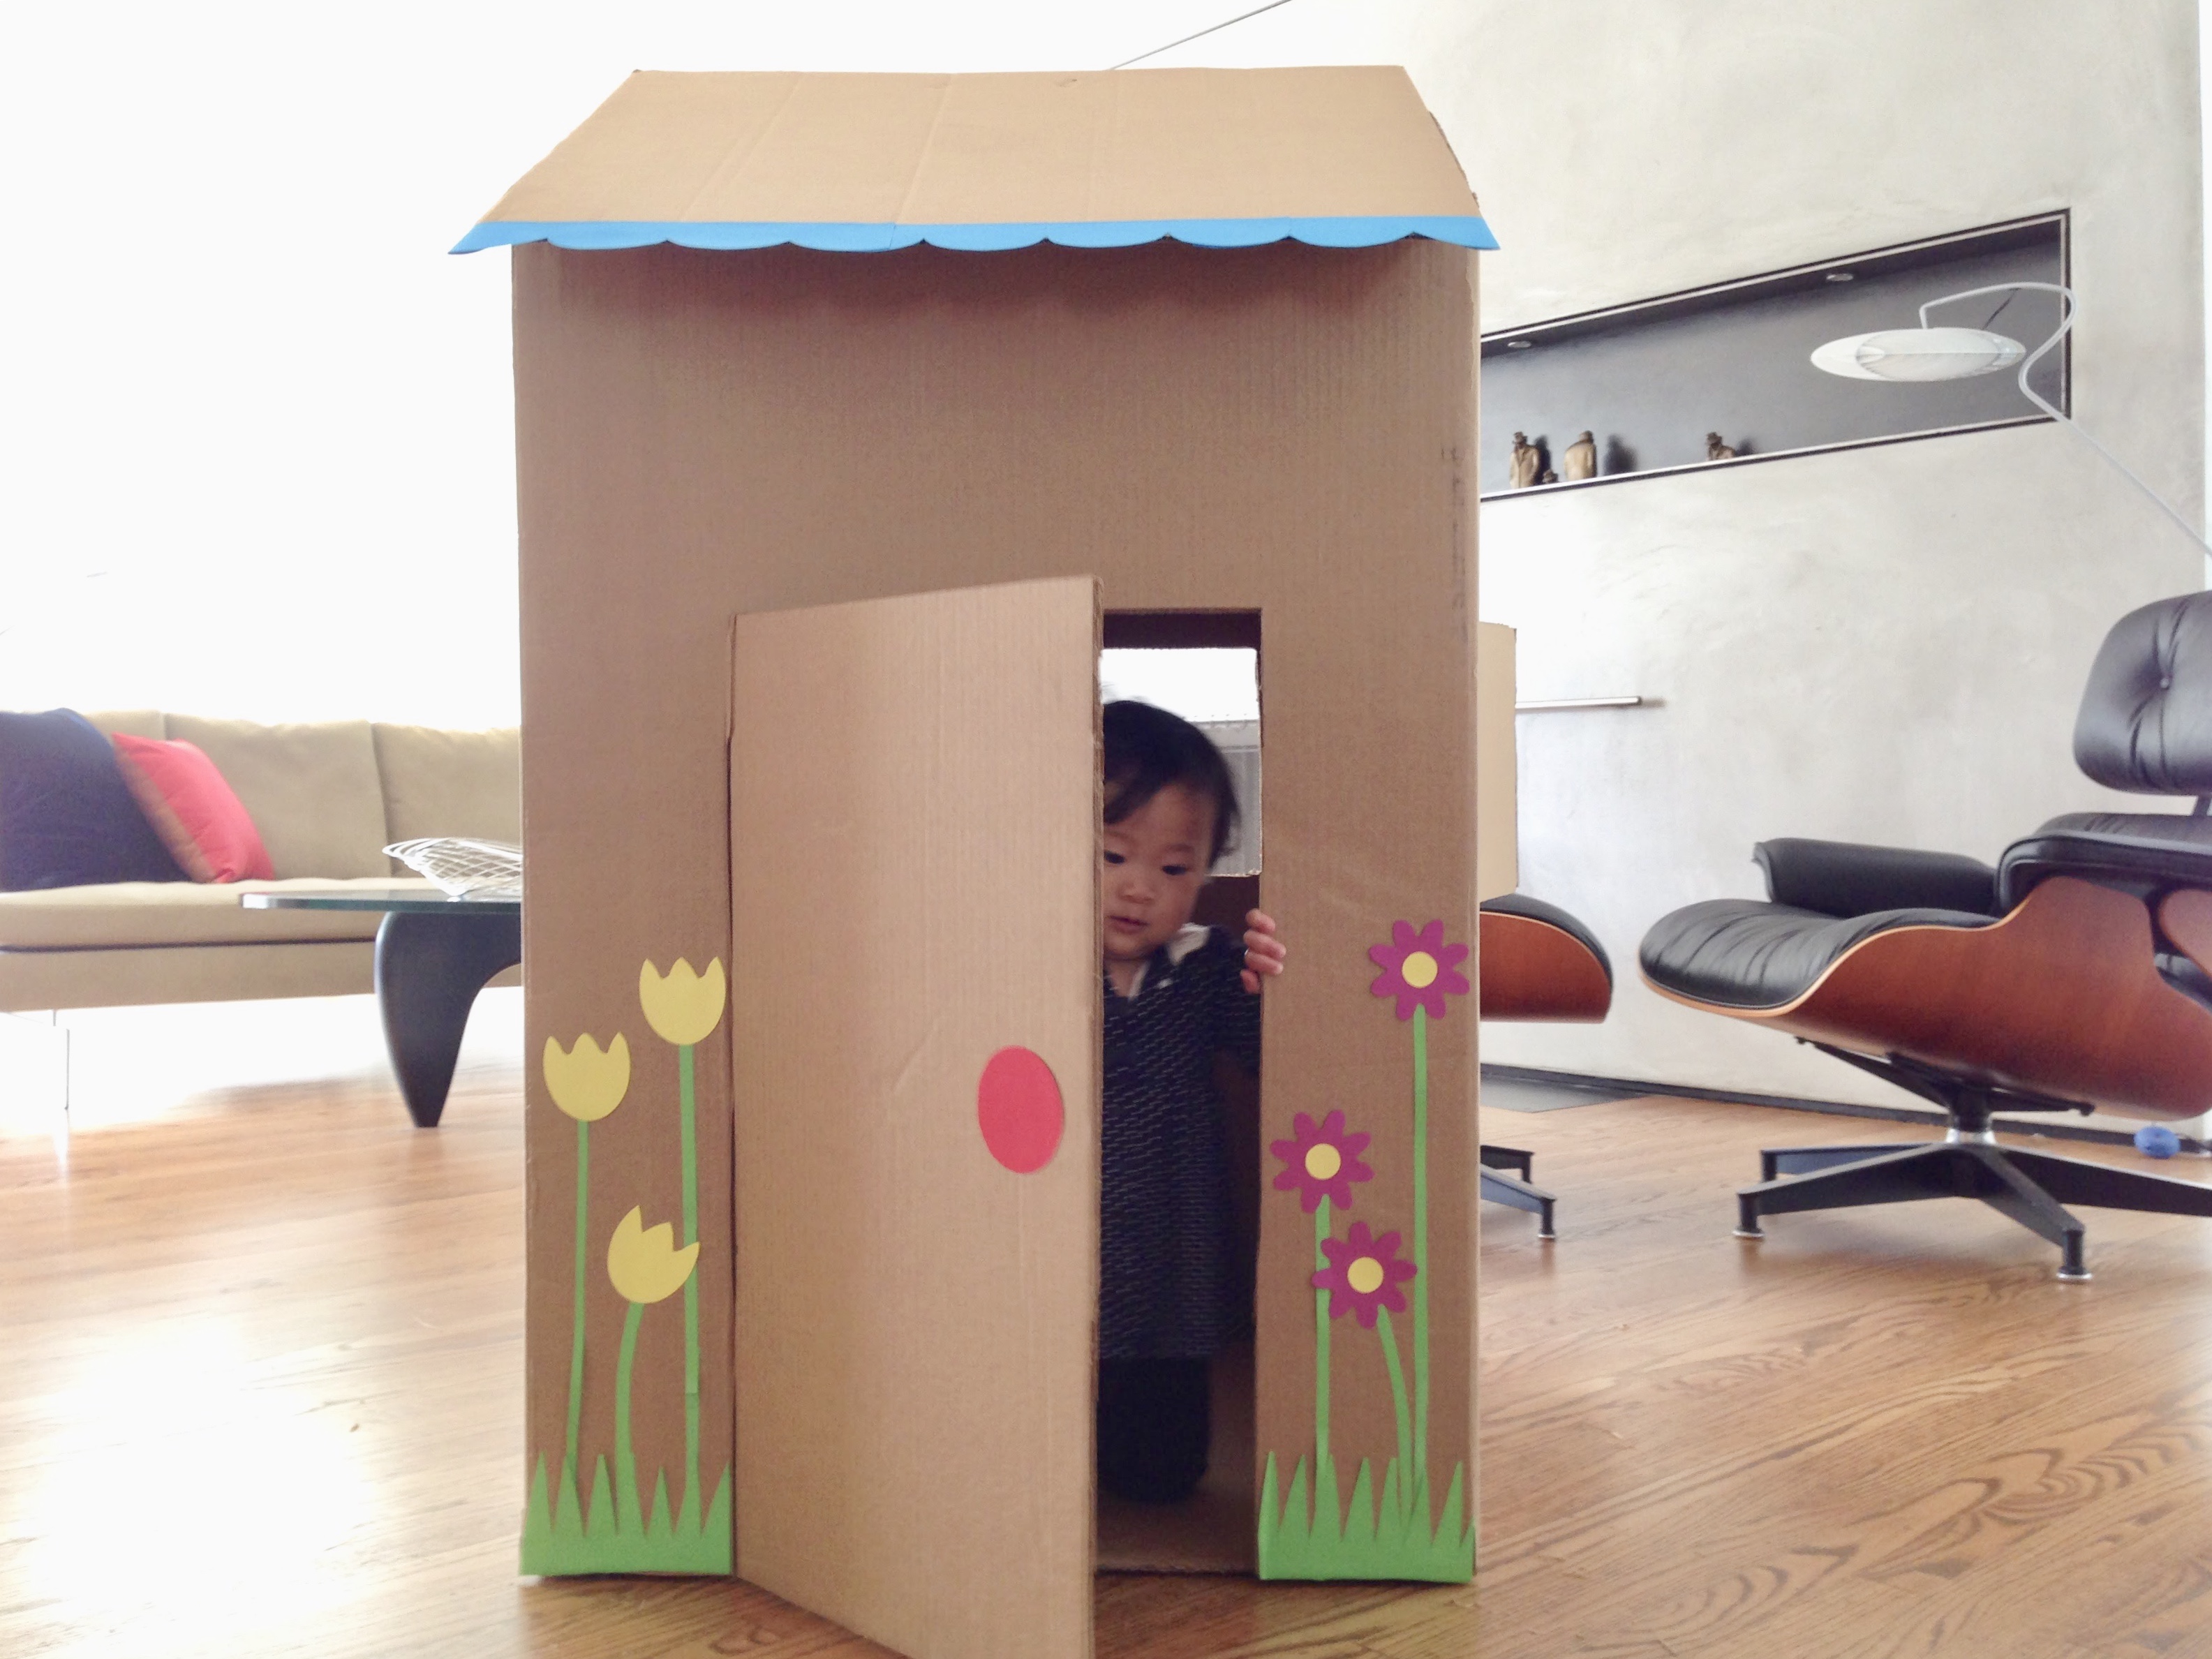
Another recycling idea: turn a shipping box into a house or train.
I began thinking about the packing material. Could we use the brown paper to make gift wrap? Recycling that paper would have a double benefit. The paper gets used another time before going into the recycle bin, and we save trees by buying fewer rolls of gift wrap, some of which is not recyclable.
How to Make Recycled Gift Wrap
What you need:
- Brown wrapping paper, used as stuffing in shipping cartons
- Potatoes
- Metal cookie cutters
- Paring knife
- Paint brushes
- Tempera paints
What to do
- Iron the paper with a warm iron to make it as wrinkle-free as possible. The wrinkles will not iron out completely, but they add a nice, rustic, textured quality to the brown paper.
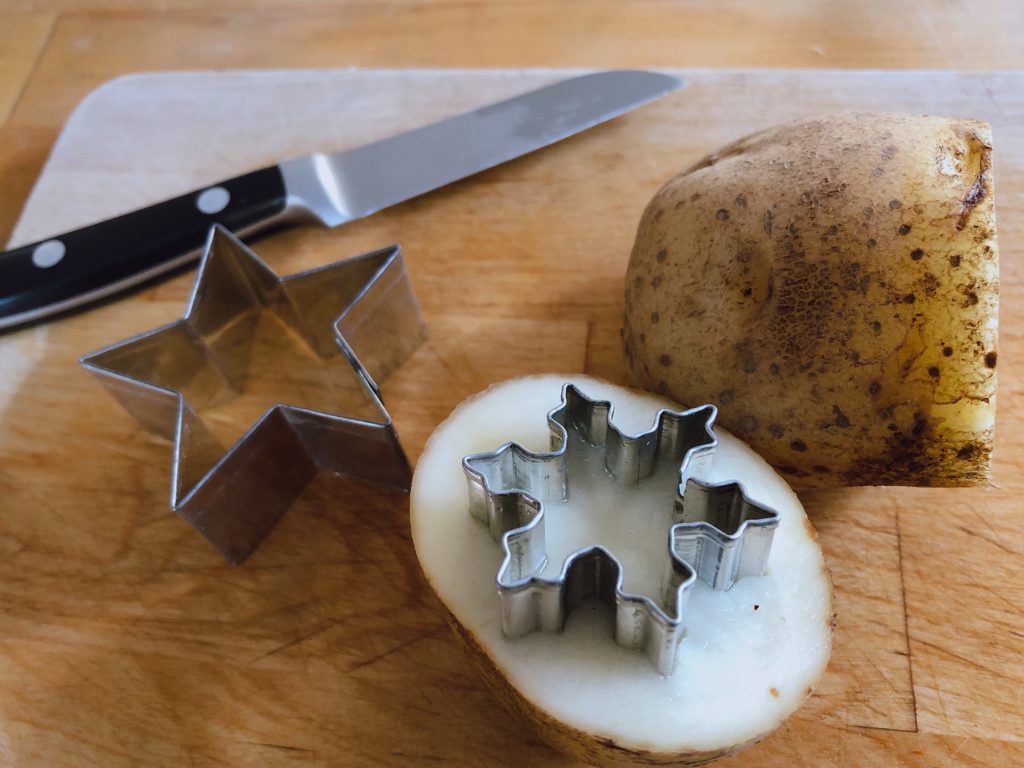
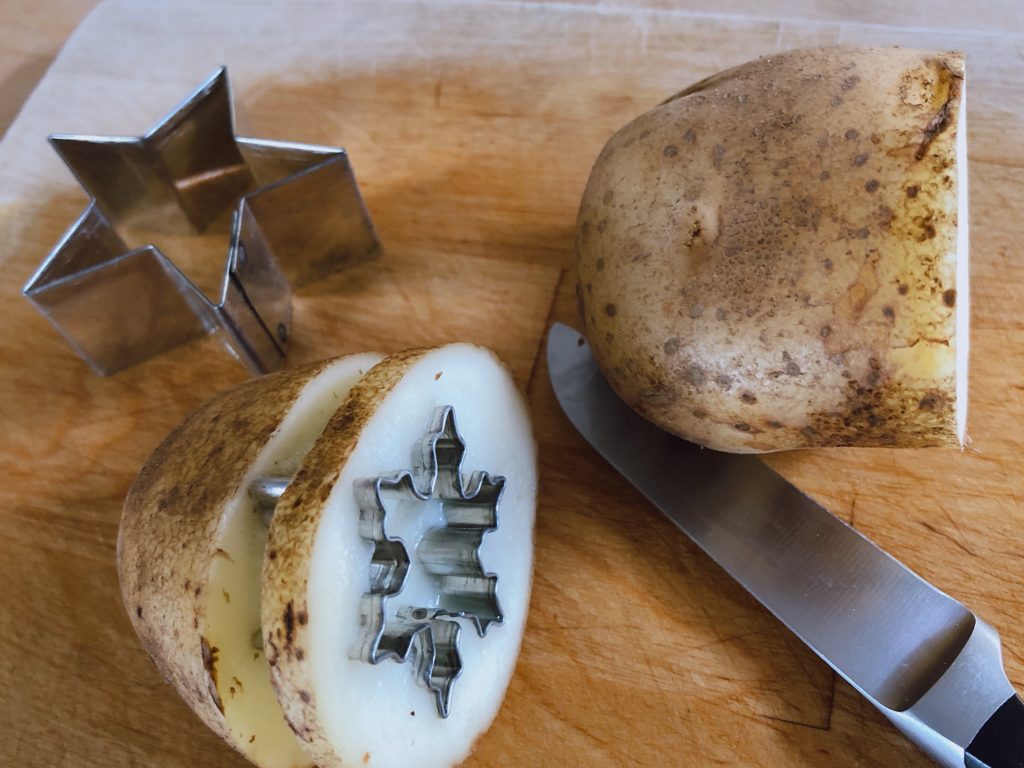
- Halve a potato. (Or, depending on the size of the cookie cutter and the size of the potato, you might be able to get three stamps by cutting the potato crosswise into thirds.)
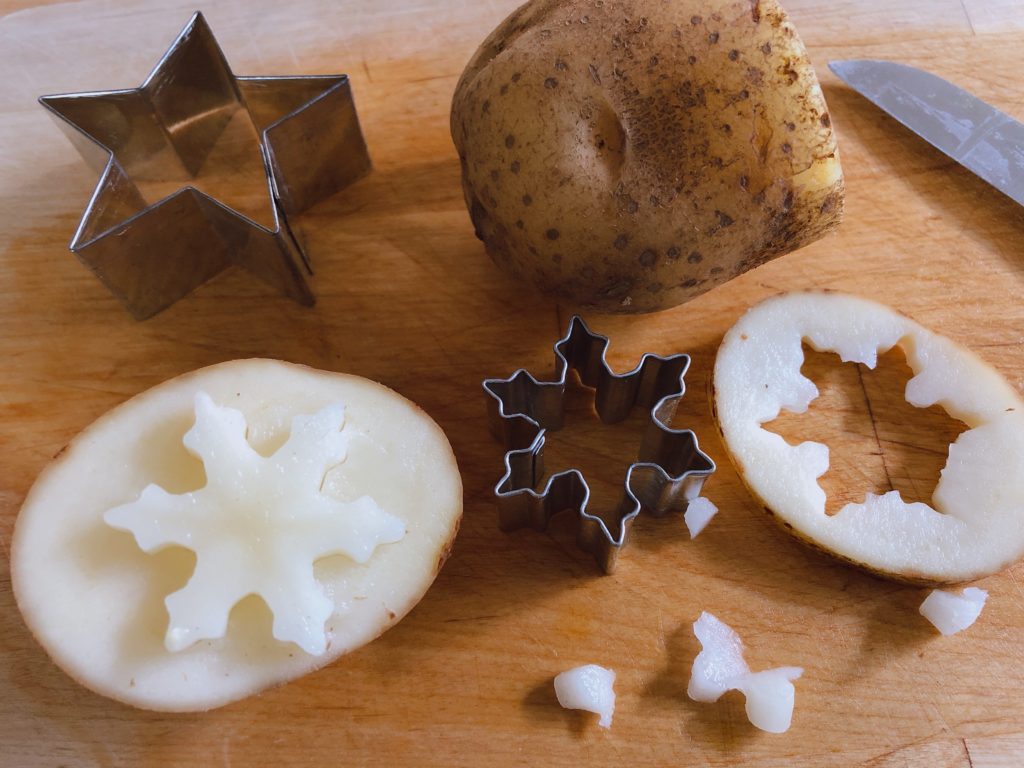
- Firmly press the sharp-edged side of a cookie cutter about 1/4-inch deep into the flat, cut side of the potato.
- Using a paring knife, carefully cut around the cookie cutter horizontally (parallel to the cut side of the potato), and remove the margins, so the cut shape stands out in relief. Then gently remove the cookie cutter.
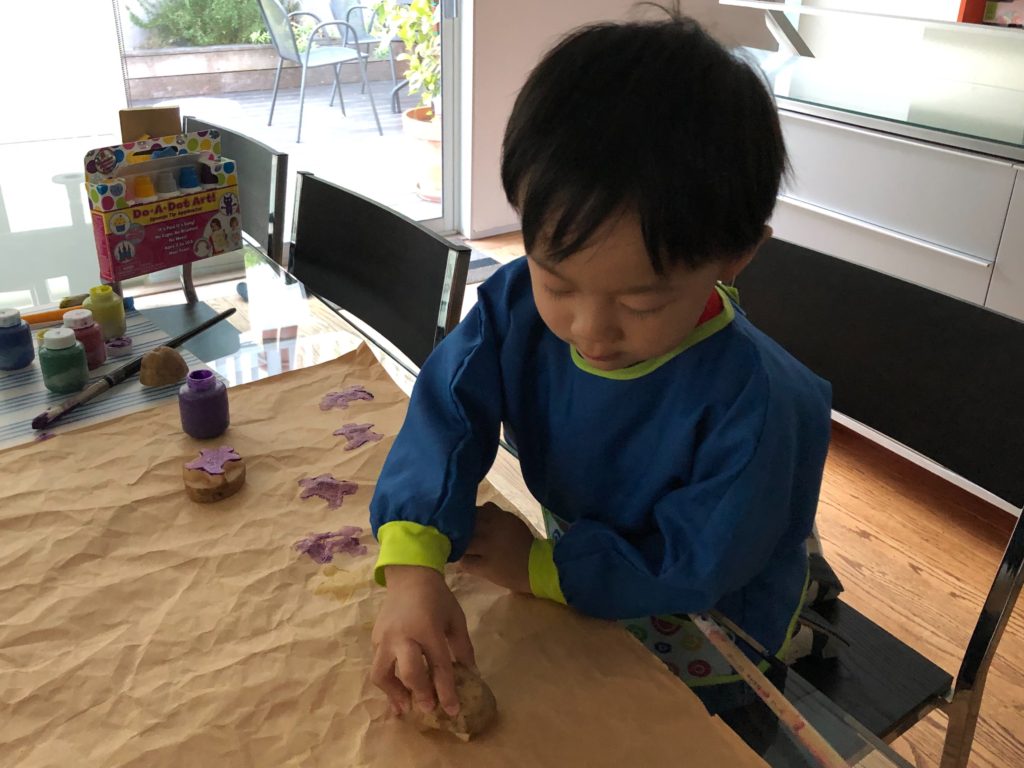
- Dip a brush into paint, brush the surface of the potato stamp, and stamp paper.
- Continue to brush more paint onto the stamp as needed.
- Allow paper to dry. Roll paper around a cardboard gift wrapping tube to store until needed.
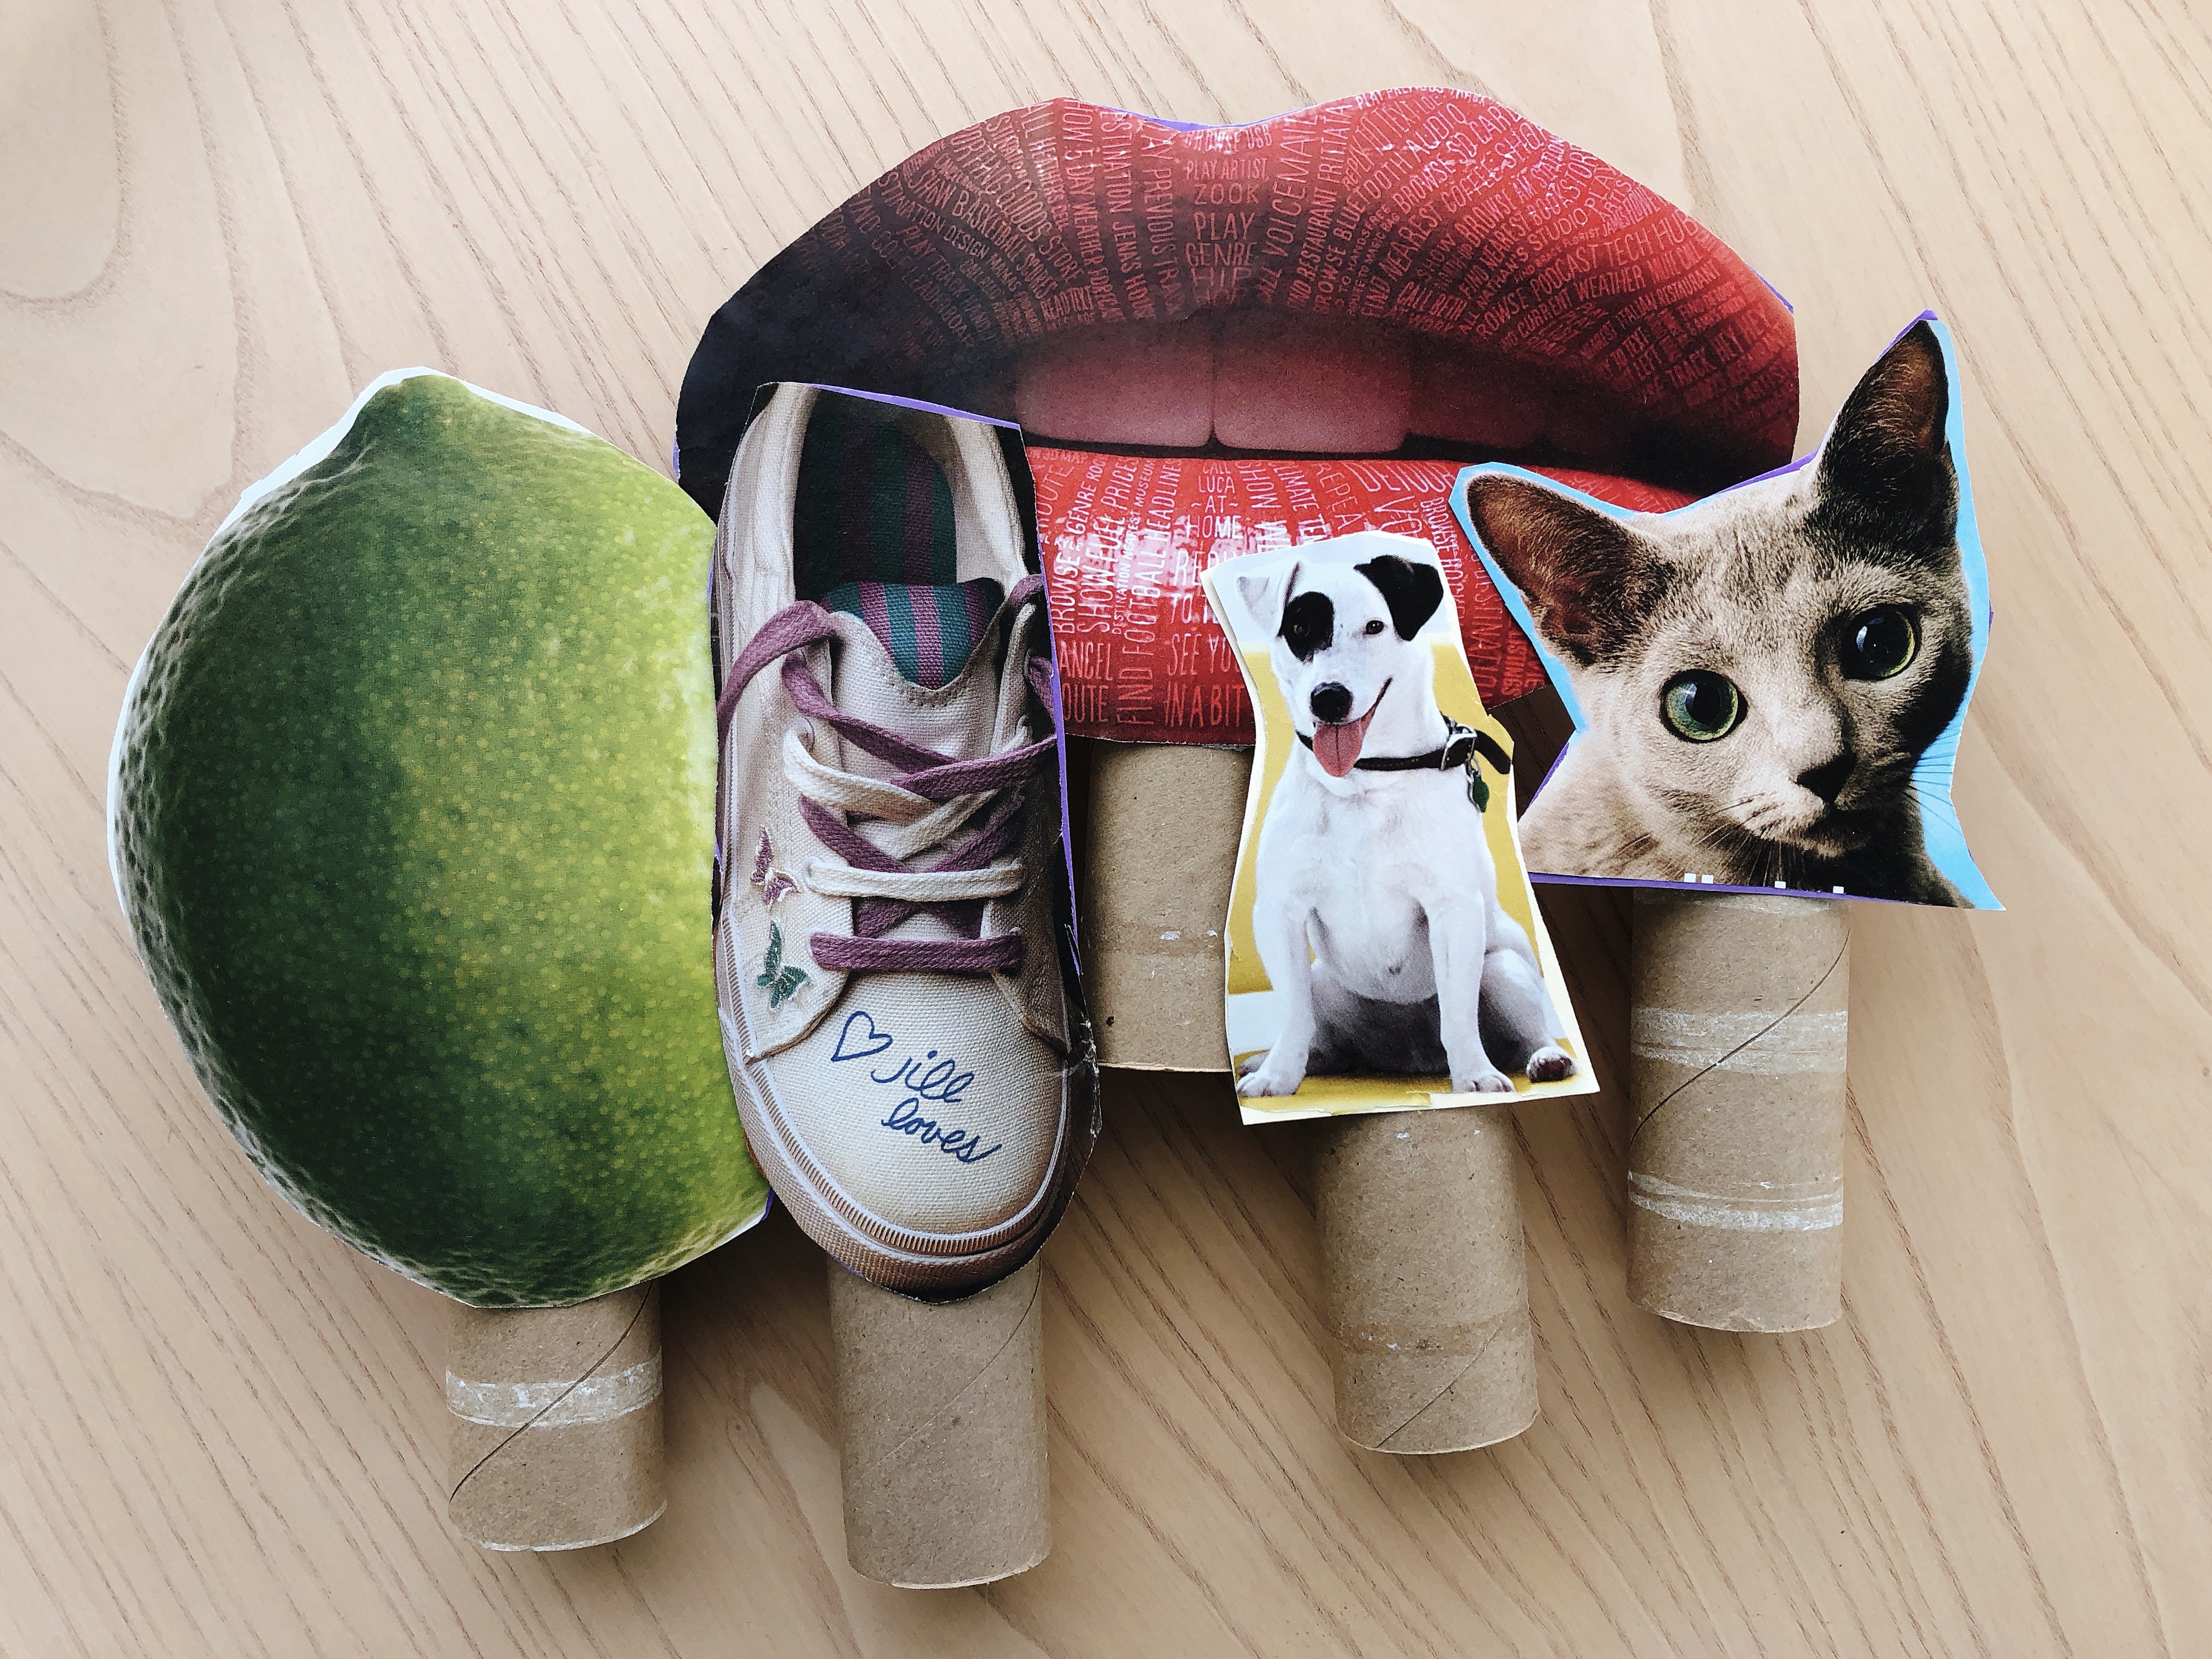
Recycle magazine pages and toilet paper rolls by turning them into puppets.
Tips:
- Instead of potatoes, you can use the natural shapes of interesting produce. Some good candidates are an artichoke or onion, halved lengthwise. The crosswise-cut stem end of a zucchini will make a small flower pattern.
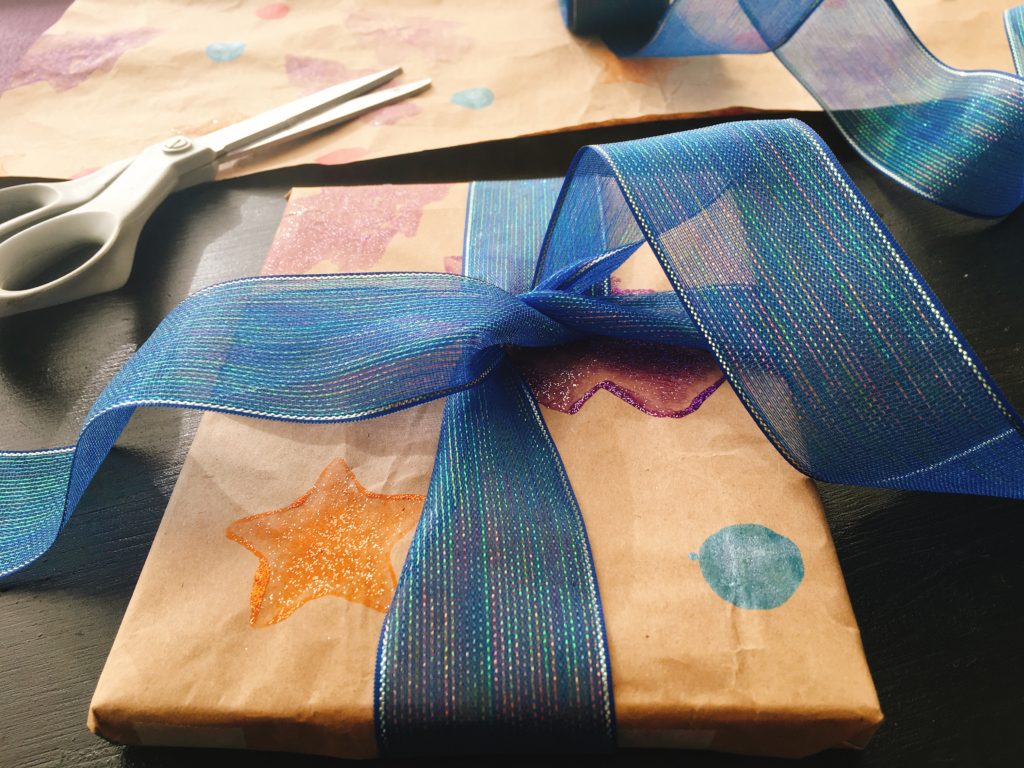
- For the paper shown above, in addition to potato stamps, we used a dot stamper between the stamped images.
Notes:
- Brown paper from Amazon comes in perforated segments, so you can’t wrap a big present in the paper, unless you tape it together.
- I used a pretty ribbon to wrap the gift, but if you’re a die-hard recycler, you can skip the ribbon and use a band of the brown paper that you’ve decorated with stamps ahead of time.
- This is a good project for children to keep them occupied during winter break, and in preparation for Christmas.
- I also use the children’s artwork as gift wrap. After they paint a picture, I tape it to my wall for a while to create an art gallery, then wrap gifts with the paintings.
What Kids Learn from this Activity
- To be aware of waste and to think about creative ways to recycle
- To compose their own designs and be creative
- The pleasure and pride of accomplishment when they see their gift wrap paper in actual use and they are complimented by the recipient.
What are your best recycling projects for kids?
Sign Up!
Don’t forget to sign up for my email newsletter. Every Wednesday, I’ll give you a new idea for an activity or insight to nurture the little ones in your life.
Great project especially with Christmas coming up.
Now to come up with what to do with those air-pillows.
🤣Funny! I wonder if there is anything to be done with those pillows….