How to Make Easy DIY Valentines with the Grandkids
Since the grandkids were little, we’ve crafted easy DIY valentines for the family each year. And on the Friday closest to Valentine’s Day, at our usual Friday night dinner, we have a celebration.
The menu isn’t fancy but the table is always festive. Plus, we have dessert and everyone gets an inexpensive, Valentine’s Day gift.
If you’re a recent grandma, you might want to consider starting this tradition, turning Valentine’s Day into a day of love for the whole family; not just a romantic evening for sweethearts.
In fact, beyond Valentine’s Day, why not honor every kind of festive occasion throughout the year? These mini family parties give kids something to anticipate and an opportunity to learn about other cultures and customs.
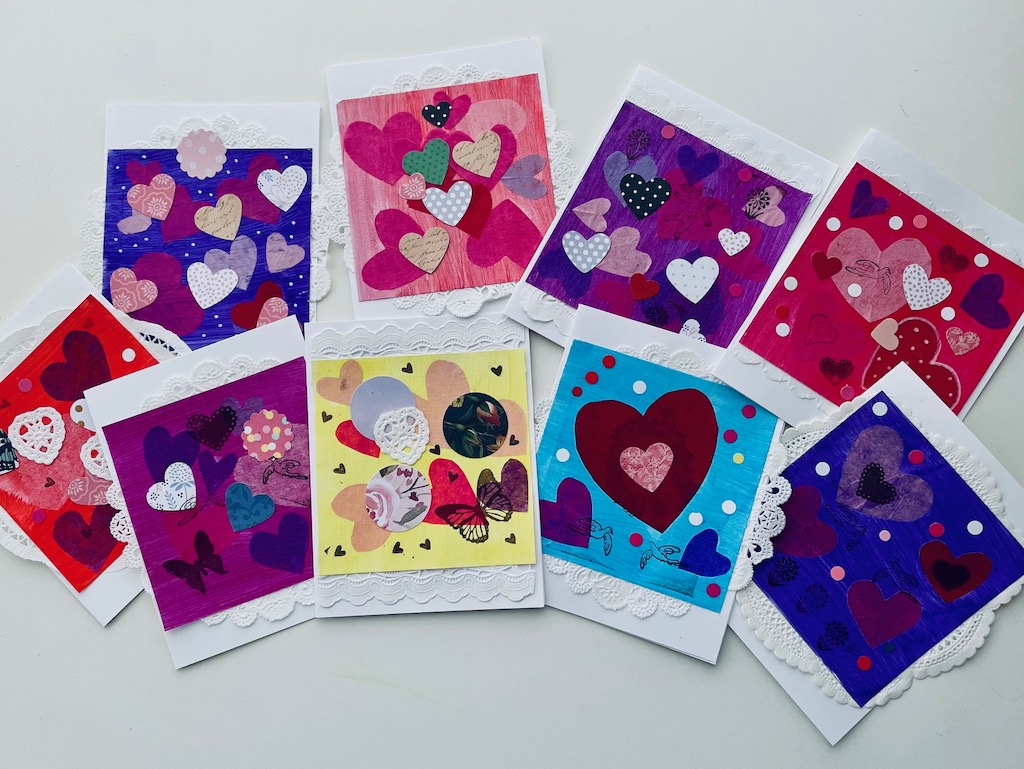
Make Easy DIY Valentines
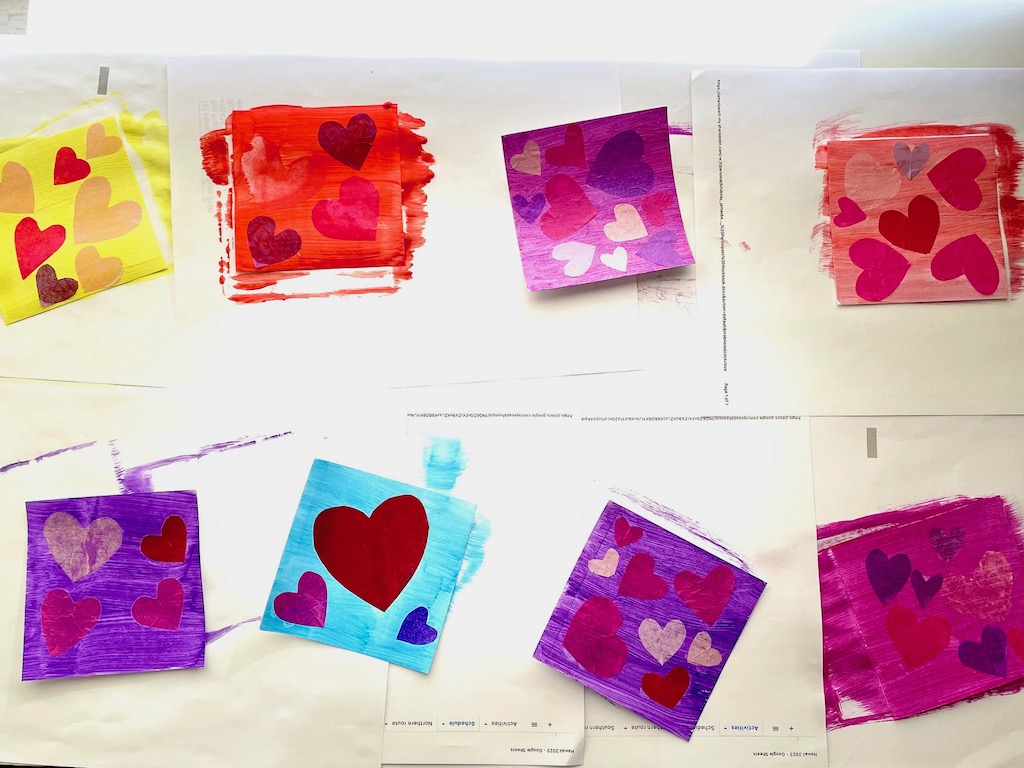
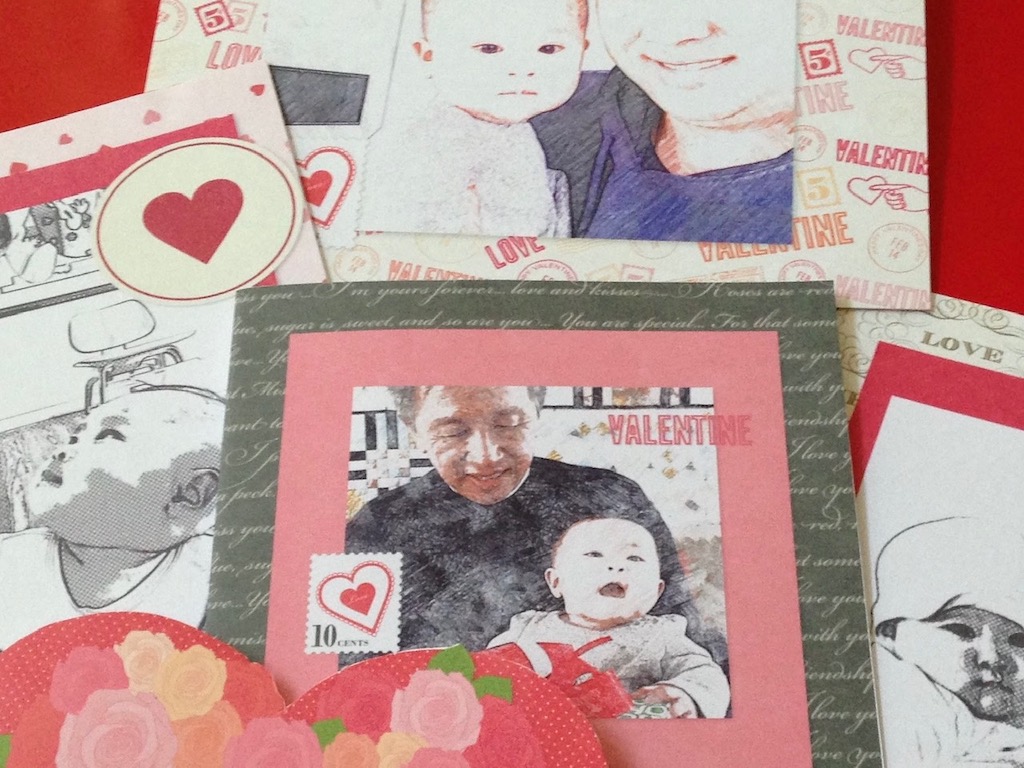
This year’s cards turned out especially well because the designs are layered, so they take a little more effort and the finished pieces are more complex.
To make these valentines, we decorated squares of art paper, then glued the squares to folded cardstock, which served as the card base.
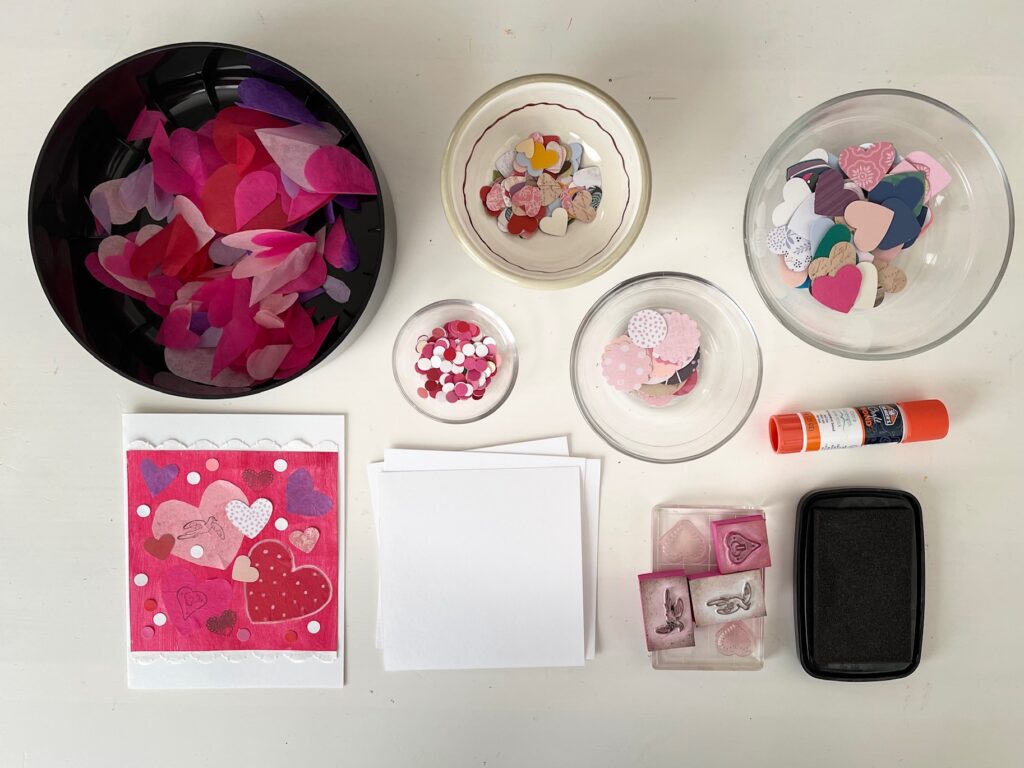
Materials Needed:
- Pink, red, and purple tissue paper scraps
- White heavyweight art paper suitable for acrylic paint
- Scrap recycle paper to protect work surfaces
- Acrylic paint
- Valentine-themed rubber stamps and stamp pad (optional)
- Hearts and small circles, made with paper punches, or hand-cut from colored and patterned cardstock (optional)
- Small paper doilies (optional)
- Gluestick
- White cardstock (8 1/2- X 11-inch sheets)
Tools Needed
- Small, sharp scissors
- Wide, flat paint brush, bristles about 1-inch wide
- Artist’s palette or a paper plate to mix paint
How to Make It
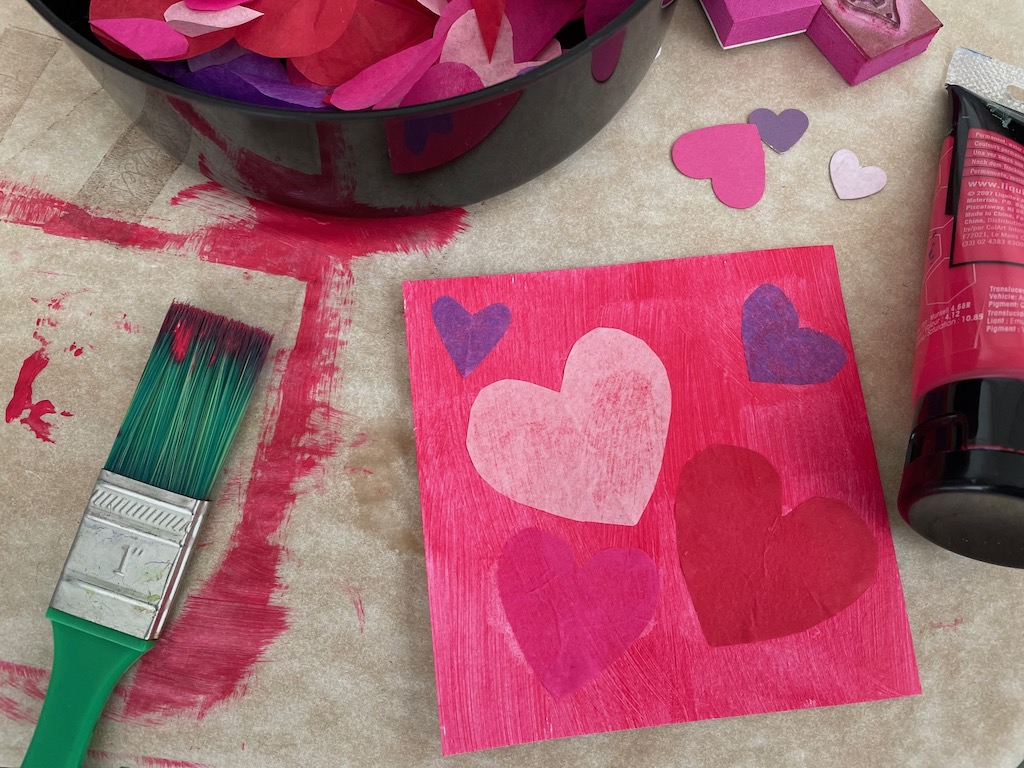
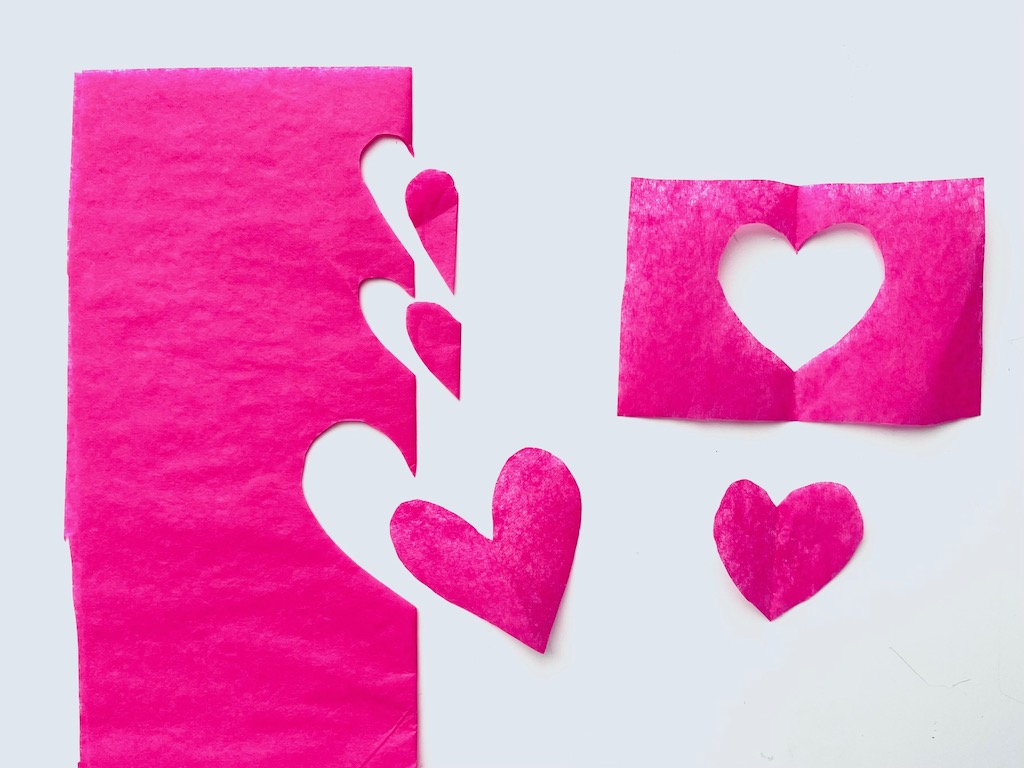
First, start by cutting out hearts from tissue paper, freehand. Just fold tissue in half and cut out hearts in different sizes. Put them in a shallow box or bowl so they don’t blow away.
Next, cut the art paper into squares. Ours were 4 inches X 4 inches.
Lay a paper square over a sheet of recycle paper to protect your work surface. Paint the square with acrylic paint thinned with a little water–you want a thin film of paint to cover the entire surface of the square. Press down tissue paper hearts on the wet paint; they will stick without glue. Allow to dry.
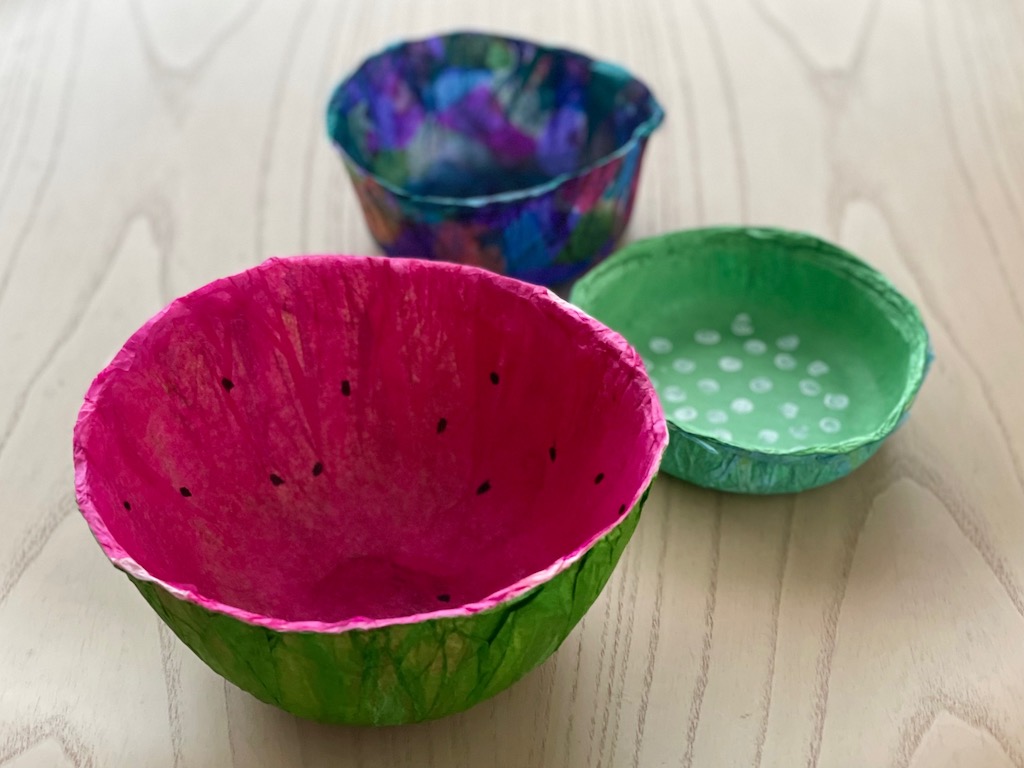
What to do with leftover tissue paper? Make some beautiful, tissue paper bowls!
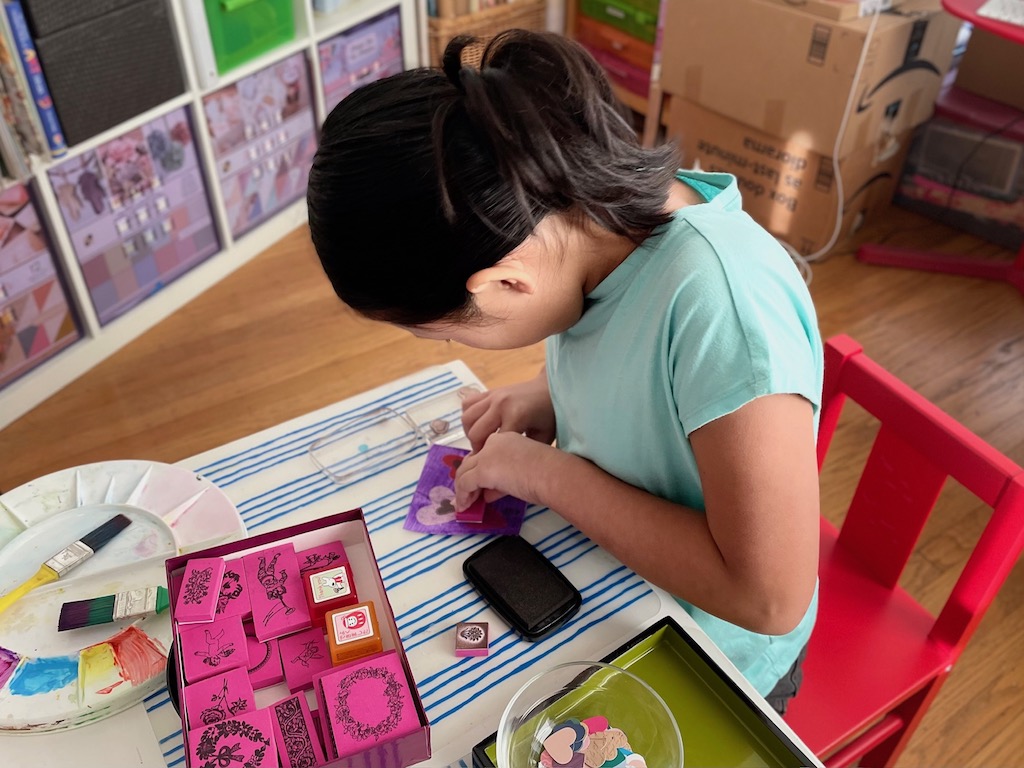
Next, glue on additional adornments–cardstock hearts and circles–and use rubber stamps to add more design elements.
Finally, make the card base by cutting cardstock in half crosswise, to give you two sheets 5 1/2 X 8 1/2 inches each. Fold each cut piece in half crosswise to make two cards that are 4 1/4 X 5 1/2 inches, folded.
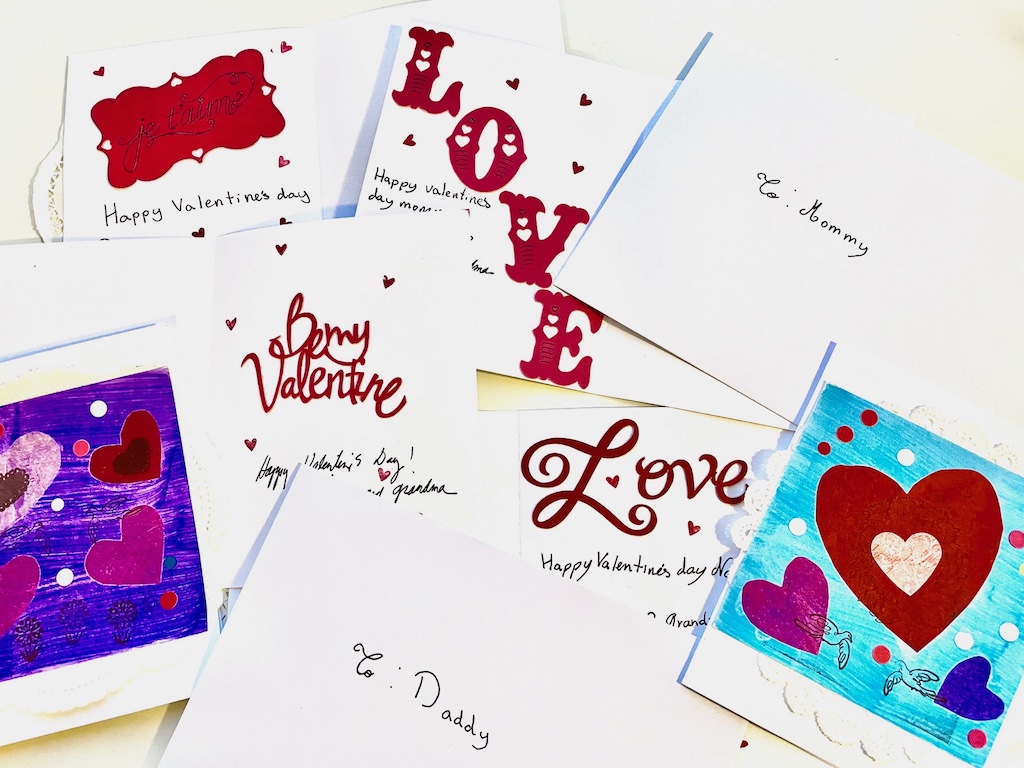
Glue the decorated square onto the card base. You could glue a paper doily on the card base first, before affixing a square, to make a lacy frame.
The cards will likely curl after they dry. Simply bend them back gently to reshape them, or weight them under a stack of books.
Kids can handwrite their valentine message inside. We used valentine sentiments cut from my Cricut diecut machine, instead.
Easy DIY Valentines for Younger Kids
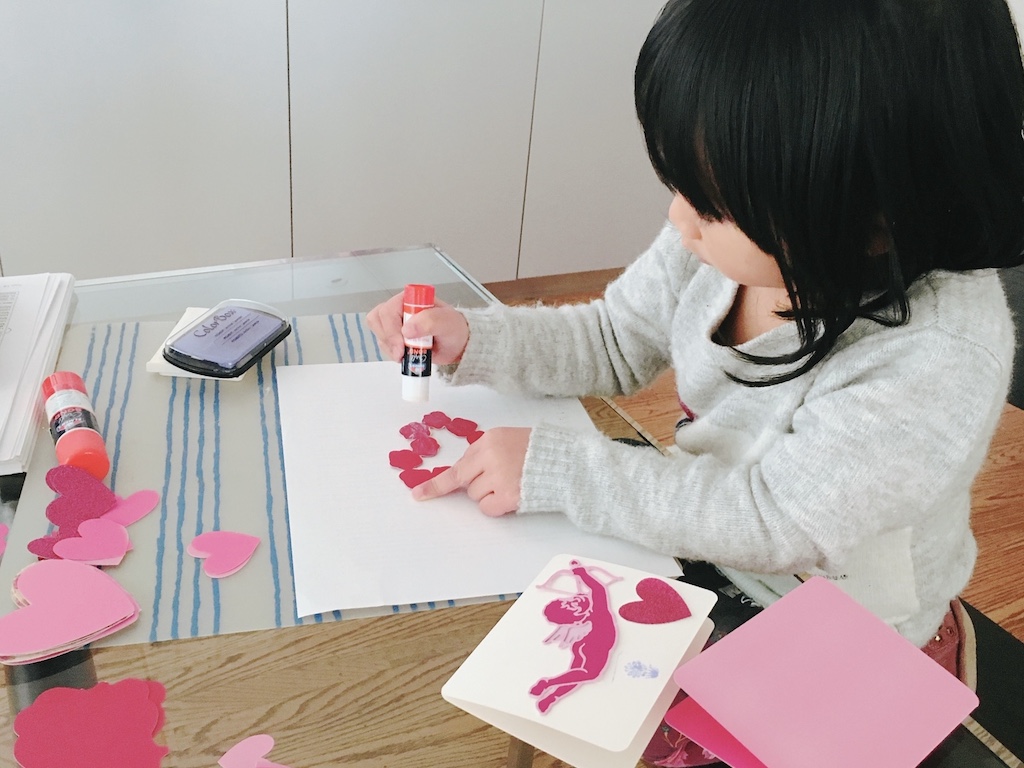
For younger kids, provide simple valentine shapes cut out from cardstock and have them glue the images to a folded cardstock base. I used my Cricut cutting machine, but you can find free downloadable images to print on light cardstock and cut with scissors. You can also provide stickers and rubber stamps for stamping valentine designs. You could even make your own heart stamp with a potato and heart-shaped cookie cutter.
Another idea for a valentine is to have the child draw or paint a picture or do a finger painting. They’re likely to make abstract art, so you can simply cut up the artwork into squares and mount each piece onto a folded cardstock base. You can even have a toddler finger paint with baby food and use that art for valentines; evidently, the baby food artwork will keep.
Write a valentine message for the child and have them sign their cards with a fingerprint using a rubber stamp pad or by dipping a finger into the acrylic paint.
Even babies can be part of a family valentine exchange. The year Miss T was born, I made a valentine for each family member featuring a photo of the recipient interacting with the baby. I used a sketch filter app to make the cards more interesting. The app I used, which was free then, now requires a paid subscription, but here are a few other choices.
Your Valentine Table Setting
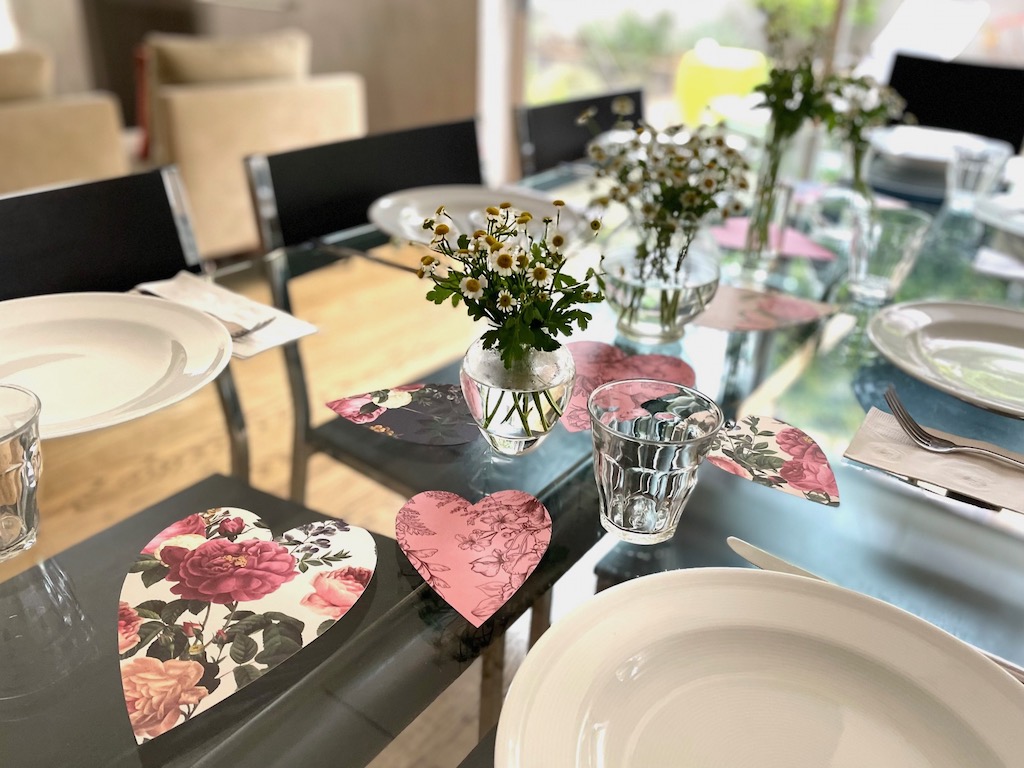
You don’t need expensive flowers to make a Valentine’s Day table setting. Just scattering some pretty cardstock hearts in a variety of patterns will set the tone.
In the table above, which was set for last week’s Friday night dinner, I had white asters in mismatched glass vases as my centerpiece. So, I just added the hearts that I had cut in preparation for Valentine’s Day, to illustrate how such a simple element could turn an everyday table celebratory.
Go the extra mile and add tall candles. If kids are little and might knock down candles, use battery-operated tea lights in tea light holders. Colored paper or cloth napkins that coordinate with the hearts would be nice. And you could scatter some heart-shaped chocolates or Sweethearts Conversation Hearts to enhance the table setting further.
Sign Up!
Don’t forget to sign up for my email newsletter. Every Wednesday, I’ll give you a new idea for an activity or insight to nurture the little ones in your life.