DIY Valentine Placemats and How to Use Them
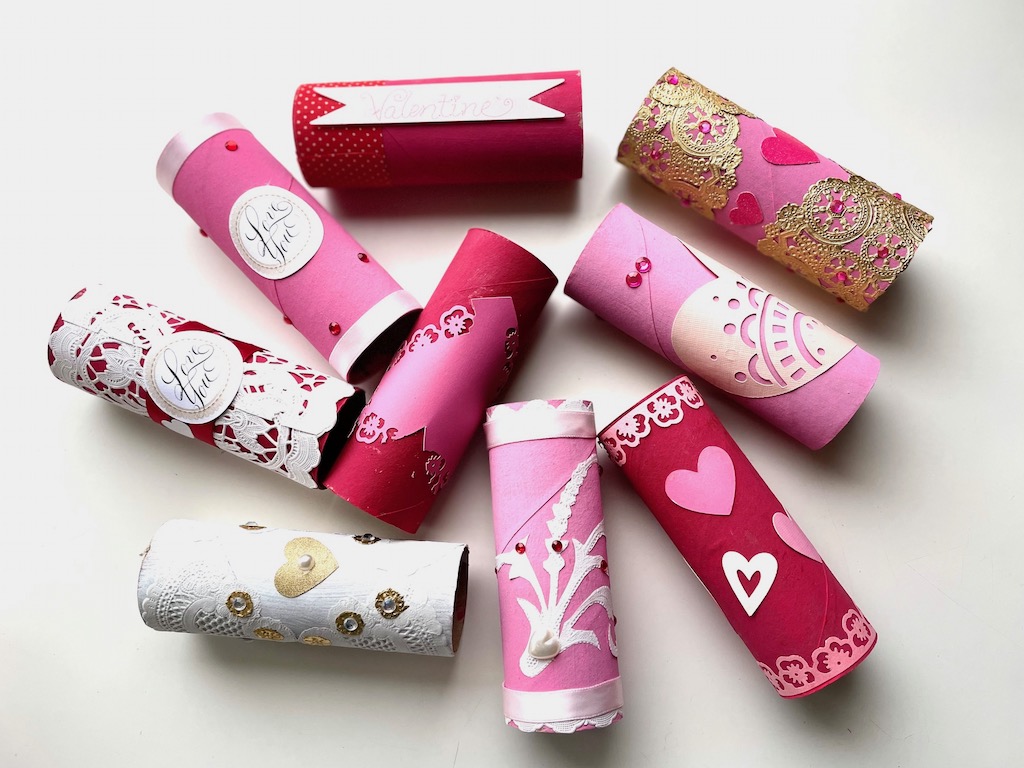
Once the grandkids and I made Valentine cards that could be turned into beautiful framed art later. Another time, we made tubular cards. We made tissue paper cards for still another Valentine’s Day. And this year, we’re making valentine placemats to serve as oversize cards.
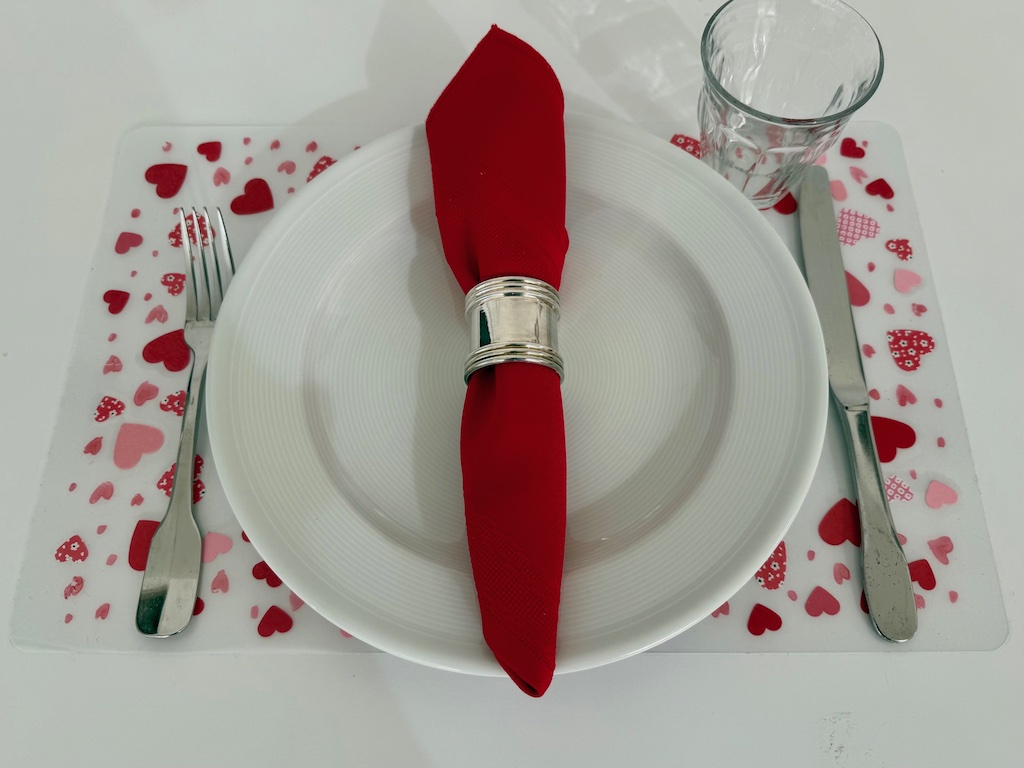
Kids can make a placemat for each recipient. Or make a set to give as a gift. You can also use these valentine placemats for a Valentine’s Day party for the grandkids.
The placemats start with a plastic placemat base. I bought six placemats for $10.98 ($1.83 each). An overlay of contact paper preserves the design and makes the placemats wipeable. The placemats aren’t so durable as to last over many meals, but they’ll be good enough to enjoy for awhile.
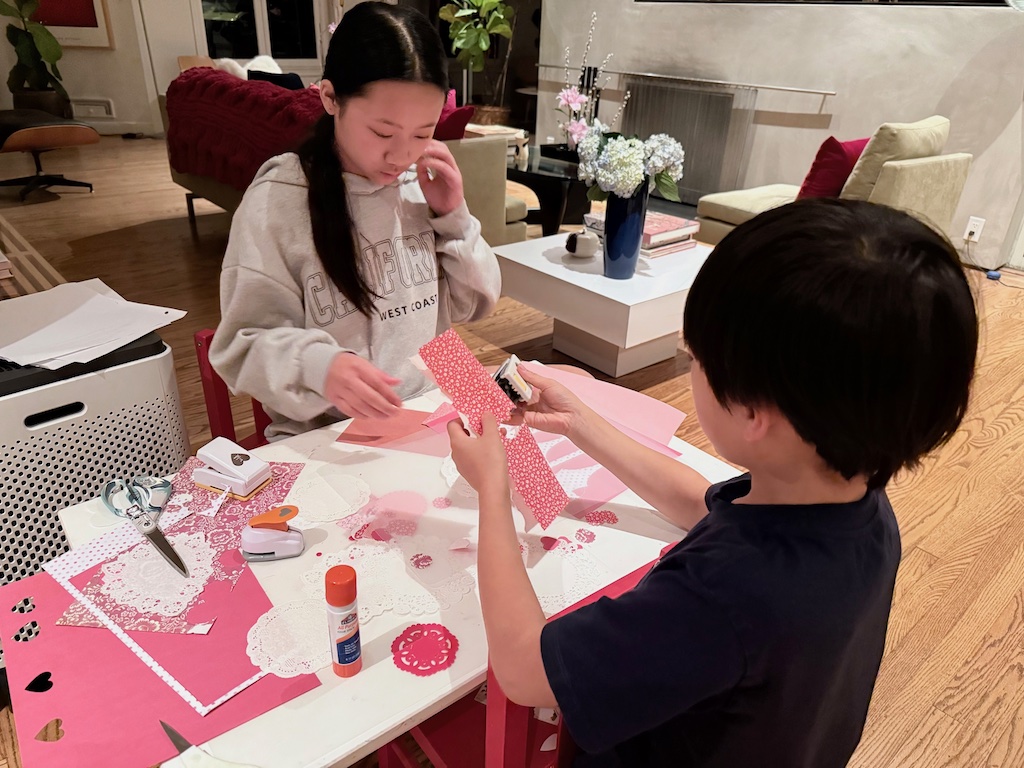
The beauty of these placemats is that they’re easy for even younger children to make with a little help from an adult to apply the contact paper.
Valentine Placemats
Materials Needed for 1 Placemat
- Clear plastic placemat
- Clear contact paper
- Decorations: see ideas below
- Scrap paper to protect work surface from glue
- Indelible markers, such as Sharpie (optional)
Tools Needed
- Ruler
- Pencil
- Sharp scissors
- Glue stick
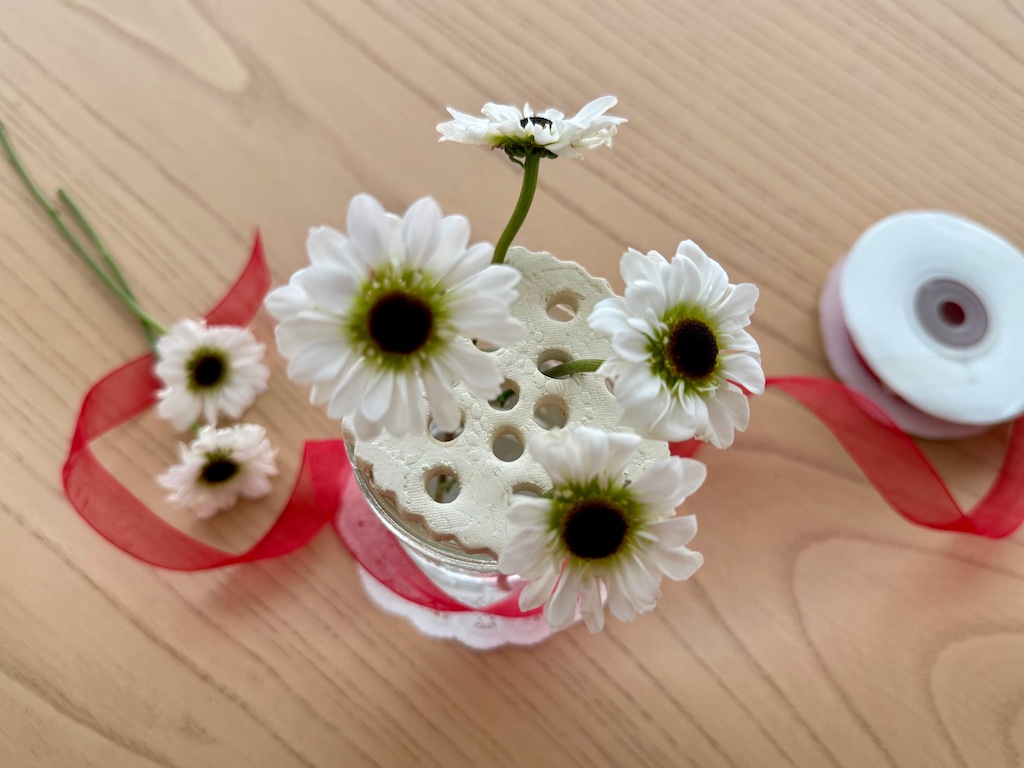
Kids can make a simple flower frog as a Valentine’s Day gift.
Decoration ideas
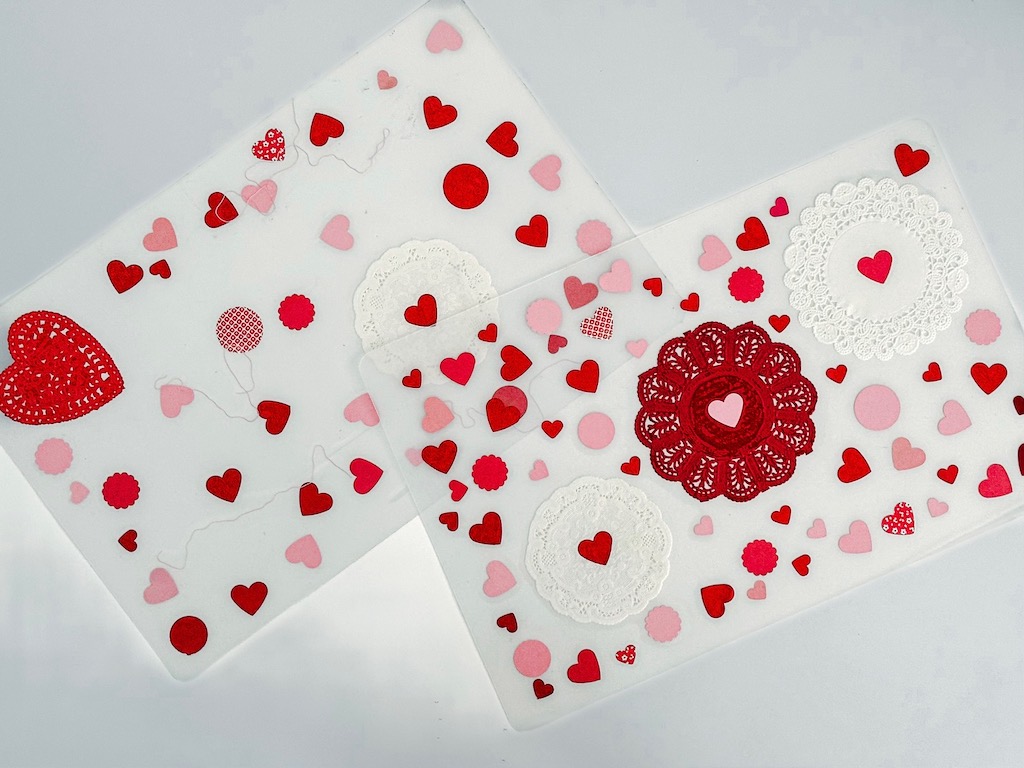
All the decorative elements should be thin and flat, so they can adhere to the contact paper.
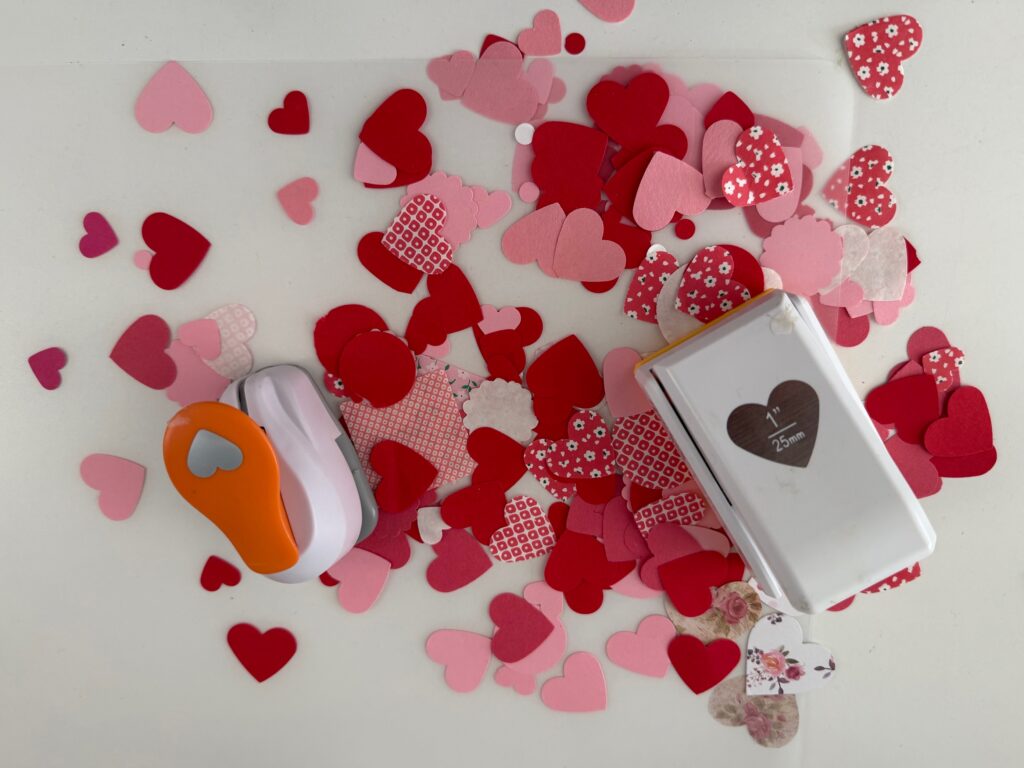
- Paper hearts cut from construction paper, plain or printed cardstock, and/or patterened origami paper
- Heart and flower stickers
- Small paper doilies
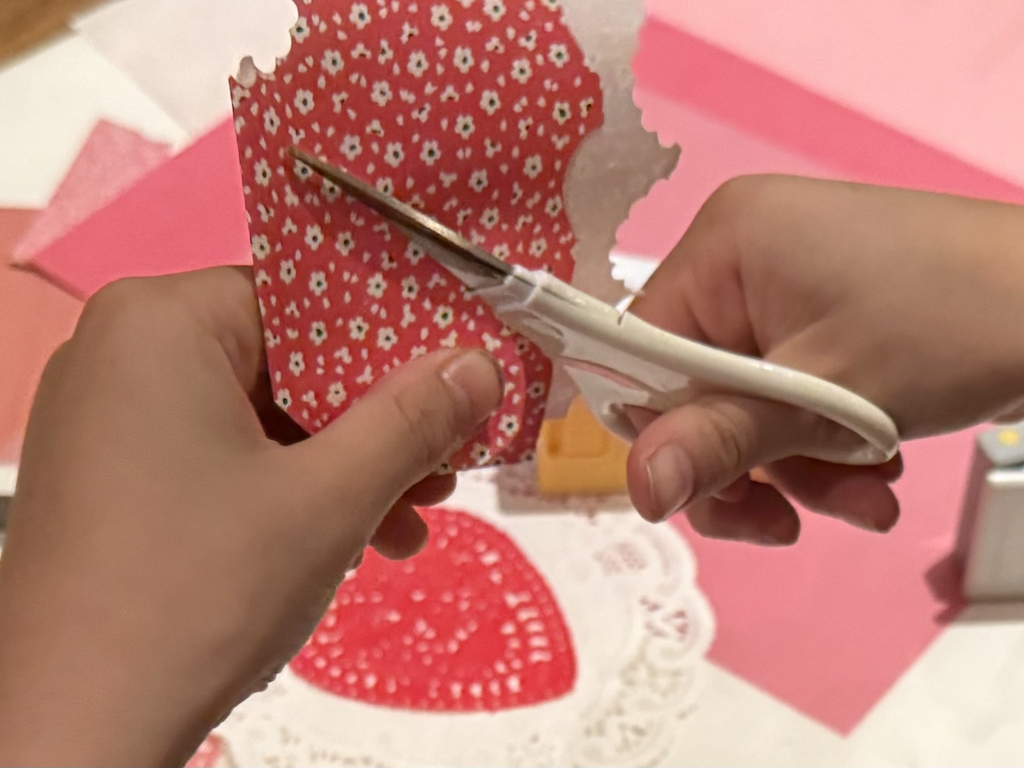
We used two heart-shaped paper punches, 1/2-inch and 1-inch, to cut the hearts. You can also fold paper in half and cut half-heart shapes, freehand. When you open up the fold, you’ll have nicely symmetrical hearts. If you are working with younger kids, use bigger hearts for easier manipulation by little hands.
Method
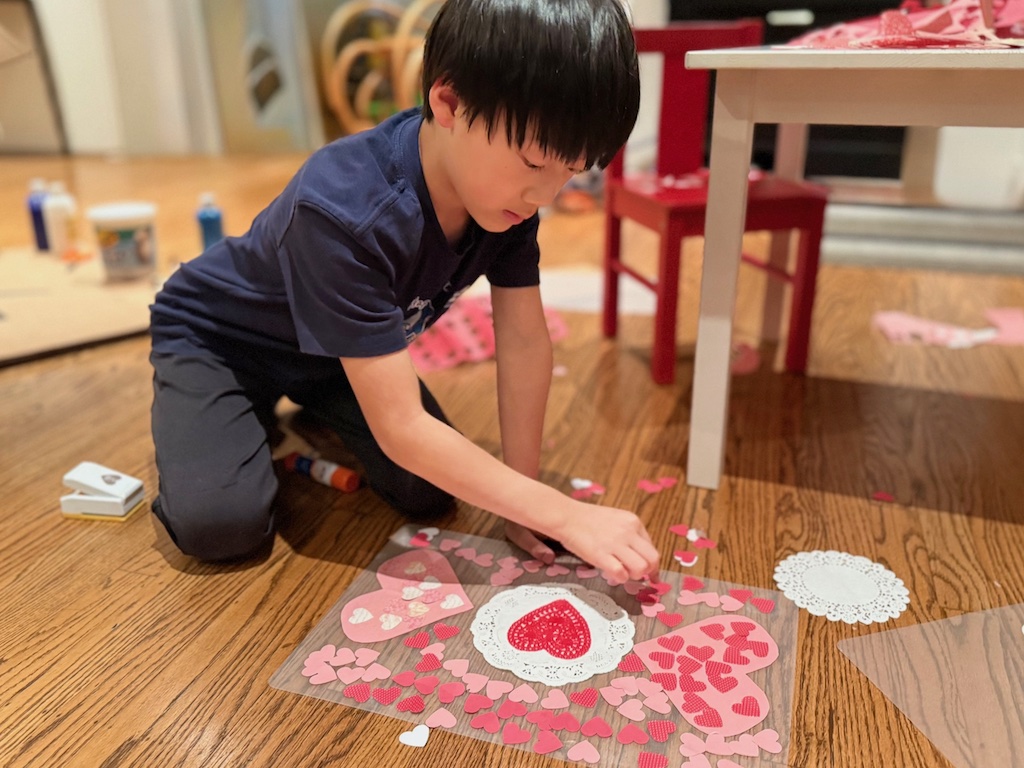
Lay placemat on a flat work surface.
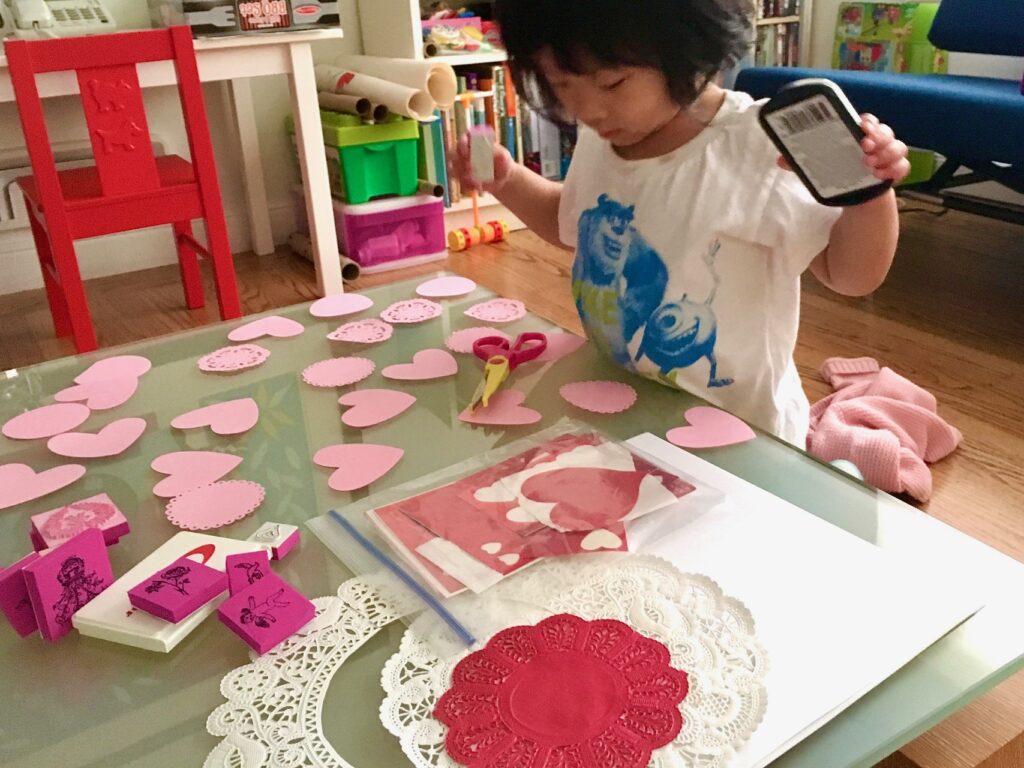
Have kids arrange decorations on the placemat. They can draw, scribble, or write a message with an indelible marker as part of their design.
Use a glue stick to hold the decorations in place as the child works. Lay down a sheet of scrap paper on the work surface to keep glue from making a mess as you glue each heart. Avoid overlapping decorations because it will make it harder for the contact paper to adhere.
Be sure kids extend their design almost to the edge of the mat, so some of the design will show even after a plate has been put on it. But don’t take the design all the way to the edge, because the contact paper won’t adhere well.
After the indelible marker (if using) has dried completely, it’s time to lay on the contact paper.
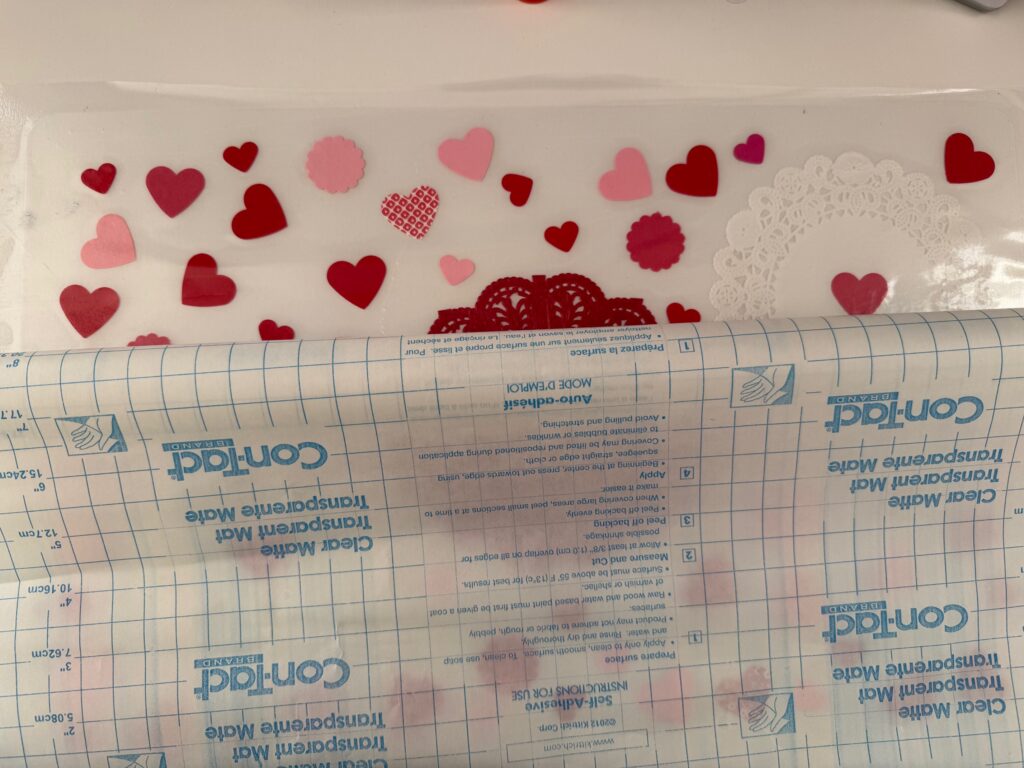
Cut clear contact paper a little larger than the placemat. Peel away a few inches of the backing along the top, and starting at the top, leaving a small margin along the top and sides of the placemat, carefully press contact paper down to seal.
Roll the rest of the backing away, a little at a time, until you reach the end of the placemat. Press with fingers to smooth around the hearts. Trim off excess contact paper.
Making valentine cards can be a wonderful way for kids to show their creativity and express their love.
Sign Up to Get Grandma’s Favorite Recipes–Free!

Sign up here for my email newsletter. Every Wednesday, I’ll give you a new idea for an activity or insight to nurture the little ones in your life. And once you subscribe, I’ll send you a link so you can download your set of quick and easy recipes as my thanks to you.
Cute placemats!
Thank you! We’ve had fun making them.