Now’s a good time to make some Christmas tree ornaments with the grandkids before life gets too busy. These budget-friendly sweet treats are made with felt scraps, paper, or air dry clay.
Sweets? Air dry clay cookies, felt lollipops and candy, and peppermint Christmas ornaments.
For a smaller cash outlay, an 8.8-ounce pack of air dry clay is $1.25 at Dollar Tree.
I have a bin-ful of felt scraps from such projects as a felt book for toddlers and my tiny stockings Advent calendar.
Every ornament made was from materials at hand in my craft room.
These Christmas ornaments are designed for older children, younger kids can get involved by painting pre-dried clay cookies (below).
Felt Lollipops
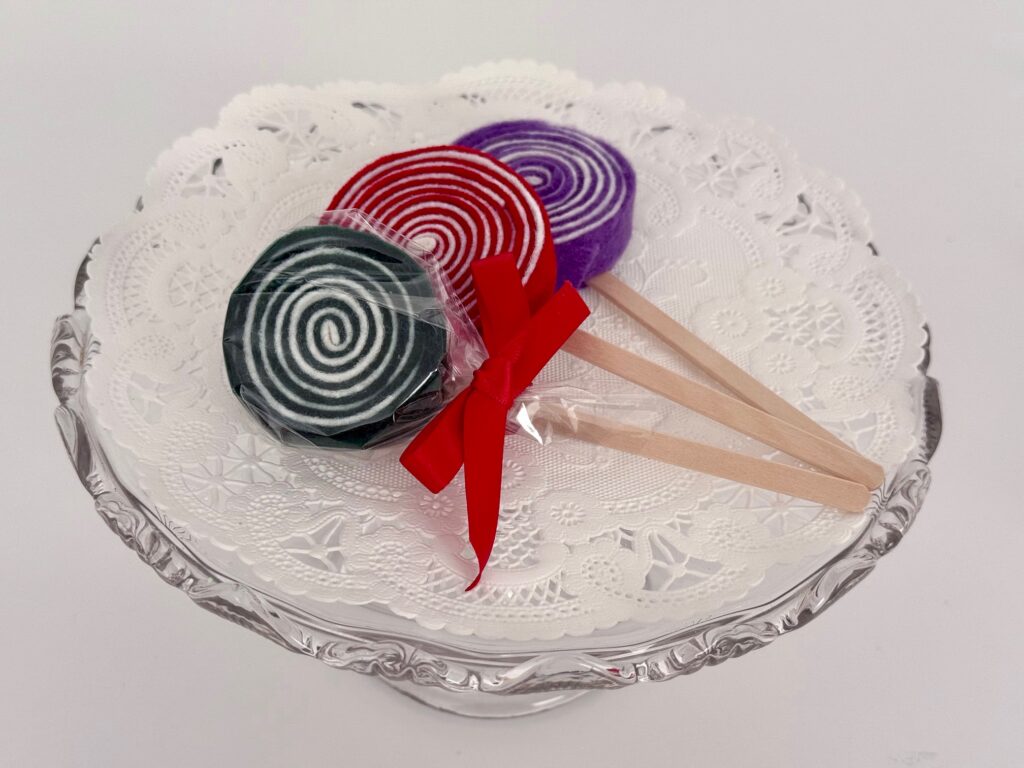
You can make these the easy way or introduce a bit more effort. The simplest is to wind felt strips into a circle and glue on a stick. A little more work is to cut and glue a circle of felt on the back for a nicer finish. A final upgrade is to cover the lollipop with a cellophane square and tie it in place with a bow.
Felt lollipops are easy to make. For a fancier look, wrap in cellophane and tie with a bow.
Materials Needed:
Felt in assorted colors
Lollipop sticks or coffee stirrer sticks
White school glue (like Elmer’s)
Cellophane (optional)
Narrow ribbon (optional)
Tools Needed:
Ruler
Pencil
Sharp fabric scissors
Coffee stirrer stick or bamboo skewer to apply glue
Needle and thread for hanging
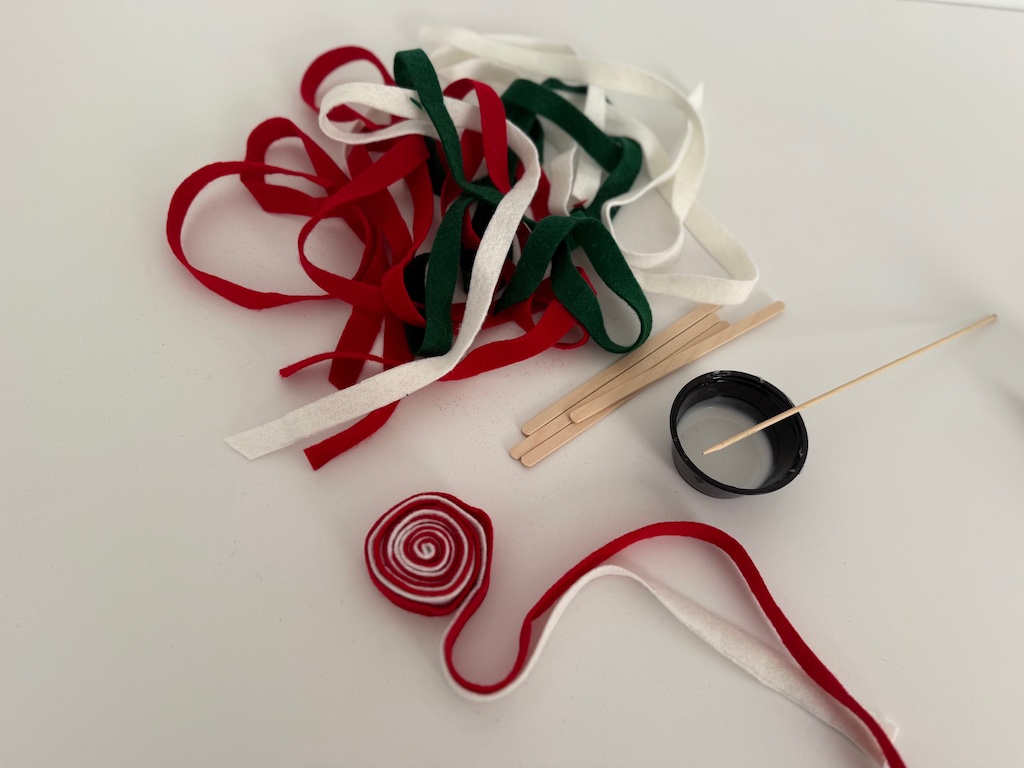
Lay two strips together and begin winding to form a circle, dabbing glue at intervals.
Method:
To make lollipop Christmas tree ornaments, cut two different colors of felt into 1/2-inch strips. Lay one strip on the other and begin winding, creating concentric circles. Dab wit glue every so often to keep strips in place. Build the lollipop to whatever size you want, joining more strips, as needed.
Glue lollipop stick to the back of the felt. For a nicer finish, cut a felt circle and glue it to the back of the lollipop to hide the part where the stick attaches to the lollipop head.
Optional: Cut a square of cellophane large enough to cover the lollipop with enough margin so you can gather the cellophane around the lollipop and tie in place with ribbon.
Stitch a loop for hanging the ornament, stitching through the felt.
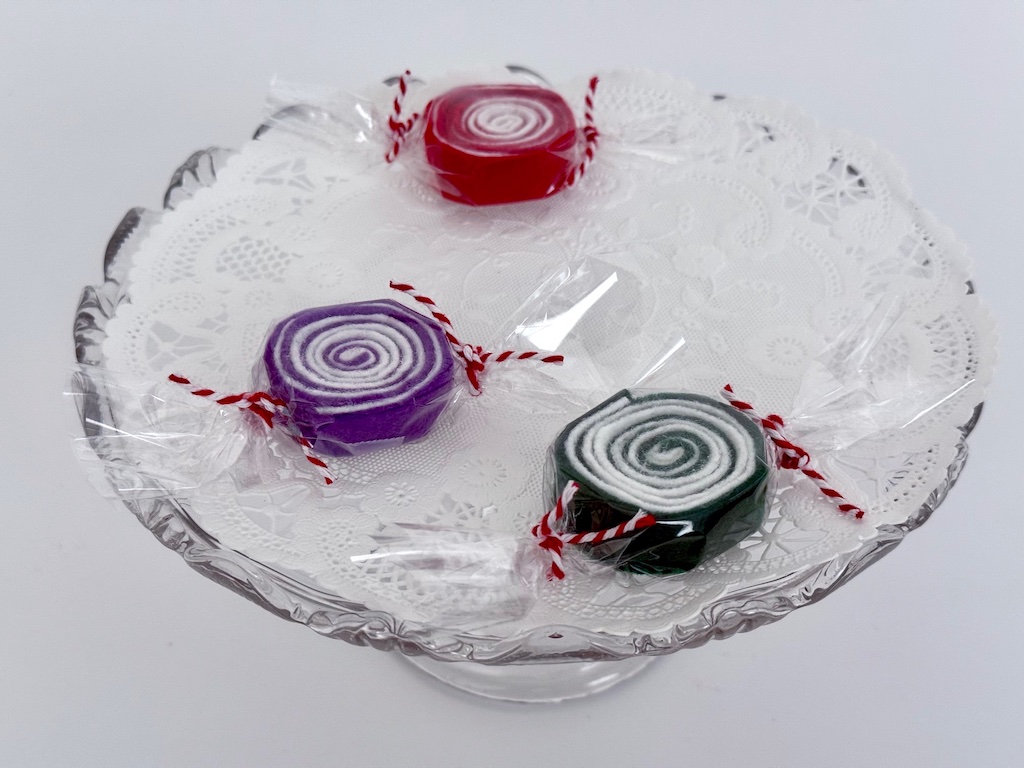
Variation: Instead of lolllipops, you can make simple candy by winding the felt strips and wrapping in cellophane.
Felt candy wrapped in cellophane.
Peppermint Candy
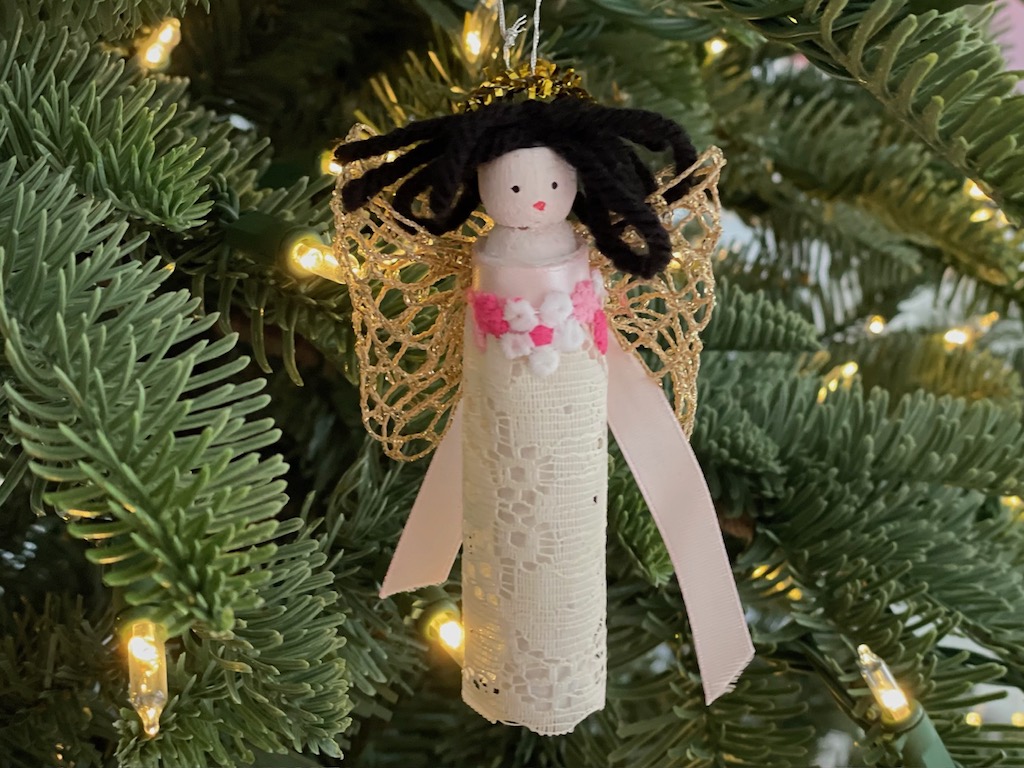
This is a simple ornament but the difficulty is in scrunching the paper to cinch it at both ends. Use the thinnest paper you have that’s still opaque.
Peppermint Christmas tree ornaments are built around half a toilet paper roll.
Measure printer paper so that it’s wide enough to wrap around the toilet roll half with a little overlap and with 2 inches of margin at top and bottom.
Depending on the brand, toilet rolls come in different sizes. My paper was 6 inches wide and 6 1/2 inches high.
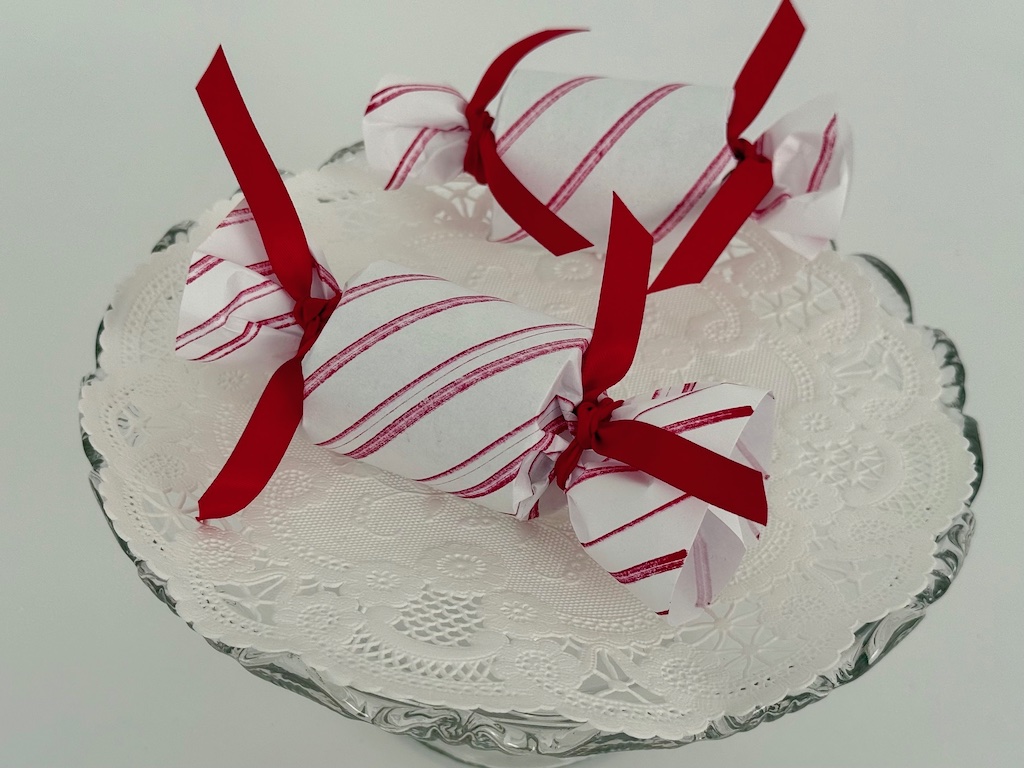
Peppermint candy ornaments are made by drawing red stripes on printer paper.
Turning the printer paper horizontally, make diagonal stripes across the whole page with your red marker.
Wrap the red-striped paper around the toilet roll with 2-inch margins on either side. Secure to the paper to the roll with a glue stick.
Now cinch the margins on either side of the toilet roll and tie with ribbon.
Stitch a loop for hanging the ornament.
Variation: Fill the ornament with a few pieces of candy as a surprise treat. Or make 24 of them, number them, and fill with small toys to create a candy Advent Calendar.
To make this Christmas tree ornament, lay out a sheet of parchment paper. Put a lump of air dry clay on the paper. Cover with another sheet of parchment paper. Roll clay to 1/4-inch. Remove top parchment sheet.
It’s easier to peel away the margins to remove “cookie.“
Cut the clay with cookie cutters. The clay will be sticky; it’s easier to peel away the margins around the cookie cutter than to try to lift the cutout from the rolled-out clay.
Poke a hole for hanging using a straw or chopstick. Move the clay to the cookie rack while still on the parchment. (This keeps the clay cookies from taking on the impression of the rack while drying.)
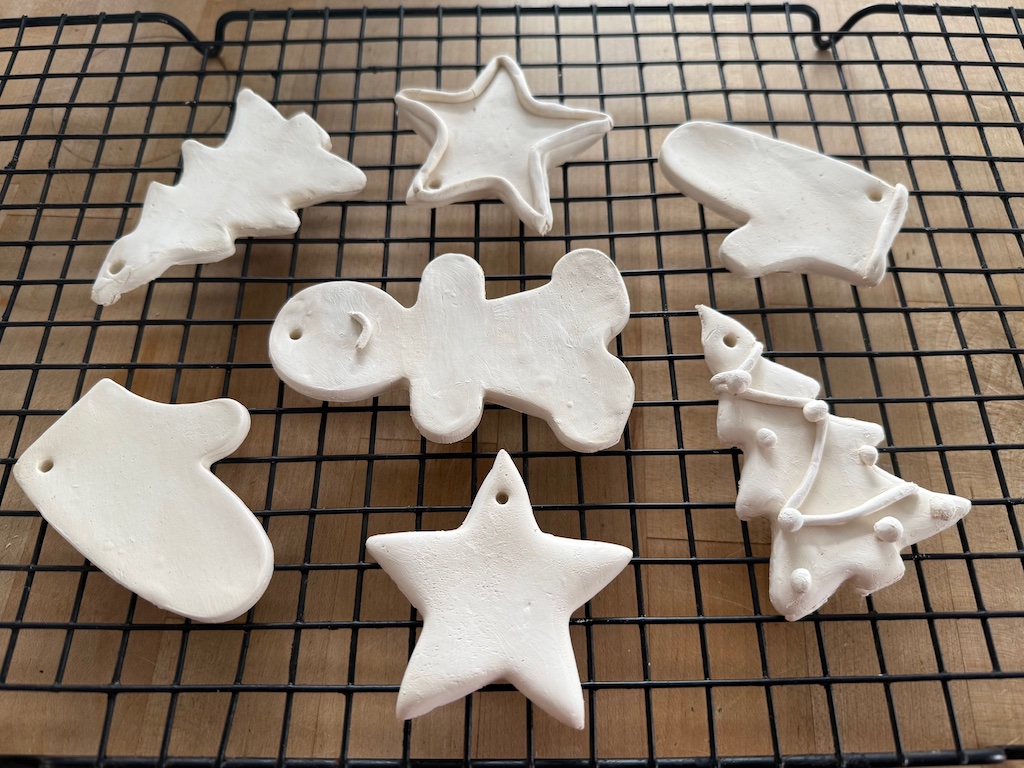
These cookies will take a few days to dry completely. After a day, flip the cookies to enable the underside to dry, Flip again every day until cookies are dry. Once they seem to have firmed up a little, remove the parchment so the cookies get better air circulation.
Air dry clay cookies drying on a rack.
Once fully dried, paint the cookies. When paint has dried, paint again with Mod Podge to give the cookies some shine and to protect the paint. You can also use white glue; it will dry clear, but matte.
Notes:
Select cookie cutters that have simple shapes.
Roll out a small amount of clay at a time, keeping remainder covered tightly.
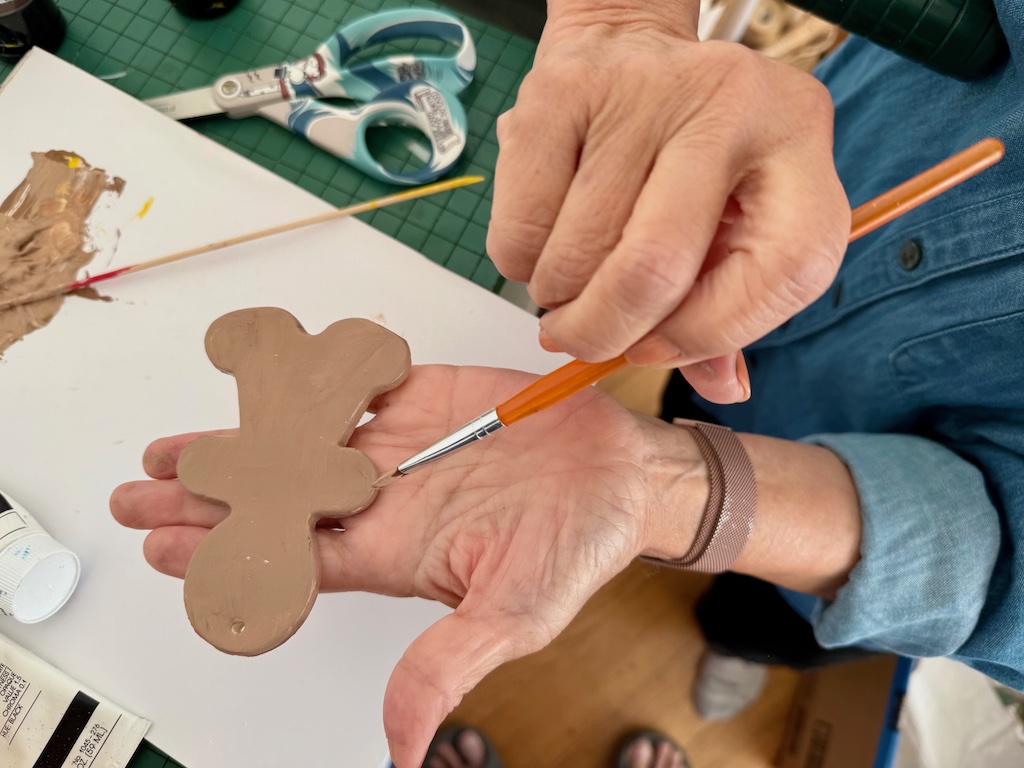
To paint the side of the cookie, hold it in the palm of one hand.
Paint the edges of the cookie by holding it in the palm of your hand.
Decorating tips:
Roll a small bit of clay by rubbing a piece back and forth on your work surface to make a skinny snake. Dip it in water and press into undried cookie for a three-dimensional touch.
After painting cookies with Mod Podge, sprinkle while still wet with glitter to resemble sugar sprinkles.
After painting cookies with Mod Podge, while still wet, add sequins and small beads to mimic cookie decorations. Repaint with Mod Podge to hold decorations in place.
Other uses for Christmas Ornaments
These ornaments have uses beyond decorating a Christmas tree. Here are some ideas:
Pack and assortment in a basket and give as a hostess gift.
Have kids make them as personalized Christmas gifts for their parents.
Tie them to gift packages as festive decorations.
Host an ornament-making party for kids or adults as a holiday social activity.
Decorate your table for Christmas dinner with a candy theme. Put an ornament at each place setting as a table favor.
“Call Me Grandma!” is in the holiday spirit. Each Wednesday, we’ll be featuring a new idea for a Thanksgiving or Christmas project to do with–or for–the grandkids.
Sign Up to Get Grandma’s Favorite Recipes–Free!
Sign up here for my email newsletter. Every Wednesday, I’ll give you a new idea for an activity or insight to nurture the little ones in your life. And once you subscribe, I’ll send you a link so you can download your set of quick and easy recipes as my thanks to you.