How to Make Pressed Flower Crafts with Kids
With more leisure time during summer vacation and flowers in abundance, why not introduce the grandkids to pressed flower crafts?
This can be an inexpensive and creative pastime. My mom turned her pressed flowers into exquisite greeting cards. Among her candidates for pressing were grasses like clover and dandelions that you can pick for free.
If you’ve never pressed flowers before, I’ll give you various options. It can be as simple as laying flowers in an old book and weighting it with more books.
Or, you can simply purchase pressed flowers online.
What to Make with Pressed Flowers
Pressed flower crafts are best for older kids who have some dexterity. When dried, the flowers become quite fragile. However, even little ones can collect the flowers for pressing. And they can work with the sturdier flowers and leaves.
Think ahead by pressing flowers in the summer for gifts to craft in the winter. This week, we’re making giftable stickers and bookmarks; next week, we’ll decorate jars that can be used in many ways.
Make Pressed Flower Stickers
Materials Needed
- Pressed flowers
- Clear packing tape
- Baking parchment paper
Tools Needed
- Small, sharp scissors
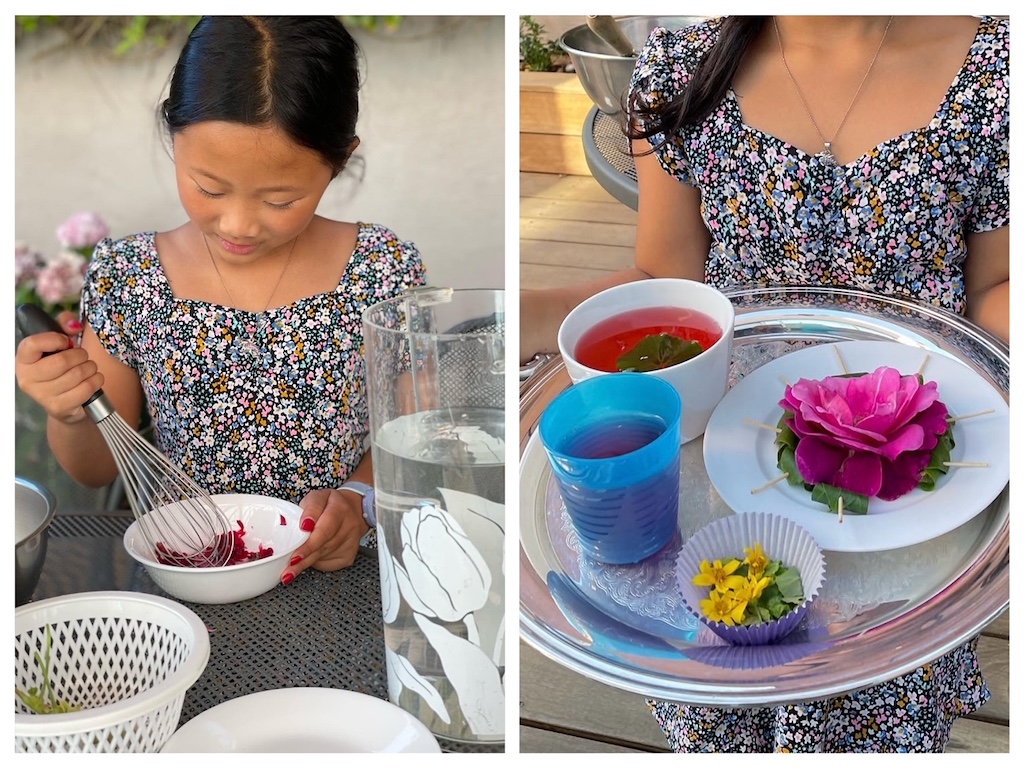
Kids can create “food” with flowers for fun water play.
How to Make It
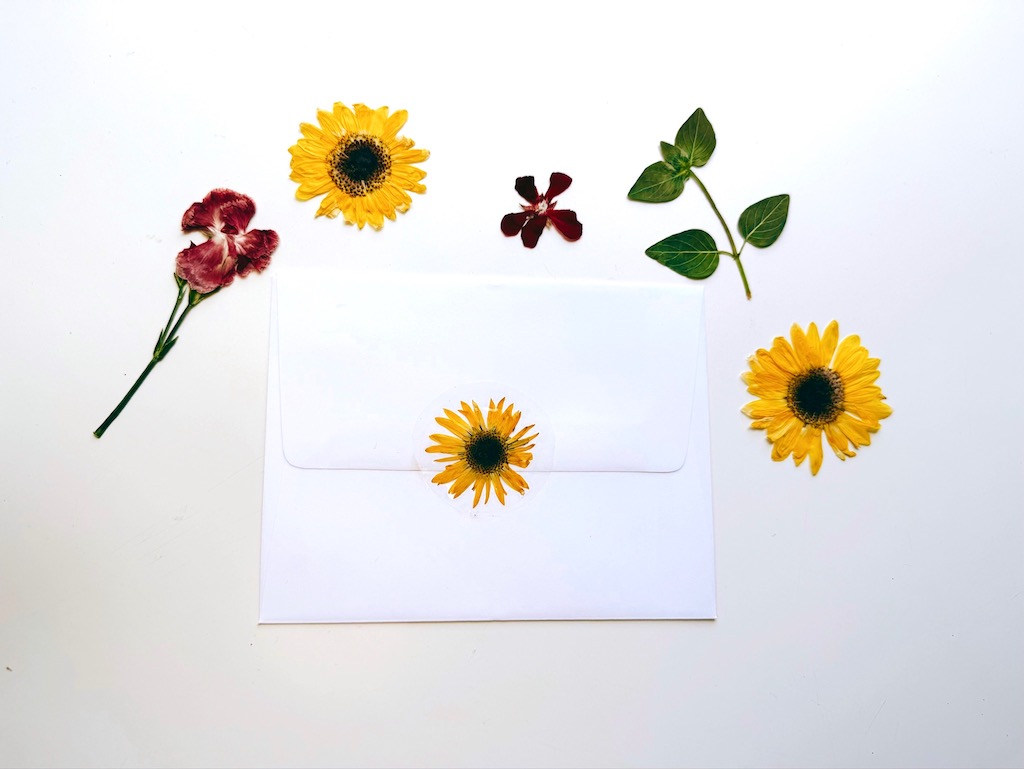
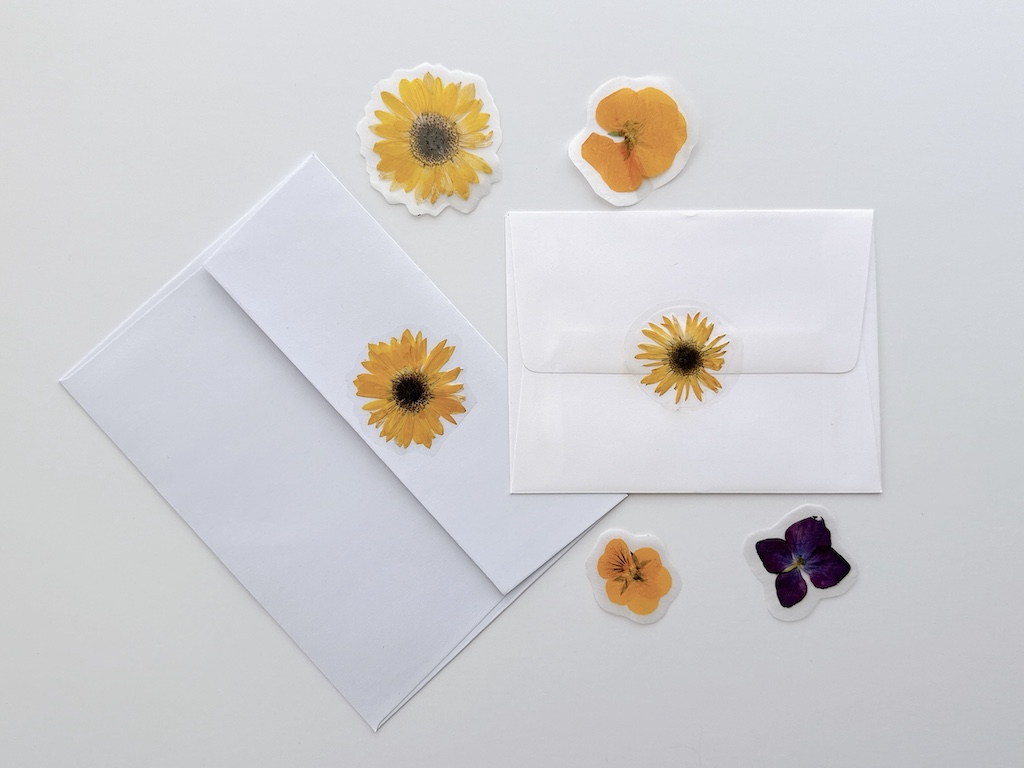
Lay the pressed flowers on a sheet of parchment paper. Cover flowers with a layer of clear tape and use fingers to press the tape around each flower to seal. Cut around the flowers, leaving a margin of about 1/4-inch.
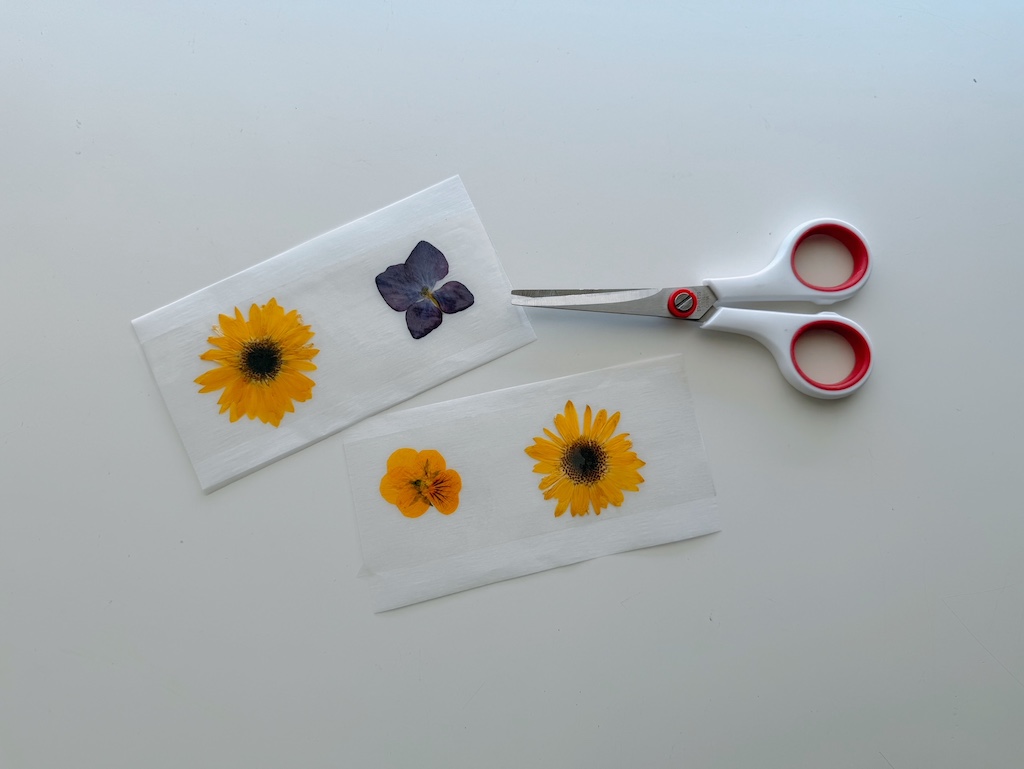
It’s easiest to do just a few flowers at a time because a long strip of packing tape is hard to control–it will stick to everything. We did ours two at a time.
Cut around the flower, leave enough margin so the clear tape can adhere to any surface.
To use, peel the parchment away from the tape and adhere the sticker to a card, an envelope, or wherever you want.
Pressed Flower Bookmarks
Materials Needed
- Pressed flowers
- Waxed paper
Tools Needed
- Clothes iron
- Paper cutter or ruler and scissors

How to Make It
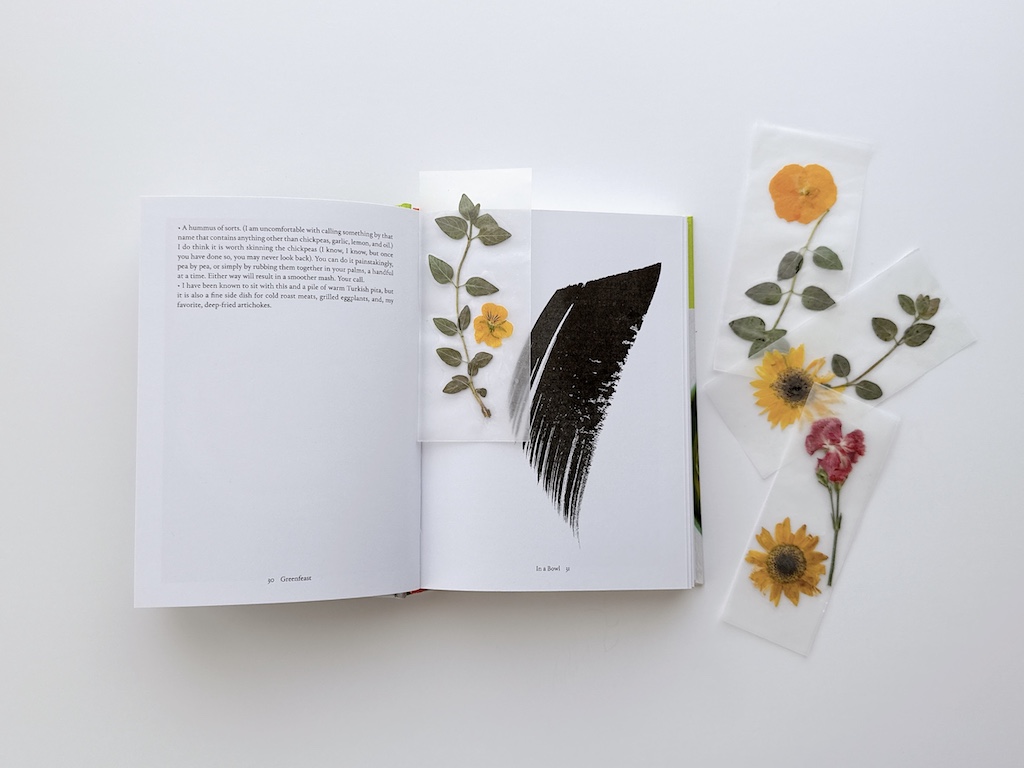
Cut wax paper, folded so you have two layers, to be larger than the size of the bookmark you want to make. Arrange pressed flowers between the two layers of wax paper.
Iron with a dry iron on the lowest setting, going back and forth until the wax paper fuses, encasing the flowers in between. If the iron seems too hot for the waxed paper, lay a sheet of copy paper over the wax paper to absorb some of the heat and wax.
Cool, then trim excess wax paper to form bookmarks. We used a paper cutter but you can also do it with scissors.
How to Press Flowers
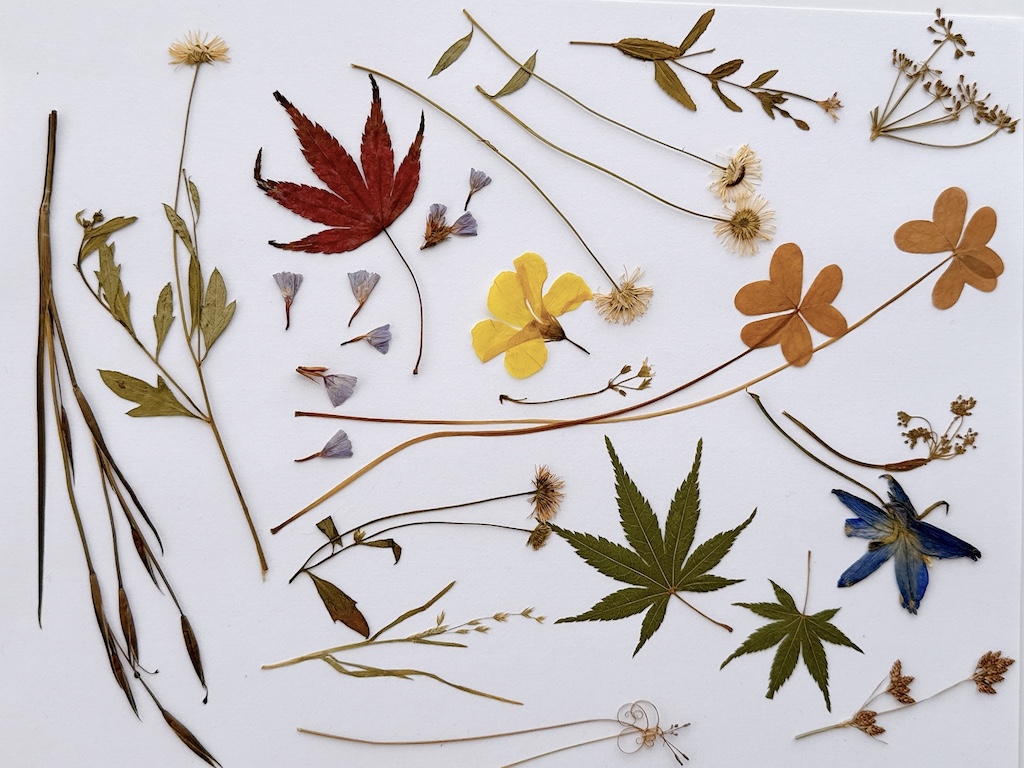
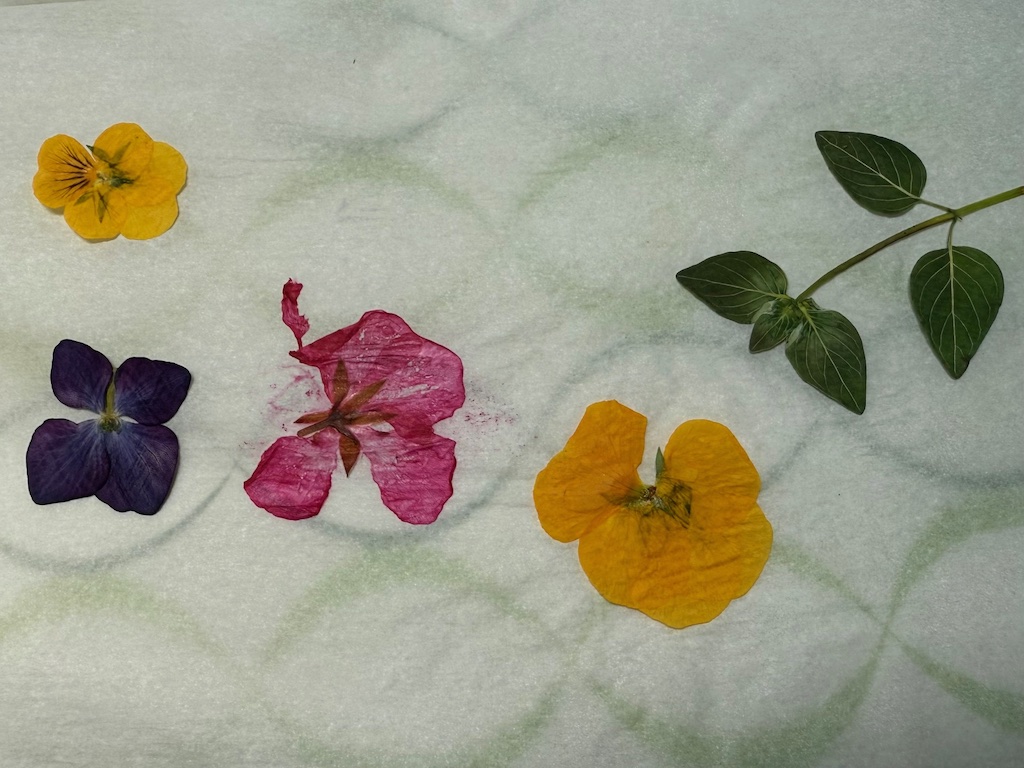
Flat flowers like individual hydrangea blossoms, pansies, and daisies do best, although you can experiment with all kinds of blooms. Geraniums didn’t seem to work for us.
The easiest and least expensive way to press flowers is between the pages of an old book, with more books on top for weight. Allow a drying time of two to four weeks, depending on thickness and moisture in the flowers. When done, the flowers will be dry and crisp, with no moisture remaining.
We put ours between two sheets of baking parchment paper and sandwiched that between pieces of cardboard to cushion each flower layer, then topped it with a stack of books.
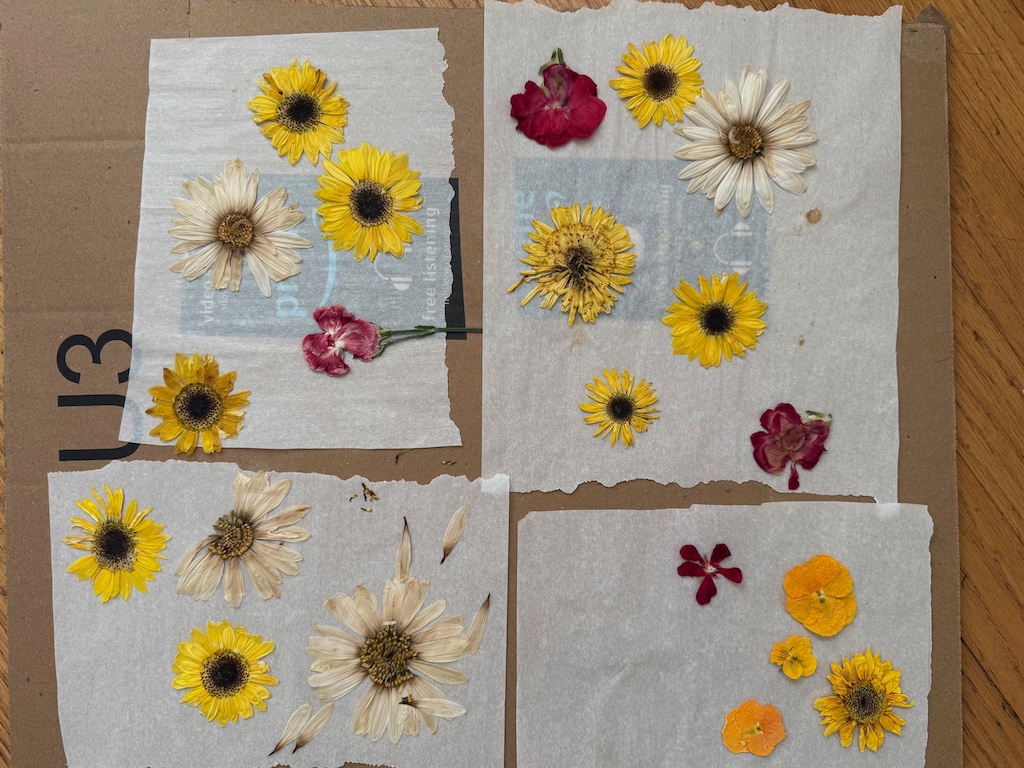
Some of our flowers discolored and some disintegrated.
Be careful when positioning the flowers to be sure they are lying flat.
Some of our flowers broke apart in the drying, but we were able to use them in another project.
Other Methods of Pressing Flowers
You can microwave the flowers by lining a dinner plate with a paper towel, putting your flowers on the paper towel, covering with another paper towel, then topping with another dinner plate. I didn’t have much luck with this method because the flowers ended up too shriveled. It’s worth the try for the convenience.
Then I tried ironing the flowers between two sheets of parchment paper using a dry iron at medium setting. You’ll have to go back and forth over the flowers and flip them to ensure the flowers are dried on both sides, but this method worked, except for one of the geranium that had too much moisture and disintegrated.
The parchment will wrinkle as it absorbs the moisture from the flowers, and the wrinkled pattern transferred to some of the flowers. Best to use less-moist flowers.
In any case, expect some loss of flowers, no matter which method you use.
There are various kinds of flower presses and kits for both traditional and microwave pressing. Learn more about the best flower pressing kits.
Sign up to Get Grandma’s Favorite Recipes–Free!
Sign up here for my email newsletter. Every Wednesday, I’ll give you a new idea for an activity or insight to nurture the little ones in your life. And once you subscribe, I’ll send you a link so you can download your set of quick and easy recipes as my thanks to you.