Make Your Own Pizza–The Best Dinner for Kids
On a recent Friday, as a change of pace, I had a make-your-own-pizza party for our weekly family dinner. As a bonus, I hoped the kids might eat better when they could take control of their meal–especially if there were tons of healthy toppings to choose from.
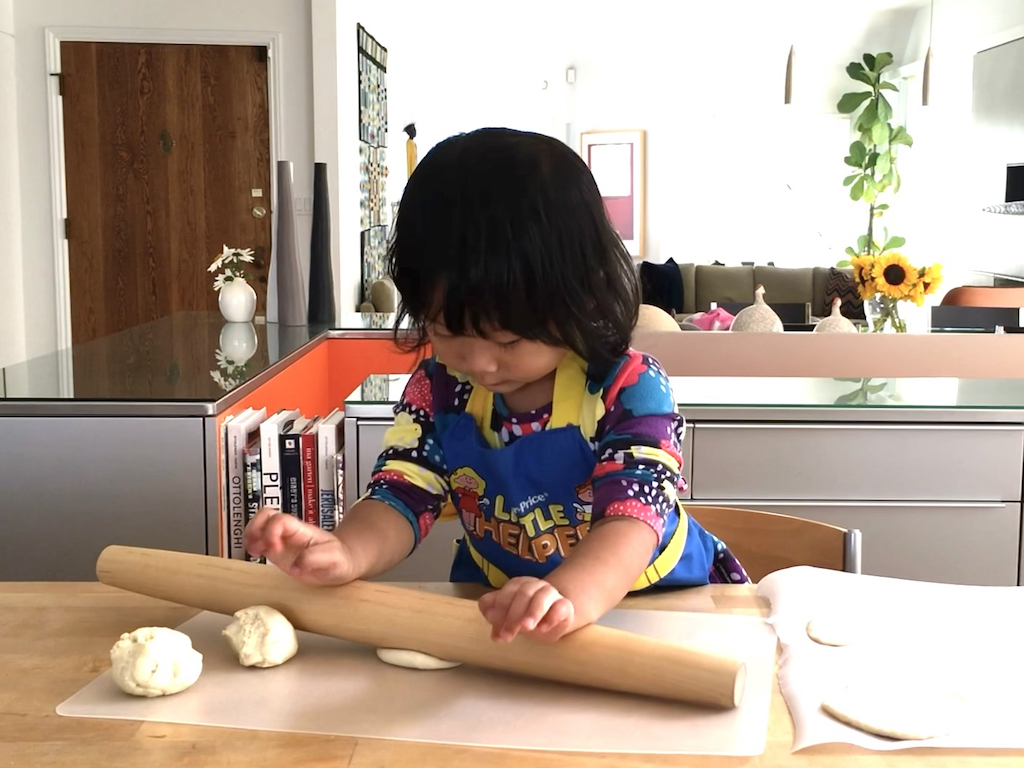
At ages seven and ten, the grandkids can easily make their own pizza. But you can start this activity as young as three.
The Make-Your-Own-Pizza Plan
Here’s how to prep for this dinner:
Prepare the dough (I made two batches) earlier in the day and refrigerate in gallon-size, plastic zip-top bags. Punch the dough down occasionally, as the dough will keep rising in the fridge.
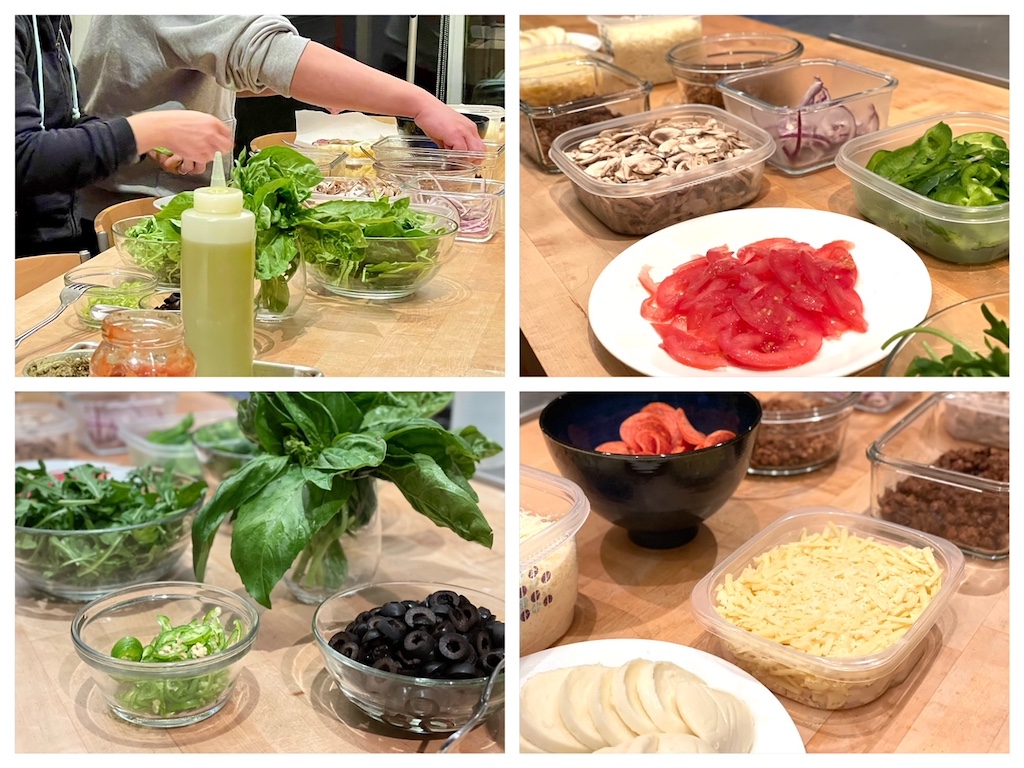
Meanwhile, address the topping ingredients. Slice vegetables thinly to ensure they will cook through. Shred the cheeses. A food processor will make quick work of it.
Set a pizza stone (if you have one) on the lowest rack of the oven; preheat the oven before the family arrives.
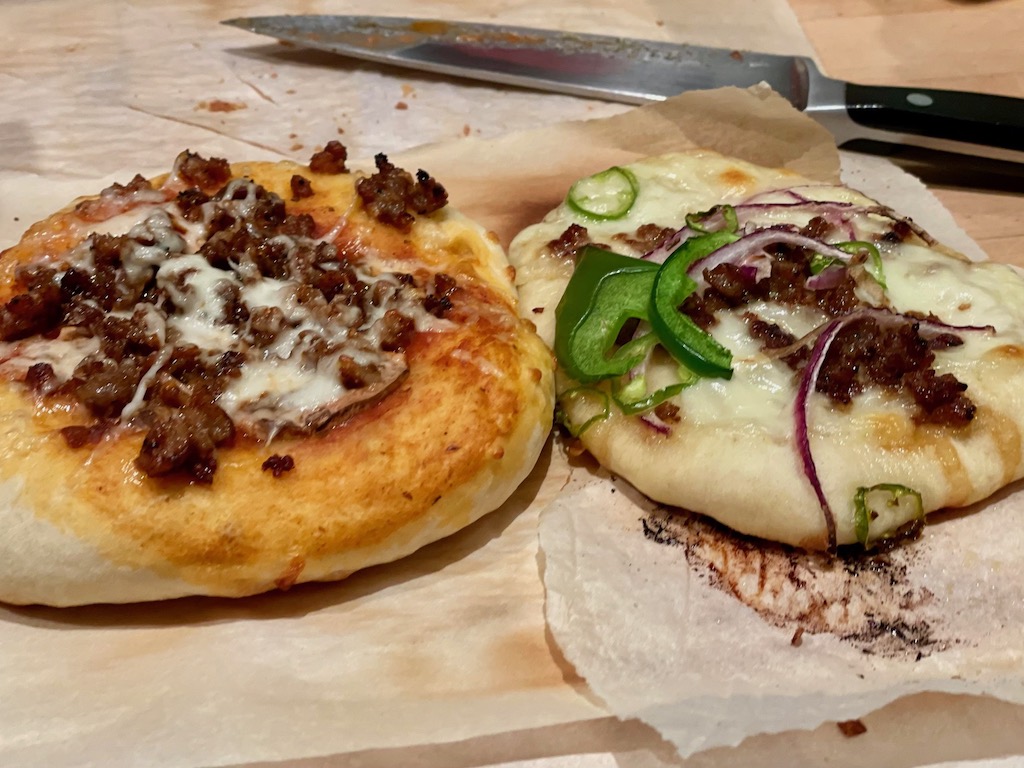
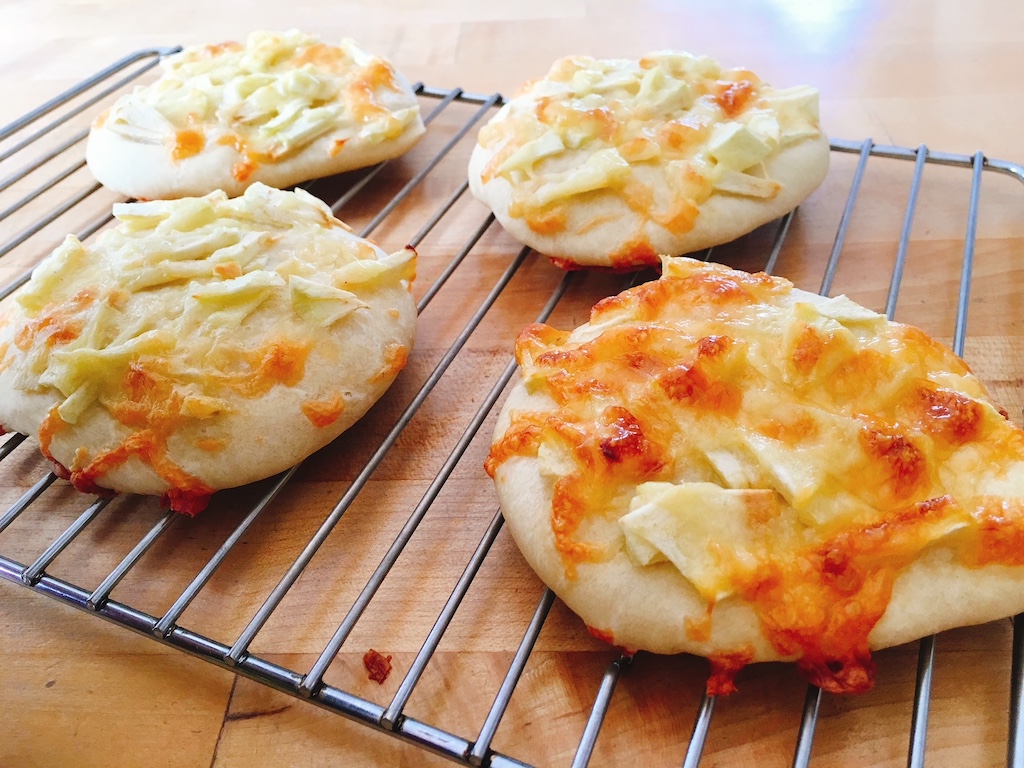
Bake up a few small pizzas ahead of time, so there’s something to eat while everyone makes their pizzas. Also, depending on the number of people and the capacity of your oven(s), it may take some time for all the pizzas to be baked.
Set out rolling pins and parchment paper. Give each diner a 3-inch ball of dough to roll into a thin circle between two sheets of parchment paper, sprinkling flour, as needed, to keep dough from sticking.
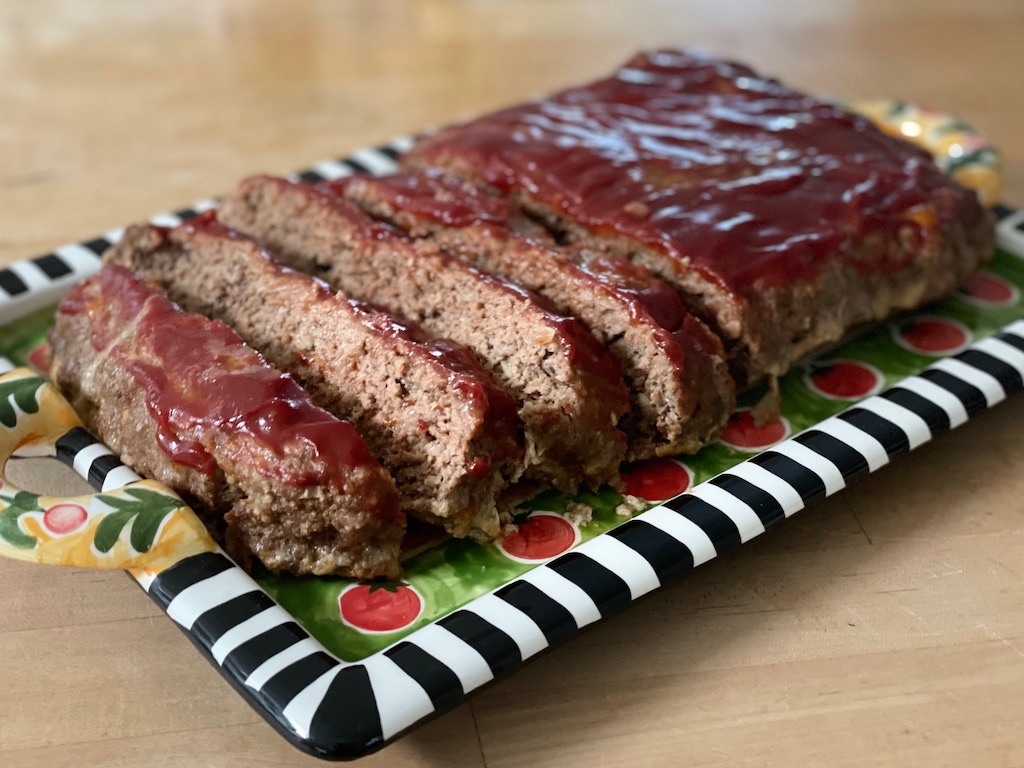
Another good choice for a Friday night family dinner is this tasty, Make-Ahead Meatloaf.
Peel off the top parchment sheet, add toppings, and slide the loaded pizza, parchment paper and all, onto a pizza peel; then slide the pizza onto the pizza stone. I like to keep the parchment paper under the dough, which helps to transfer the pizza from peel to stone without sticking.
However, be sure the oven heat does not exceed the oven-safe temperature of the parchment paper. (The Costco Kirkland brand is oven-safe to 425° F.; my pizza recipe baked at 400° F.)
If you don’t have a pizza stone or peel, just bake the pizzas on baking sheets.
Sourcing Pizza Dough
I didn’t want to spend a lot of time making pizza dough so I used my Zojirushi bread maker, bought during the pandemic, and the recipe that came with the machine. At other times, I’ve used this food processor recipe, which requires no rising and just 10 minutes of resting time.
Alternatively you can buy premade pizza dough, ready to roll, top, and bake. Or even easier, start with premade crusts.
Ingredient Choices
Here are some toppings we like.
Meats:
- browned and crumbled sweet and hot Italian sausage
- browned and crumbled ground beef
- pepperoni
- cooked and crumbled bacon
- ham
- pancetta
- anchovies
Vegetables:
- green, red, yellow, or orange peppers
- onion
- basil leaves
- arugula
- ripe olives
- tomatoes
- spinach
- basil leaves
- mushrooms
- zucchini
- sun-dried tomatoes
Cheeses:
- shredded low-moisture mozzarella
- sliced fresh mozzarella
- grated Parmesan or Romano
- provolone
- Cheddar
- Gorgonzola
- feta
- Monterey jack
Sauces:
- marinara
- pesto
- barbecue
- olive oil in a squeeze bottle to drizzle
After-Preschool Projects
Making pizza can be a great after-school project. It gives kids an interesting activity to do and provides their snack as well. Here’s how we did it.
While little Miss T had the dexterity to roll out balls of pizza dough into nice rounds and top them for baking, Little N, at the same age, did not.
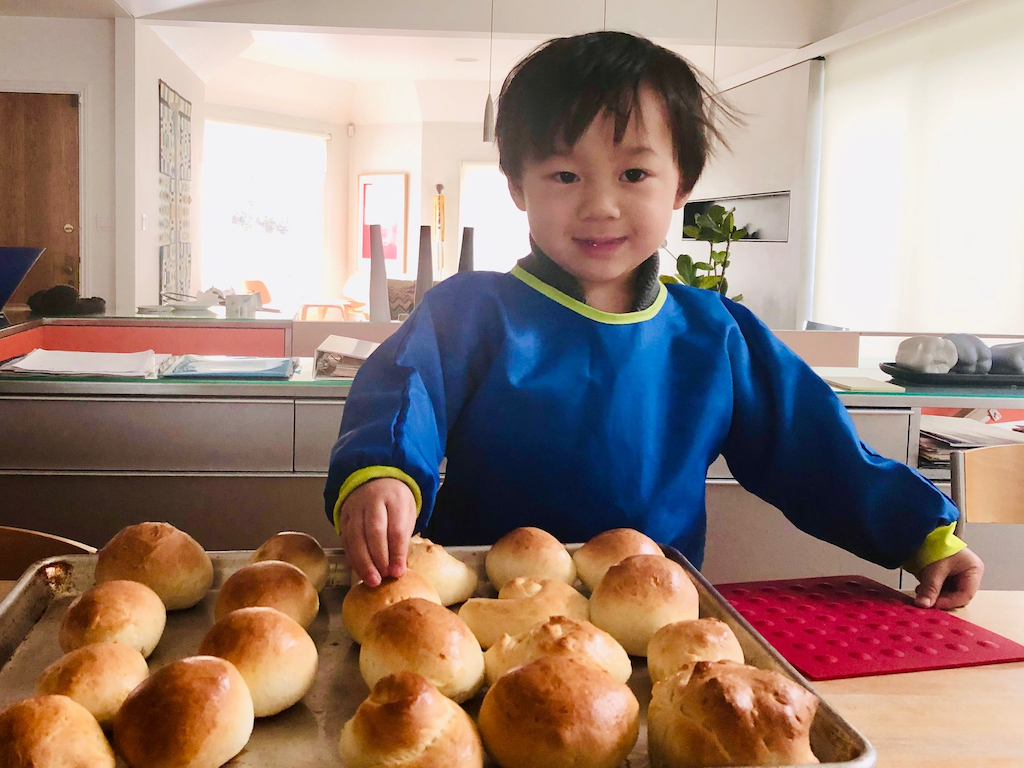
So, I made a batch of bread dough that he could manipulate like Play-Doh. I gave him some dull vegetable cutters, safe graters, and tools that he could press into the dough to leave impressions. I didn’t color the dough, but you could easily divide the dough and use a different natural food coloring for each piece.
Little N squished the dough, then mushed it together. He stretched and pulled and pounded.

After he had fun playing, we simply shaped the dough into balls and baked them as rolls. (His hand were washed and clean, after all!)
Sign Up!
Don’t forget to sign up for my email newsletter. Every Wednesday, I’ll give you a new idea for an activity or insight to nurture the little ones in your life.