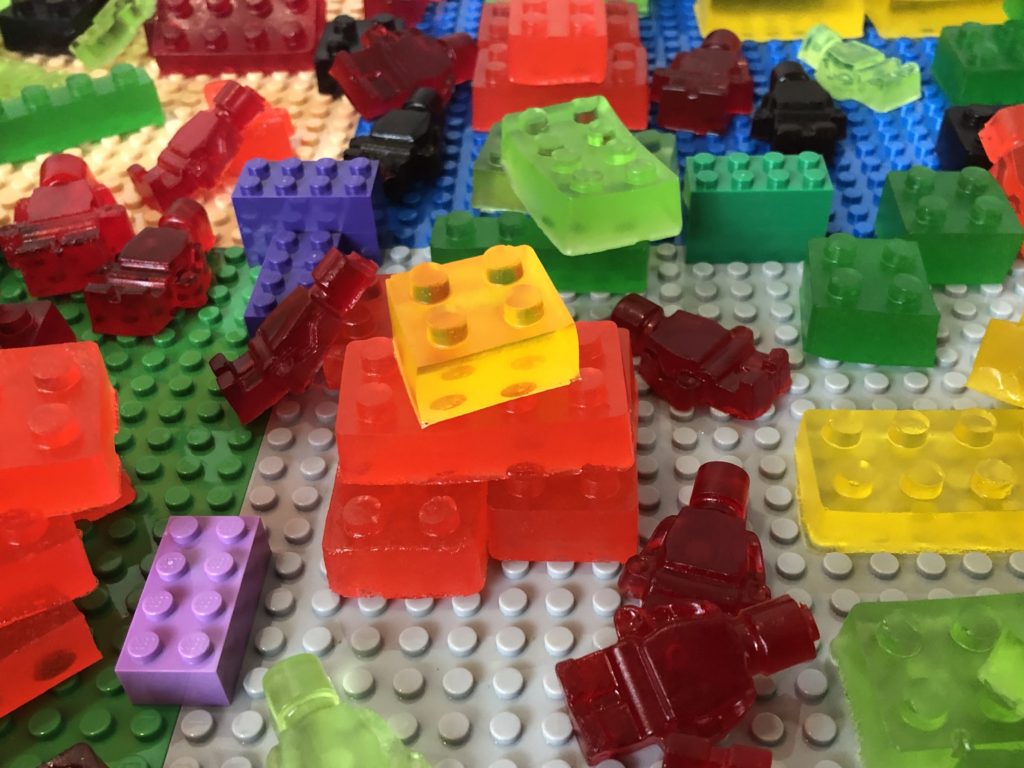
LEGO Party Ideas: Make your own Gummy Candy
Miss T wanted a LEGO Friends party this year. And since the rec center didn’t allow decorations on the walls or ceiling, there weren’t many options for carrying out the theme. So, I pitched in by researching LEGO party ideas.
On a google search, I found LEGO-brick-shaped gummy candy recipes using Jell-O, unflavored gelatin, and corn syrup. If you want to avoid artificial colors and flavors, skip the Jell-O; you can find versions using fruit juice instead.
A Word about Corn Syrup
Corn syrup is not the same as high-fructose corn syrup, which has been linked to obesity and other health issues. Still, it is a sweetener and should be consumed in moderation.
The prevailing brand of corn syrup, Karo, now says, “made with real vanilla” on the bottle. Since I didn’t want my fruit-flavored gummies to taste like vanilla, I used a Kroger house brand. In comparing flavors, however, they pretty much tasted the same. So, in the end, after wasting so much time and effort searching for an alternative brand without vanilla, either would have been fine.
How to Make the Gummy Candy
You will need silicone molds for this project. I mold I used from Amazon is no longer available, but this one seems similar.
LEGO-Brick-Shaped Gummy Candy
- ¼ cup light corn syrup
- ½ cup very cold water (from the fridge)
- 2 envelopes (.25 ounces each) unflavored gelatin
- 1 box (3 ounces) gelatin dessert (such as Jell-O)
- Canola oil cooking spray
- LEGO-brick-shaped silicone molds
In a medium pot (about 2-quart size), add corn syrup and water; stir until the corn syrup is completely dissolved.
Sprinkle the gelatin evenly over the water, then sprinkle the gelatin dessert powder over the gelatin. Let stand 5 minutes to enable the gelatin to start absorbing the water.
Stir the mixture with a whisk or fork to dissolve the gelatin and gelatin dessert. It helps to use a small spatula to press down and smash any remaining lumps.
Put the pot on the stove over low heat and heat the mixture, stirring occasionally, about 5 minutes; liquid should be clear and warm but not boiling.
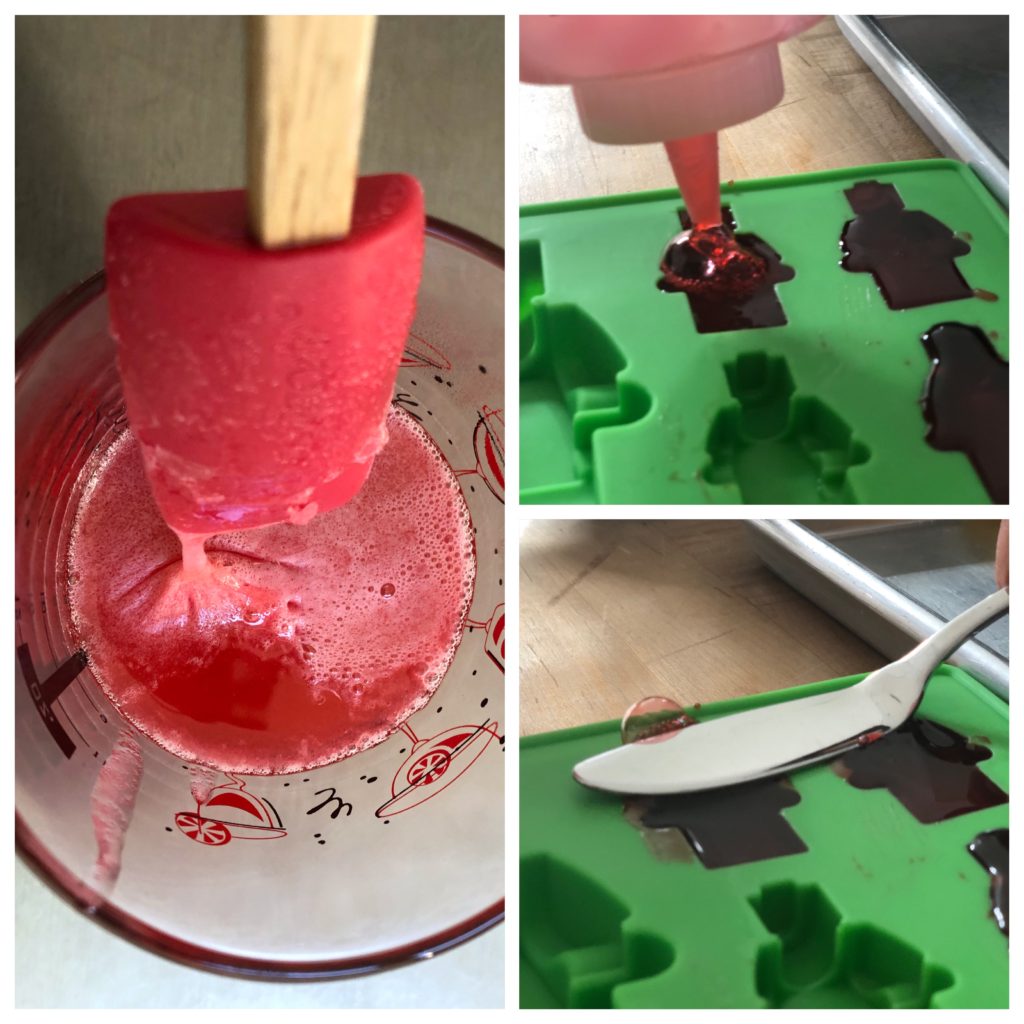
Pour liquid into a tall, narrow, heatproof glass cup. Let stand 10 minutes; any bubbles or scum will rise to the top. Skim off the scum with a spatula so you have just the clear liquid.
Preparing and Filling the Molds
Meanwhile, spray molds lightly with vegetable spray. Use your finger or a paper towel to remove excess spray—you just want a very light film.
Transfer the liquid from the glass cup to a measuring cup with a spout or into a heat-proof plastic squirt bottle. Pour or squirt liquid into prepared molds. Let set for 5 hours at room temperature or overnight. Pop the gummies out of the mold. Cut some of the gummies in half, lengthwise or crosswise, to make smaller building block shapes. Store in an airtight container for up to a week.
Makes enough gummies for about 10 (1- X 7/8- inch) LEGO-style building bricks and 10 (1 ½-inch tall) LEGO-style people.
For more recipes, check out Grandma Food from time to time, where we’ll begin to build a database of recipes, perfect for families.
Safety Note
I grew concerned that the gummies could be a choking hazard for little ones so I put a sign next to the candy, “Gummies can be a choking hazard for kids under four; please be careful,” and also pushed the gummies away from the table edge so that younger children would need parental supervision to reach them.
Tips
- Depending on how easily your gummies pop out of the mold, you may not need the cooking spray. Mine were sometimes difficult; with the spray, they popped out easily and didn’t taste oily.
- I considered buying a few more sets of molds to make the project go faster, but by starting a week in advance, I was able to make several batches in the day; the molds don’t have to be washed and sprayed after each batch—they remained nonstick for about three rounds.
- After filling the molds, if you have bubbles on the surface, use a table knife with blade resting flat against the liquid surface to remove bubbles; the mixture is too viscous to pop bubbles with a skewer.
- To protect the gummies, I layered them between sheets of parchment in glass containers with airtight lids. Other people seem to just toss them in a container without ill effect.
- To serve the gummies, I washed four Lego base plates and hooked them together with Lego blocks, then piled the gummy candy on the base plates.
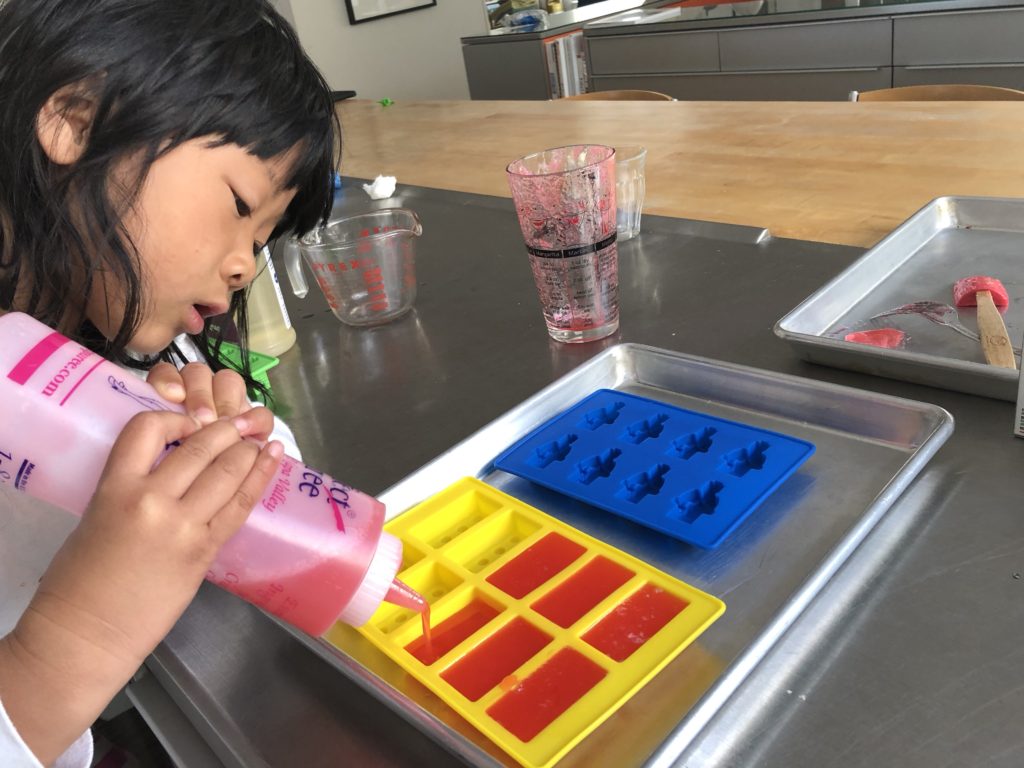
- Miss T, who is quite dexterous and responsible for a kindergartener, was able to fill the molds and remove the gummy candy afterwards. The mixture can get quite hot, so you’ll have to determine the safety factor of involving your child.
More LEGO Party Ideas
Other fun LEGO party ideas Miss T’s parents used to carry out the LEGO Friends theme: helium balloons in the Lego Friends colors; and LEGO- brick-inspired plates, cups, tablecloths, and popcorn boxes.
What we Learned from this Project
- Measuring–Miss T became very adept at measuring out the corn syrup and water.
- We discussed fractions–how 1/4 and 1/2 measures are less than 1 cup and how four 1/4ths would make 1 whole.
- Planning–we made the gummies over a week-long period, after school and on the weekend, demonstrating the benefit of working ahead.
- Watching the gummy candy pile up in the fridge after every batch gave both of us a sense of accomplishment.
- Learning about deferred rewards and discipline–Miss T, who loves candy, had to make the gummy candy without eating them (of course, we had a few tastes), saving them all for her party and her friends.
.
Don’t forget to sign up for my email newsletter! Every Wednesday, I’ll give you a new idea for an activity or insight to nurture the little ones in your life. Come visit!
.
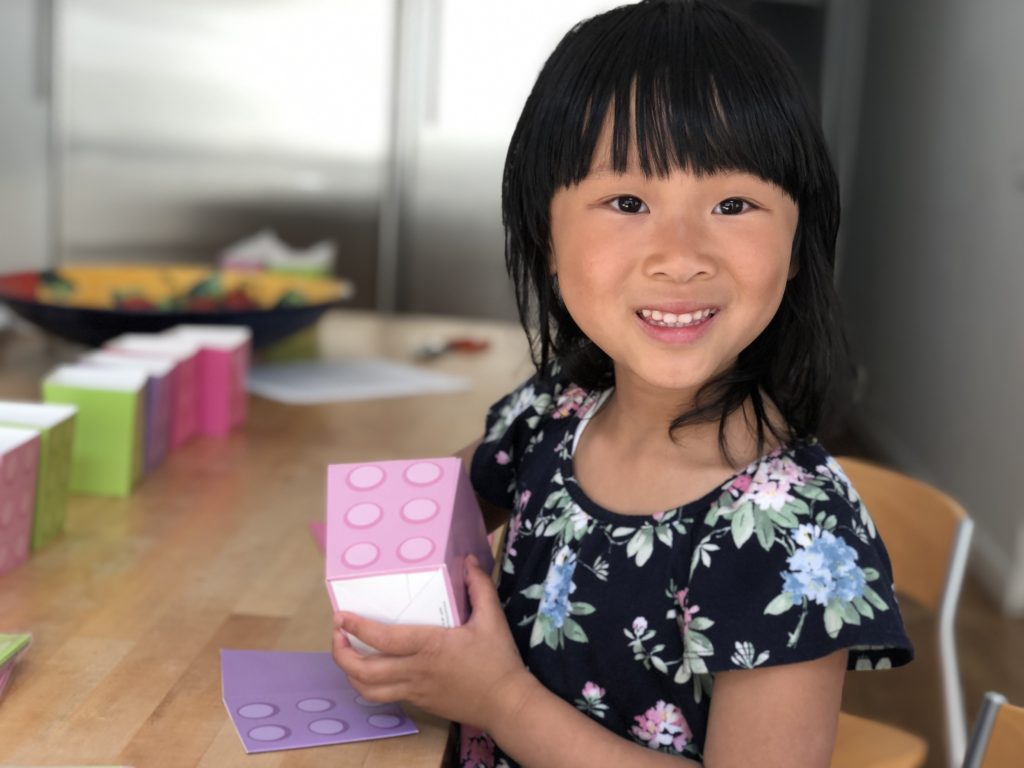
Miss T can do so much at her age. I think part of that is everyone in her life, from her parents, to her teachers to Uncle Cal and Grandma & Grandpa always treat her with an expectation that she is capable and can be successful at leaning and doing.
In that kind of nurturing environment, I think most children will succeed in life.
[…] another easy and fun recipe, make gummy candy shaped like LEGO blocks–great for a birthday […]
This is so much fun! I bet the kids get very creative with their lego gummy creations. Is this something that would work with other silicon molds? It seems every holiday has a new set of themed molds at Michael’s or other craft store.
Thank you. I don’t think there’s any reason why you can’t use any other food-safe silicone molds to make gummy candy.