How to Make Sushi at Home–it’s Easy!
How to make sushi at home? This query was posted on my “Call Me Grandma!” Facebook page. I’m happy to accommodate, but know that my homestyle sushi, learned from my mom and grandma, reflects the culinary influence of Hawaii. So, you might call this a slightly “hapa” (mixed heritage) version.
What is Sushi, Exactly?
Some people think “sushi” means raw fish. Actually, it’s just vinegared rice. I don’t like raw fish, so my sushi consists of vegetables, omelet strips, smoked salmon, and cooked shellfish.
A sushi recipe is a lot like basic bread dough: it invites you to riff. Some versions are super-simple, while others are more complicated and artisanal. But everyone can make basic sushi rice and end up with a delicious result!
While I have authentic tools for sushi-making, you can easily improvise with a large baking dish for mixing the rice and by using a spatula.
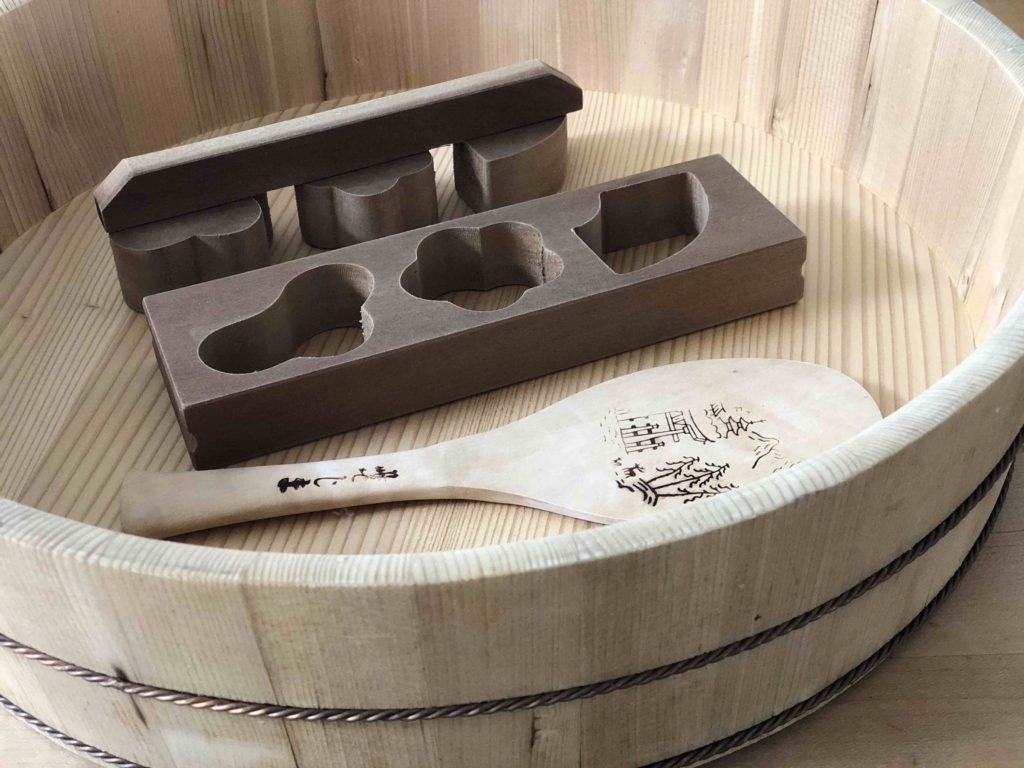
If you invest in just one tool to make sushi, buy a shamoji. Wide and flat, a Japanese rice paddle allows you to break up rice clumps and mix in the vinegar without crushing the rice. You may already have a shamoji, which would have come with your electric rice cooker.
In a nutshell, here’s how to make sushi at home: 1) cook the rice, 2) mix up a vinegar sauce, and 3) toss together.
Basic Sushi Rice
- 2 1/2 cups uncooked short-grain rice (using standard measuring cup) OR about 3 1/2 cups (using a rice cooker cup)
- Water (amount will vary depending on rice cooker or stovetop instructions)
- 5 tablespoons plus 1 teaspoon Japanese rice vinegar
- 5 tablespoons sugar
- 2 teaspoons kosher salt (see note)
Cook rice in an electric rice cooker or on stovetop. (To cook rice on stovetop Japanese style, check out my how-to video which I did years ago for our now-defunct Special Fork website.) While the rice is cooking, prepare the vinegar sauce.
To make vinegar sauce: In a small non-reactive saucepan combine the vinegar, sugar and salt; heat over low heat just until the salt and sugar have dissolved, about 1 to 2 minutes. Cool to room temperature.
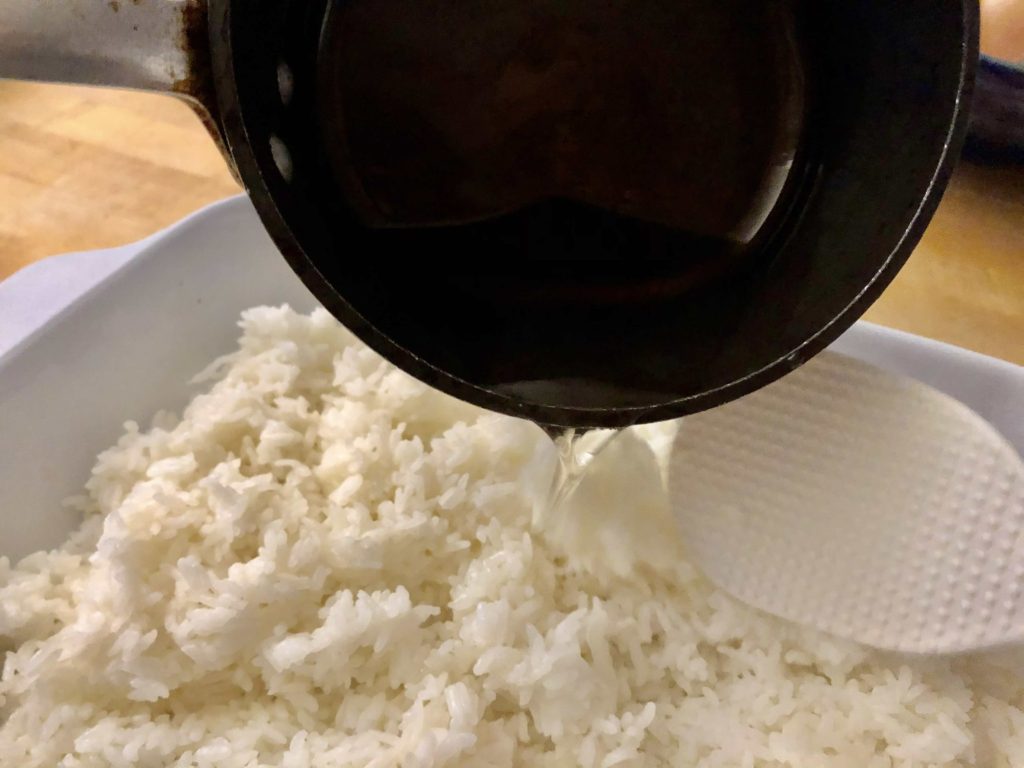
When rice is cooked, spoon it into a flat, wide glass or ceramic baking dish (about 9 X 13 inches).
Break up the rice clumps gently. A shamoji is handy here because it’s a thin and flat tool with a wide surface. Use a light cutting motion to break up the rice. Alternatively, use a spatula.
Pour the vinegar sauce evenly over the rice and gently cut and fold to disperse vinegar sauce to mix thoroughly. Use a fan or a piece of cardboard to fan the mixture as you mix, to cool rice down.
Makes about 7 cups (standard measuring cup) cooked rice or about 6 to 8 servings.
Note: kosher salt is coarse; if you’re using regular table salt, start with half the amount of salt and taste to achieve the desired flavor.
Now you Have Options
Here are ways you can use the sushi rice:
- Spoon into a serving bowl or individual bowls and top with shredded omelet, chunks of crab or imitation crab, defrosted peas, toasted sesame seeds, avocado cubes, smoked salmon strips, or whatever strikes your fancy.
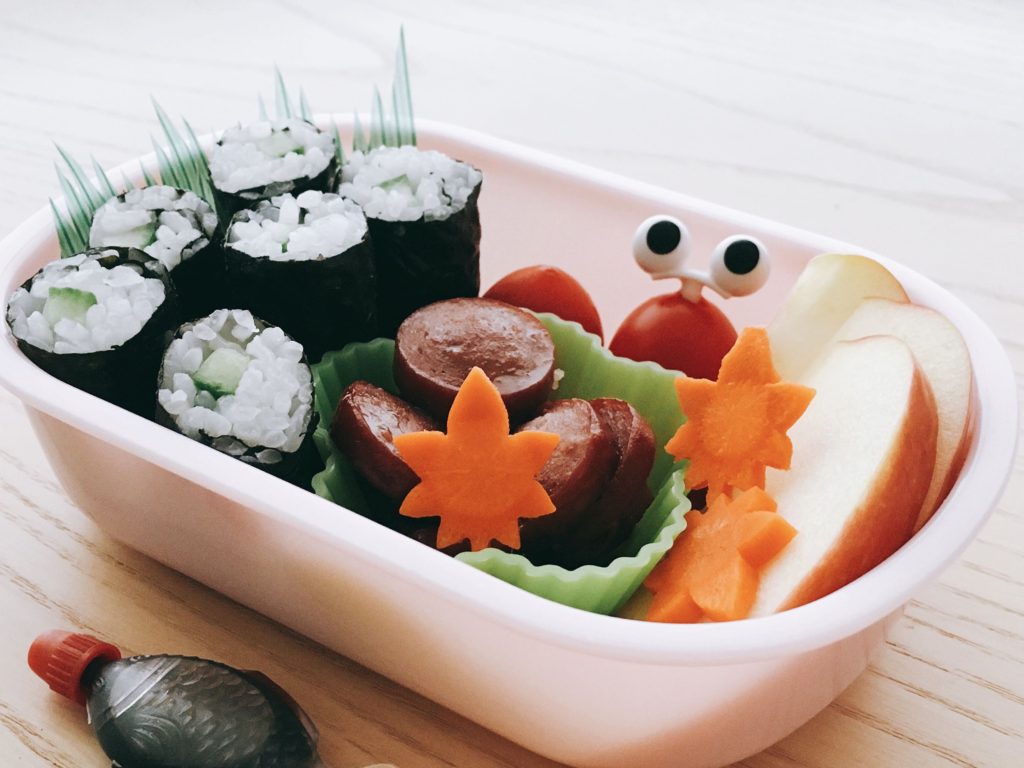
- Make cucumber rolls. Lay a half sheet of nori (cut in half lengthwise) on a work surface. Spread evenly with rice, lay cucumber strips on the rice and roll up carefully. Do not roll so tightly that rice is smashed, but with enough firmness so the roll holds together. It’s easiest to work with a makisu, a Japanese sushi rolling mat. This is great for a child’s bento lunch.
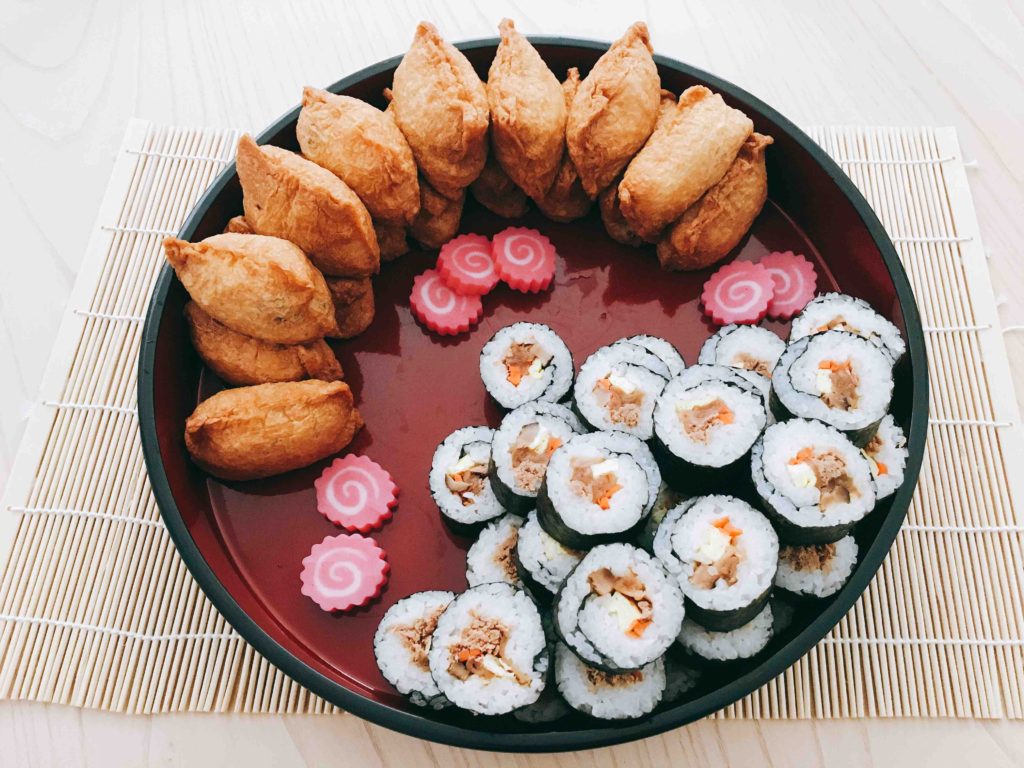
- Stuff the sushi rice in deep-fried tofu pockets called aburaage. Buy them pre-seasoned and ready to stuff. They come in cans or in refrigerated or frozen packages. Be sure you buy the ones that are pre-seasoned for sushi. The aburaage will look like a solid block; you’ll have to coax open the pockets gently with your fingers–they tear easily.
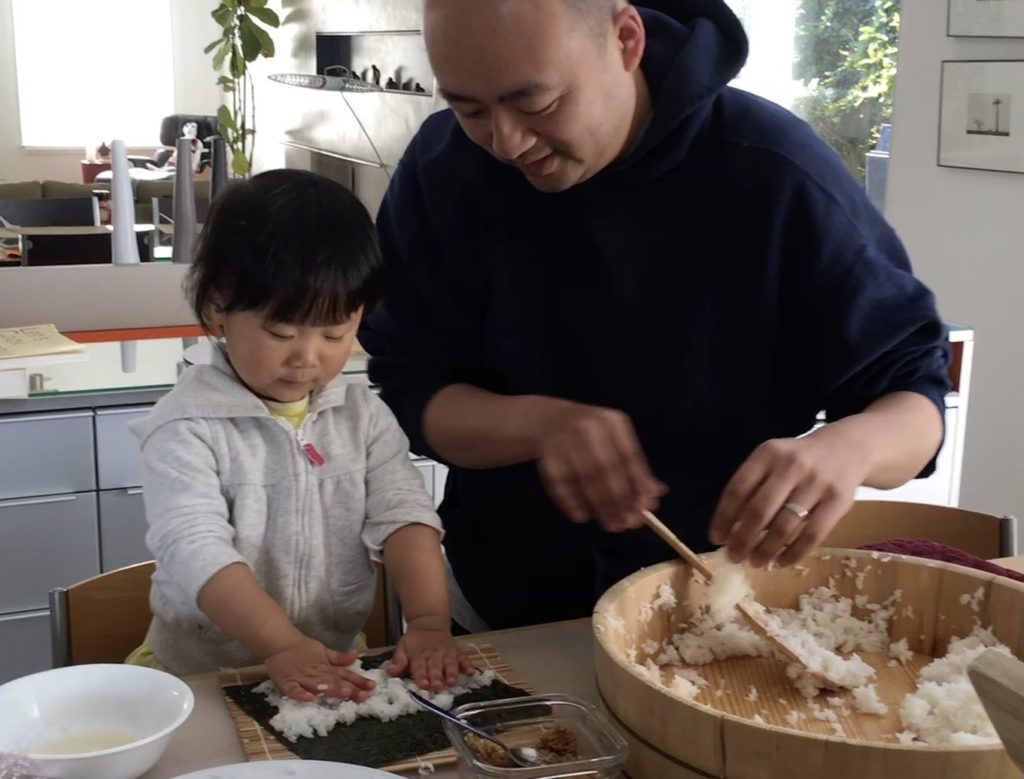
A Sushi Project with Kids
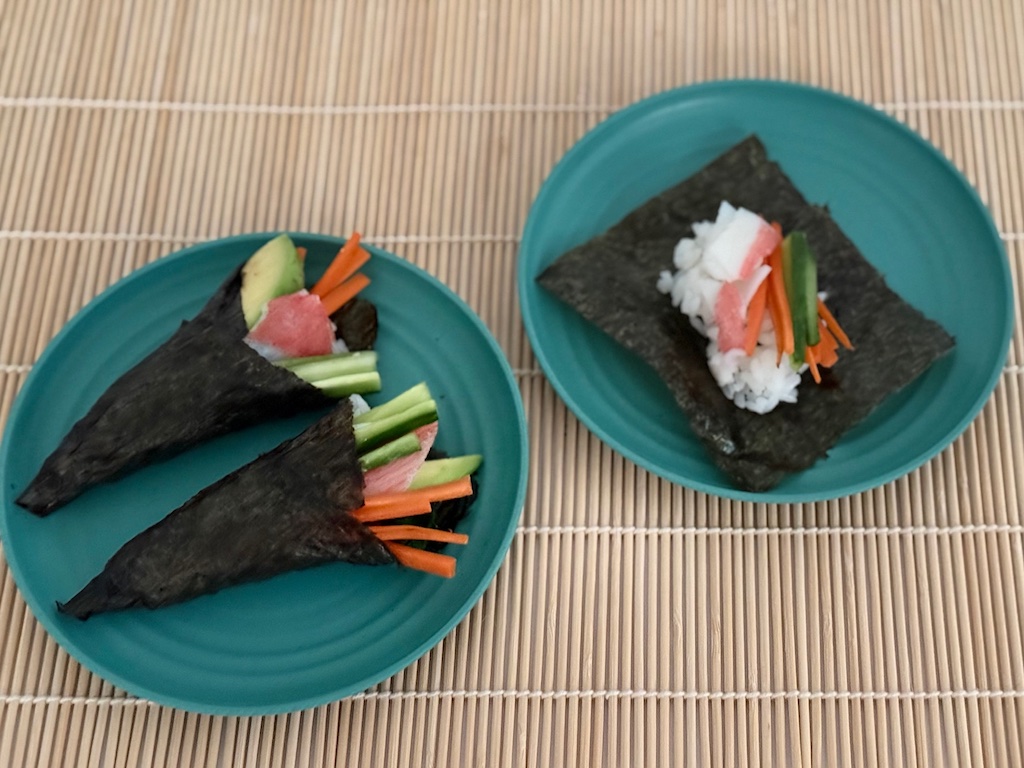
Inspired by an old Sunset magazine idea for a make-your-own sushi dinner party, I’ve adapted it for kids. For this sushi project, you’ll provide all the ingredients and have kids spread rice on nori squares, add fillings, and roll up the nori to make their own sushi. This type of sushi is called temaki, hand-rolled sushi.
Making sushi is a fun project. If your grandkids and all their friends love sushi, you could turn it into a birthday party activity, an interactive project to entertain kids, while making their own party refreshments.
Making sushi is also a good way to motivate kids to eat their vegetables, too.
Ingredients:
- Sushi rice
- Nori sheets
- Soy sauce
Filling ideas, choose from:
- Cucumber, cut in matchsticks about 1/8-inch thick and 2 inches long (see note)
- Carrots, cut in matchsticks about 1/8-inch thick and 2 inches long (see note)
- Blanched spinach (pour boiling water over spinach, drain, and squeeze dry)
- Thin avocado slices (dip in lemon juice to prevent browning)
- Cooked shrimp (halve lengthwise for large shrimp)
- Cooked crabmeat or surimi (artificial crab)
Note: To cut the matchstick pieces easily, follow this technique.

Method:
Toast whole nori sheets over a low flame on the stove, passing the nori back and forth quickly, to prevent burning. Nori is toasted when it gets fragrant, stiffens, and turns a deeper color. Here’s a short video on how to toast nori that I made years ago.
Set out the sushi rice in a bowl. Cut toasted nori into quarters using kitchen shears and set on a plate. Arrange the filling ingredients attractively on another plate.
Kids take a nori square, spoon rice into it, add fillings of their choice, and roll up the nori to encase the fillings. Dip in soy sauce to eat.
Make a Sushi “Casserole”
Try this easy sushi alternative. Spread half the sushi rice in an 8- X 8-inch glass or ceramic (not metal) baking dish, pressing down gently with a large spoon to make a smooth layer.
Sprinkle with Seasoned Tuna Filling (recipe below) to cover rice layer evenly and top with remaining rice, pressing gently. (Note: For the top layer, it helps to drop rice over the tuna in small spoonfuls to cover the surface, then smooth the surface with the back of a spoon; otherwise, you might dislodge the tuna as you spread the rice.) Press gently with the spoon to firm up the layers.
Garnish with nori strips and thinly sliced carrots or carrot flowers. To serve, spoon out with a serving spoon, keeping layers intact.
Seasoned Tuna Filling
- 1 can (7 ounces) chunk tuna, water packed or in oil, drained well
- 1 tablespoon plus 1 teaspoon naturally brewed soy sauce
- 2 teaspoons sugar
In a small nonstick skillet, combine all ingredients. Mix well and cook over medium-low heat, stirring occasionally and pressing tuna chunks with the back of a fork to break up. Cook until tuna is dry, flaky and slightly darker in color, about 10 to 12 minutes.
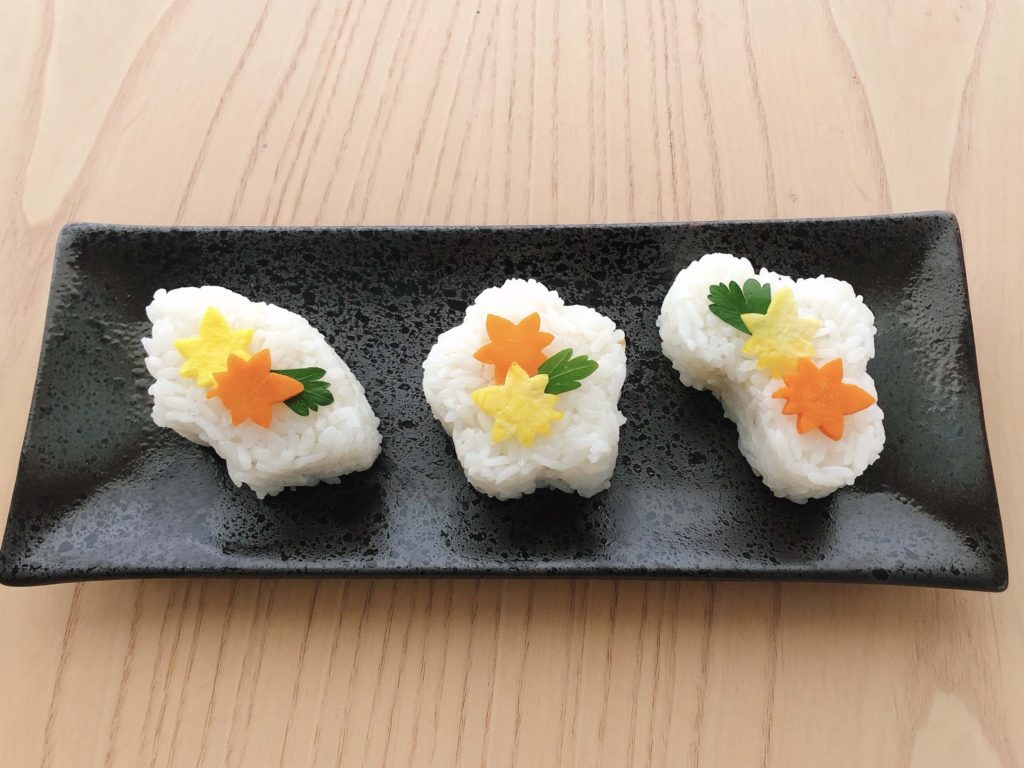
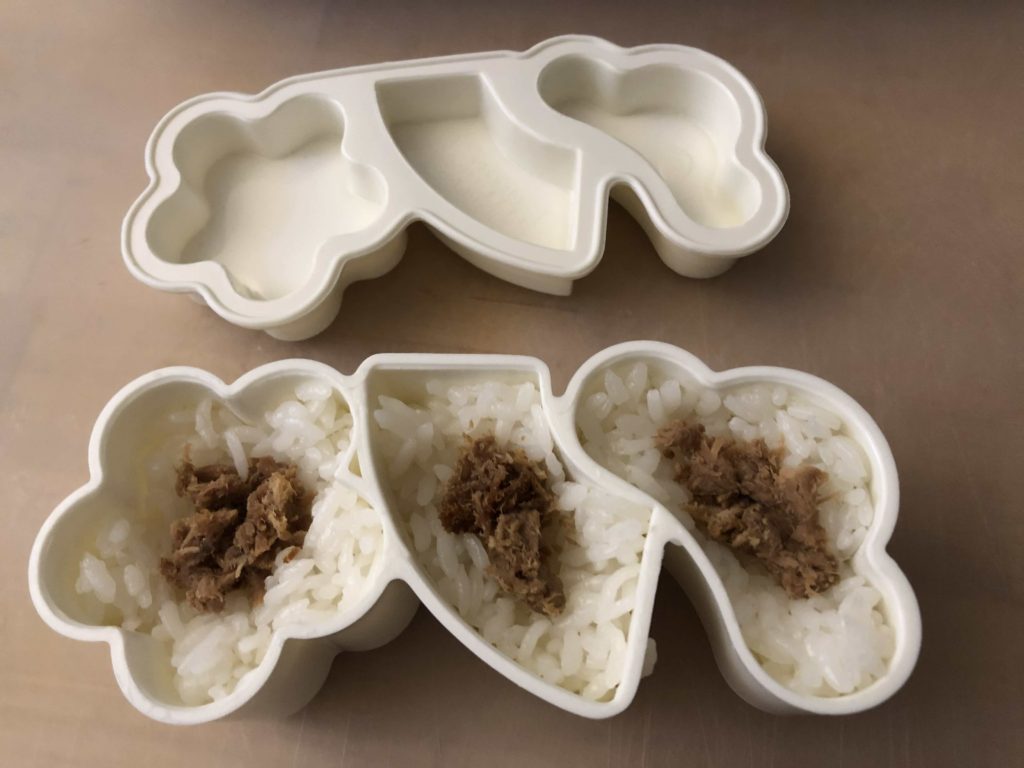
You can also use Seasoned Tuna Filling with a sushi press, as shown below. I have a vintage wooden version, which was my mother’s and is probably from the 1940s or 50s. Fill the press halfway with rice, add the tuna filling, top with rice, and press gently together.
If you use a press, you’ll want to coat it first with some rice vinegar to keep rice from sticking. I usually mix the vinegar with a little water, and add a bit of sugar and salt. You’ll also need it to dip your fingers as you work, because they’ll get very sticky with rice.
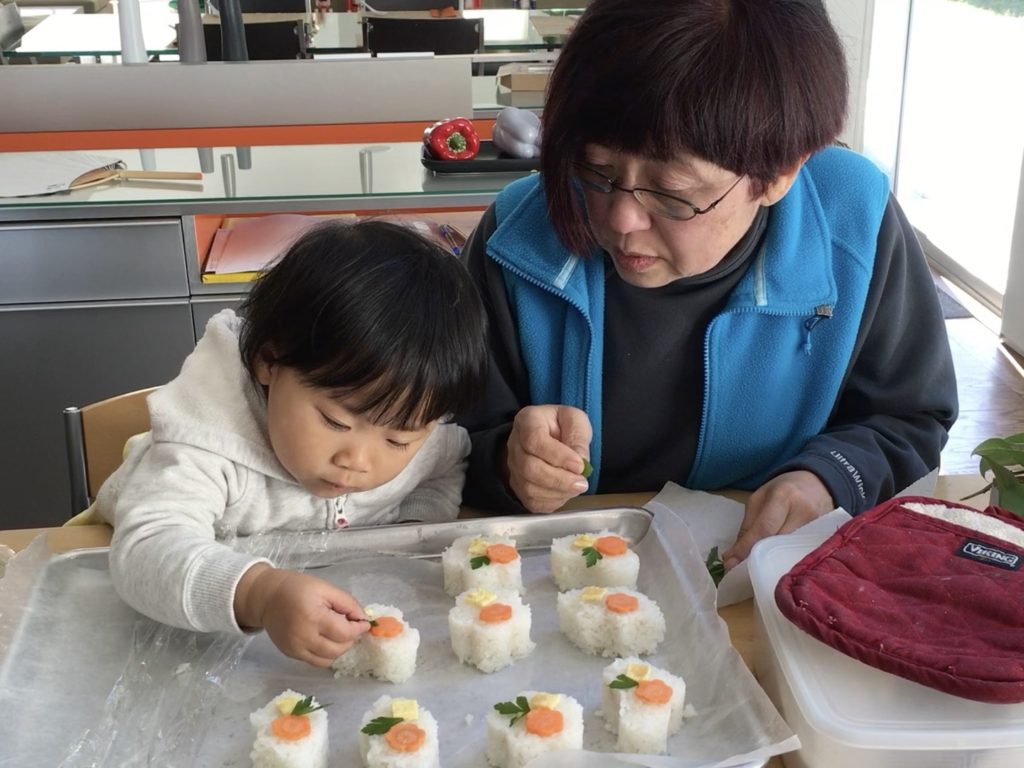
Sushi can be a project you do with your grandchild. As I have with mine. It’s fun and she gets to eat the results!
.Don’t forget to sign up for my email newsletter! Every Wednesday, I’ll give you a new idea for an activity or insight to nurture the little ones in your life. Come visit!