How to Make Snowmen — a Fun Winter Craft
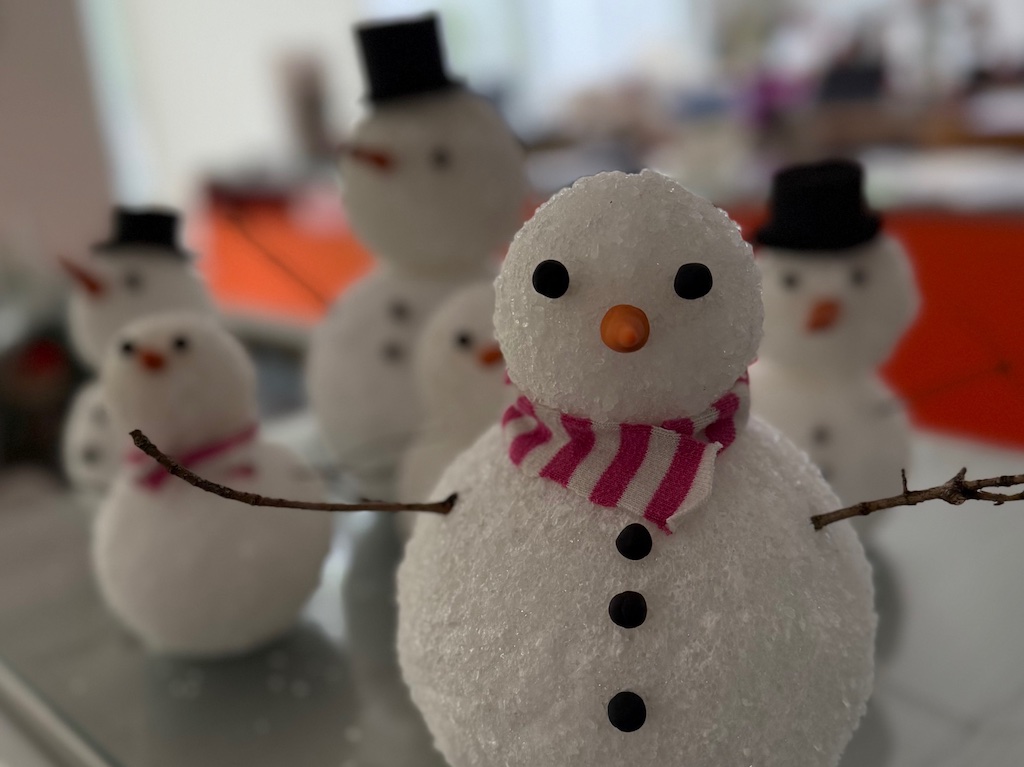
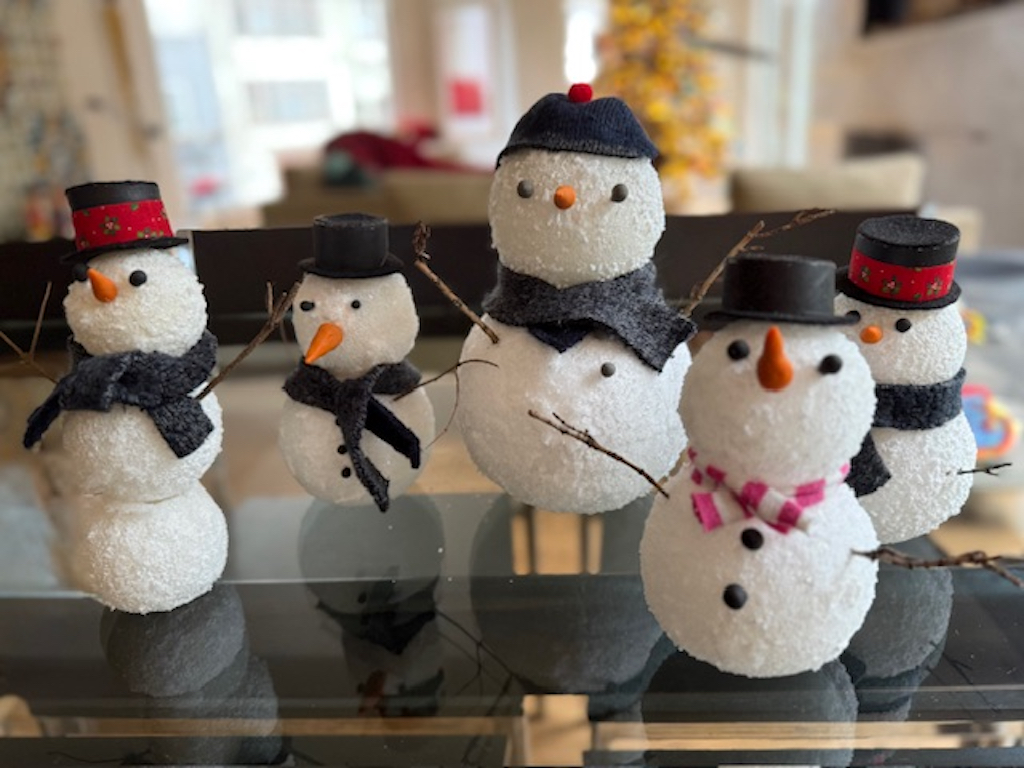
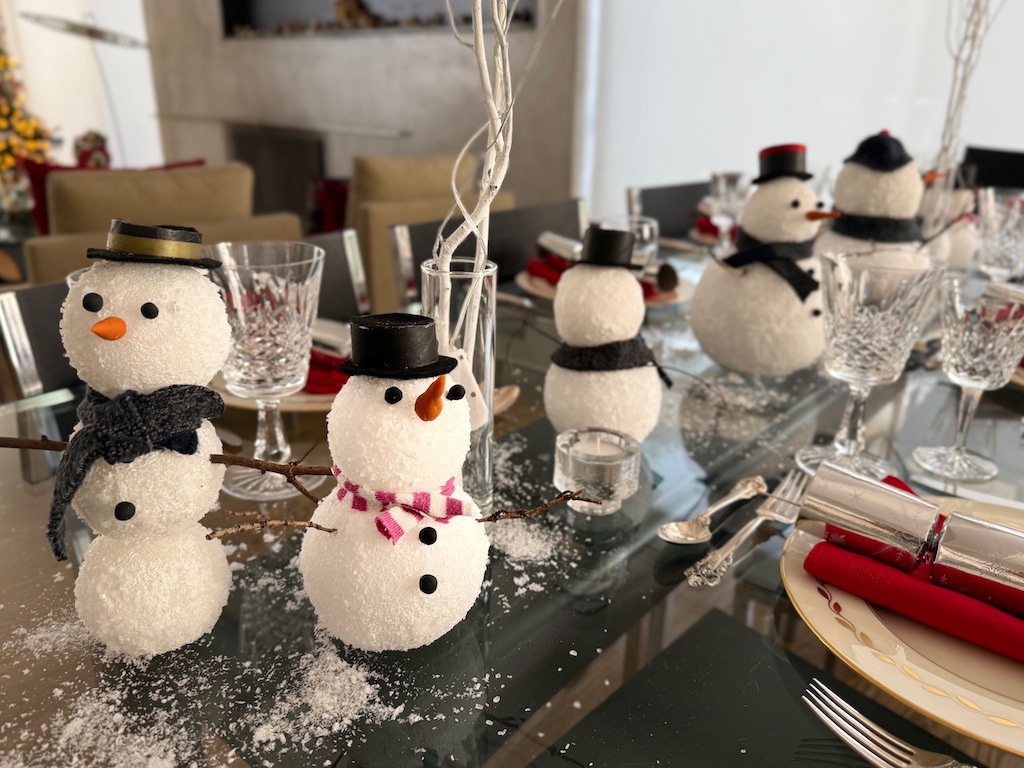
Learn how to make snowmen with styrofoam balls and epsom salts, Grouped on the dinner table, these adorable guys make a festive holiday centerpiece. The grandkids and I crafted them on a winter afternoon last year.
How to Make Snowmen
The instructions are for one snowman. Multiply materials to make more. Epsom salt is available at pharmacies, grocery stores, big box retailers, and online.
Materials Needed:
- 2 or 3 styrofoam balls of varying sizes
- Bamboo skewers
- Epsom salt
- Orange polymer clay (such as Sculpey)
- Black polymer clay (such as Sculpey)
- Twigs (for hands)
- White school glue (such as Elmer’s)
- Accessories such as top hat, beanie, or scarf (see instructions to make them below)

Tools Needed:
- Kitchen knife
- X-ACTO knife or other such craft or utility knife
- Metal spoon
- Foam brush
- Toaster oven or regular oven to bake polymer clay
Method:
Build the Snowman
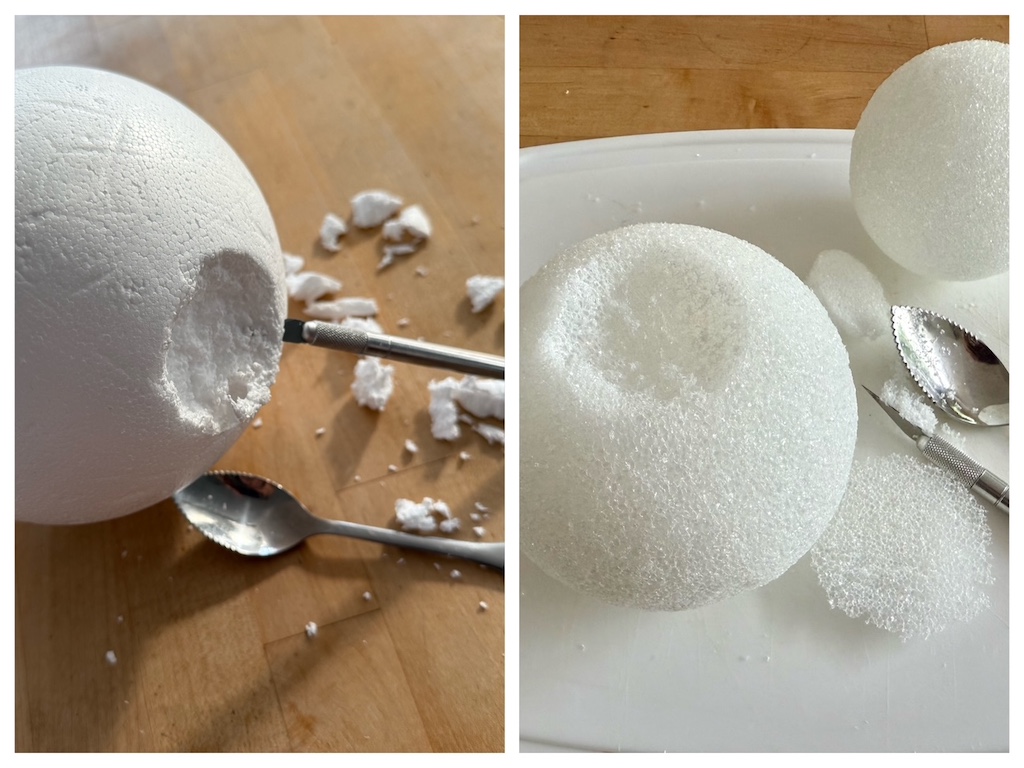
Decide if you want to use two or three styrofoam balls to make your snowman. Using a kitchen knife, slice off a little of the ball you plan to use as a base so the snowman can stand.
Using a craft or utility knife and a metal spoon, hollow out the top of the foam ball base to create a cavity large enough to set the second ball securely on the first. Hollow out the top of this ball if you plan to stack a third ball on top. WARNING: Knife should only be handled by an adult–and very carefully.
Use a bamboo skewer to hold the balls in place by inserting the skewer into the center of the base ball, and then thread to the center of each additional ball in the stack. Snip off any excess skewer. WARNING: Skewers have sharp points; it’s best for an adult to skewer the balls.
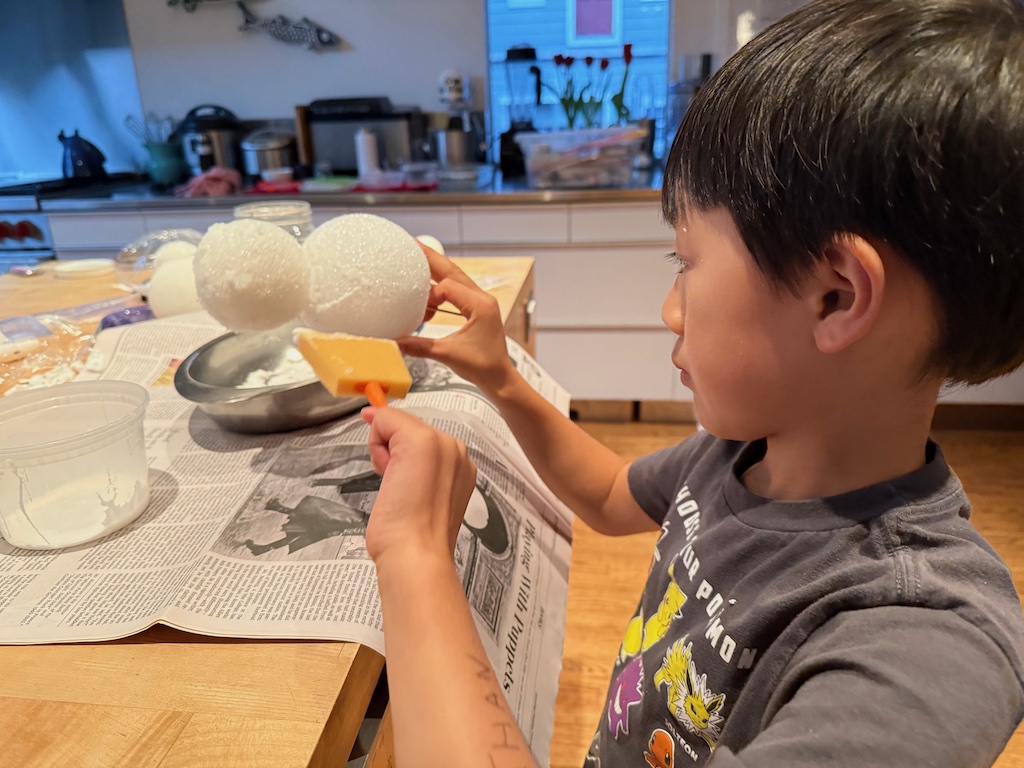
Coat the Snowman
Using a foam brush, brush glue onto the foam balls and sprinkle with epsom salt to coat completely. Let dry. Miss T coated the balls individually before assembling the snowman; N preferred to assemble the snowman first, then coat in epsom salt.
Tip: pour the glue into a shallow plastic container so it’s easy to dip the brush. Coat the glue-covered snowman with epsom salt over a shallow pan, so you can gather the excess salt and reuse.
Make the Features
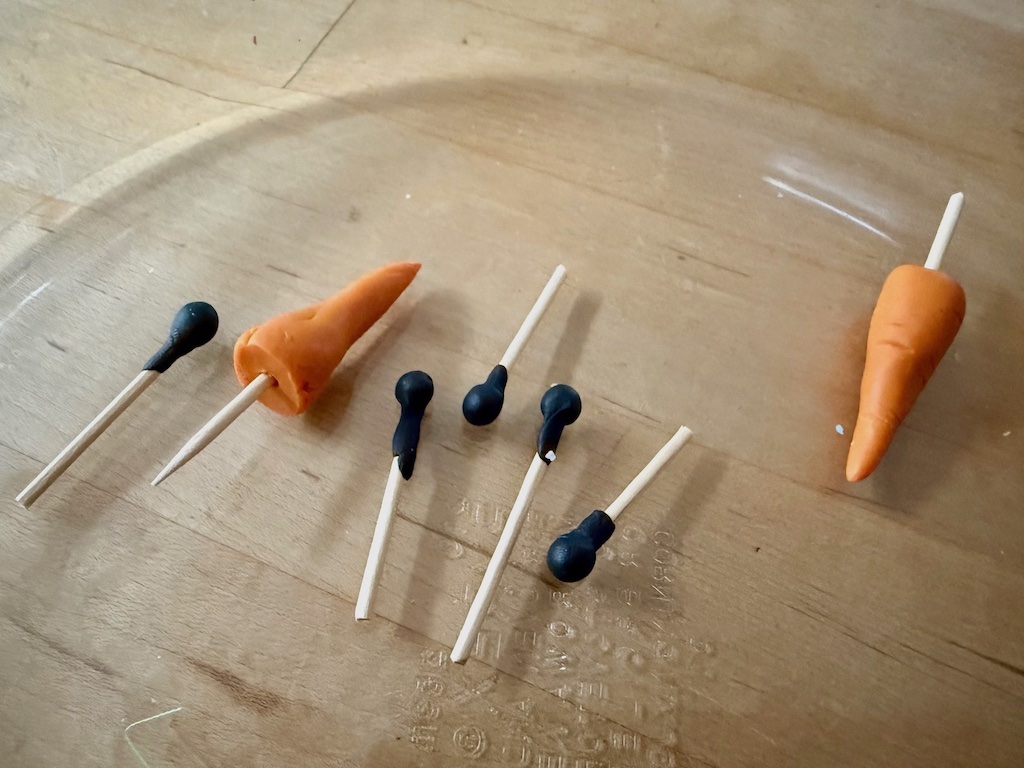
Cut or snap skewers into smaller sticks. Shape carrot from the orange polymer clay and poke a skewer piece into the base. Shape small balls for eyes and buttons around skewer pieces.
Bake the shaped pieces following instructions on your polymer clay package, usually, 275 degrees F. for 15 to 30 minutes per 1/4-inch thickness.
Assemble the Snowman
Poke the eyes and nose into the snowman. If the polymer clay loosens from the skewer, add a little white glue to hold the skewer and clay together. Poke the twigs into the sides of the snowman for hands. Add accessories, if desired.
How to Make Snowmen Accessories
Materials Needed:
- Old socks
- Toilet paper rolls
- Black paint (acrylic or tempera paint)
- Black felt scraps
- White school glue (such as Elmer’s)
Tools Needed:
- Sharp scissors
- A circle shape, such as dry measuring cup, jar lid, etc.
- Pencil
Method:
Socks: If using socks, there are several things you can do with them. Cut off the toe to form a beanie for the snowman. Glue on a small pompom in the center. Cut lengths of sock (toe to calf) to make scarves.
Hats: Cut toilet paper rolls crosswise to the height you want your hats to be. Make some short and some tall.
Paint toilet paper roll with black paint; let dry.
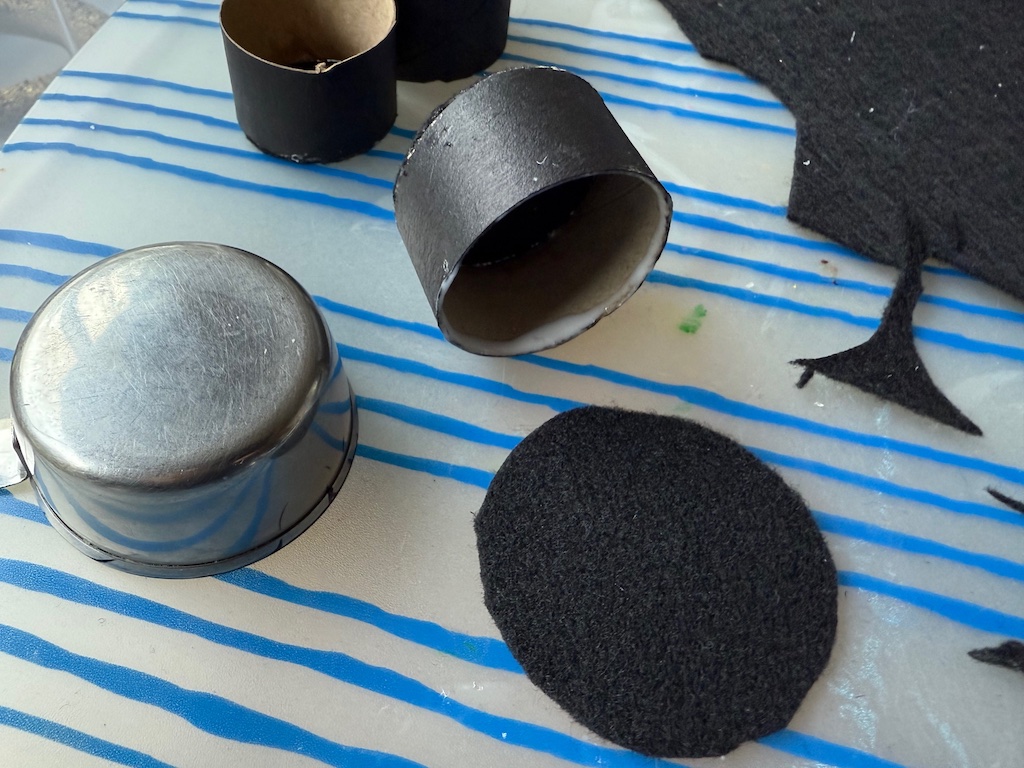
To make the top of the hat, trace around the toilet paper roll on black felt, cut out, and glue to the top of the painted toilet paper roll.
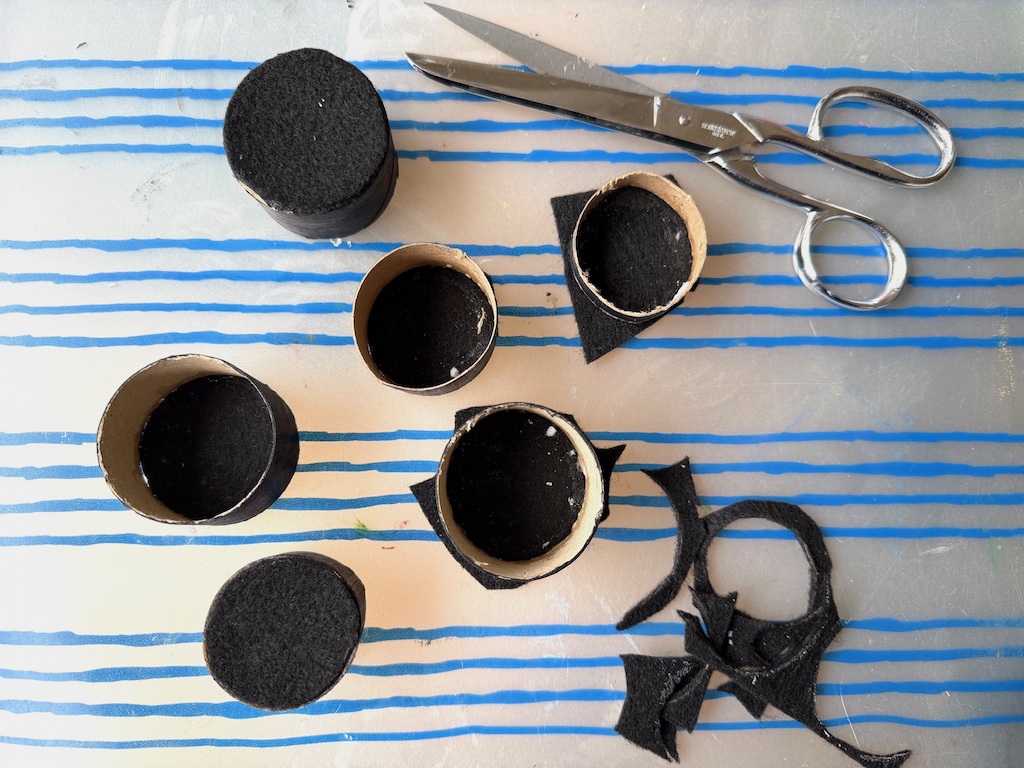
To make the brim of the hat, cut a felt circle larger than the toilet paper roll. You could use a dry measure cup or jar lid for a pattern. Glue to the toilet paper roll. You don’t have to cut out an inner circle for the hat to sit on the head.
Glue on a band of ribbon around the hat, if you like.
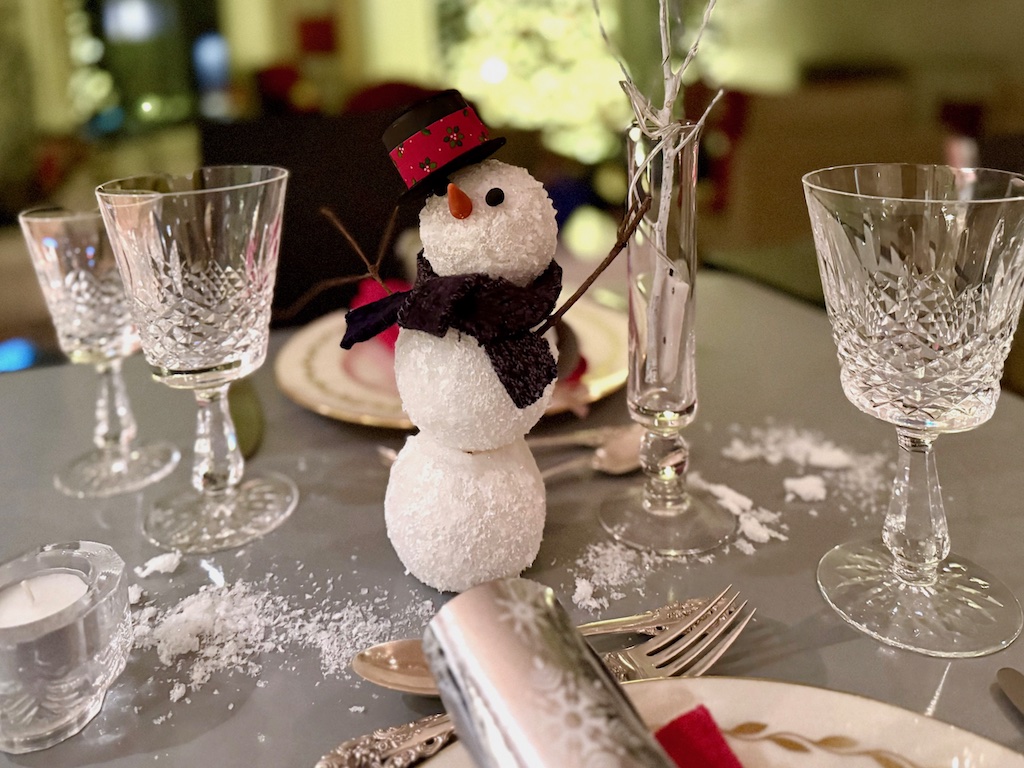
How to Use Snowmen for Table Centerpieces
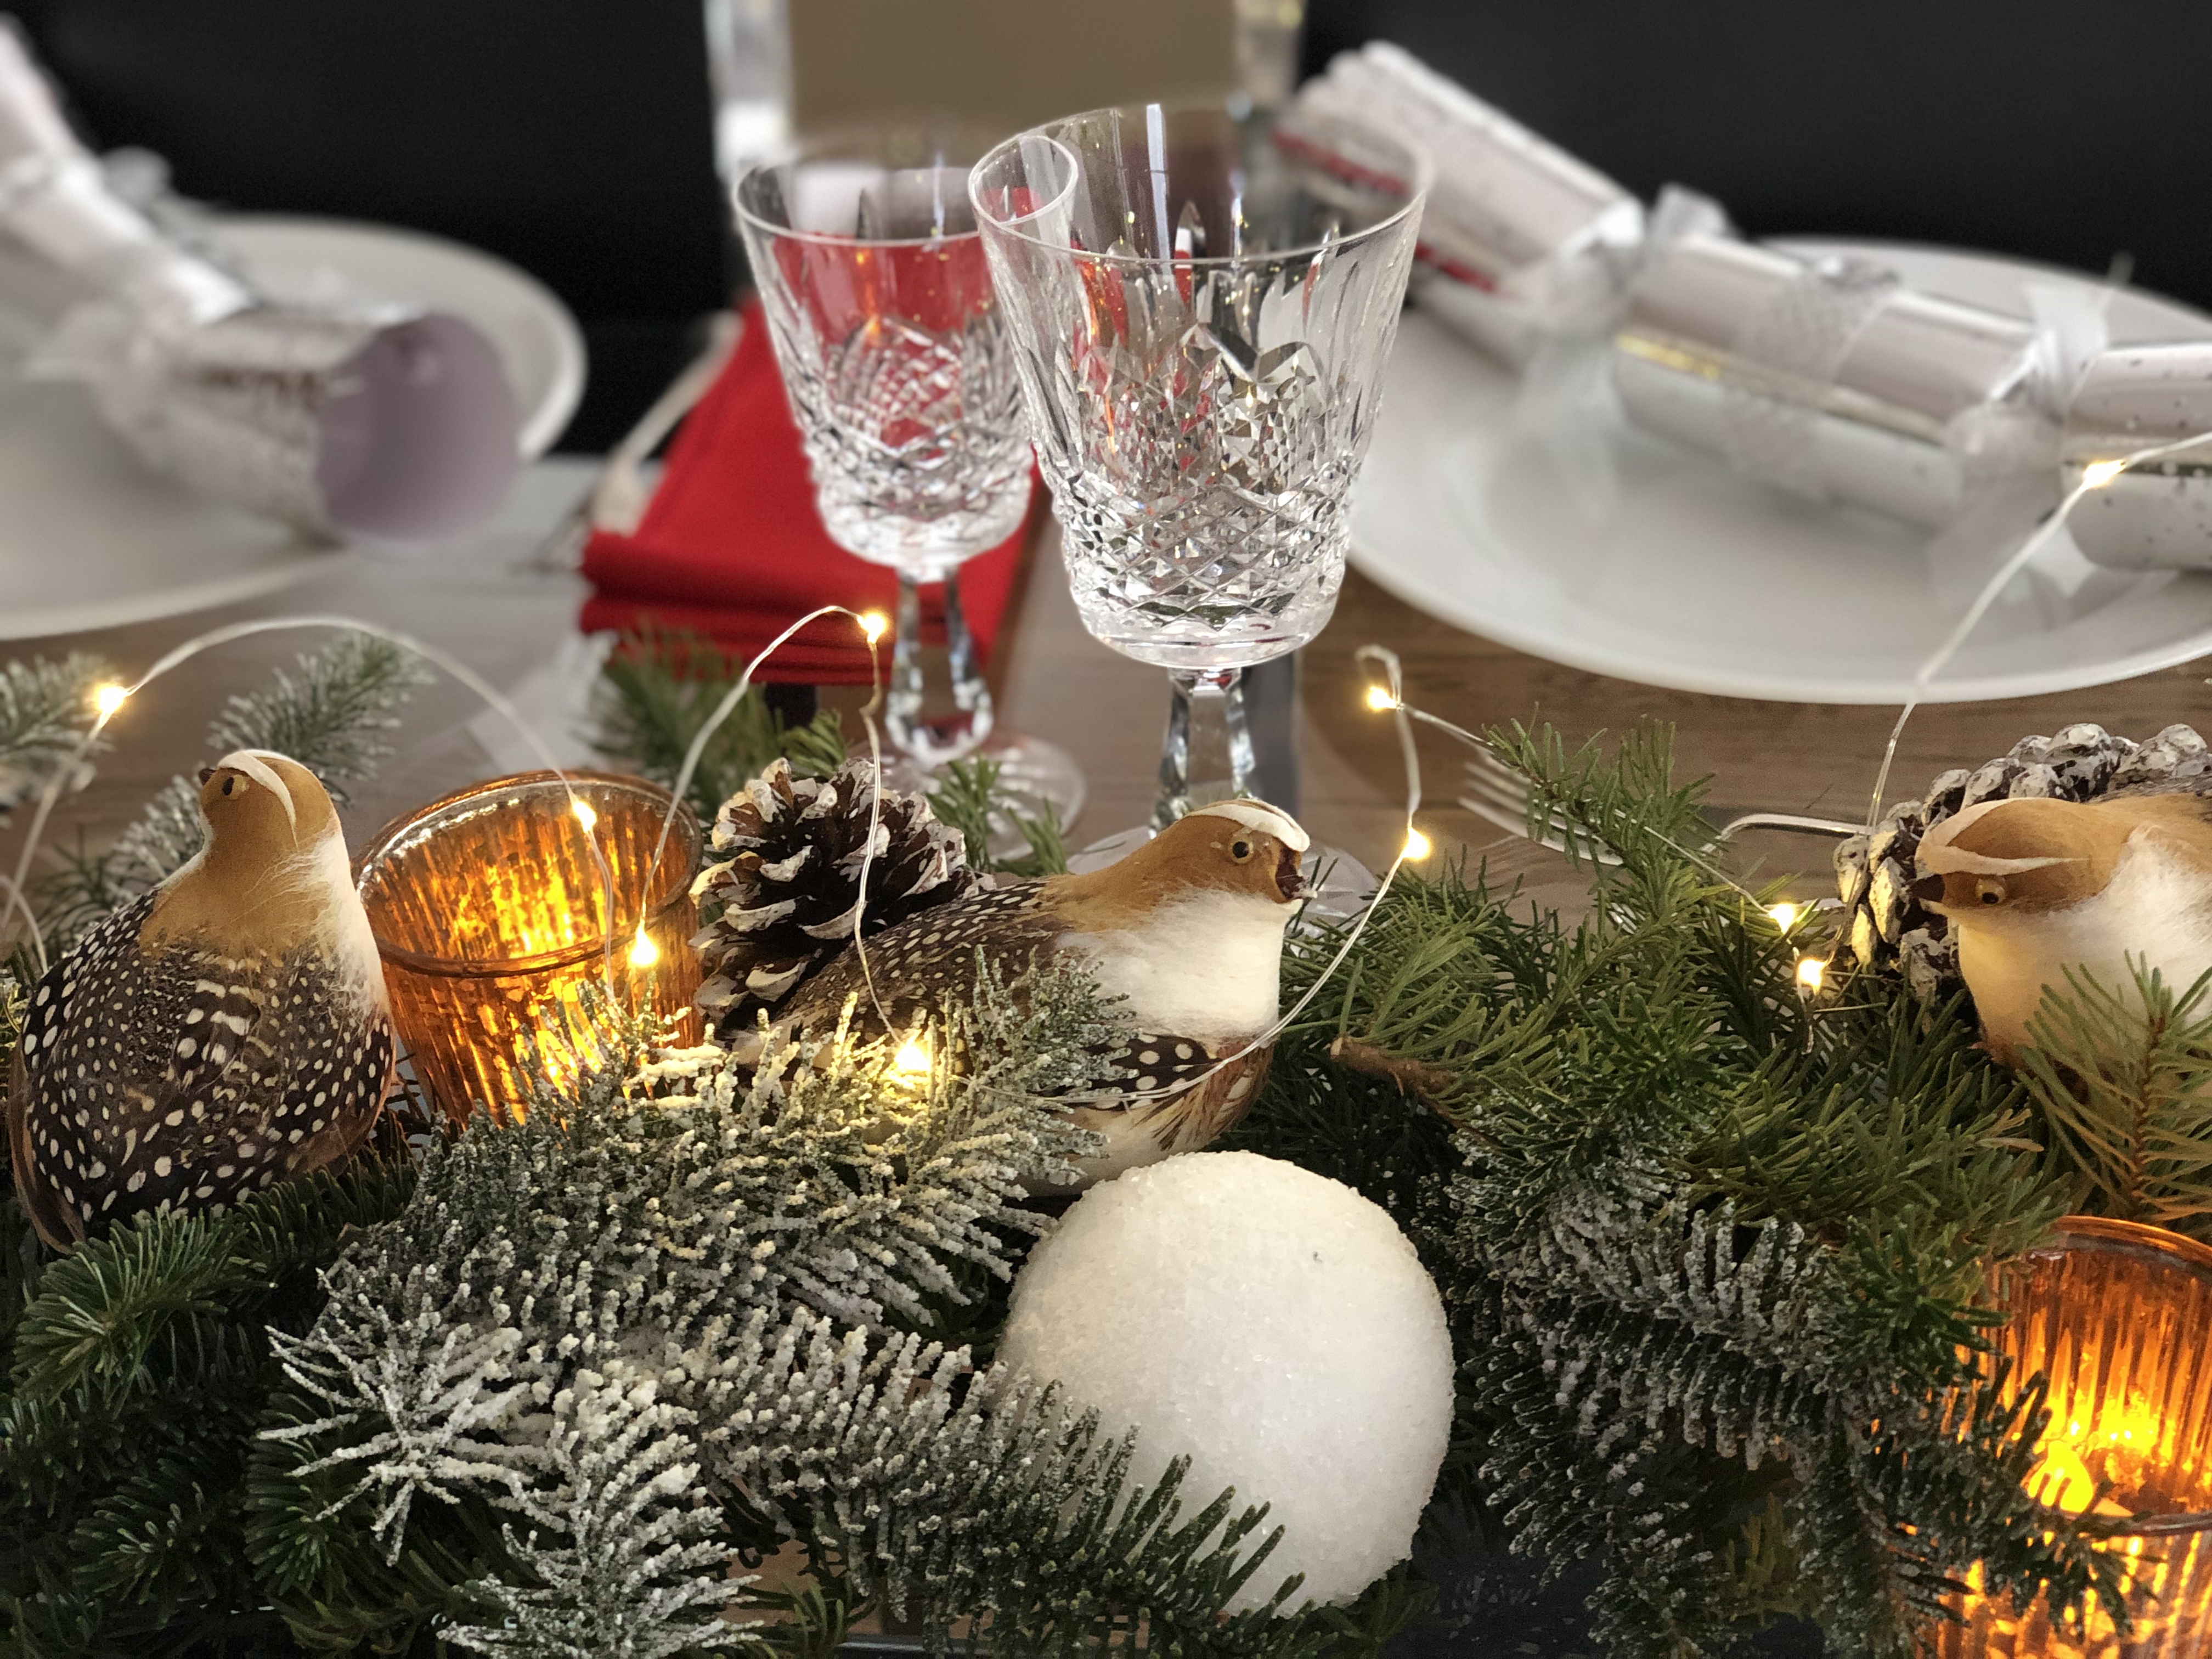
Set snowman in a row in the center of the table, turning them so snowmen face diners on all sides. I added white birch branches in glass vases with fairy lights set in bud vases, tea lights, and artificial snow.
An easier option is to simply make snowballs; you don’t have to craft snowmen, to decorate your table, using the same epsom salt technique.
Have fun making these snowmen to get you and the grandkids into the holiday spirit!
Sign Up to Get Grandma’s Favorite Recipes–Free!

Sign up here for my email newsletter. Every Wednesday, I’ll give you a new idea for an activity or insight to nurture the little ones in your life. And once you subscribe, I’ll send you a link so you can download your set of quick and easy recipes as my thanks to you.