A Simple Gingerbread House Party
No tickets to the Nutcracker, no festive parties; no family Christmas dinner. For Miss T, all holiday traditions are being upended this year. Little N is too young to remember.
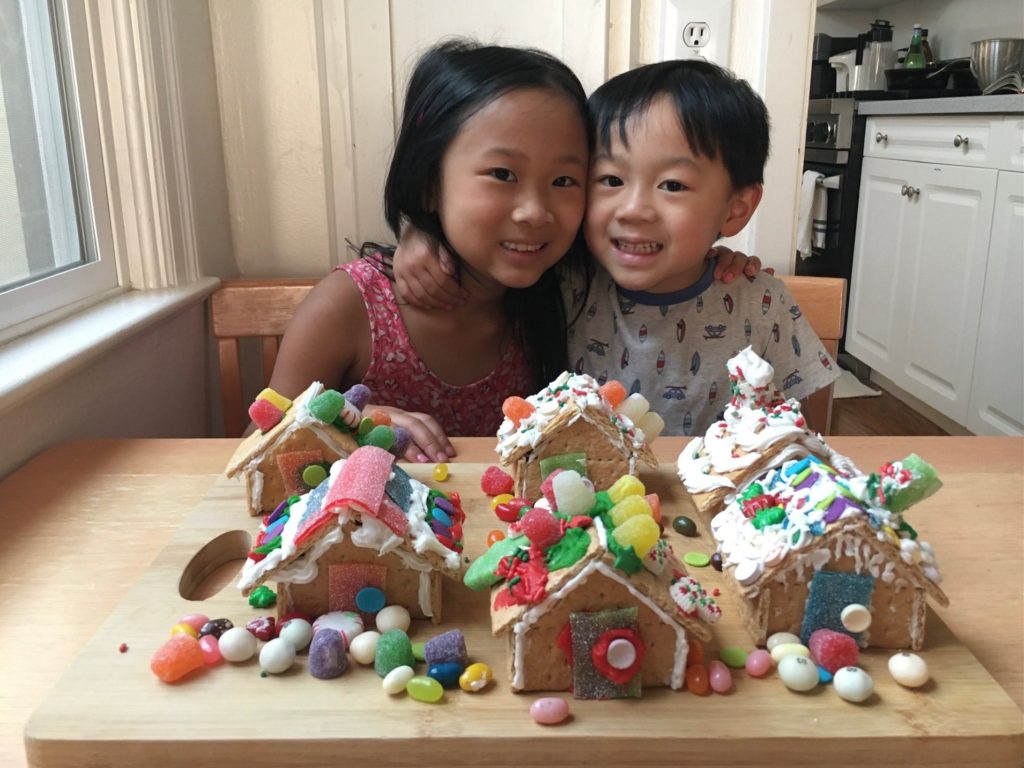
I wanted to plan a special holiday event to make up for the disappointment. My idea was a simple, gingerbread house party the kids could attend remotely.
The “gingerbread” is really graham crackers. As construction material, they’re practically prefab and the perfect size for little hands.
My two party guests are seven and four. You’ll have to consider ages and motor skills. Also, assess the kids’ capacity for patience because your house could collapse if you hurry it along when the icing is still wet. Then you’ll have to start over.

This can also a fun project for adults. Crafting gingerbread houses and listening to seasonal music might just get you into the spirit, even if you are facing the holidays alone.
The Basics of the Simple Gingerbread House
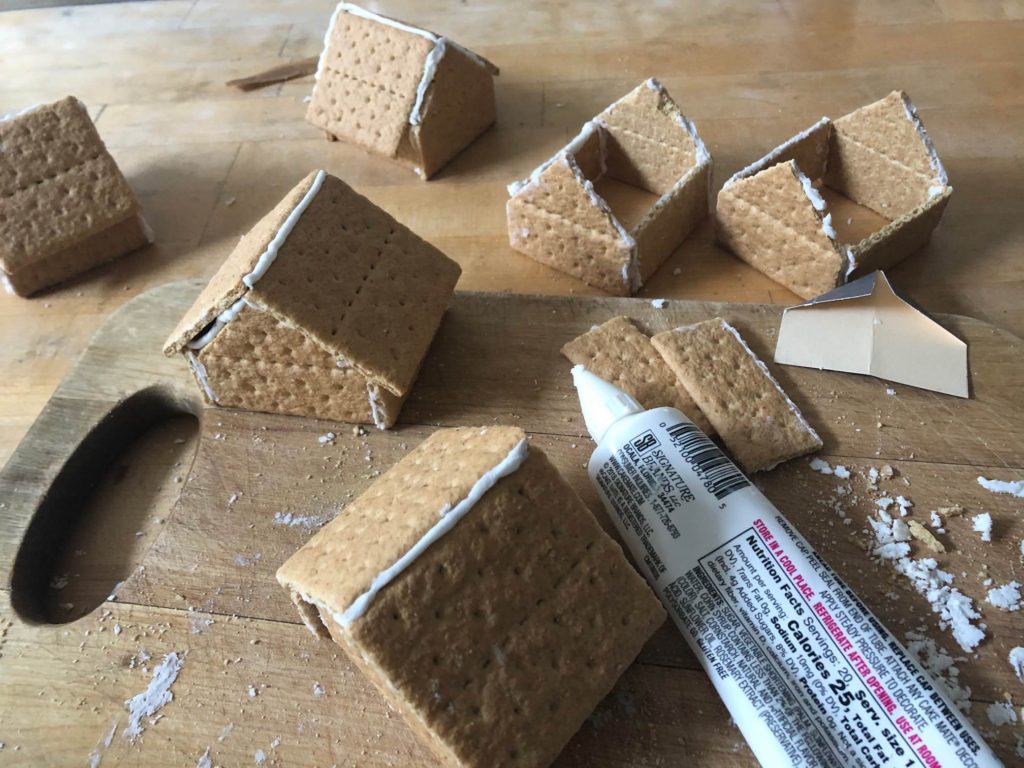
Here’s are the basics: You need five graham cracker squares for each house. Two half crackers are used for two sides of the house, two whole crackers cut in peaks make up the other two sides, and two whole crackers form the roof.
It takes a bit of dexterity to hold the walls in place until the icing firms up. Don’t add the slanted roof until the walls are secure. (More details on construction below.)
The Gingerbread House Party Plan
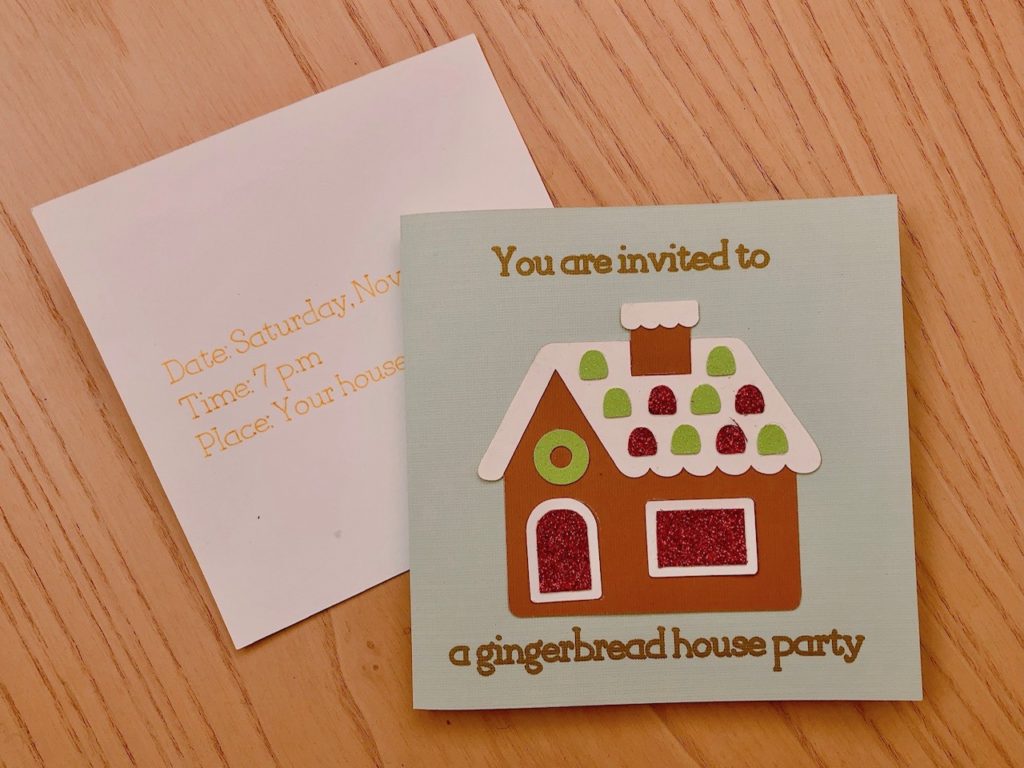
- Set a date for your party. We held ours at 7 p.m. on a Saturday, after dinner. This gave us 1 1/2 hours to make the gingerbread houses before bedtime. Each child made one house and that was just enough to leave them entertained and satisfied.
- Ensure that parents are on board to help with the construction; if an assist is not needed, parents should make their own gingerbread houses. This is a family event.
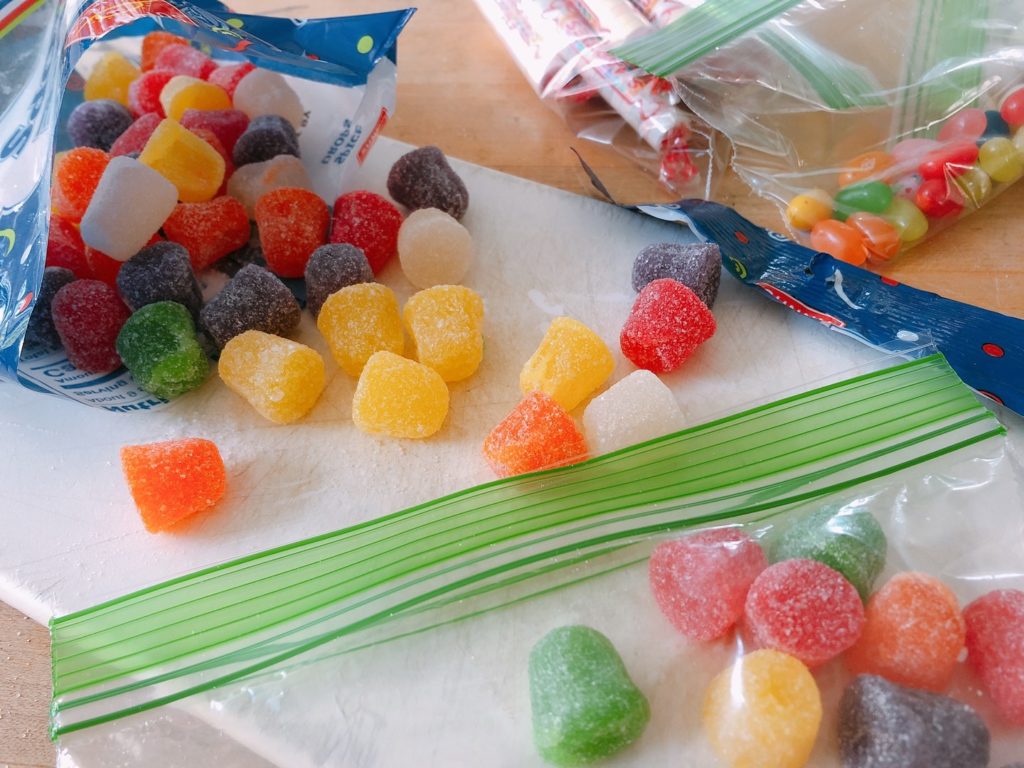
- Purchase the supplies (see the materials list below). As a responsible grandparent, re-bag candy into smaller portions so kids don’t overindulge.
- Make a gingerbread house in advance for each child so they can start decorating the pre-made one as they wait for the icing on their own construction project to dry.
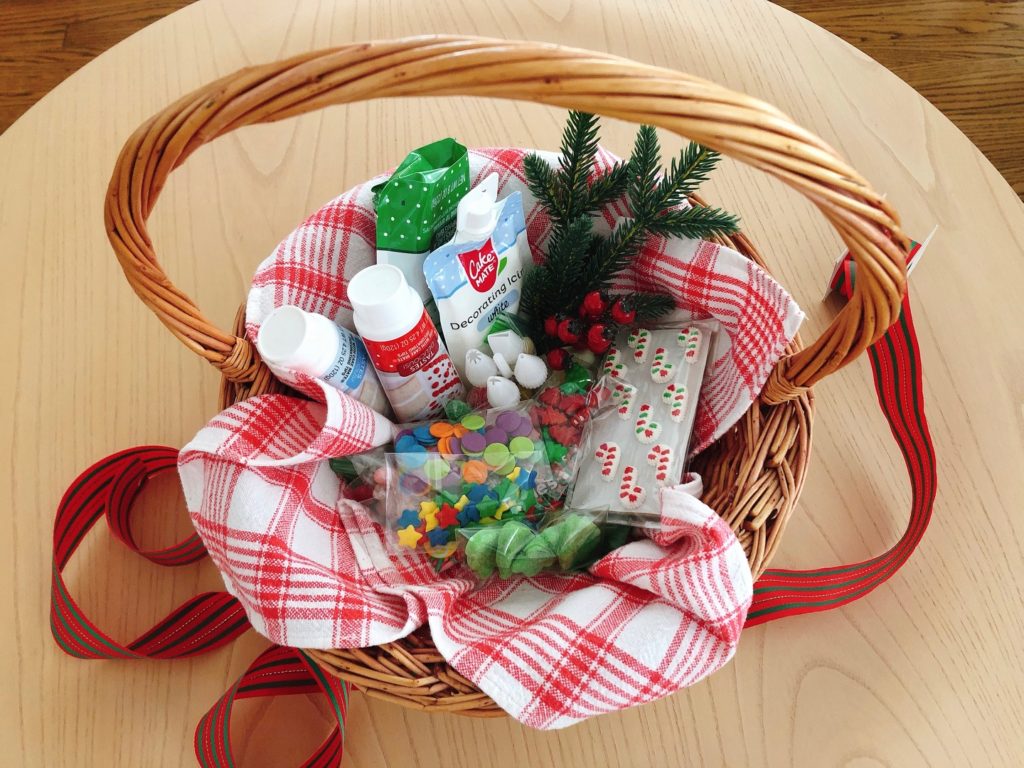
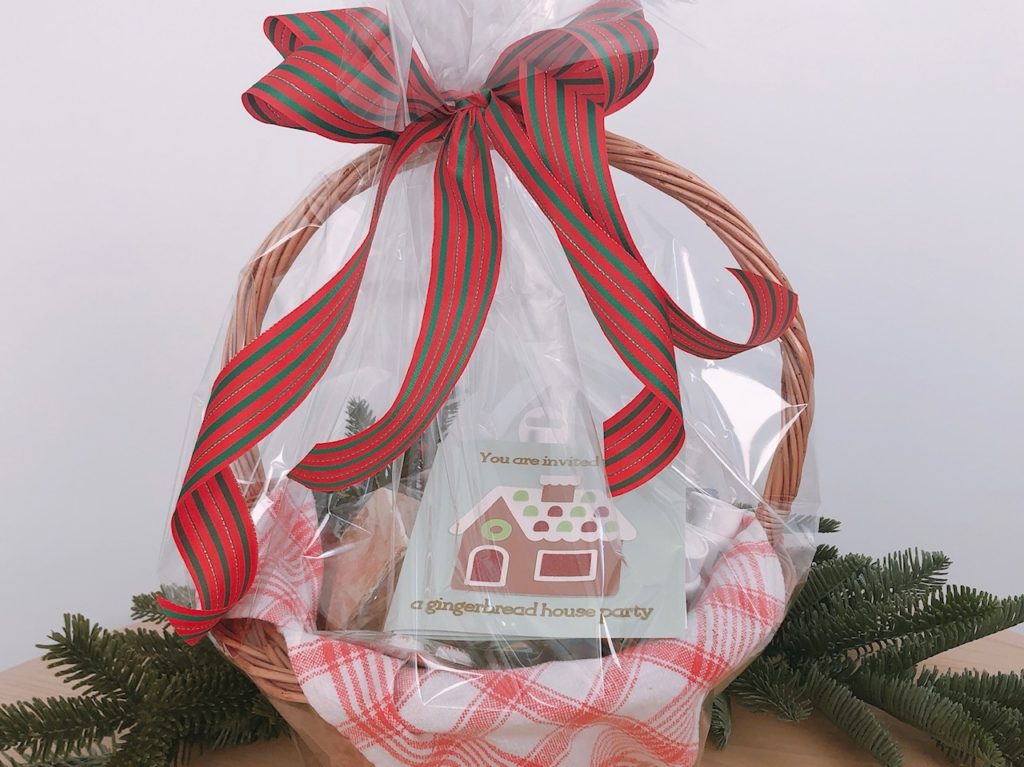
- Package all the supplies attractively. I put everything in a basket, tucked in the invitation, wrapped the basket in cellophane, and tied it with a bow.
- We delivered the basket to the grandkids on the morning of the party.
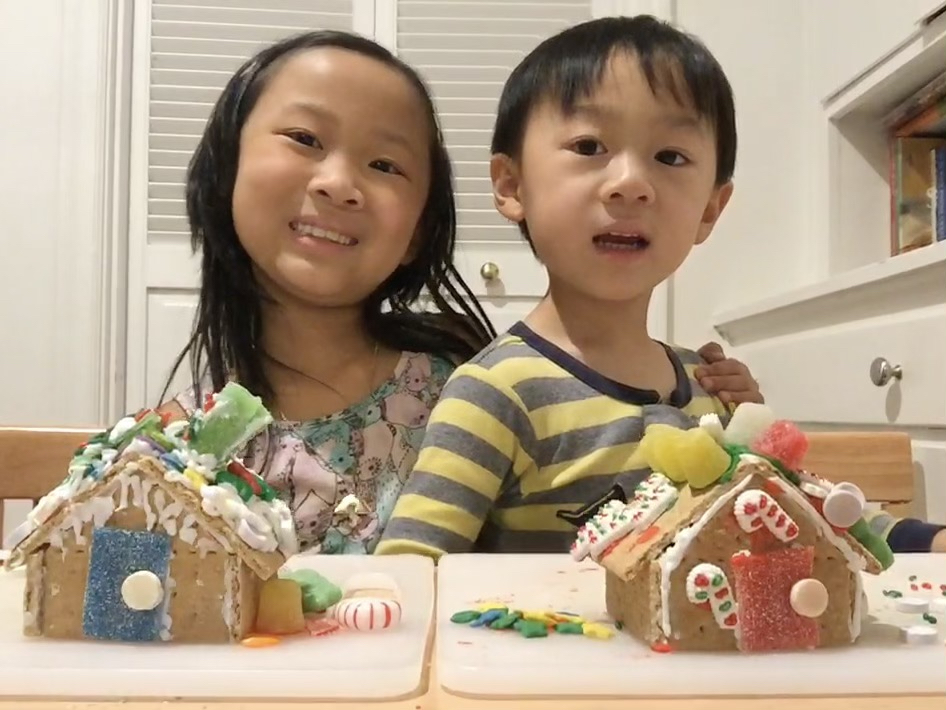
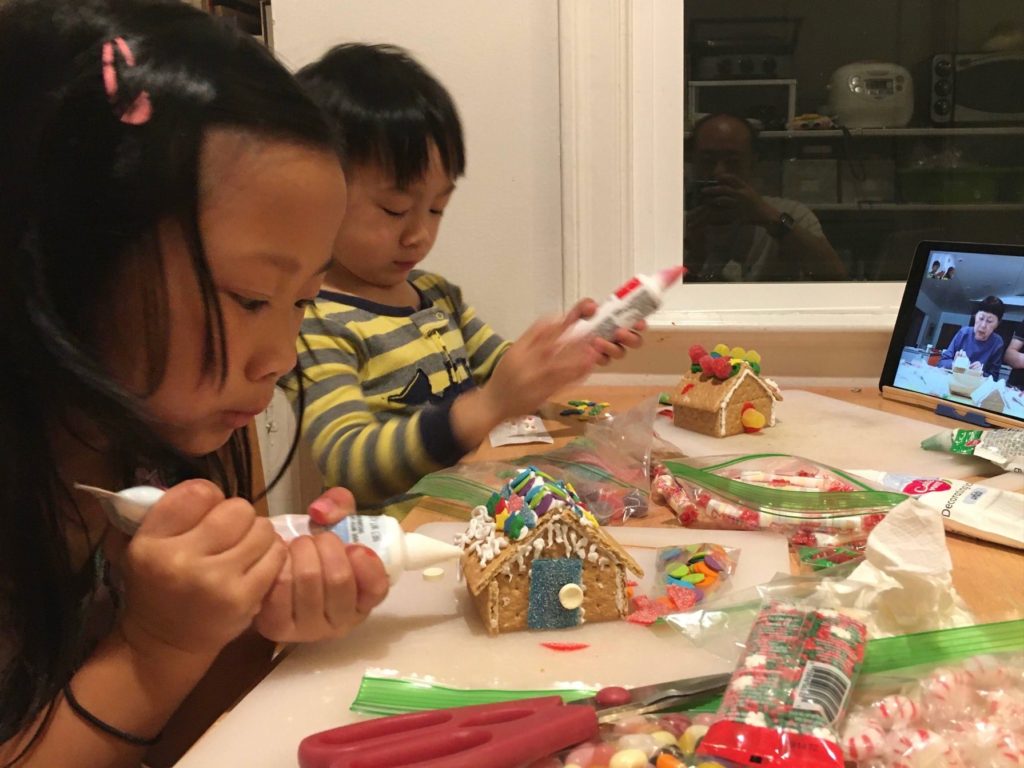
Upon getting the basket, the kids were super-excited, their father said. They couldn’t wait for party time!
How to Make a Gingerbread House
Materials Needed
- Cardstock cut to the size of a graham cracker square (about 2 1/2 inches X 2 1/4 inches) for a pattern
- 5 graham cracker squares for each house
- 1 tube of white icing
- A set of icing tips that fit your brand of icing (tips and tubes vary by brand)
- Assorted colorful candies and sprinkles
- Tube icing in assorted colors (optional)
Prepare the Construction Pieces
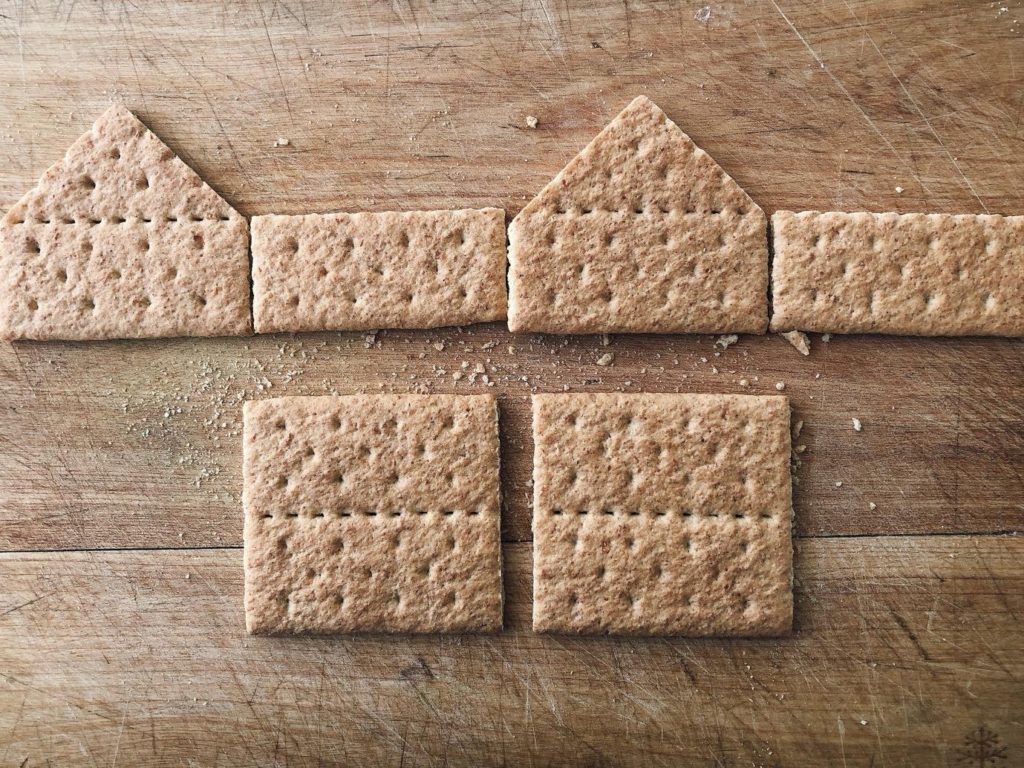
First, make a pattern for the high walls. Fold cardstock square in half, vertically. Bend the two upper corners of the paper to the vertical line to create a triangular top. (See photo below).
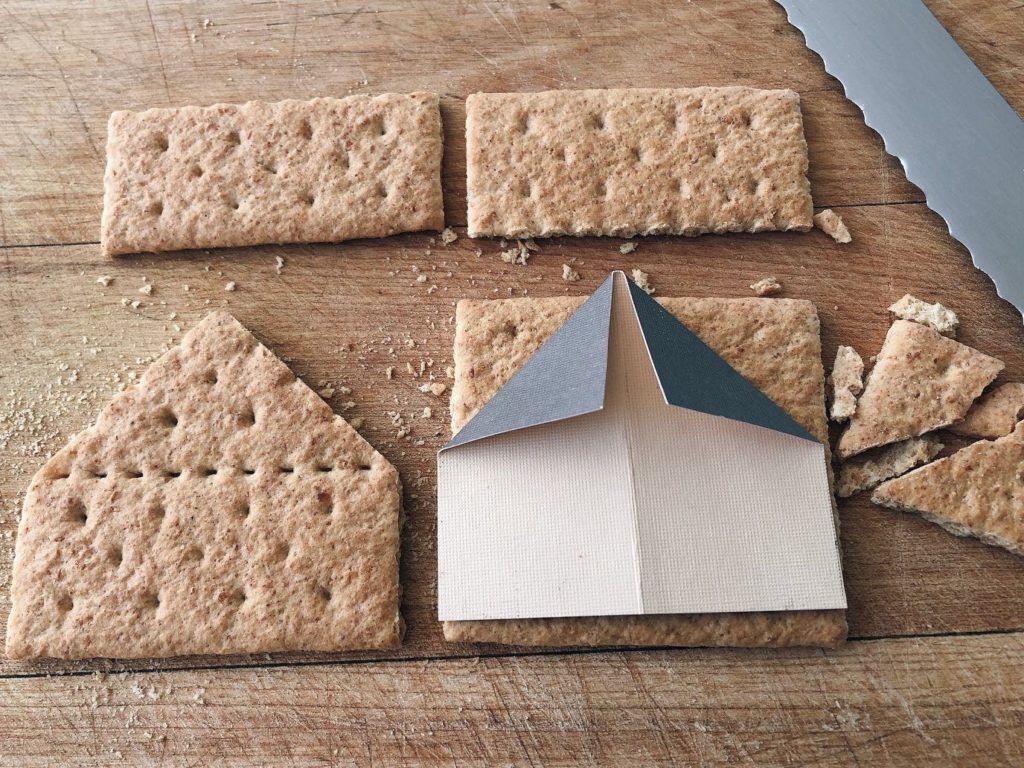
Using the pattern, trim the top two corners of two graham cracker squares with a sharp knife or a serrated bread knife. Use a light, sawing motion to begin, then a little force to cut through the cracker. This will be for the front and back of the house.
Now cut 1 square in half along the dotted line. These two pieces will form the side walls.
Christmas tree decorating tips to try this year.

Assemble the House
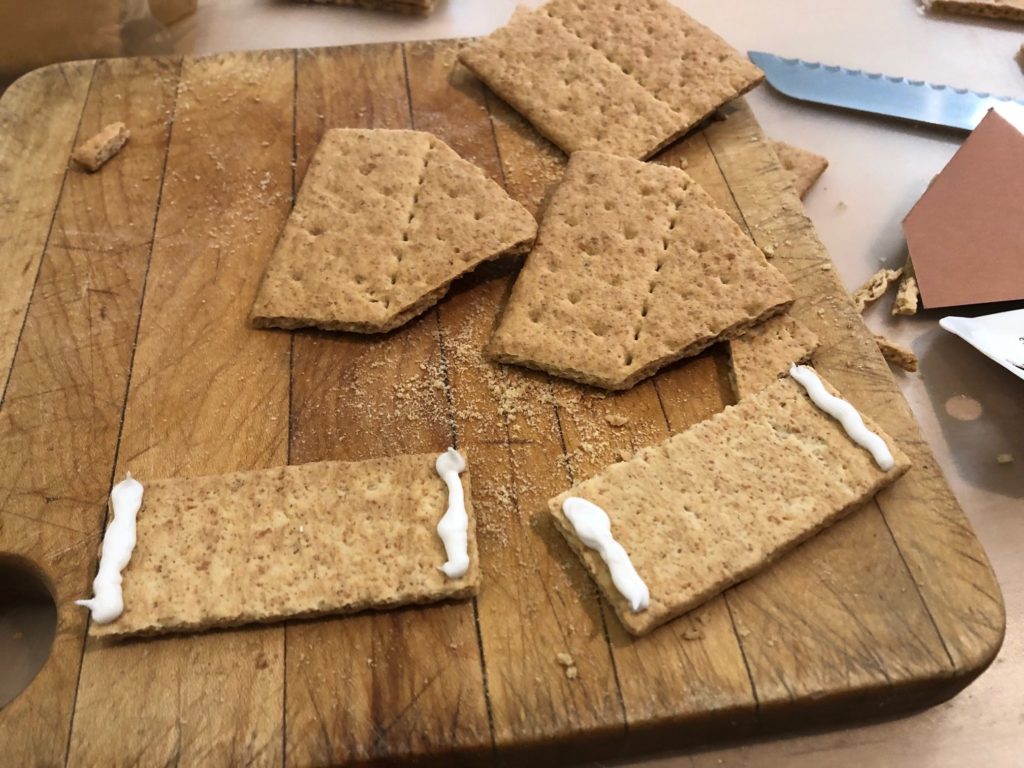
Assemble the house by attaching the four walls, using icing on the edges as glue. Hold together until the icing firms up so the walls stand up without assistance. Be patient. If the walls collapse, add more icing and reattach. Let dry before attaching the roof.
For the roof, pipe icing along the edges of the eaves and the top of the side walls. Carefully balance one cracker square on one side of the house, resting it along the eaves, then balance the second cracker square on the other side of the house. Pipe icing where the two crackers join at the top. Hold together until icing seems to have firmed up, then set it aside to dry.
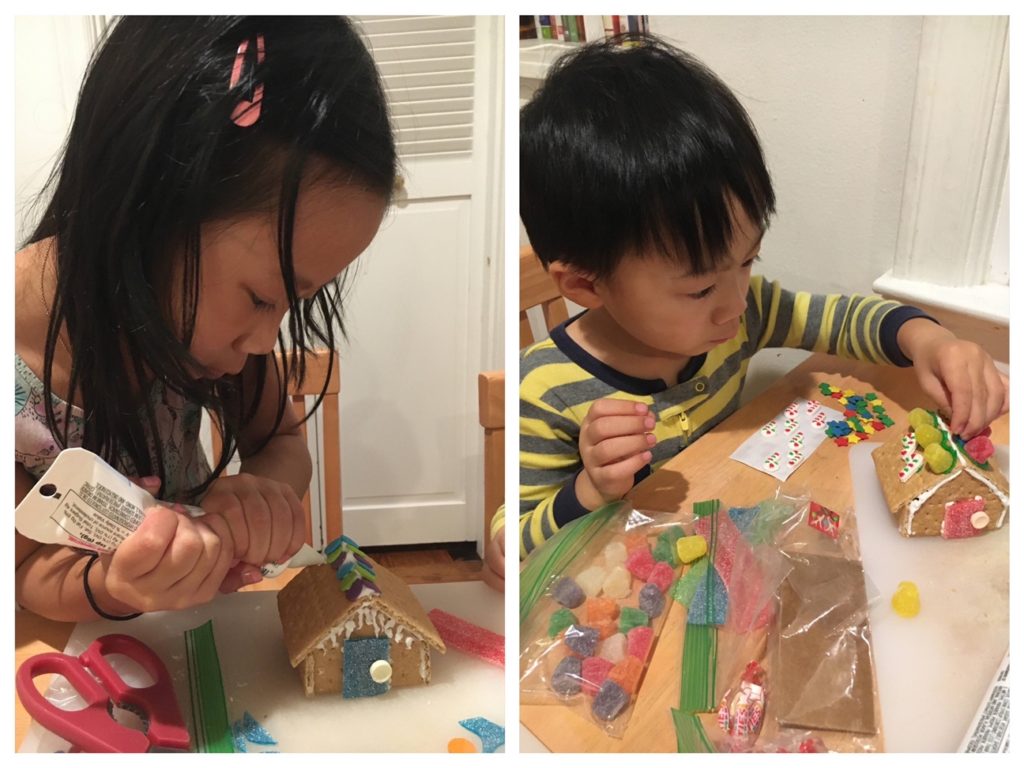
When icing is dry enough for the house to feel sturdy, add decorations using a dab of icing to secure.
Meanwhile, while their houses dry, let the children start decorating the pre-made houses your provided.
Note: all graham crackers do not perform the same. Honey Maid, the brand I happened to have on hand, was easy to score and break apart; other brands may be harder.
Some Good Candy Choices
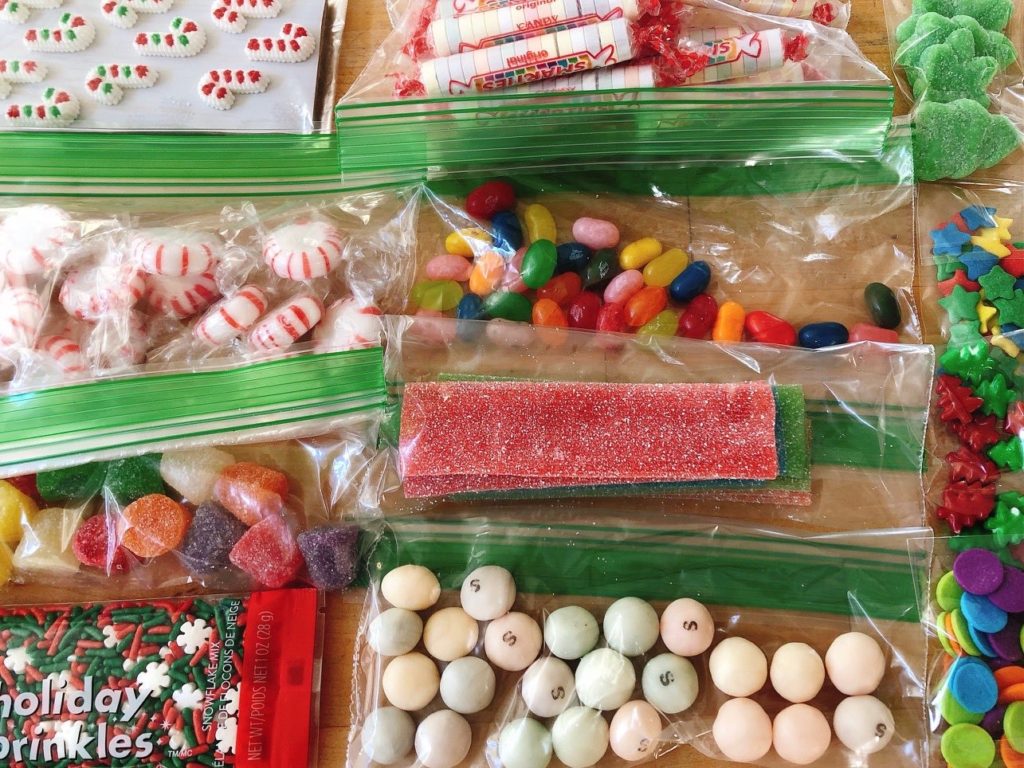
Here are some of the candies that worked well for our project:
- Sour Streamers–flat strips of gummy candy can be cut into doors, wreaths, and other shapes using kitchen scissors.
- Smarties–pastel candy wafers make great roof shingles.
- Gumdrops add jewel colors; they can be cut crosswise with a small paring knife.
- Peppermint Starlights, mini candy canes, or any other red-and-white-striped candy just says Christmas.
Aftermath of a Party
Was it fun? You bet! So much so that the kids made more houses with the leftover materials the next day.
What to do with the houses?
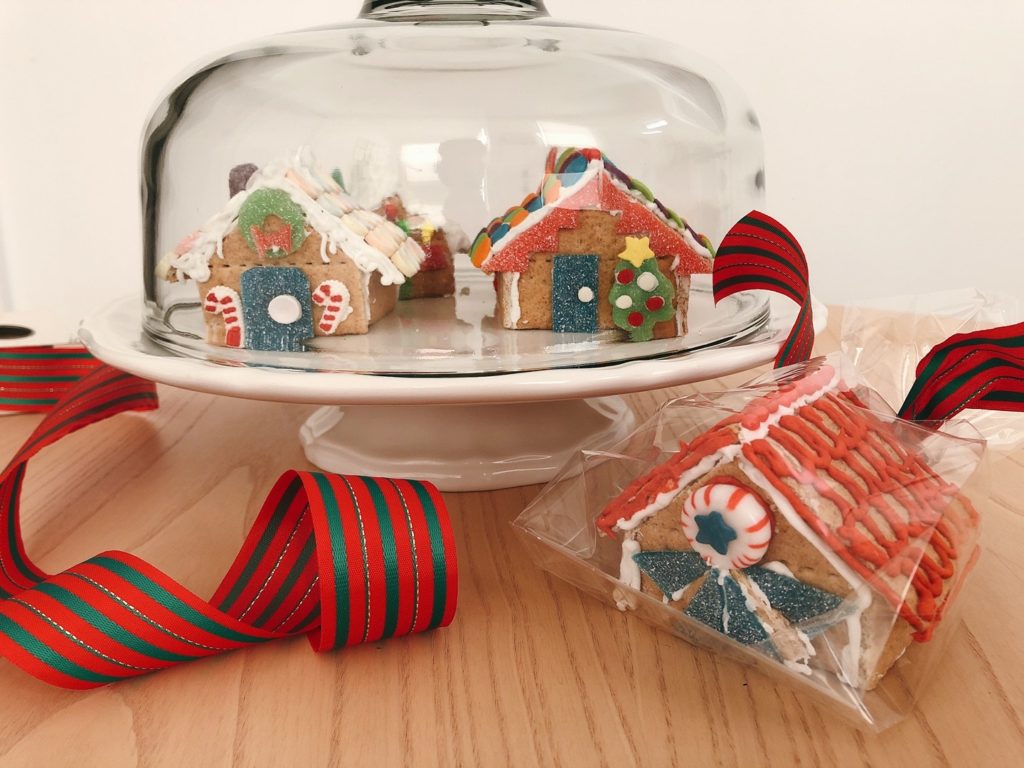
You can use them for table centerpieces or package them in cellophane bags, tie with ribbon, and give them as small gifts.
I’m going to keep mine on the cake plate and add tiny, battery-operated micro lights for my Christmas table centerpiece. Normally, I’d do something much more elaborate, but it will be dinner for just three this year and an iPad celebration with the family.
Or, as Little N did directly after the party, you can simply munch on them, right on the spot!
.
Don’t forget to sign up for my email newsletter! Every Wednesday, I’ll give you a new idea for an activity or insight to nurture the little ones in your life. Come visit!
This ended up such a fun family time for our three generations. You did not see in the blog that our other son was also in on this Zoom event, so a special all family gathering. We’ll miss the hugs, but I think we might start a new Holiday tradition; the Annual Zoom Gingerbread House Party! And to have it right after Thanksgivng kicks off the Christmas season. Bring in the Santa hats!.
Yes, everyone enjoyed the time together. And we might make it a new family tradition. But next time, we’ll gather in person!
I love this idea! Dreaming up ways to apply to my crowd. Thanks for posting.
Thank you, Mandy. So glad you liked the idea. As long as the icing is dried, construction is very sturdy. If you have young kids, this is the part that takes a bit of patience.